I used to have a pre-built vacuform machine, with bed about 18"x24" or something like that. Been years since I last saw it after loaning it to a friend.

Anyway, as part of the "lid" (when closed for storage) that opened to lay to the side (for use) it had what amounted to a clothes-dryer heating element curled up within a steel reflector with a low-velocity induction-motor fan with metal blades/etc., used to circulate the heat around to more evenly melt the plastic sheet.
The clamping frame (of 1/8" steel) for teh plastic sheet to be formed was along the same piano-hinge as the lid, so it could be easily flipped from the heating bed to the forming bed.
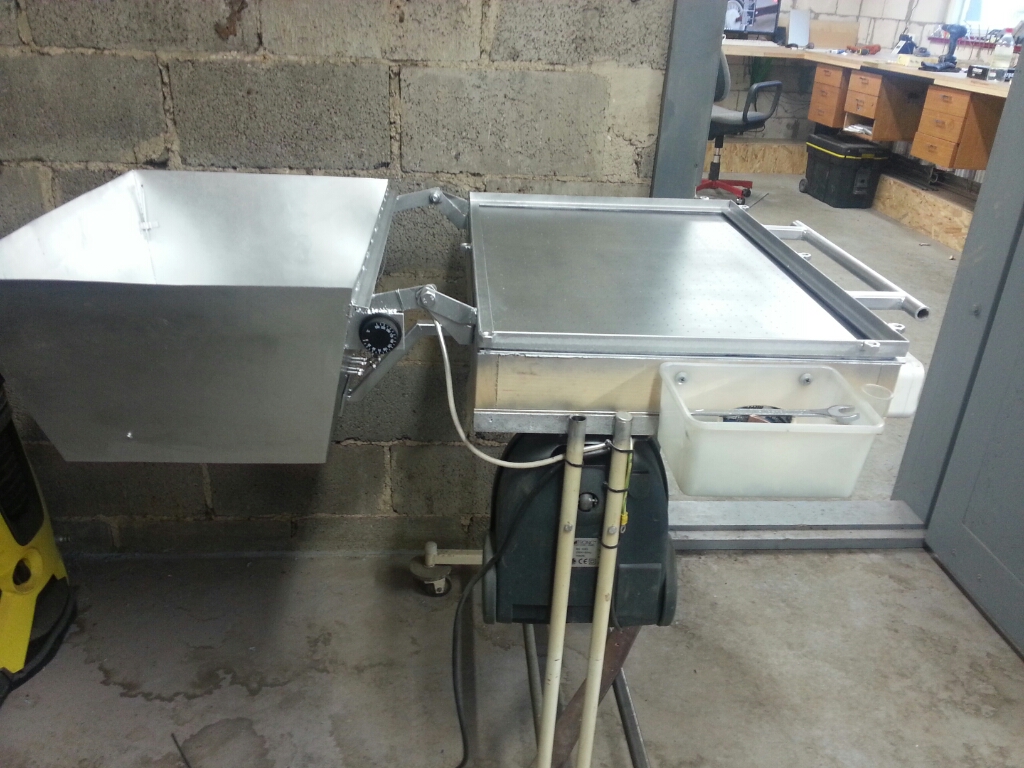
The forming bed (also the main base of the machine) had a vacuum motor in it that was about the same as a good shop vac. Enough power to dim the lights even more than the heating element did.
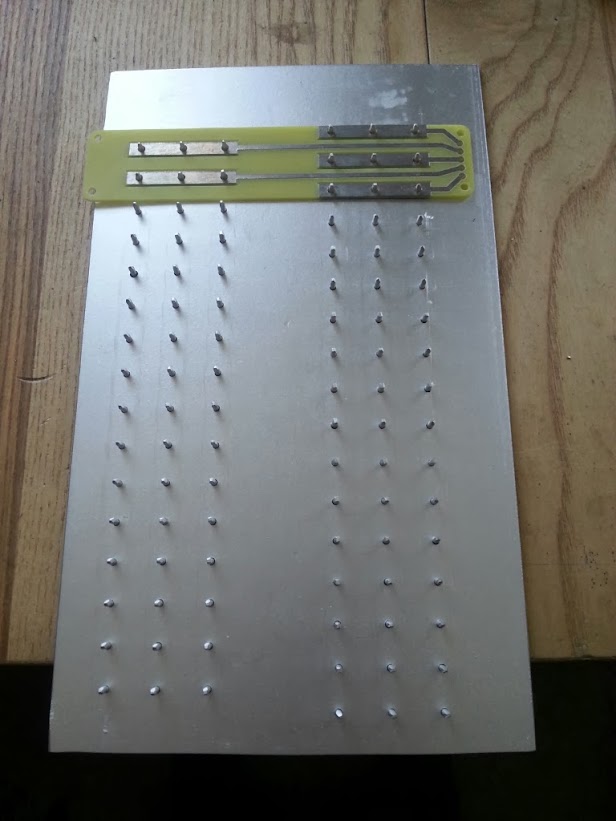
It had holes about every half inch or so, IIRC.
The idea was to heat the plastic till it just began to sag int eh middle, then simultaneously flip the switch over to vacuum from heat, and flip the plastic-holding frame over to the forming bed over whatever mold you've got there; the vacuum sucks down plastic and frame (the idea is to turn on the vacuum just soon enough so it spins up and is sucking air just at the moment the outer edge of the frame begins to touch the forming bed frame--too soon and the wind cools the plastic, too late and the mold cools the plastic).
It always helped to pre-warm molds in the oven, when possible.
I also once used a compressor in reverse to suck al the air out of a tank, wiht a release valve between it and the bed, instead of the vacuum motor. I forget the negative pressure I got it to (not sure if I even knew), but the idea was to do the same as the above, except flip the release valve on the tank instead of turning on the vacuum motor. It worked better with sharper detail but th forming bed wasn't sealed well enough to hold the vacuum well for pieces that required continued heating with a gun.
I've also seen air-hockey tables converted into forming beds.
My best molds were plaster, because I could get a fair bit of detail in them, and they could easily be preheated in an oven to pretty high temperatures. I only have one picture I know of from that technique; I didn't have a camera back when I was doing my physical model building, so all the pics I have are either from much later when I finally got a junky digicam (like this pic) or taken by other people in various situations.

EDIT: also meant to say that whether VF is appropriate for your part depends on what you want to use it for. It does work pretty well for stuff like the models above, though you still have to scratchbuild all the sharp-edged stuff onto it, or scribe the lines on. Worked great for handheld props like tricorders and some weapons, or storage cases and the like. Not so great for stuff that needs a lot of detail in it to start with.
Also, as pointed out, polystyrene is the easiest to use but is not all that durable for a lot of things. I never successfully VFd any other kind of plastic, though ti should be possible to do some of them with sufficient heat and strong enough vacuum, which I ddn't really ahve. Read about a lot of ways to do stuff but most of them I never had a chance to try.
Saw a huge VF machine at I think it was Laird Plastics south of downtown Phoenix, 4x8foot bed! They used a huge heater hanging over the bed to heat huge sheets of up to 1/4" lexan, polystyrene, ABS, plexiglass, etc., and the bed could do either positive or negative molds (which replaced the usual flat bed of holes and instead had the holes itself, down in the lowest places and in all the details that were to stick out. One negative mold they had in a corner was for a big pre-lettered sign, to go over a fluorescent-lightbox fixture on a storefront.