mistercrash
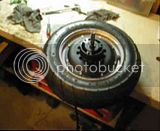
10 kW
I checked the voltage of all the hall sensor wires,
Red/black - 4.403V
Black/blue - 3.358V no change when I turn the hub
Black/green - 3.434V no change when I turn the hub
Black/yellow - 3.423V no change when I turn the hub
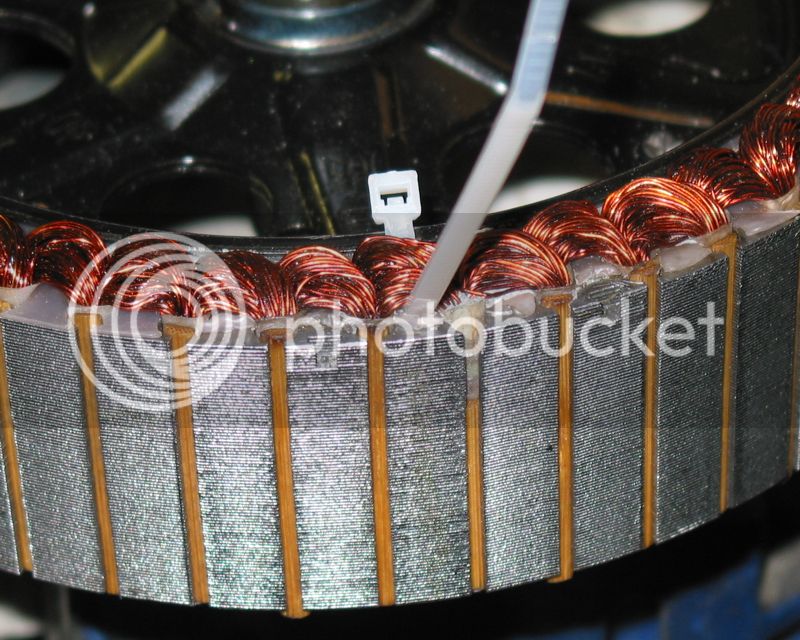
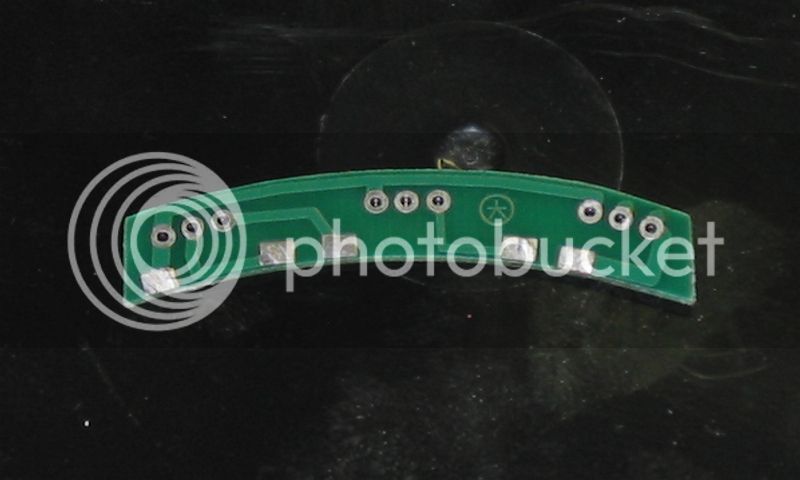
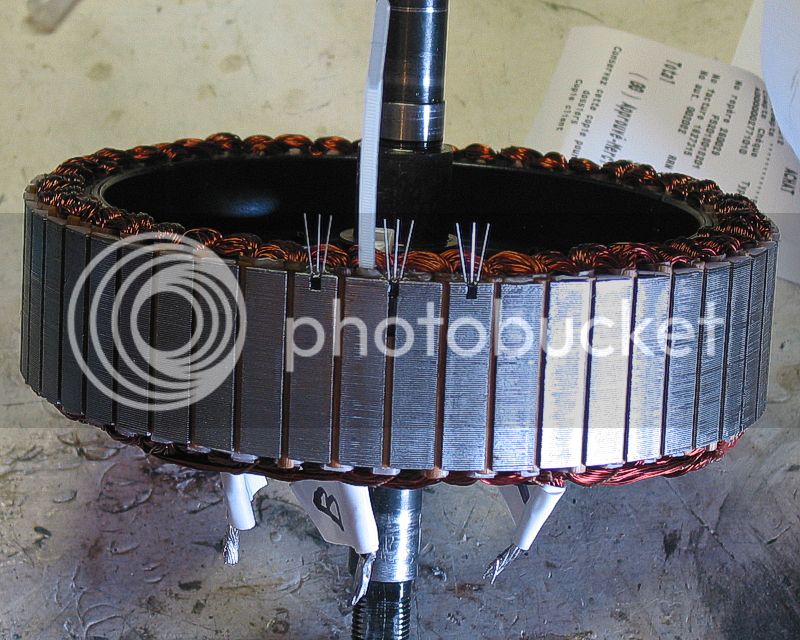
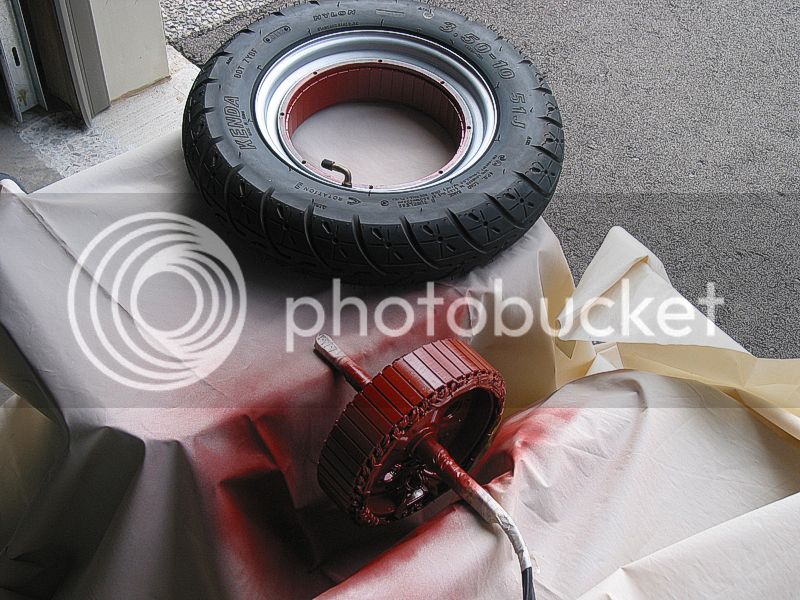
I checked all the pins and made sure they were seated, I checked continuity from the back of the motor hall plug to the back of the controller hall plug to make sure all the connections were... connecting, I checked continuity from the hall sensor wire pin inside the plug to the circuit board where the wires go. I checked continuity of each little branch of each hall sensor to their connecting point on the circuit board. It all checks out, it all has continuity, nothing is shorting. I don't know what to do next. And to make things worse, something got into the motor without me knowing when I put it all back together. Something that made the motor grind to a halt when I tried turning it by hand. I opened the motor yet again and found a small piece of metal that was wedged between the stator and magnets. I put the motor back together yet again and when I'm done, upon inspection I find that I damaged the insulation of one of the phase wires. :| So I'll have to open it again to fix that. I might just change all the wires to 12 gauge and make it easier for myself. The 10 gauge wires fit in the shaft but it is very very tight when it come time to put the end cap on. The wires coming out of the controller are 12 gauge anyway.
Right now I'm very frustrated with this motor and this whole experience. I wasted a whole weekend on this with no good results but I learned how to check hall sensors. But I'm still frustrated so I'm going to take a break from this motor for a few hours. Maybe a few days.
Thanks for your patience and for the help everyone.
Red/black - 4.403V
Black/blue - 3.358V no change when I turn the hub
Black/green - 3.434V no change when I turn the hub
Black/yellow - 3.423V no change when I turn the hub
I checked all the pins and made sure they were seated, I checked continuity from the back of the motor hall plug to the back of the controller hall plug to make sure all the connections were... connecting, I checked continuity from the hall sensor wire pin inside the plug to the circuit board where the wires go. I checked continuity of each little branch of each hall sensor to their connecting point on the circuit board. It all checks out, it all has continuity, nothing is shorting. I don't know what to do next. And to make things worse, something got into the motor without me knowing when I put it all back together. Something that made the motor grind to a halt when I tried turning it by hand. I opened the motor yet again and found a small piece of metal that was wedged between the stator and magnets. I put the motor back together yet again and when I'm done, upon inspection I find that I damaged the insulation of one of the phase wires. :| So I'll have to open it again to fix that. I might just change all the wires to 12 gauge and make it easier for myself. The 10 gauge wires fit in the shaft but it is very very tight when it come time to put the end cap on. The wires coming out of the controller are 12 gauge anyway.
Right now I'm very frustrated with this motor and this whole experience. I wasted a whole weekend on this with no good results but I learned how to check hall sensors. But I'm still frustrated so I'm going to take a break from this motor for a few hours. Maybe a few days.
Thanks for your patience and for the help everyone.
")