CroBorg Super Commuter

Headset installation is complete. Turned a tool on the lathe from 1" 6061 aluminum bar to center a piece of 6mm allthread from below in the steerer tube and pull the headset star-nut into the steerer tube. Reassembled the headset and stem and adjusted them properly.

Off to the hardware store to get some more parts to make another tool...
 
OK. Back from the hardware store, and made the tool and used it. Made a dropout spreader from 3/8 allthread. Spread the dropouts from 130mm to 135mm. In hindsight, should have put a 135mm spacer in there when I was pressing the swingarm bearings, perhaps.

I was away camping this weekend, or I would have made more progress. Just got back this afternoon.
 
Hi Alan, Is the freewheel made by White Industries freewheel? and I have a question to ask, Do they have 14T freewheel?

I need get a single freewheel for my cromotor, I am thinking going use 10g spokes with the alumnium dirtbike rim and I looked your cromotor seems uses 12g spokes?

Lastly, Are you going ilia's grand open shop tonight? and I will be there.

Alan B said:
Freewheel Info
DSC_9311.JPG
 
The White Industries freewheel doesn't fit, so I bought a cheap Dicta for now and it fits perfectly. The Cromotor threads are so long they need to go all the way through the freewheel, and most freewheel designs (including the White) don't allow that.

I believe my Cromotor spokes are 12 gauge as that is what was required for the moped rim. Conical washers were fabricated for the motor holes to fit the spoke heads. I should take some good closeup photos of those. Stevil did a great job on the wheels. :)

I won't be at ilia's new store tonite as I have a previously scheduled appointment elsewhere to get my Schlumpf drive fitted. :)

I was at ilias' new store already. :)

We are getting really close to having this CroBorg come alive!! :)
 
Well, I know everyone is waiting on the edge of their seats, or they are totally bored with this thread...

Another fail. No Schlumpf tonite. :cry:

The 4mm cone washer is not wide enough.

So we need to find the 6mm special aluminum Schlumpf cone washer, or make one. I may be able to make one. Looks like a good job for the lathe.

It also looks to me like the swingarms are not symmetrical from side to side (from the rear the rear wheel appears to be pointing slightly left), so we may need to do some frame bending on them. It is off more than the 5mm I adjusted them, so this was already off before I made the adjustment. Of course when I made the adjustment it seemed to get worse. However this is not enough of a problem to slow things down now, it will be a chore for later to straighten things out...
 
Alan B said:
Another fail. No Schlumpf tonite. :cry:

The 4mm cone washer is not wide enough.

I know exactly how you feel.

Please do post if you find a source for the 6mm, I could use a little more space in my chain line.
 
To make a 6mm Schlumpf cone washer:

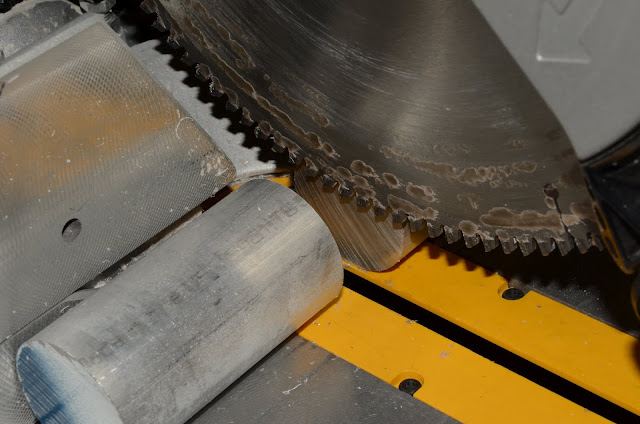
Start by slicing off some 2" 6061 Aluminum barstock using a special non-ferrous metal cutting blade on a 12" chop saw:

DSC_9561.JPG


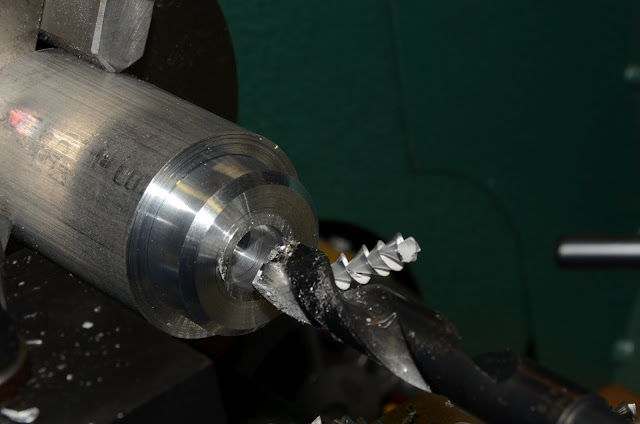
Chuck it in the lathe, turn the OD, face it, cut the 45 chamfer, then remove material from the ID, starting by drilling, then follow by boring out the extra material:

DSC_9566.JPG


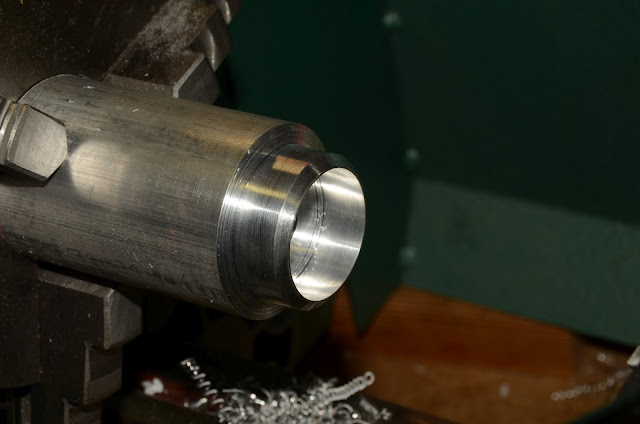
Keep boring until the desired ID is reached:

DSC_9567.JPG


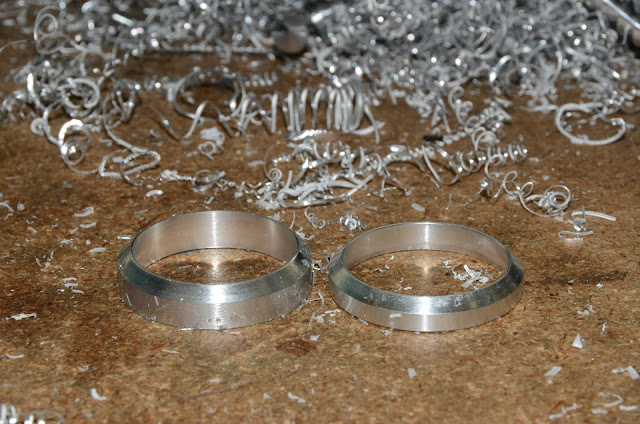
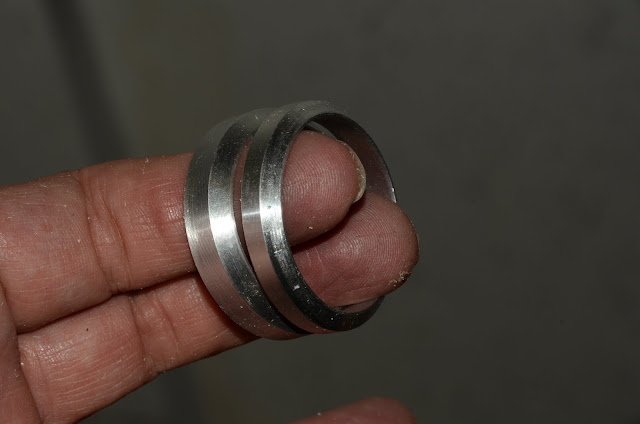
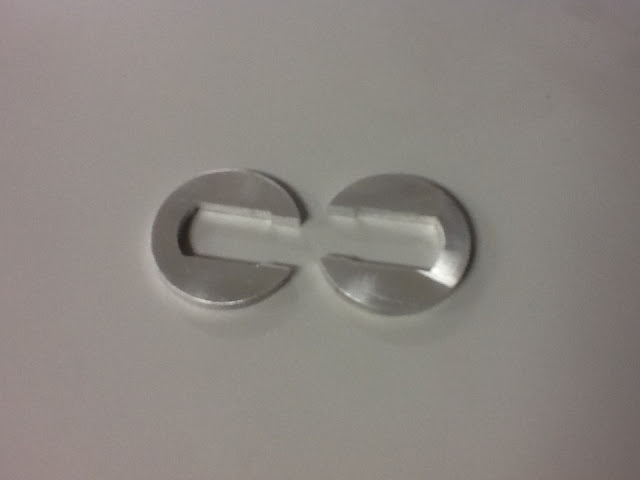
Part it off, cut the reverse inside taper (not shown) and clean it up, (note the real Schlumpf part is on the right):

DSC_9570.JPG


Stock 4mm spacer on the right, homemade 6mm spacer on the left:

DSC_9571.JPG


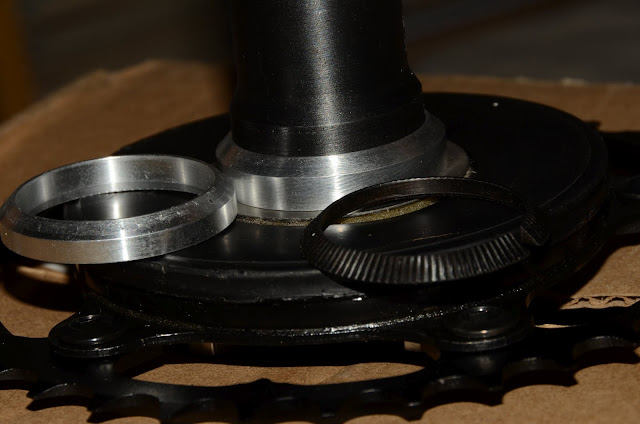
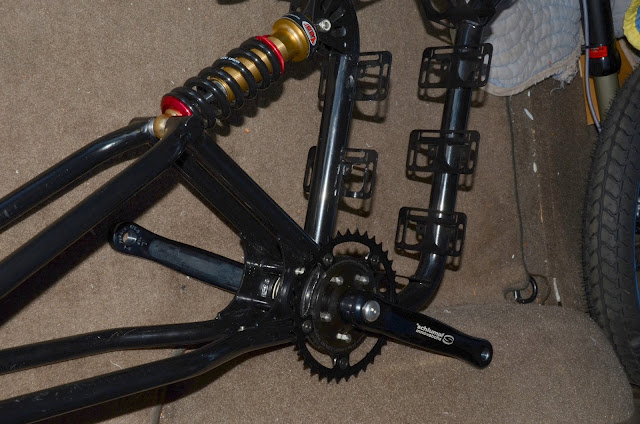
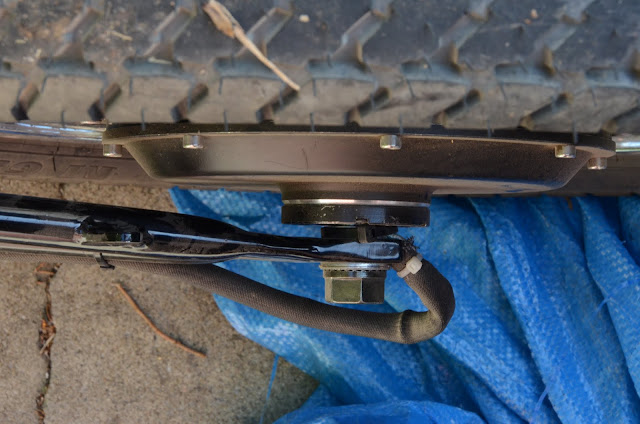
Slide it on the Schlumpf drive (4mm aluminum Schlumpf on the left, 0mm steel Schlumpf on the right):

DSC_9574.JPG


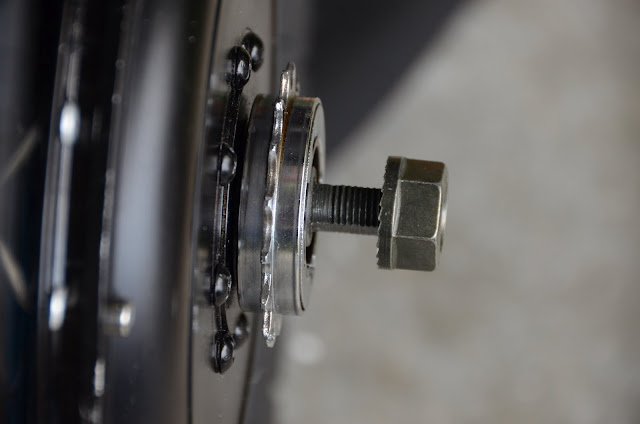
Hopefully this will work where the 0mm and 4mm washers failed.

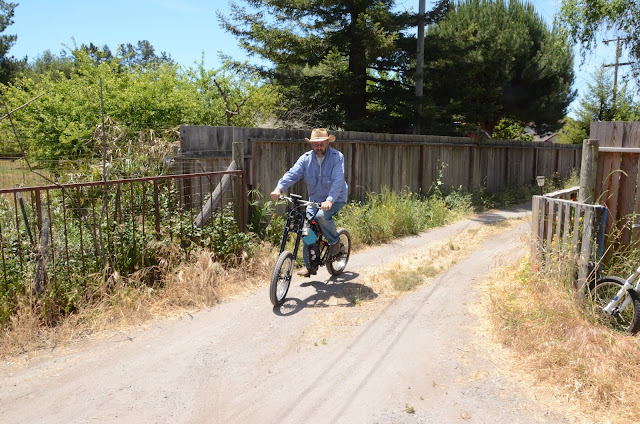
I had a long day today, getting this made feels good. Hopefully it will do the trick!

Note that they recommend aluminum spacers with steel frame bikes and steel spacers with aluminum frame bikes.
 
Gotcha, Which is the english or metric threaded for cromotor's freewheel thread and I need order one.

Alan B said:
The White Industries freewheel doesn't fit, so I bought a cheap Dicta for now and it fits perfectly.
 
OK H. That would be excellent! Otherwise I'll have to hack something together!!

Here's the installed ATS Schlumpf (big thanks to Stefan at CycleMonkey.com):

DSC_9576.JPG


Here is the tool I hacked together for the star nut install:

DSC_9582.JPG


Here is a closer view of Stevil's special washers on the 12 gauge spokes in the Cromotor, they seem to fit really well:

DSC_9587.JPG


That's all for now. More progress this weekend, hopefully! :)

Thanks to everyone helping out here!!!
 
Notes regarding the ATS Schlumpf on the Greyborg frame:

The 6mm aluminum spacer was JUST adequate. It may require 6.5mm. Several things seem to be just about touching - the swingarm sticks out beyond the bottom bracket in the ring that surrounds the bearing, and the swingarm tubes, and the screw head for the swingarm bolt. The back of the Schlumpf is a plastic cover keeping lube in and dirt out, and it may be occasionally touching, but there is no pedaling resistance so it is a soft touch.

This 6mm aluminum spacer was not included, but is available from Schlumpf dealers. It can be fabricated if you have a lathe, but it is a $7 part that takes an hour or two to make the way I did it. I chose to make it because it was not clear how long it would take to order one.

Note that for steel frames an aluminum spacer is recommended. The drive comes with a 0mm steel cone ring suitable for an alloy frame that needs no extra clearance.

We also had some additional problems from the shipping damaged ear on the drive in mounting the chainring and getting it to run true. Chainring spacers were installed and the parts tweaked to get it to be fairly true. When the hubmotor is mounted it will become more clear where the chainline is, and the chainring may have to be spaced further out. We did what we could without the motor, hopefully it will be adequate at least to start with.
 
Ordered more batteries. 8)

I may use the three 5S 8AH Zippy's that I ordered by mistake some time back. They will make a 15S 8aH pack with trivial effort. Could even start with 10S and then switch to 15S easily.

This seems to be the week of the Cromotor, lots of folks are getting ready to fire theirs up! Going to be fun!!
 
Ahh, excited to see all the bits finally coming together for your CroBorg build, Alan!

What is the model # of that shock? Not 100% sure (my Chinenglish is rusty), but it may be mounted upside down :roll:
Referencing the Yasusu site..
http://www.yasusu.com/pro_bic_intro.htm
..it appears that increasing the spring preload requires the ring to be turned counter-clockwise:
2.png


Turning the ring CC as it is currently mounted would decrease the preload, right?

We will find out soon enough :p
 
acuteaero said:
Bam!

Now, to see if they fit right, and how well the design works-

IMG_0194.JPG
Nice!
Let me know how those work, I'll be installing a cromotor on a greyborg soon, I may need some fabricated since I don't work at a metal shop anymore :-(

Cheers!

Sam
 
How soon Sam?

Progress Update

I'll be getting washers tomorrow so today I focused on details electrical. Installed a lot of connectors, hooked up 10S Zippy batteries, and clamped the motor in a Black and Decker Workmate. No Joy. Went to 15S of Zippy 8AH packs and... it lives! The controller LVC probably kicked in.

Also, don't use the Workmate to clamp the motor for testing. It might work with a light bicycle wheel, but this heavy wheel was too much and the axle spun 90 degrees. I knew it was sketchy and even though I was trying to be careful and gentle it still spun 90 degrees. No harm done, but be careful.

The wiring used for phase and hall sensors was color to color on this Lyen 24 FET controller. Nice. :)
 
DSC_9608.JPG


The Cromotor, powered by 15S Lipo, with default values in the controller puts out a lot of torque. At one point in the first part of the test ride today the front brakes stopped working. They felt normal, but there was zero effect. Turned out the Cromotor was slightly engaged and just about cancelled the dual disc brakes.

This is one torquey motor. We ran around awhile in the dirt at low speed, even a little sand, and both motor and controller were stone cold.
 
Took the CroBorg (is that a word?) out for a test drive after work today. Sweet! Rode up the 10% grade near the house. It will glide up that hill at any speed you like, accelerate up, whatever. Need to get the CA working to see what's really going on there.

Now a few words about a rear disc brake. I really miss not having a rear brake. Maybe it is just me, but I like having that control. Years of bike and motorcycle riding makes me reach for it, and going downhill in the dirt or in other questionable traction situations I would like to have some options and not use the front for all braking.

So how to fit one on this bike.

DSC_9614.JPG


So here is a pretty good view down onto the brake mounting boss. The disc should go on the outer surface there. It would collide with the swingarm immediately, and adding a few washers would not fix that. Now if we remove the disc adapter from the hub we could get closer to the hubmotor. You can see the separation line there. It would put the disc less than 1/4" from the hub. Now that would obscure the disc out to about 7 inches. The cover mounting screws are at about 8.25 inches diameter. This would require a special disc with different hole pattern to match the motor's pattern which is not the standard ISO disc spacing, and it would require a new caliper mounting setup of some type.

I don't think an 8" disc would provide enough clearance for a caliper. That would not quite reach the cover screws. So a larger than 8" disc is required.

So I'm looking for suggestions and thoughts.

Thanks for your input!
 
I've seen this somewhere on ES before, can't claim it's my original thought:
Fab a disc brake rotor that mounts to those side cover bolts. Yes you will likely need some spacers or washers to bring that rotor closer to the swing arm. And custom mounts on the swing arm at the right radius and location with respect to the rotor.

Plusses: Full design control over what goes where.
Minuses: Fabbing rotor, and disc brake mounts.

Final plus - the rotor will look totally badass. If it works as a break, that's icing on the cake!
 
Back
Top