agniusm
1 MW
As some of you know I have been working on solder-less, weld-less design for some time, well, nearly three years with on’s and off’s, ups and downs. Recently I have finished my fourth prototype and done tests to ensure proper battery operation. The tests came out very good but I was starting to get frustrated on managing production of all the bits, logistics, purchasing bits and bobs and steps necessary to get it delivered. This all work for a single line of battery, 14S6P which would satisfy a small part of people further cut down by limited power output of 2000W.
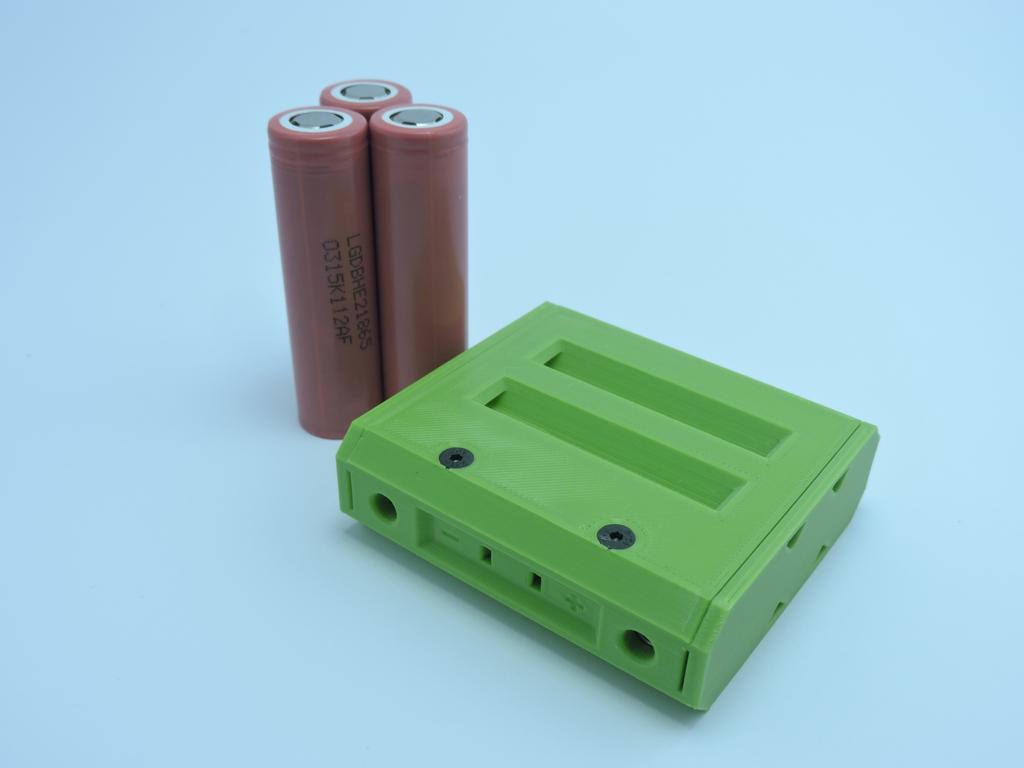
Funny enough, after so much time spent on this design I had some eureka moment and went back to the drawing board. Now I can present my own, AMtech 18650 cell module with SNATHtech inside. I had to give it a name, N ew E ighteen S ixfifty E ncosure, NESE") .
.
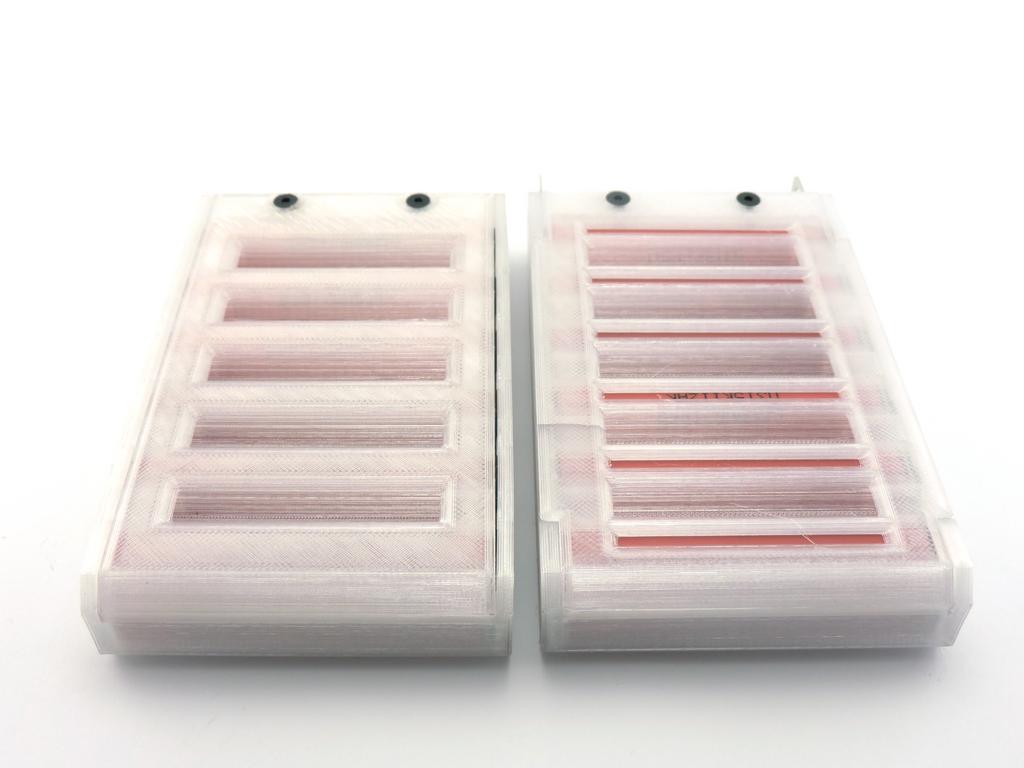
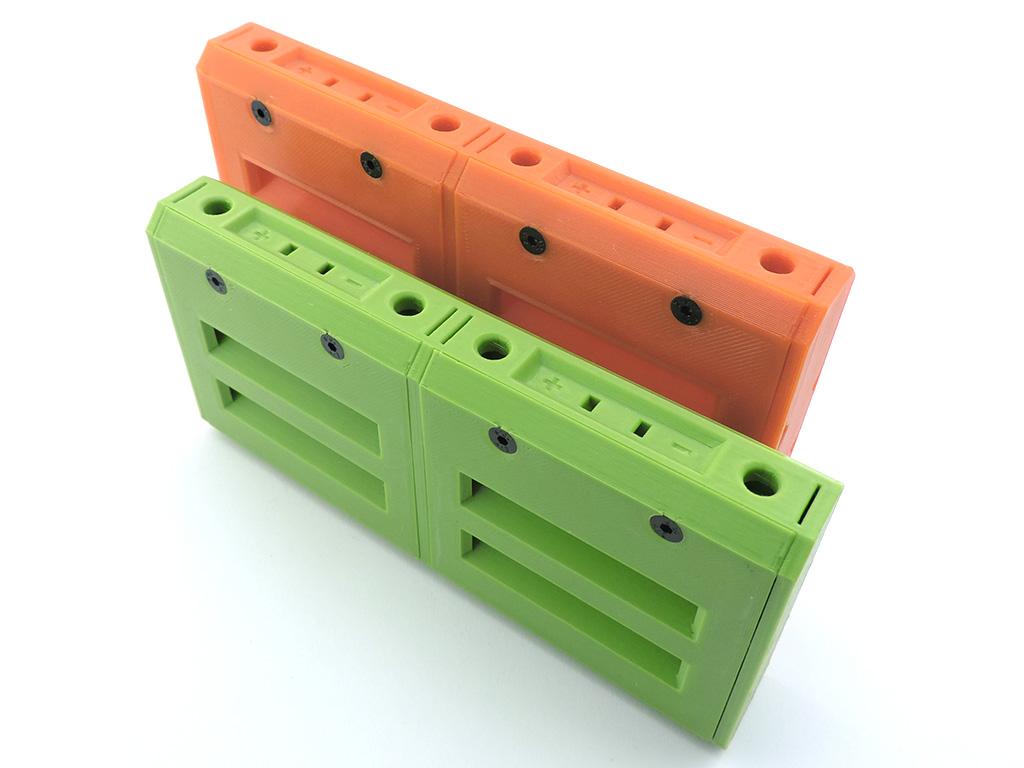
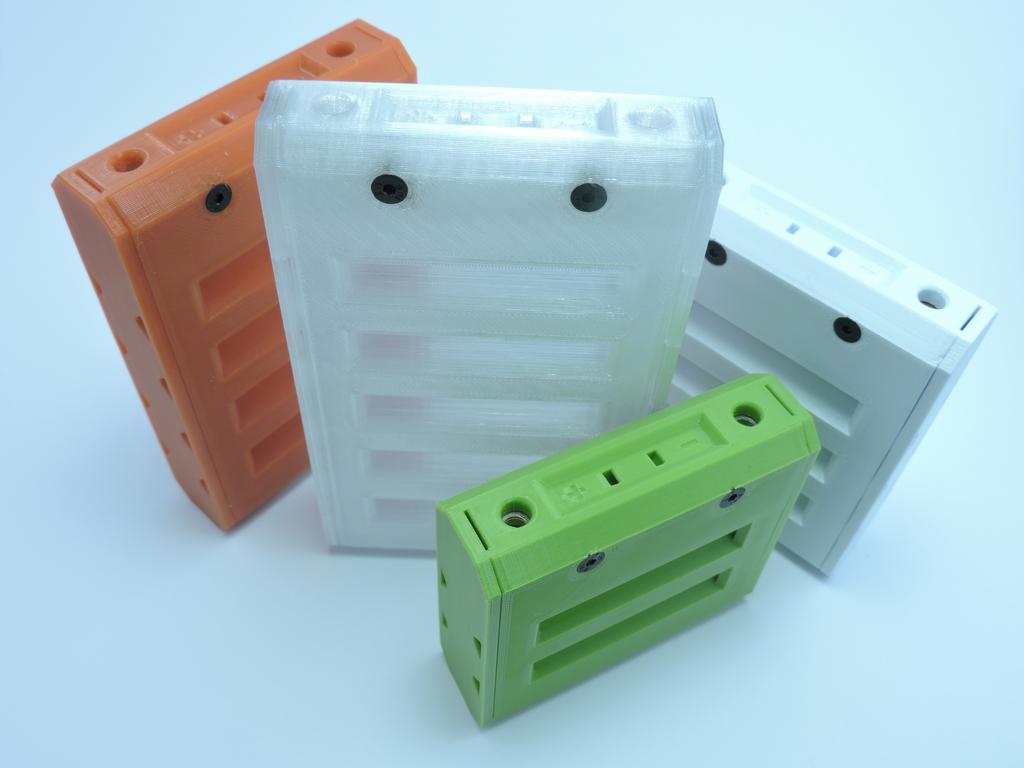
Here we have a lineup of four modules for 3 to 6 cells in parallel. So, what’s good about that?
you don’t have to solder or weld cells anymore, that’s the key;
you can repair it on the fly;
your amp draw is theoretically limited by cell discharge power capacity.
Other points include: assembly using minimal tools (scredrivers), reusable hardware; replaceable enclosure.
I have thought of an idea to make it even better. The enclosure was designed so it was easily printable with today’s FDM technology, furthermore, because of this method of manufacturing, it was made light, yet stiff and it’s impossible to do with traditional processes, but that’s just a small part of the equation. Here it goes: i am selling all the copper/steel hardware and intellectual property. What this means, is I will be supplying all the bits that go inside the box and file that you will be printing your enclosures from on your 3D printer. If you don’t have one, perhaps a relative or friend will print them for you or in school, or in library, or through 3Dhubs and the likes. This brings several benefits.
Manufacturing cost goes way down, including logistics involved;
Shipping costs go down significally. I am talking 60% cut;
If it breaks, you print another one, no shipping cost again and it’s local;
You choose your color;
You choose the type of plastic to use;
We don’t do wasteful manufacturing where a lot of material is sculpted down, we use precisely as much material as we need by using additive decentralized manufacturing. This one fits nicely with ES spirit
Also, you pay someone who’s in your country so part of the payment stays within your country and you support local guys as well. It’s a small game but never the less.
I will not bore you with tech stuff that I did on testing this method, you can find threads by me and Mr. Snath and find all relevant information there.
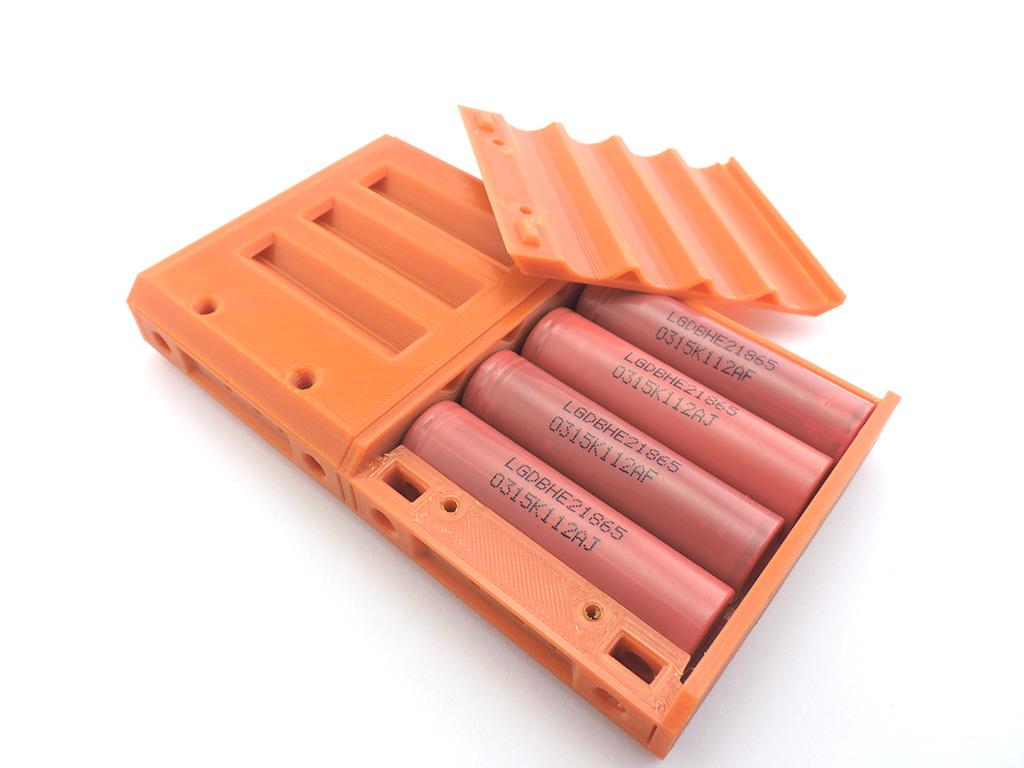
So here’s what you can do. You can build yourself a battery out of 18650 cells without buying different bits from China like nickel strip (and then finding out its magnetic ), Plastic holders, spot welders, solder, iron, all that mess. You can build whatever SERIES combination you need and choose P combination that suits most out of four available, further more you can increase P by doubling or tripling or etc. You can make it waterproof by using plastics like ABS or polycarbonate and welding the lid on with common materials like acetone(to weld ABS), silicone(to seal the terminals), methylene chloride(to weld polycarbonate). Take precautions with later stuff!!!
What’s in the box? Per one module, you get 2 x nickel plated copper tabs, one bare, one with SNATHtech. 2 x M5 nuts, 2 x M5 screw, 2 x M3 screws and chosen P printable design file. I could even arrange printable parts to be printed in your area if you are too lazy.
I hope you will like this new approach in battery building, different take on manufacturing and encourage sustainable fabrication. I trust community here will not judge me or think that they are purchasing couple bolts and nuts, but rather a concept that I have spent countless hours and large funds to get where it is now and improve it in time that will come.
I am setting up a website to place orders without going through forums at http://www.18650.lt but at the moment, it will be available through paypal at agniusmk@gmail.com.
I would like to offer first five sets (minus printed parts, shipping and up to 14S) for people who can do unbiased video review. Forward payment and after video review is up and posted here, get full refund.
Any questions, please do not hesitate to ask!
So that’s that of my shoulders, if you have any questions please ask, would like the discussion started with good’s and bad’s. I don’t have final pricing yet.
Cheers, Agnius
P.S. I would like to credit some people, those who helped, who was inspiration and who answered random questions, perhaps stupid in times:
Snath – for the design, multiple questions answered;
Liveforphisics – for inspiration;
Doctorbass – for being a customer, helping with some answers and being a nice guy;
Circuit – for critics and being a fellow country man;
Spinningmagnets – for encouragement in not the obvious way;
Various members for involvement.
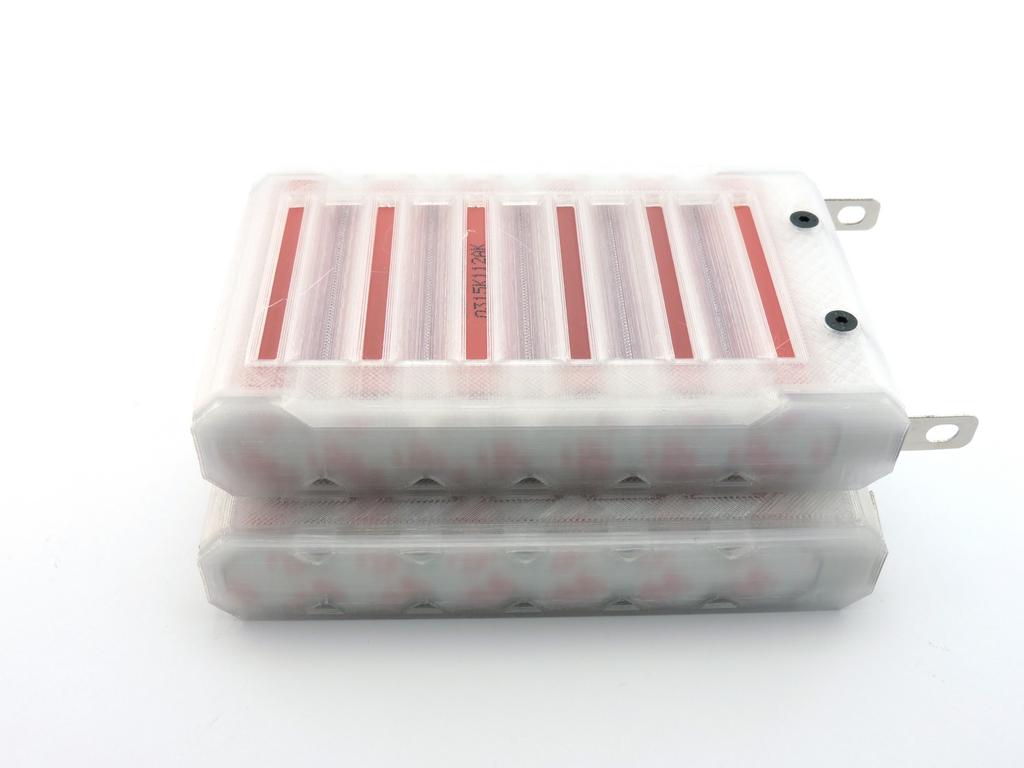
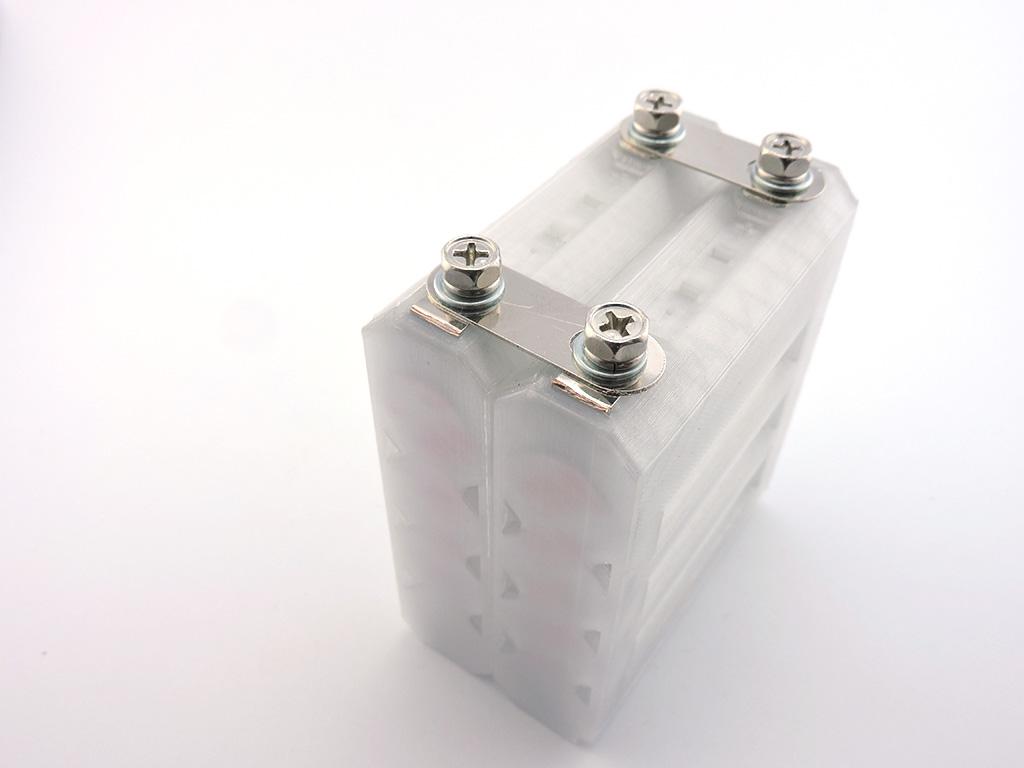
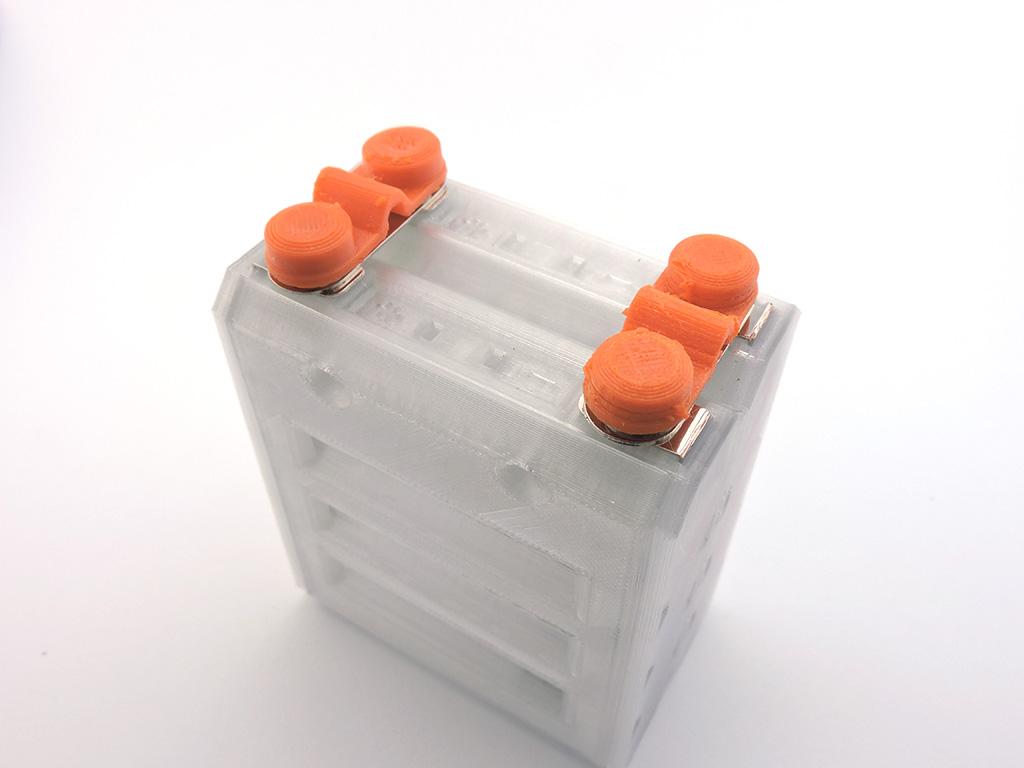
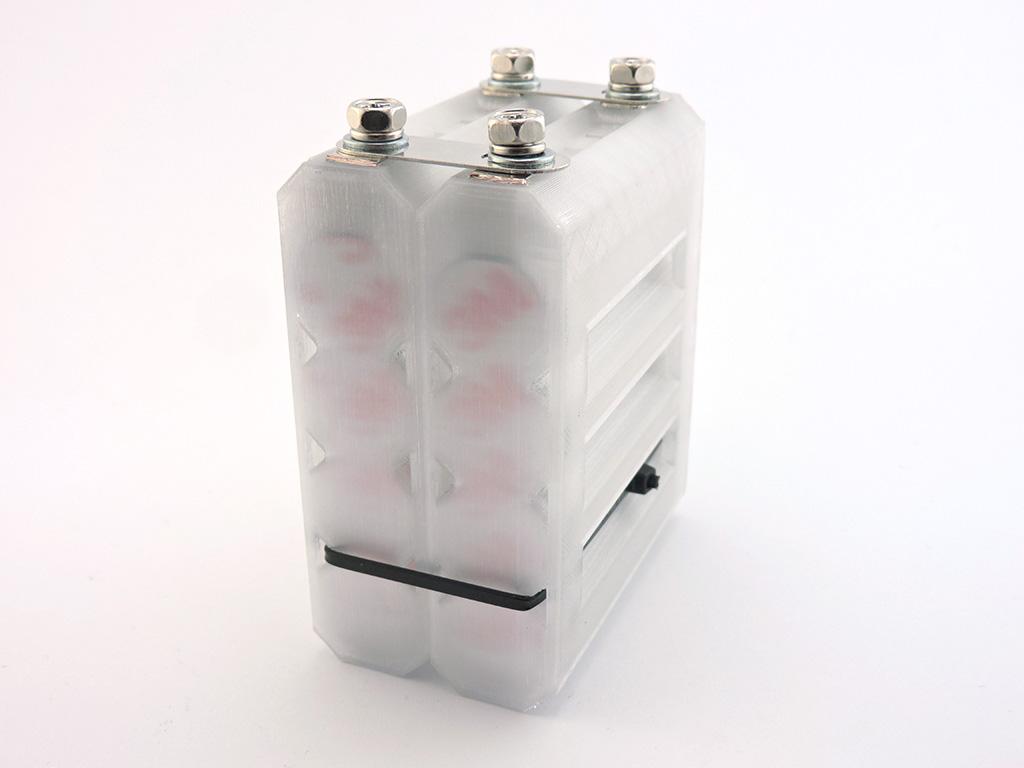
Some photos of the soon available modules:
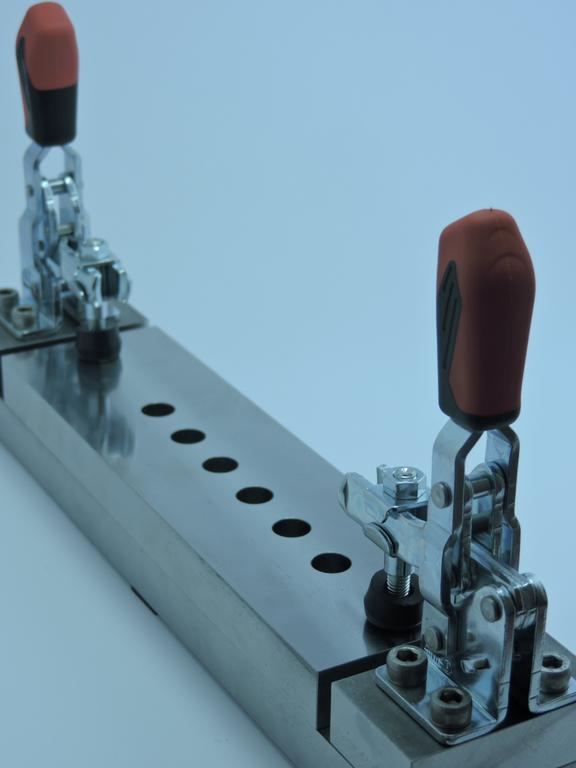
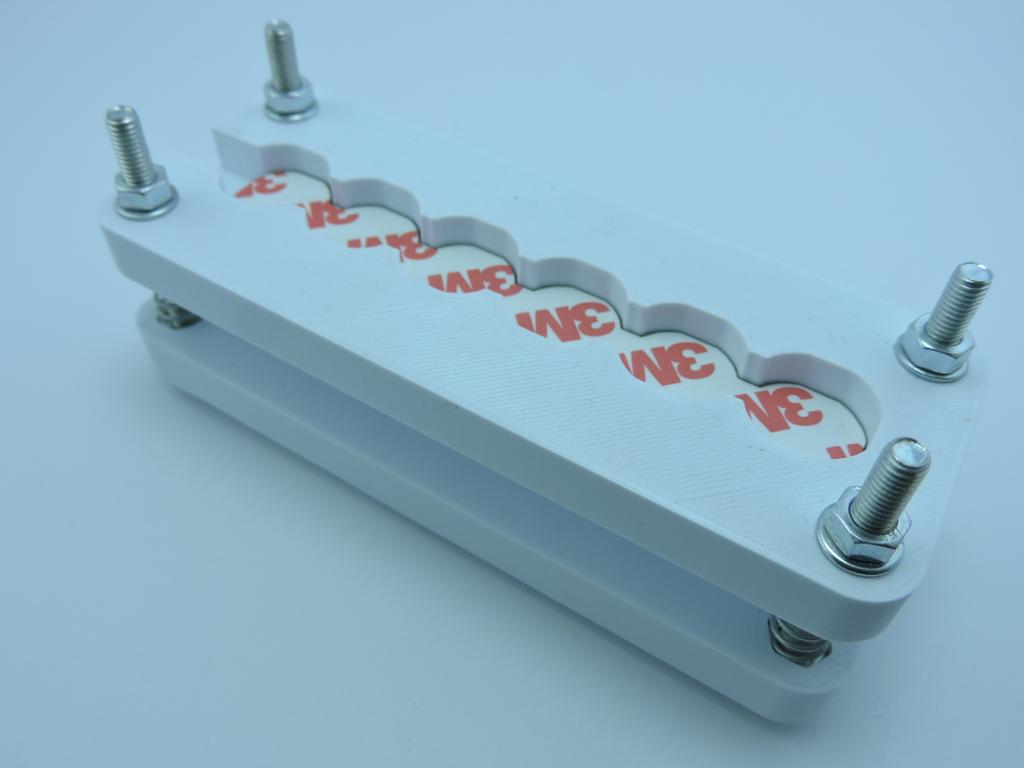
Tooling:
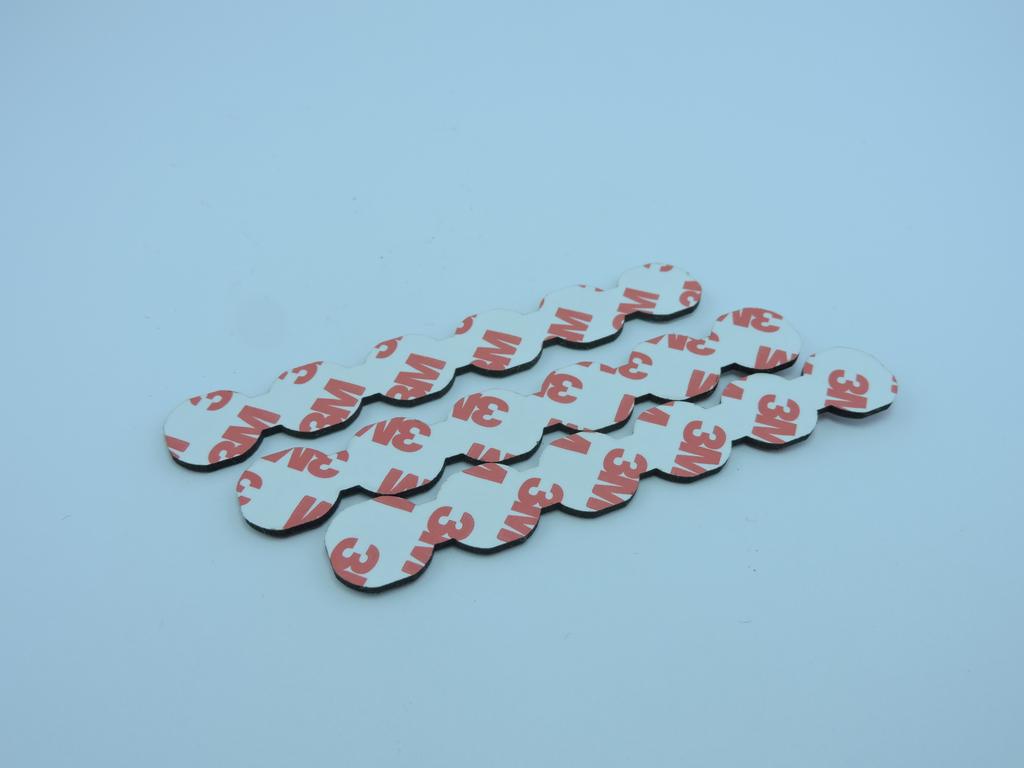
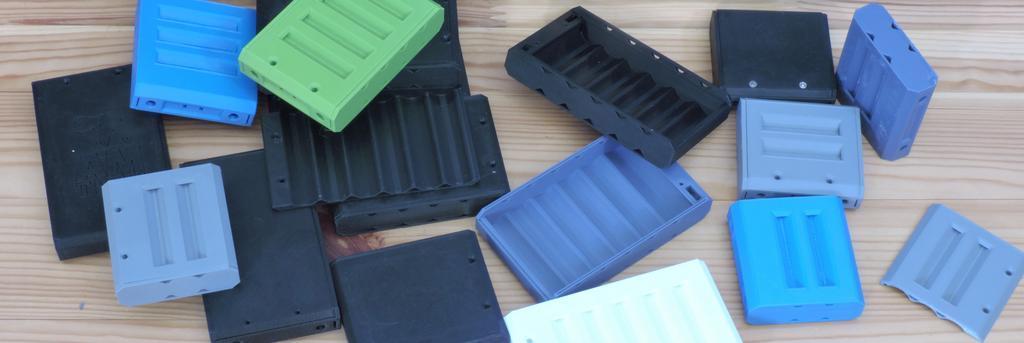
Some of the prototyping leftovers:
Pricing. Pricing is on the website. This is how it works out:
Buying separately is full price, 6.88eur for the module hardware and 2.18eur for series bus bar. So buying components as spares to form 10S battery would cost (10×6.88)+(9×2.18)=88.42eur
Buying 10S, 12S, 13S is 10% off
Buying 14S, 16S is 15% off
Buying 20S, 22S, 24S is 20% off
If say you would want to save on 2 10S packs, you could buy 20S kit etc.
Funny enough, after so much time spent on this design I had some eureka moment and went back to the drawing board. Now I can present my own, AMtech 18650 cell module with SNATHtech inside. I had to give it a name, N ew E ighteen S ixfifty E ncosure, NESE
.Here we have a lineup of four modules for 3 to 6 cells in parallel. So, what’s good about that?
you don’t have to solder or weld cells anymore, that’s the key;
you can repair it on the fly;
your amp draw is theoretically limited by cell discharge power capacity.
Other points include: assembly using minimal tools (scredrivers), reusable hardware; replaceable enclosure.
I have thought of an idea to make it even better. The enclosure was designed so it was easily printable with today’s FDM technology, furthermore, because of this method of manufacturing, it was made light, yet stiff and it’s impossible to do with traditional processes, but that’s just a small part of the equation. Here it goes: i am selling all the copper/steel hardware and intellectual property. What this means, is I will be supplying all the bits that go inside the box and file that you will be printing your enclosures from on your 3D printer. If you don’t have one, perhaps a relative or friend will print them for you or in school, or in library, or through 3Dhubs and the likes. This brings several benefits.
Manufacturing cost goes way down, including logistics involved;
Shipping costs go down significally. I am talking 60% cut;
If it breaks, you print another one, no shipping cost again and it’s local;
You choose your color;
You choose the type of plastic to use;
We don’t do wasteful manufacturing where a lot of material is sculpted down, we use precisely as much material as we need by using additive decentralized manufacturing. This one fits nicely with ES spirit
Also, you pay someone who’s in your country so part of the payment stays within your country and you support local guys as well. It’s a small game but never the less.
I will not bore you with tech stuff that I did on testing this method, you can find threads by me and Mr. Snath and find all relevant information there.
So here’s what you can do. You can build yourself a battery out of 18650 cells without buying different bits from China like nickel strip (and then finding out its magnetic
), Plastic holders, spot welders, solder, iron, all that mess. You can build whatever SERIES combination you need and choose P combination that suits most out of four available, further more you can increase P by doubling or tripling or etc. You can make it waterproof by using plastics like ABS or polycarbonate and welding the lid on with common materials like acetone(to weld ABS), silicone(to seal the terminals), methylene chloride(to weld polycarbonate). Take precautions with later stuff!!!What’s in the box? Per one module, you get 2 x nickel plated copper tabs, one bare, one with SNATHtech. 2 x M5 nuts, 2 x M5 screw, 2 x M3 screws and chosen P printable design file. I could even arrange printable parts to be printed in your area if you are too lazy
.I hope you will like this new approach in battery building, different take on manufacturing and encourage sustainable fabrication. I trust community here will not judge me or think that they are purchasing couple bolts and nuts, but rather a concept that I have spent countless hours and large funds to get where it is now and improve it in time that will come.
I am setting up a website to place orders without going through forums at http://www.18650.lt but at the moment, it will be available through paypal at agniusmk@gmail.com.
I would like to offer first five sets (minus printed parts, shipping and up to 14S) for people who can do unbiased video review. Forward payment and after video review is up and posted here, get full refund.
Any questions, please do not hesitate to ask!
So that’s that of my shoulders, if you have any questions please ask, would like the discussion started with good’s and bad’s. I don’t have final pricing yet.
Cheers, Agnius
P.S. I would like to credit some people, those who helped, who was inspiration and who answered random questions, perhaps stupid in times:
Snath – for the design, multiple questions answered;
Liveforphisics – for inspiration;
Doctorbass – for being a customer, helping with some answers and being a nice guy;
Circuit – for critics and being a fellow country man;
Spinningmagnets – for encouragement in not the obvious way;
Various members for involvement.
Some photos of the soon available modules:
Tooling:
Some of the prototyping leftovers:
Pricing. Pricing is on the website. This is how it works out:
Buying separately is full price, 6.88eur for the module hardware and 2.18eur for series bus bar. So buying components as spares to form 10S battery would cost (10×6.88)+(9×2.18)=88.42eur
Buying 10S, 12S, 13S is 10% off
Buying 14S, 16S is 15% off
Buying 20S, 22S, 24S is 20% off
If say you would want to save on 2 10S packs, you could buy 20S kit etc.