Sorry. It’s been a while. Serial family emergencies have limited my free time. Here is what I ended up doing.
First, the crank puller tool is kinda’ a must have tool. $2-$3 from China on eBay. It might be worth ordering one to have around if you plan on doing your own bicycle maintenance. I wasn’t worried about the quality since I figure I will only use it a few times and what I got was good enough.


These are the tools I ended up using. I also used an 8” adjustable wrench in an unorthodox manner (see below). The crank puller tool was used to pop the crank off of the spindle (axle). The 18” (400mm) adjustable wrench was used to remove the adjustable cup (on the non-chain side) from the bottom bracket. I used the tongue-and-groove pliers (water pump pliers, adjustable pliers, groove-joint pliers, arc-joint pliers, Multi-Grips, tap or pipe spanners, gland pliers and Channellocks) for the lockring.
The first thing I did was put a pad under the bike while I was opening up the BB. That way if loose ball bearings fell out while I was taking it apart, they would be easier to find.

Unscrewing the cosmetic cover from the end of the crank exposed a (somewhat standard) nut on the end of the spindle. That nut was removed using a standard socket (afterwards I noticed there was a socket on the end of the crank puller tool should have worked). After the nut is removed, the crank puller is used to press the crank off the spindle.

The lockring came off easily using the tongue-and-groove pliers. The next part was the most difficult. The cup did not want to move. I could not find anything else that would fit so I borrowed a very large adjustable wrench. I was having a hard time keeping the wrench jaws in contact while applying enough force to get it to unscrew. I finally came up with the idea of bolting the wrench on to the cup so that I could then devote all of my efforts to breaking it loose, not just keeping the wrench in contact. I used the hole in the end of an 8” wrench as an oversized washer and bolted it on the end of the spindle using the crank nut. This worked really well.

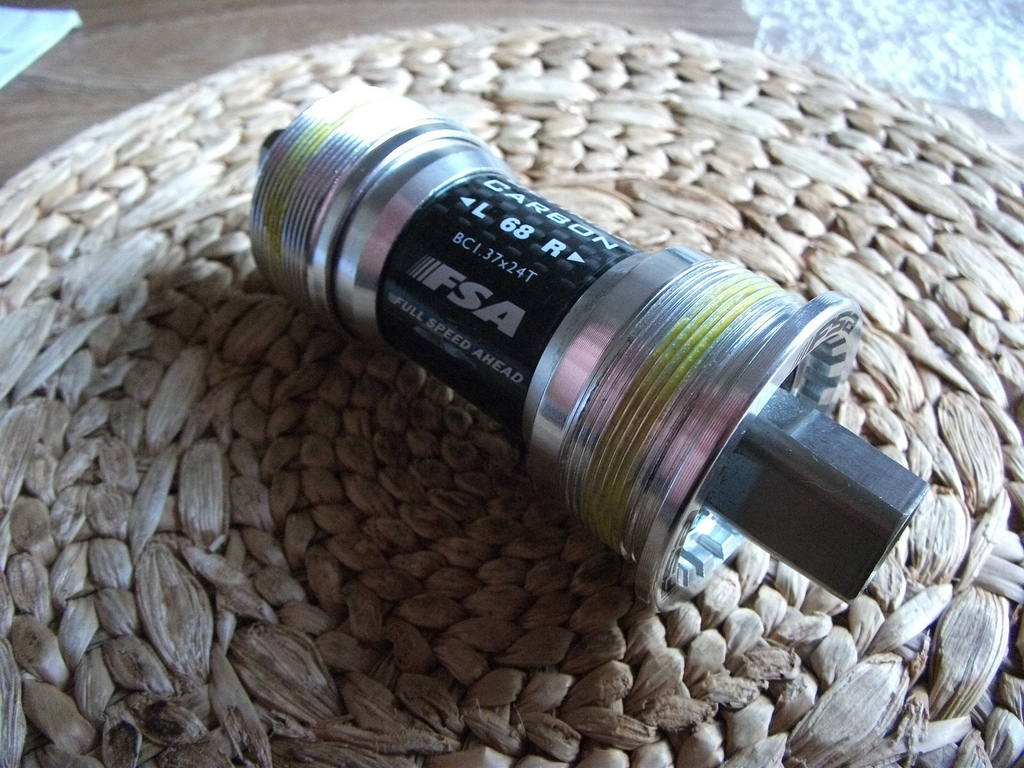
Once I had it open, it was obvious that this was a pretty standard 68mm BB that had been neglected for 25-30 years. Dry, rusting and falling apart.

Sorry…no more pictures, hands too greasy.
The next problem presented itself. It was Sunday night at 4:55pm. All the LBSs close at 5:00pm on Sundays and this is my daily commuter so I needed it for Monday morning. I was able to find a big chain sporting goods store that does some bike repairs but they were very limited in parts they stock. They were able to find 2 replacement bearings (9 ball cages) in a forgotten drawer at $0.99 each.
Put in the new bearings, greased everything up, put it back together and adjusted it.
I was hoping to improve upon the original equipment but timing got in the way of that. Oh well. At least now when I press hard on the pedals, everything feels solid and there is no more crunching and squeaking.
Thanks for the help and education. There was plenty of info on the internet on doing this maintenance but they all seemed to assume you knew what BB you were going to work on and that you had the proper tools.