Ch00paKabrA
10 kW
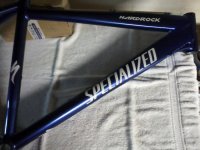
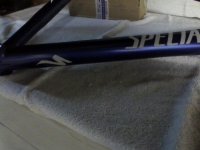
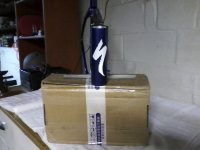
Update time. I removed all of the parts from the Specialized and installed them on another cheap-ass frame I had lying around. I did receive the graphics for the Hardrock from a vendor in the UK and he sent me an additional set for free - Nice, but I don't really have a bike to put them on and I think they are very "year-specific".
View attachment 9
They are made from the highly reflective tape so hopefully I will be seen when the headlights hit me before the rest of the car hits me.
The weather called for thunderstorms today and it looked like it was going to pour. But I went out to work anyway and it cleared up nicely by Lunch time.


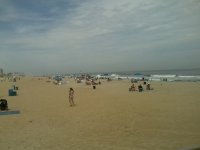
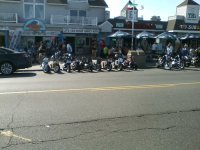
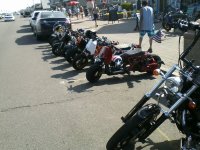
a Little later I ventured into Belmar, NJ which is the party town in this area and saw a bunch of motorcycles all parked in a row but right next to them were a bunch of scooters all parked the same way as the M/Cs. The scooters were cooler:
On to bike related stuff. I upgraded the brakes on the hardrock to hydraulic 180mm discs. There is an issue with the rear brake vibrating upon hard braking. I thought it might be the +40 mounting bracket that initially barely allowed the pads to contact the rotor so I had to file it down about 3mm. Since it is now on the crappy spare frame, it is not making the same vibration noise. The HardRock may be kind of fracked, but I am committed to it so we'll have to see how it turns out.
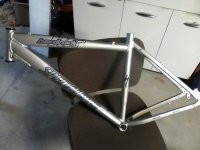
I got it stripped down to bare metal. I dropped it off at the blasters but after a few days, I inquired and he said he was so busy with his larger customers, that it would be at least a month before he could get to it. Good for him, bad for me. He is the only shop in the are that does beadblasting.
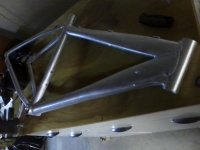
I settled for a spray can of airplane stripper from the auto parts store and after a few chemical burns on my hands and legs, the frame was down to bare metal:
View attachment 4
View attachment 2
I was going to smooth out the welds by filling the low spots with jb weld and then body filler but I am not sure I am that motivated. This is supposed to be practice for the DH Comp build so maybe I will work up the gumption to do it.
One thing that I am quite adamant about is that I do not want a single zip tie on either of these bikes. Fortunately after much searching I managed to locate a place that sells those c-clip cable guides and a member of this forum found another seller that sold them for less. Long story long, c-clip cable guide housings purchased, received, and installed.
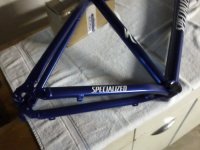
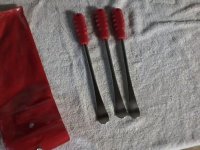
In the picture below, these are the housing guides for the rear brake and throttle wires. I cut off the guide for the cables as I won't need them any more with hydraulic brakes.
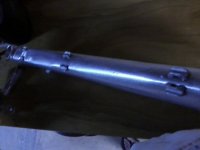
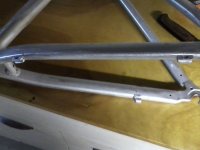
Lastly, two guides were installed under the left side of the rear triangle to route the wires from the motor to the controller.
That's about all for now. Hopefully the next pictures will show the painted frame complete with new graphics.
View attachment 9
They are made from the highly reflective tape so hopefully I will be seen when the headlights hit me before the rest of the car hits me.
The weather called for thunderstorms today and it looked like it was going to pour. But I went out to work anyway and it cleared up nicely by Lunch time.


a Little later I ventured into Belmar, NJ which is the party town in this area and saw a bunch of motorcycles all parked in a row but right next to them were a bunch of scooters all parked the same way as the M/Cs. The scooters were cooler:


On to bike related stuff. I upgraded the brakes on the hardrock to hydraulic 180mm discs. There is an issue with the rear brake vibrating upon hard braking. I thought it might be the +40 mounting bracket that initially barely allowed the pads to contact the rotor so I had to file it down about 3mm. Since it is now on the crappy spare frame, it is not making the same vibration noise. The HardRock may be kind of fracked, but I am committed to it so we'll have to see how it turns out.
I got it stripped down to bare metal. I dropped it off at the blasters but after a few days, I inquired and he said he was so busy with his larger customers, that it would be at least a month before he could get to it. Good for him, bad for me. He is the only shop in the are that does beadblasting.
I settled for a spray can of airplane stripper from the auto parts store and after a few chemical burns on my hands and legs, the frame was down to bare metal:
View attachment 4

View attachment 2
I was going to smooth out the welds by filling the low spots with jb weld and then body filler but I am not sure I am that motivated. This is supposed to be practice for the DH Comp build so maybe I will work up the gumption to do it.
One thing that I am quite adamant about is that I do not want a single zip tie on either of these bikes. Fortunately after much searching I managed to locate a place that sells those c-clip cable guides and a member of this forum found another seller that sold them for less. Long story long, c-clip cable guide housings purchased, received, and installed.
In the picture below, these are the housing guides for the rear brake and throttle wires. I cut off the guide for the cables as I won't need them any more with hydraulic brakes.

Lastly, two guides were installed under the left side of the rear triangle to route the wires from the motor to the controller.

That's about all for now. Hopefully the next pictures will show the painted frame complete with new graphics.


