tonystark20
10 W
agniusm said:How was assembling NESE compared to vruzend? Any feedback would be appreciated
NESE hands down. 100% better. The vruzend might have its place but overall not sold on its quality / durability long term. The hardware on them breaks way to easily. I managed to assembled all 40 modules (8 cells each) in less time than the 30 cell 12v battery. Having printed these modules in ABS following the recommended settings on your website I can say that they went together with no issues, (snug but in a good way) I will likely end up changing the 3s 10p battery for a 4s 8p NESE system.
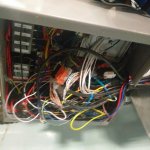
I finally go the charger going - the input (AC voltage) has a small glass fuse built into the connector, when I first tried to use the charger and it didn't work I had disconnected it and checked the fse with no signs of issues, tried the charger again still didn't work - let it sit for a bit tried again and it wouldn't turn on. well checked it this morning and the fuse was black - so definatly blew. Disassembled the charger to see if there was arcing somewhere (there wasn't) The unit came with a fast blow 15 amp fuse, I now installed a 12 amp slow blow fuse. Putting a meter on the input showed a inrush current of 15.88amps. The arc created at the plug is nuts... I will be using a solid state relay for turning it on and off, so hopefully I wont have any long term issues turn the charger on and off.
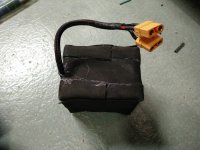
Assembled the 12v battery today, a few layer of foam(and way too much hot glue) and then covered in heat shrink. I plan to relay this battery with a 4s 8p NESE module and to find a smart bms for 4s as the cheap bms I tried using wasn't working, r at least not from what I could tell. it is currently balanced, and I intend to monitor it in the mean time
 View attachment 1
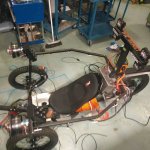
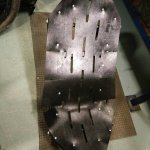
The seat has been riveted into place normally the kmx seat has a few clips at the end that holds the seat in place, but I find it sinks in too much so I put silicone and rivets all the way around. I intend to purchase some foam and use vinyl (that I already have) to make a better seat cover. The motor controller mounts to the back of the seat (welded 1x1 tubing onto the seat frame)
 View attachment 4
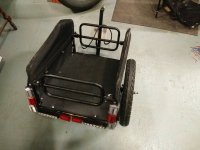
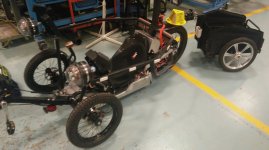
The trailer was assembled the other day and here are some photos. still have to add the connector but all the wiring is ready to go.View attachment 5
