Dani85
1 mW
- Joined
- Oct 23, 2014
- Messages
- 19
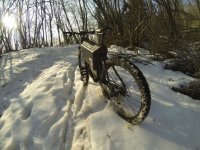
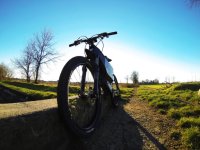
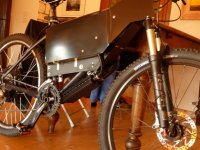
My bicycle was born from the desire to express my creativity skills, giving shape to a uinique project.
I wanted a powerful and fun to drive bike, agile in the mountains and equipped with a long-lasting battery.
It was born in 2012 but over the years has undergone a lot of changes. The most important was the changeover from the rear hub to
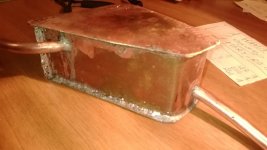
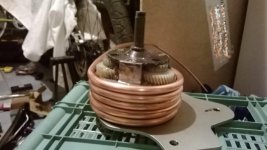
to a new middle hub with a liquid cooling system.
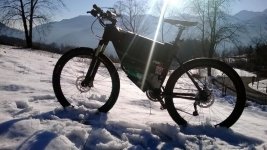
I started from the choice of the bike and the motor: a Rockrider 8.2 and a 9C super torque rear Hub (5*12).
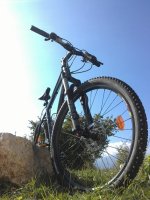
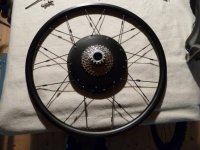
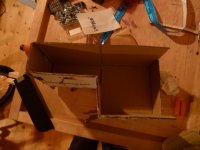
The first studies were aimed to select the cell battery and its housing.
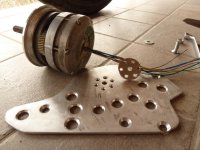
Once completed the housing I started with the torque arms.
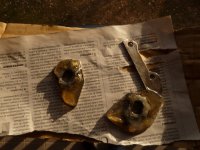
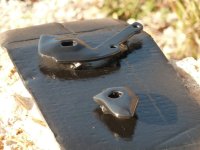
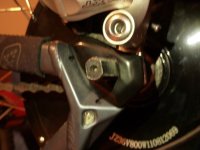
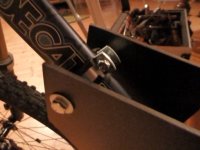
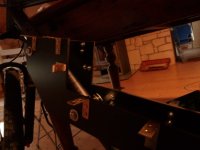
The torque arms were created by welding the original antirotation washers with the steel plates, shaped on the rear fork.Then I filled the weld joints with some epoxy resin and painted.
View attachment 23
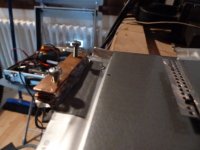
The battery pack is a 24s A123 15ah, divided into two 12s packs to facilitate the charging phase (with robbe eternity).
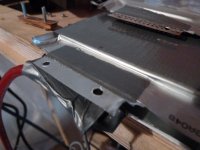
To assembly the battery cells I used a 6mm copper bar and a 1mm copper strip, all closed up with two 3mm screws.
View attachment 22
View attachment 20
View attachment 18
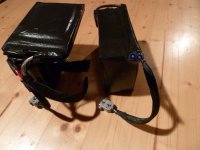
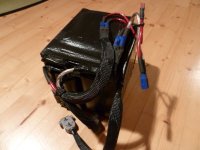
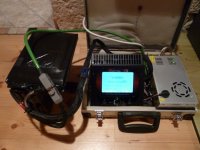
I chose not to use the Bms, but to charge the battery pack with a modeling charger.I can constantly monitor the battery usage, displayed by the Cycle Analyst, and I never go below 40% soc.
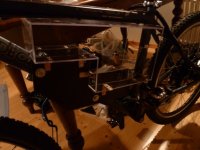
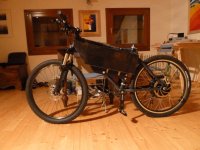
The frame shield is made of thermoformated PVC, but for the early testing I used a common plexiglass.
I create the frame support to fix the anterior light and the plastics body.
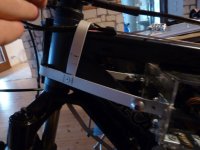
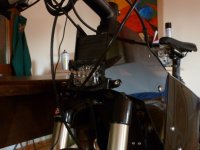
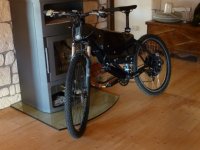
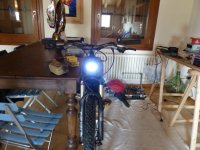
The controller is based on chip infineon. I changed the condensers and replaced the mosfets with Irfb4110.
View attachment 5
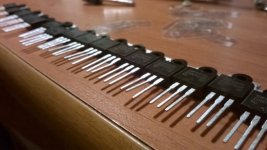
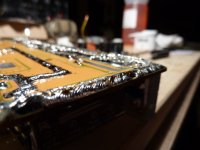
I changed the original wiring with 8mm cable for power section and 0,5mm cable for the auxiliary.
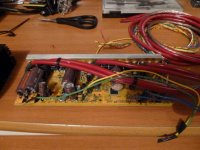
The wiring leaving the controller in a protective sheath to protect the wires from dust and water.
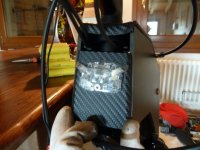
Some parts of the body are coated with 3m carboon look.
I wanted a powerful and fun to drive bike, agile in the mountains and equipped with a long-lasting battery.
It was born in 2012 but over the years has undergone a lot of changes. The most important was the changeover from the rear hub to
to a new middle hub with a liquid cooling system.

I started from the choice of the bike and the motor: a Rockrider 8.2 and a 9C super torque rear Hub (5*12).


The first studies were aimed to select the cell battery and its housing.
Once completed the housing I started with the torque arms.
The torque arms were created by welding the original antirotation washers with the steel plates, shaped on the rear fork.Then I filled the weld joints with some epoxy resin and painted.


View attachment 23
The battery pack is a 24s A123 15ah, divided into two 12s packs to facilitate the charging phase (with robbe eternity).
To assembly the battery cells I used a 6mm copper bar and a 1mm copper strip, all closed up with two 3mm screws.
View attachment 22

View attachment 20

View attachment 18


I chose not to use the Bms, but to charge the battery pack with a modeling charger.I can constantly monitor the battery usage, displayed by the Cycle Analyst, and I never go below 40% soc.


The frame shield is made of thermoformated PVC, but for the early testing I used a common plexiglass.
I create the frame support to fix the anterior light and the plastics body.


The controller is based on chip infineon. I changed the condensers and replaced the mosfets with Irfb4110.
View attachment 5


I changed the original wiring with 8mm cable for power section and 0,5mm cable for the auxiliary.

The wiring leaving the controller in a protective sheath to protect the wires from dust and water.

Some parts of the body are coated with 3m carboon look.


