
DahBicNoodoh
1 µW
- Joined
- Feb 14, 2019
- Messages
- 3
Hello everyone,
I would like to introduce the Bachi Dragon EEB! I am brand new to the idea of eBikes, and EVs in general. Started with a Boosted Mini X and the need for speed kept growing until I discovered eBikes! So here we are. I am attempting to build a high powered EEB Frame based eBike powered by the 5KW QS V3 and a 72v 34ah Pack from EM3EV. During my many months of research, I have noticed that not much documentation (Pictures and Video) is out there to help in building your own eBike, so I hope to contribute a bit to that. Just know, I am far from a profesional at this, and would love help and criticism at every step!
Just a forewarning, THIS BUILD LOG HAS A LOT OF PICTURES trying to be as detailed as I can with documenting this build!
So here we go, I have a full parts list containing everything I have purchased for this bike here -> BUILD PARTS LIST
This list is pretty comprehensive and even has info on how long orders took to arrive.
-------------------------------------------------------------------------------------------------------------------------------------------------------------------
A large amount of the parts were purchased from EM3EV. I gonna start off by saying my experience with them has been amazing so far. From start to finish they kept great contact, they assisted in choosing any additional parts I may need and provided info on installing some components. Not to mention their shipping on non battery parts was LIGHTNING FAST. :thumb:
EM3EV Parts were paid for on 3/15/2019, Packages started arriving on 3/21/19
Try to ignore the mess throughout this build log, we live in a Studio Apartment :lol:
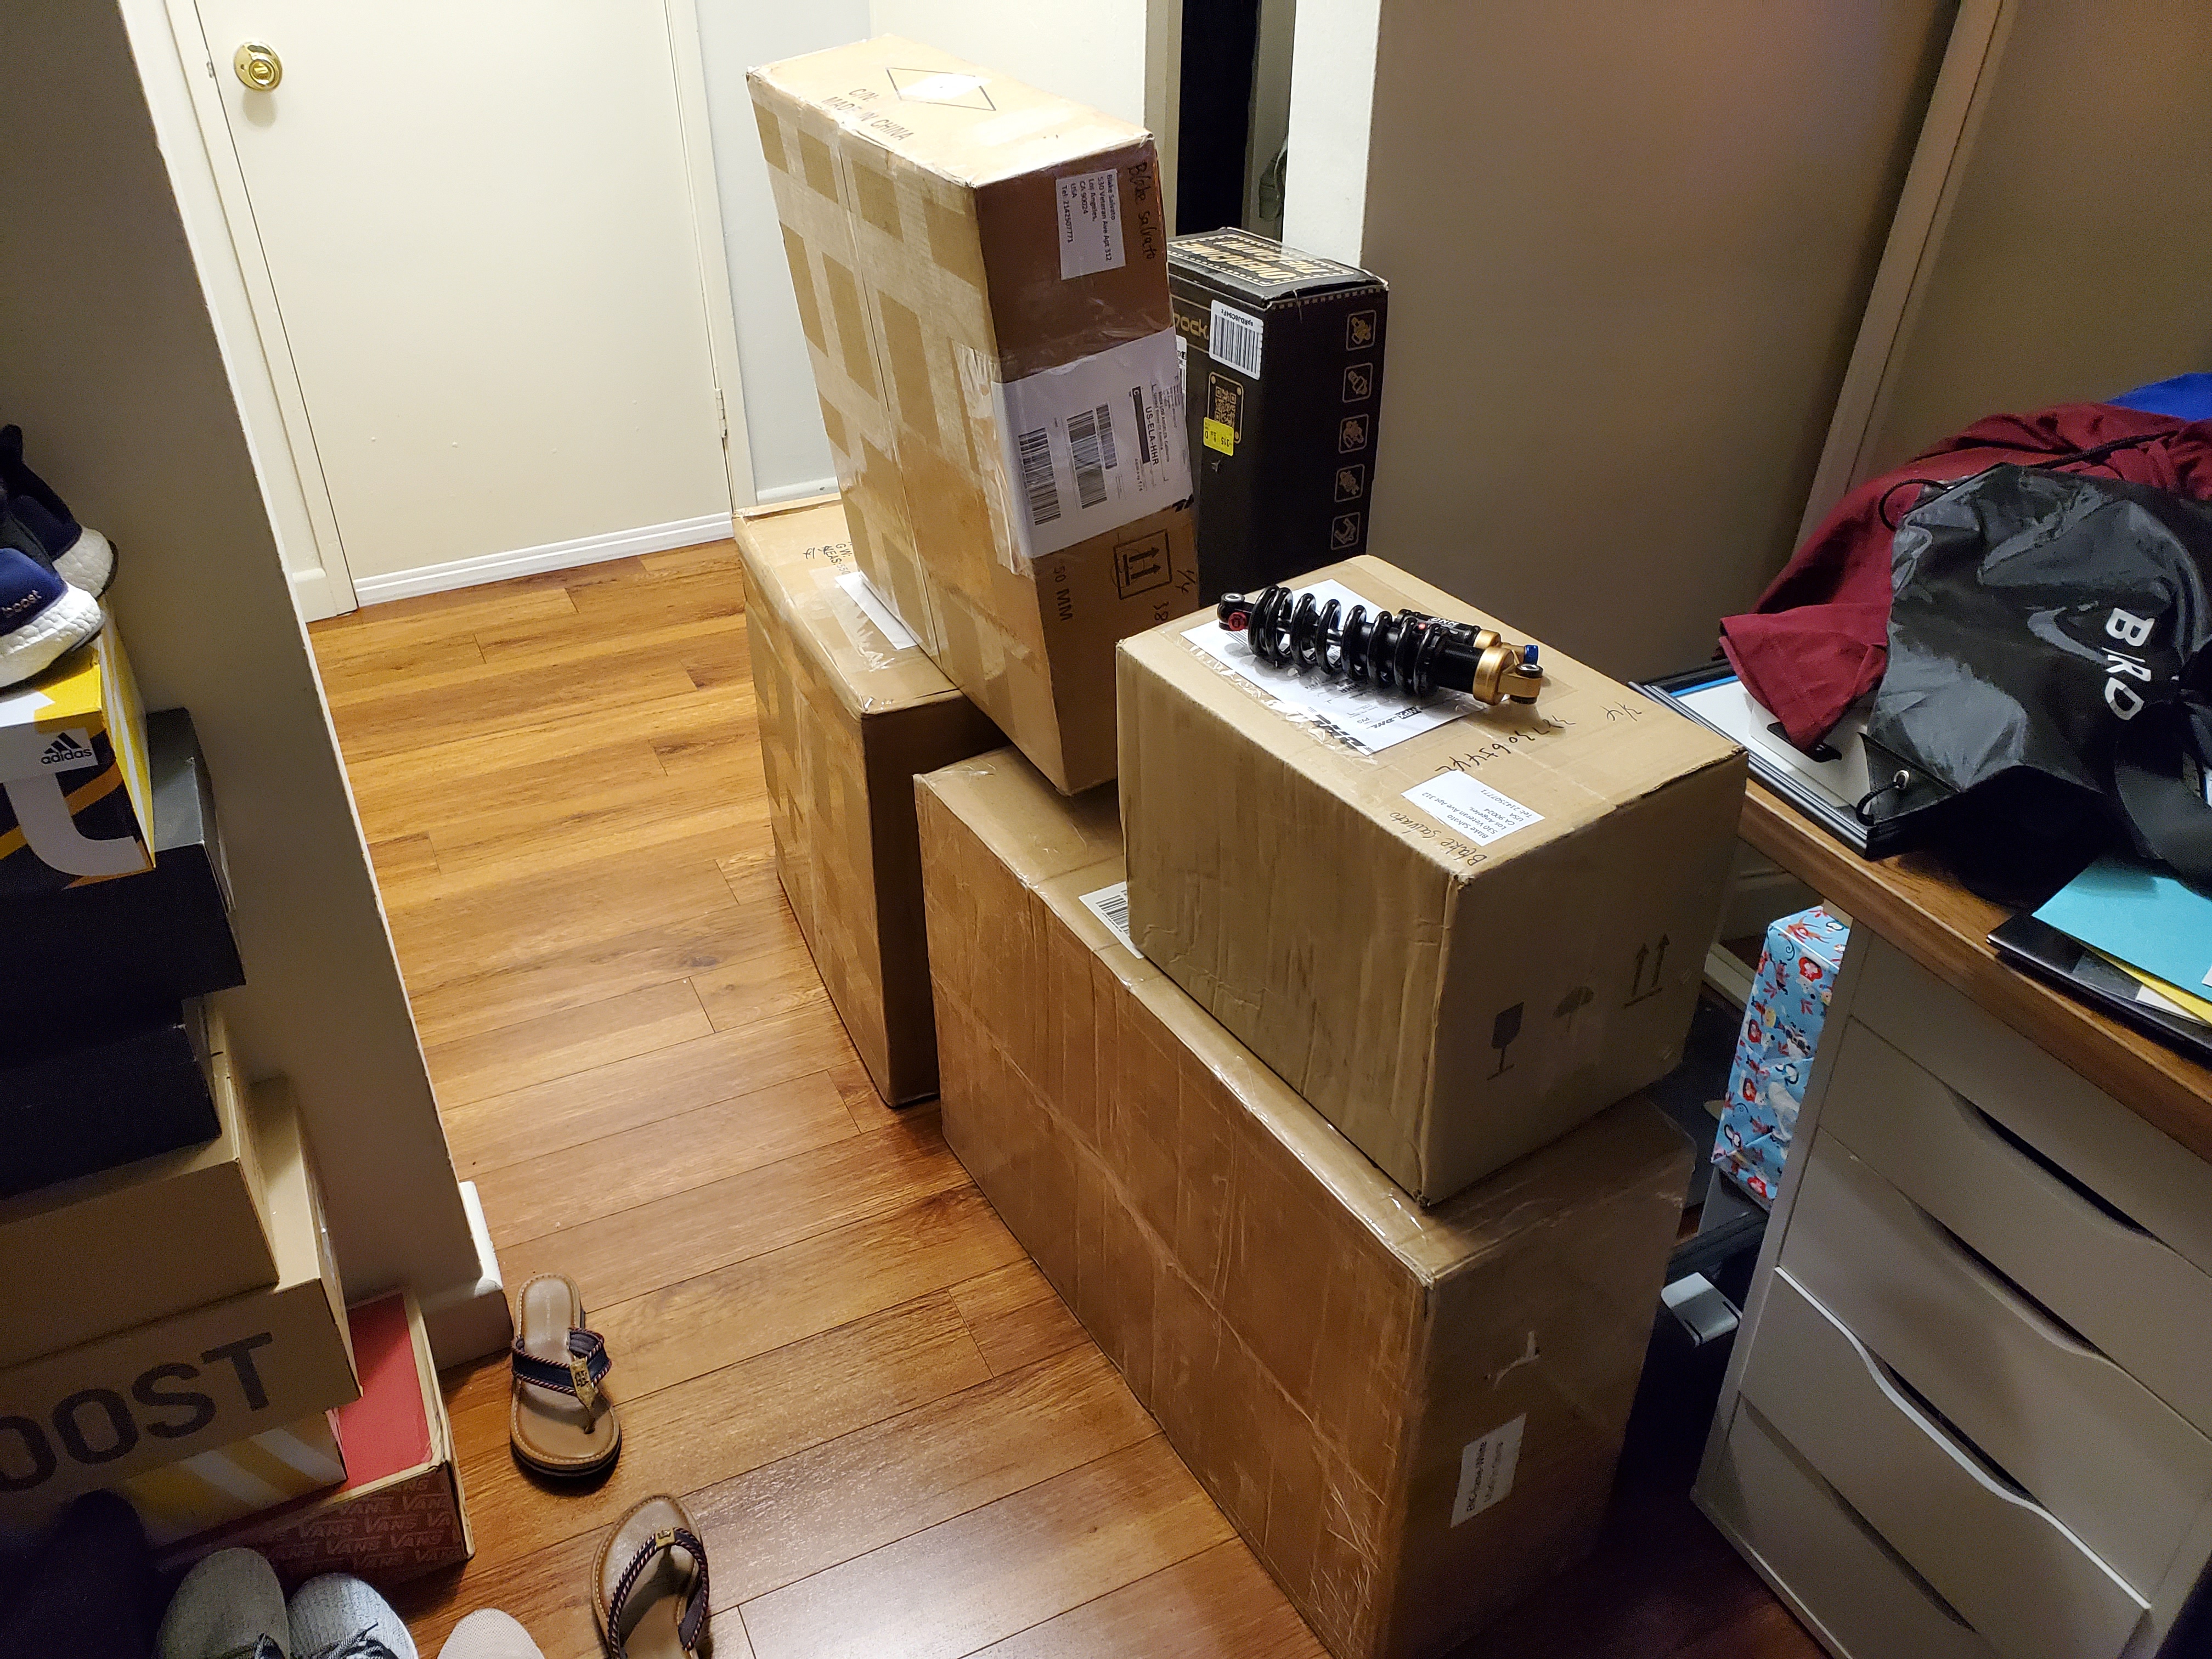
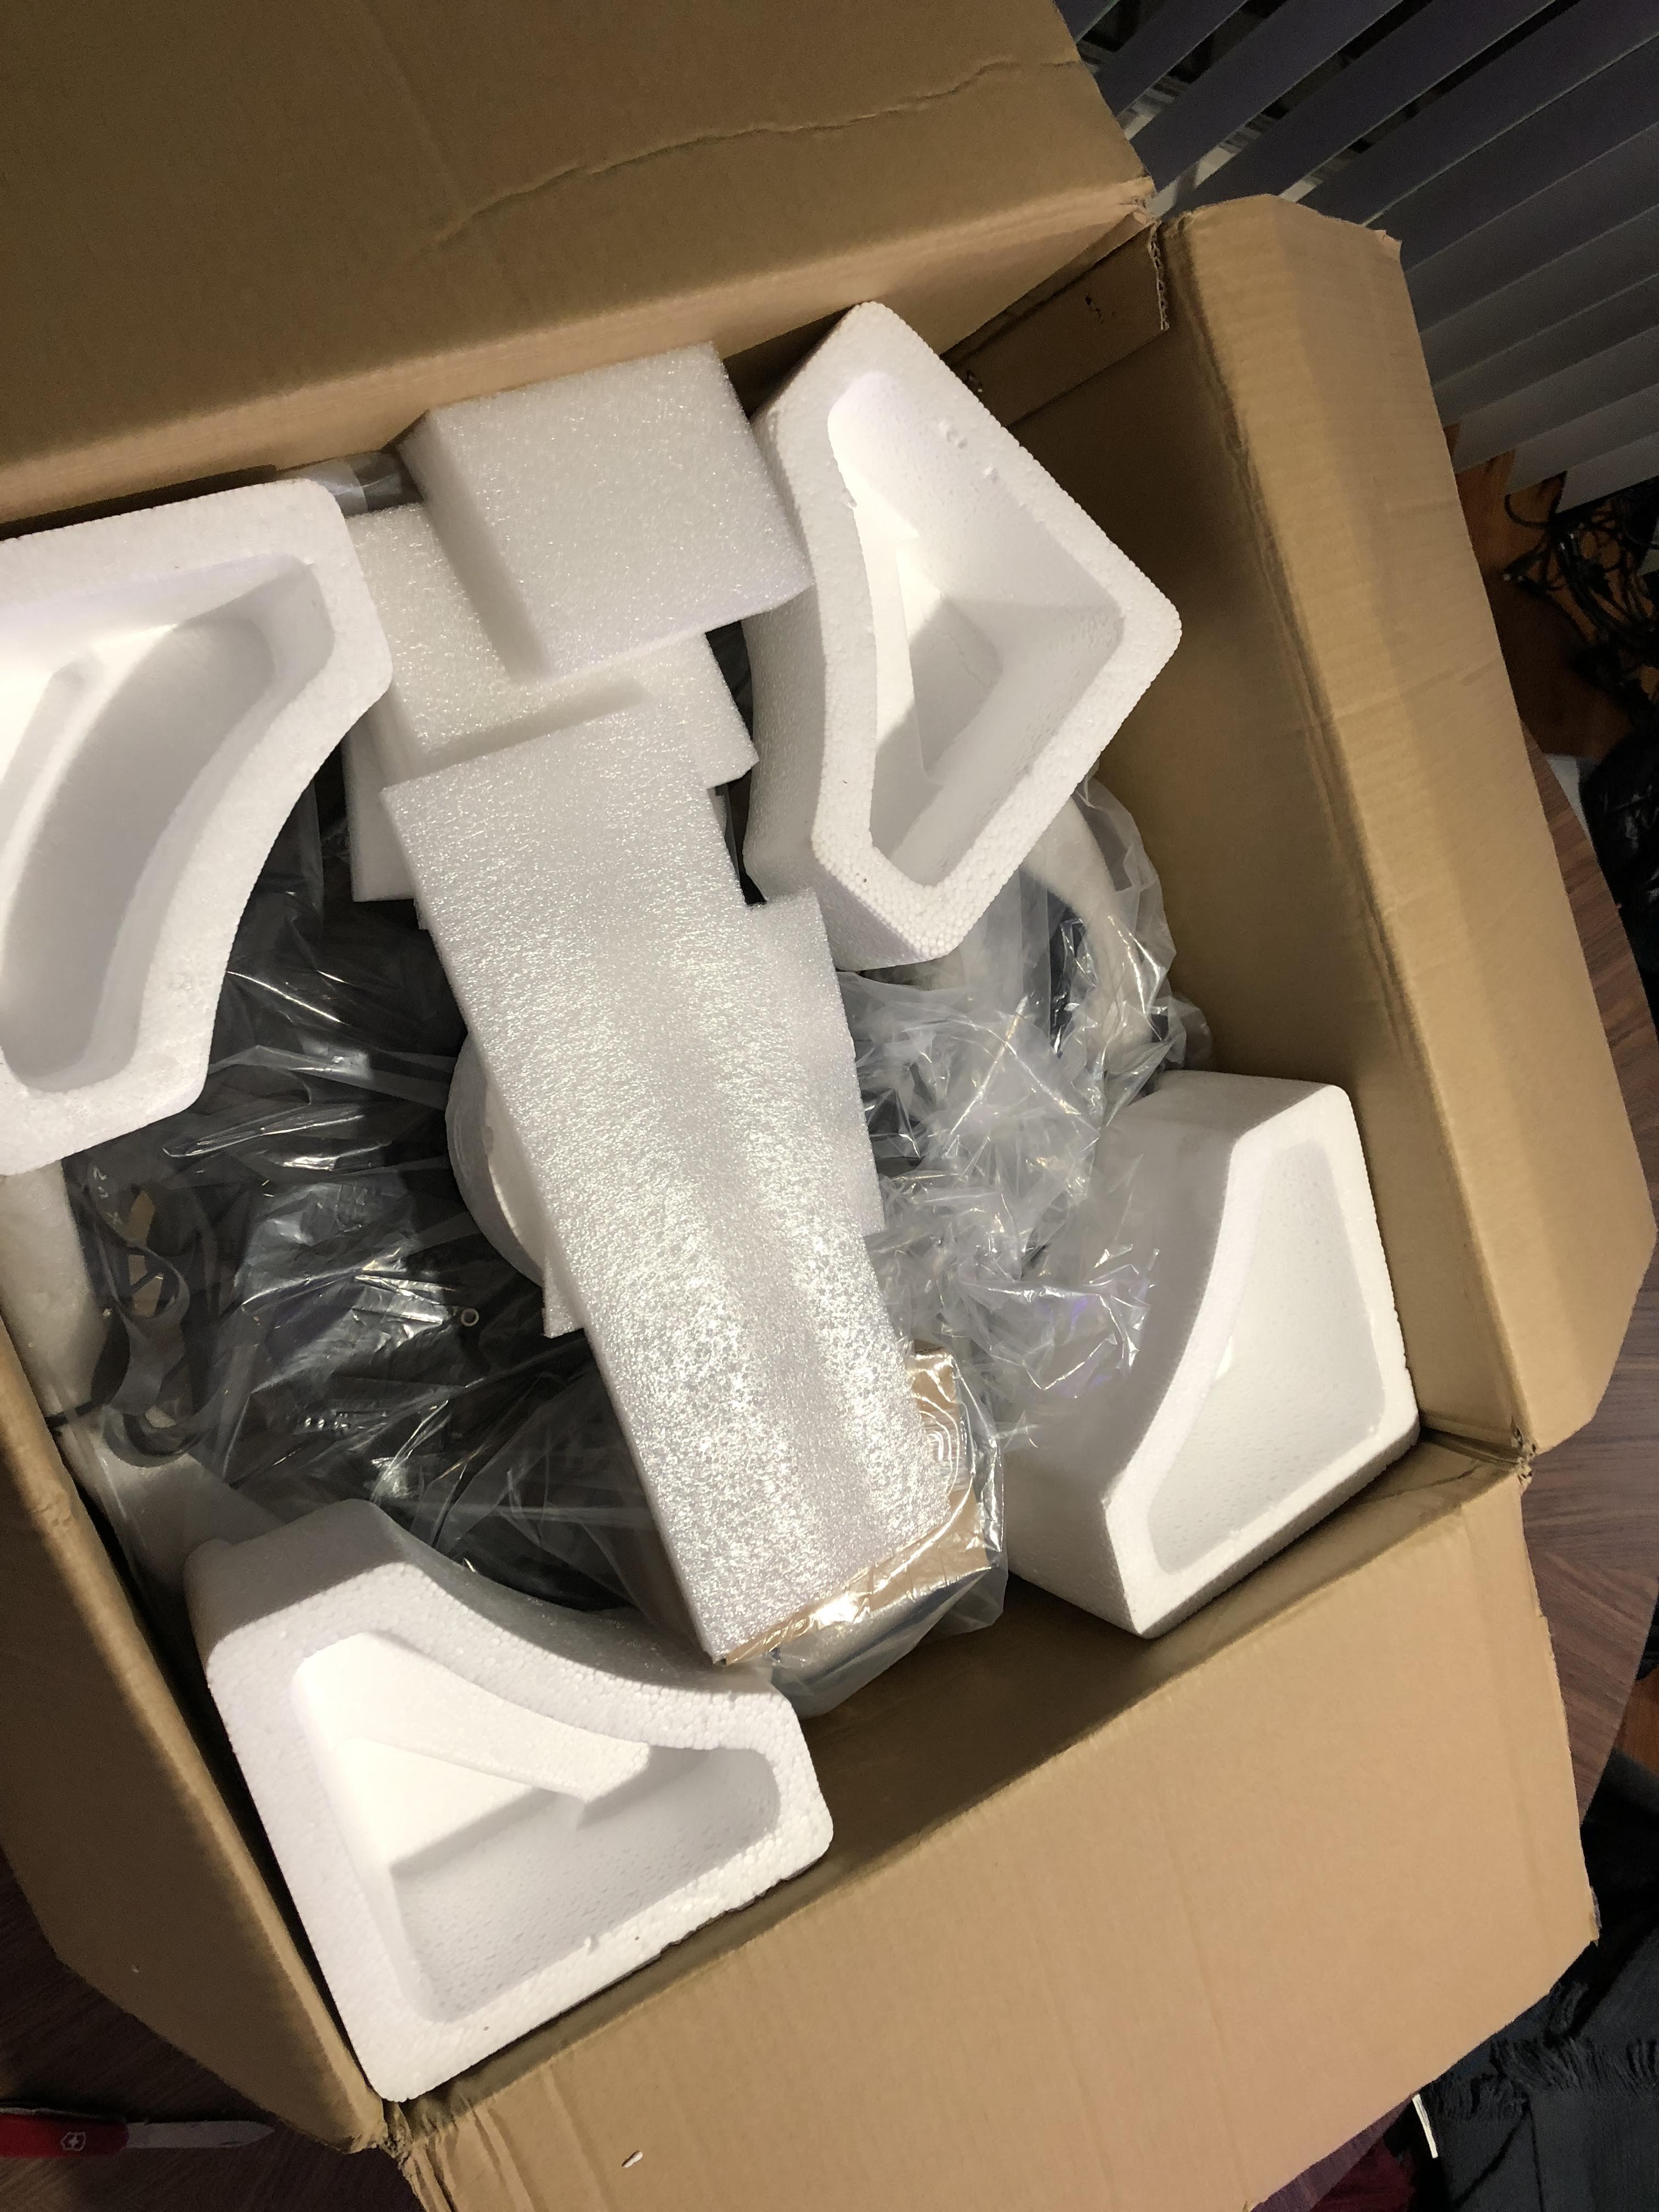
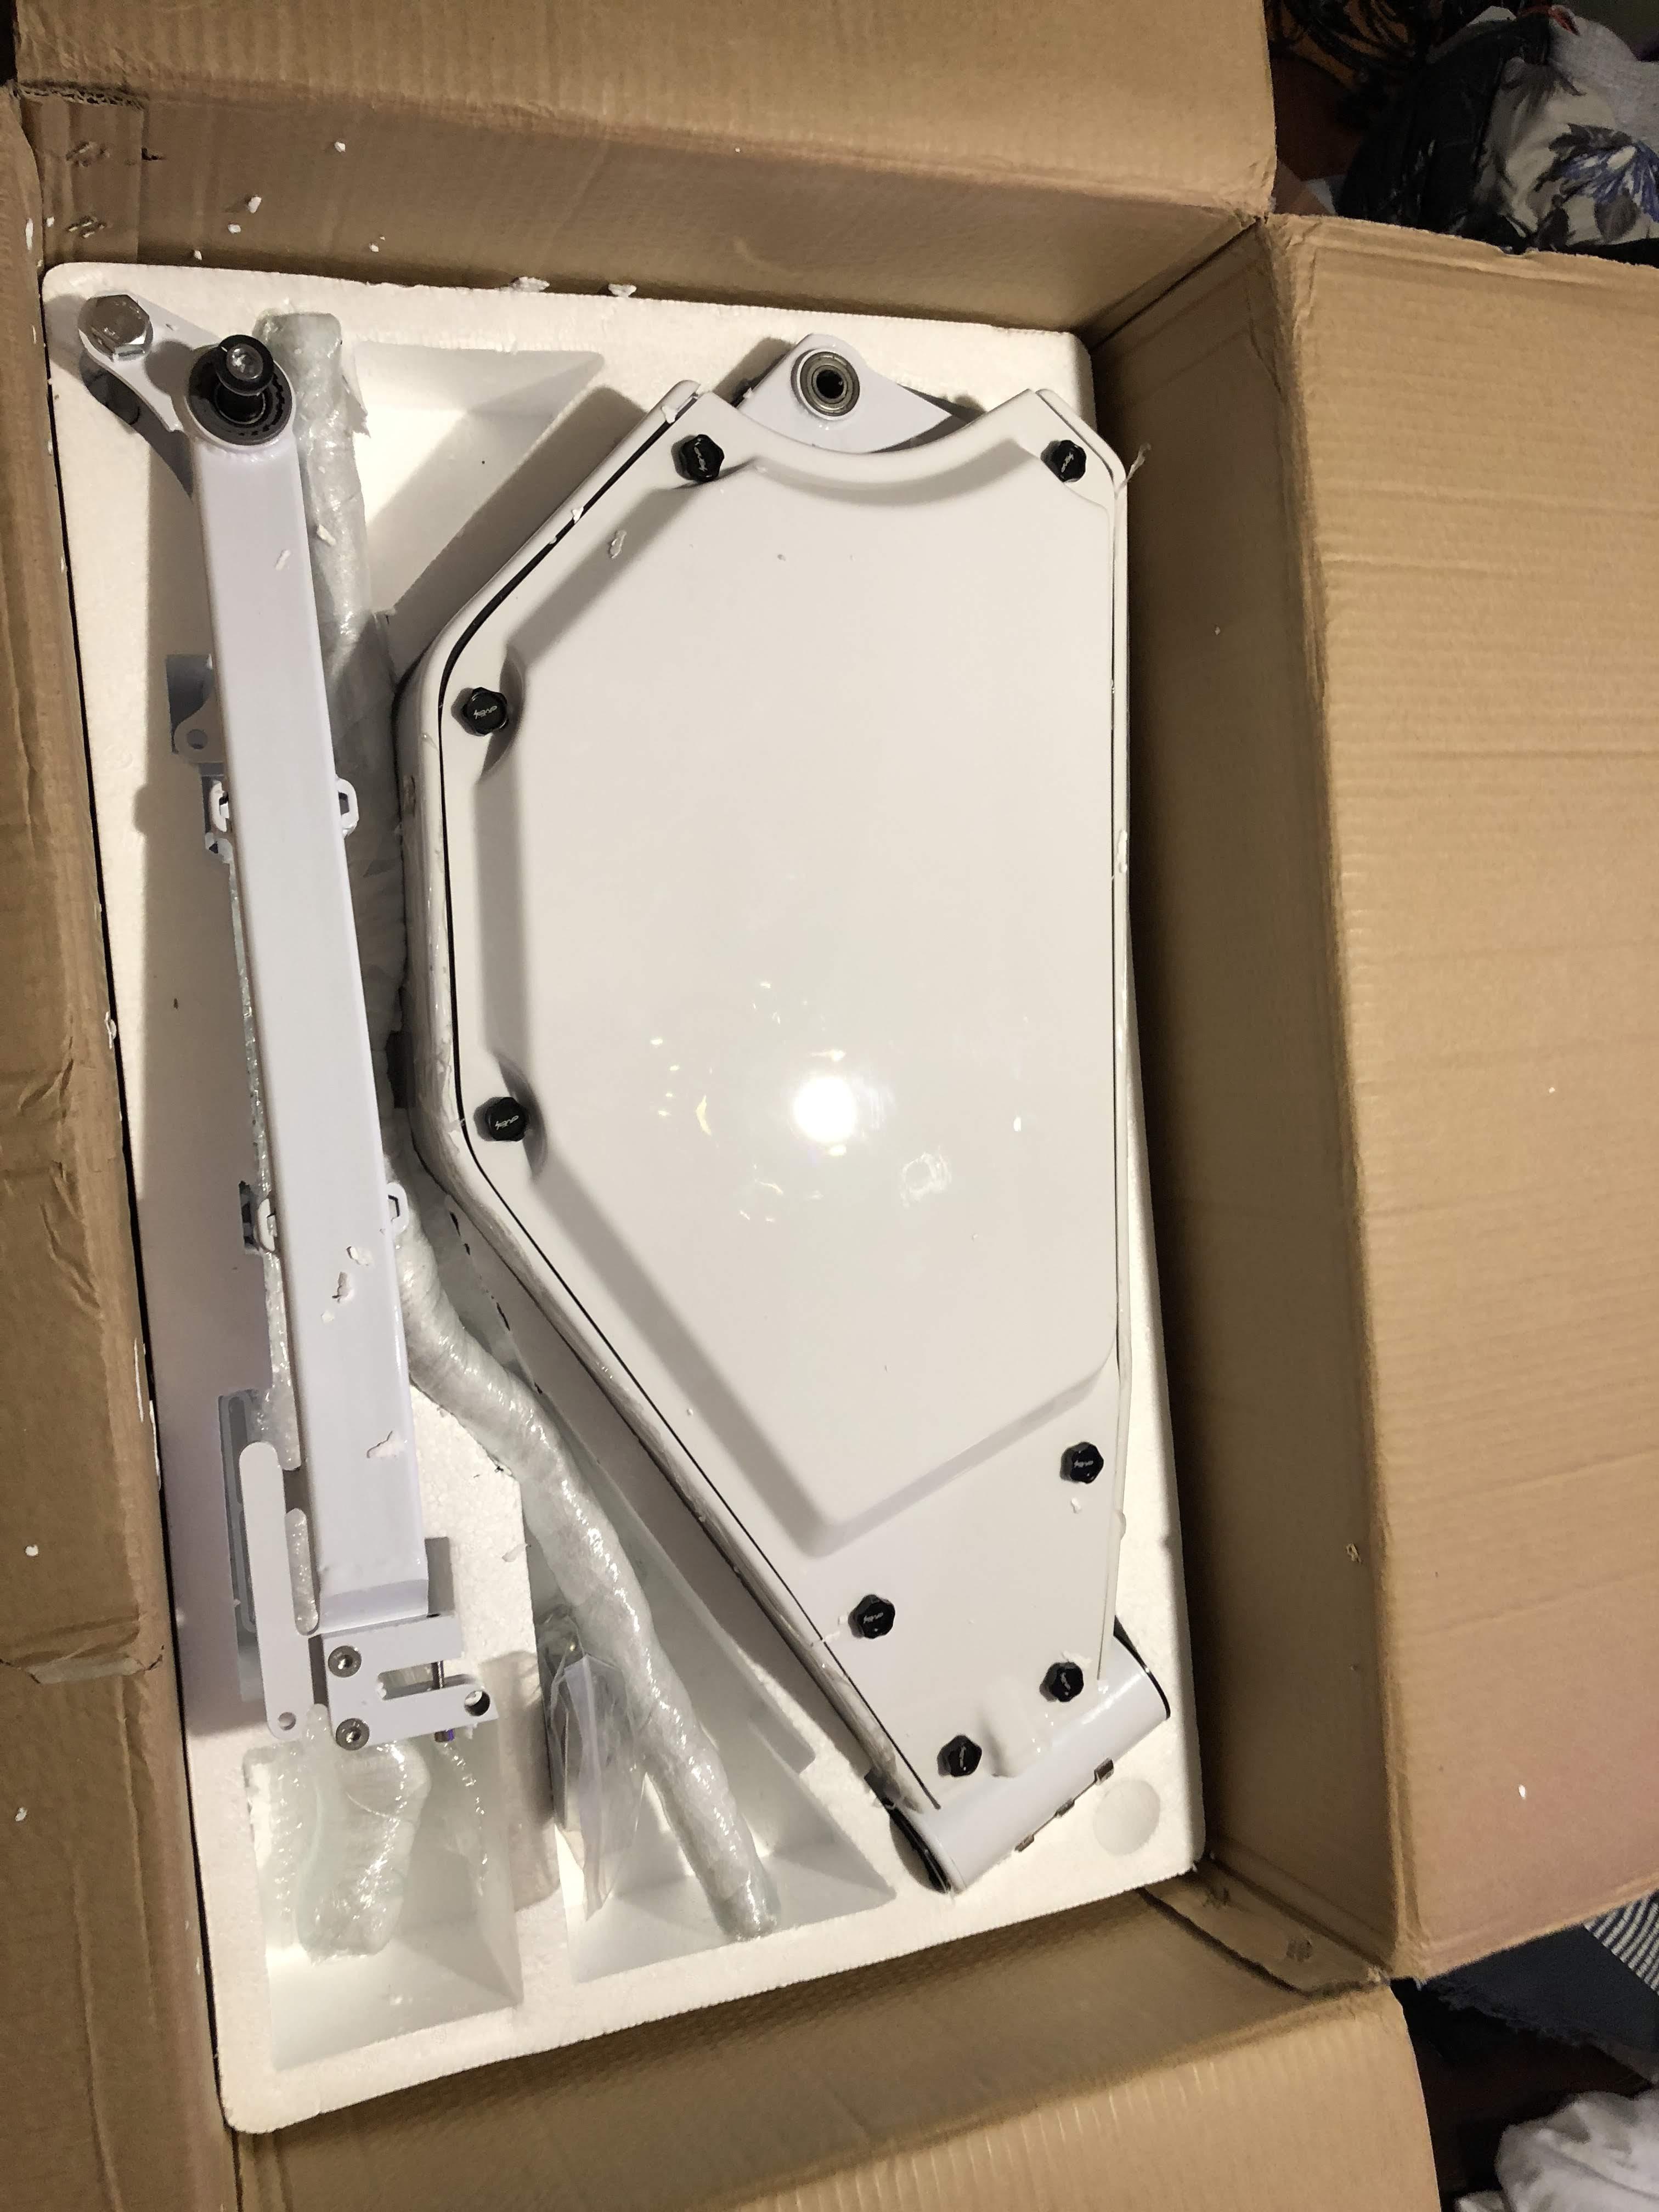
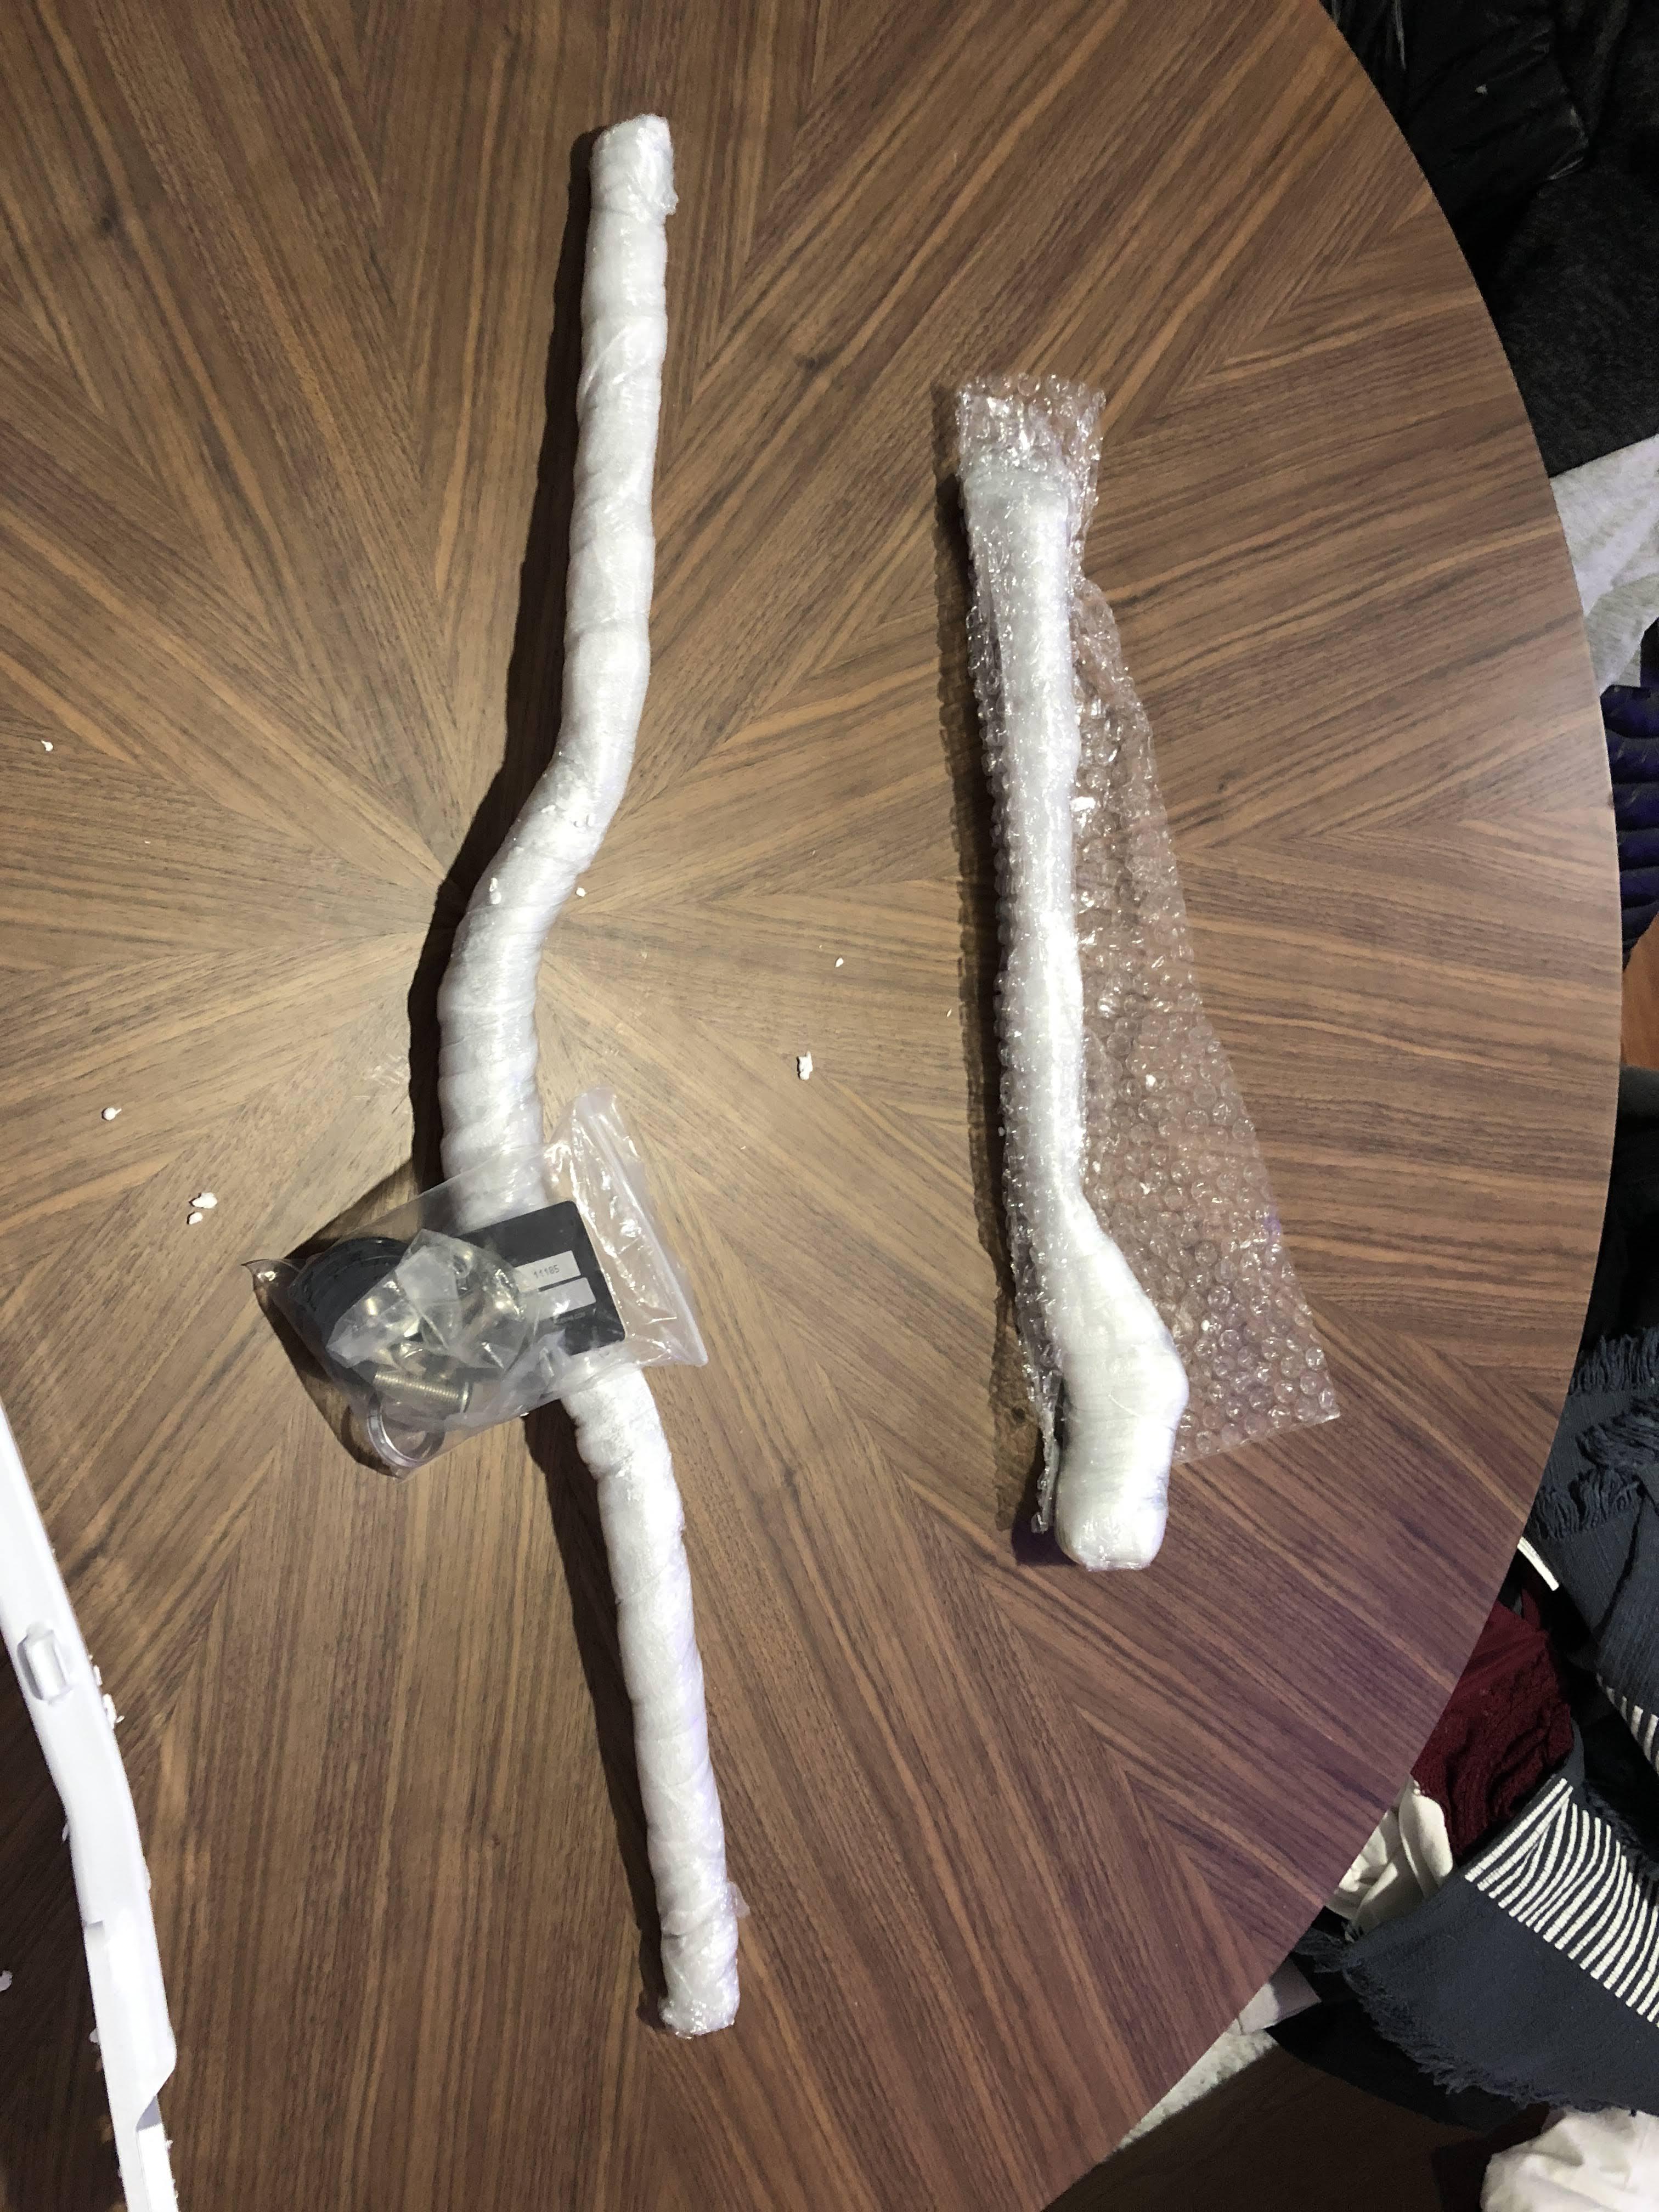
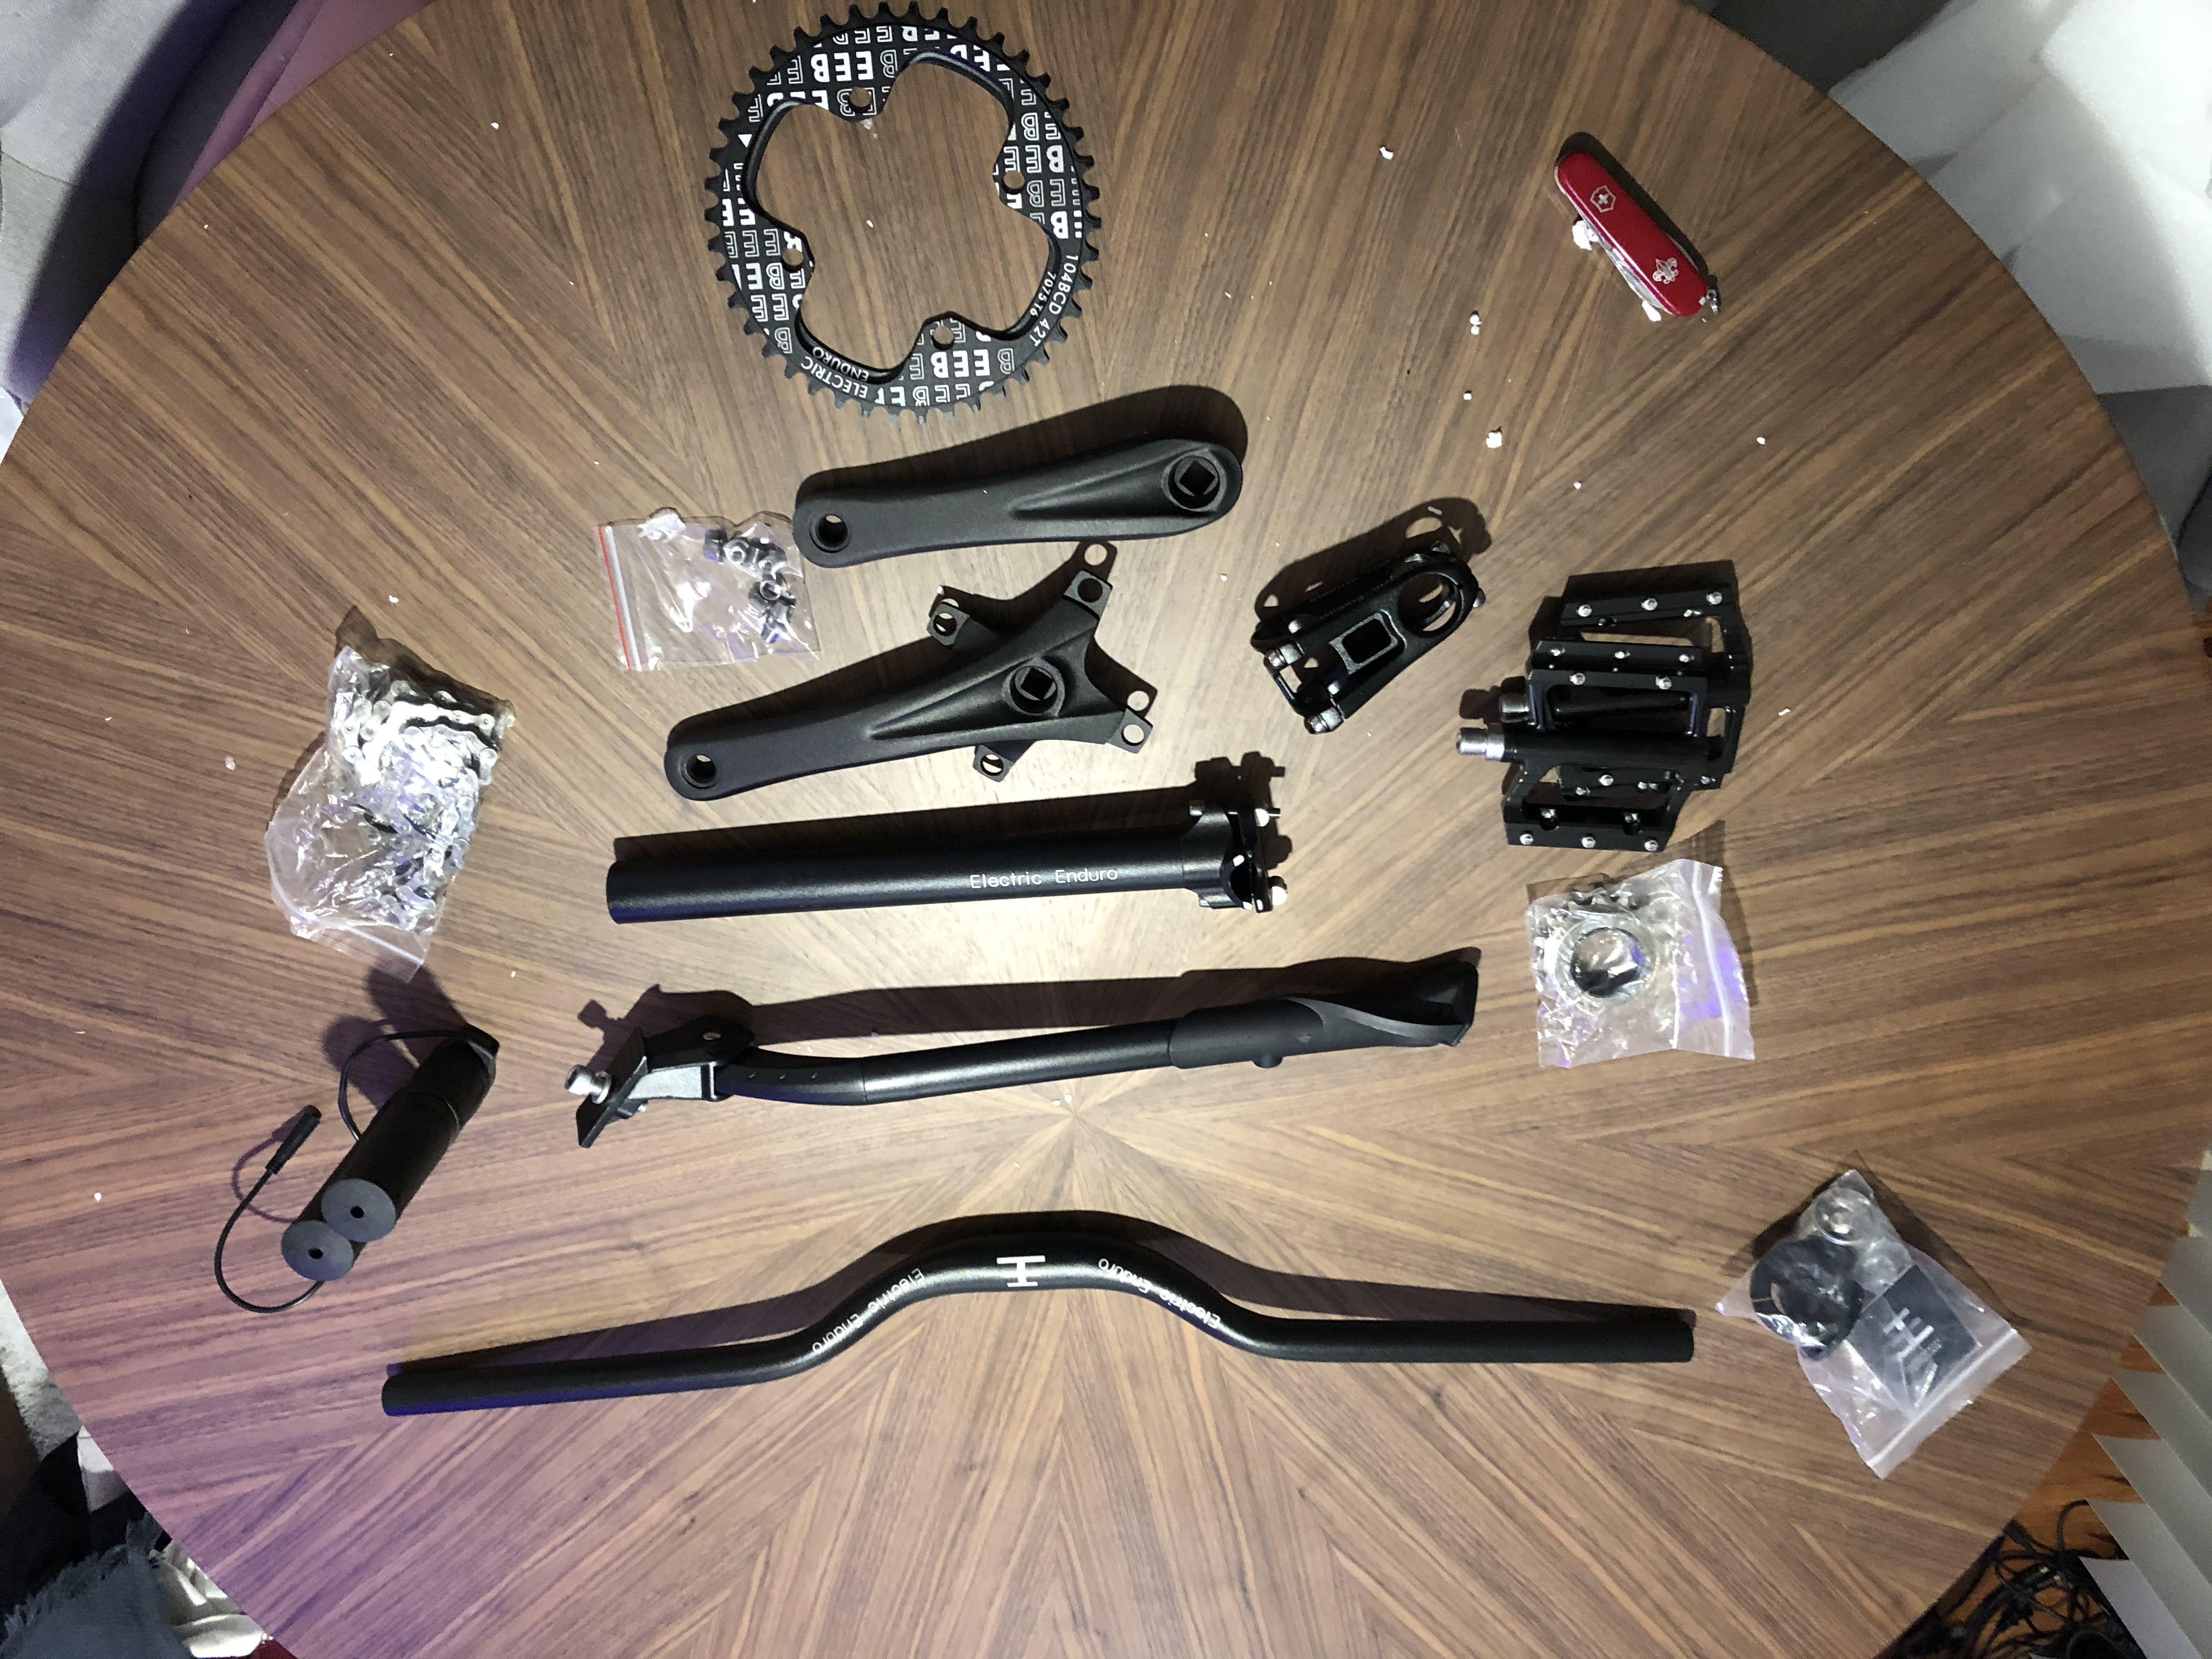
The packaging was very high quality. All items were packed extremely well, and a slight scratch to the handlebars was the only damage to the shipment. Here's some more images of the packages for those who are interested in what to expect from EM3EV.
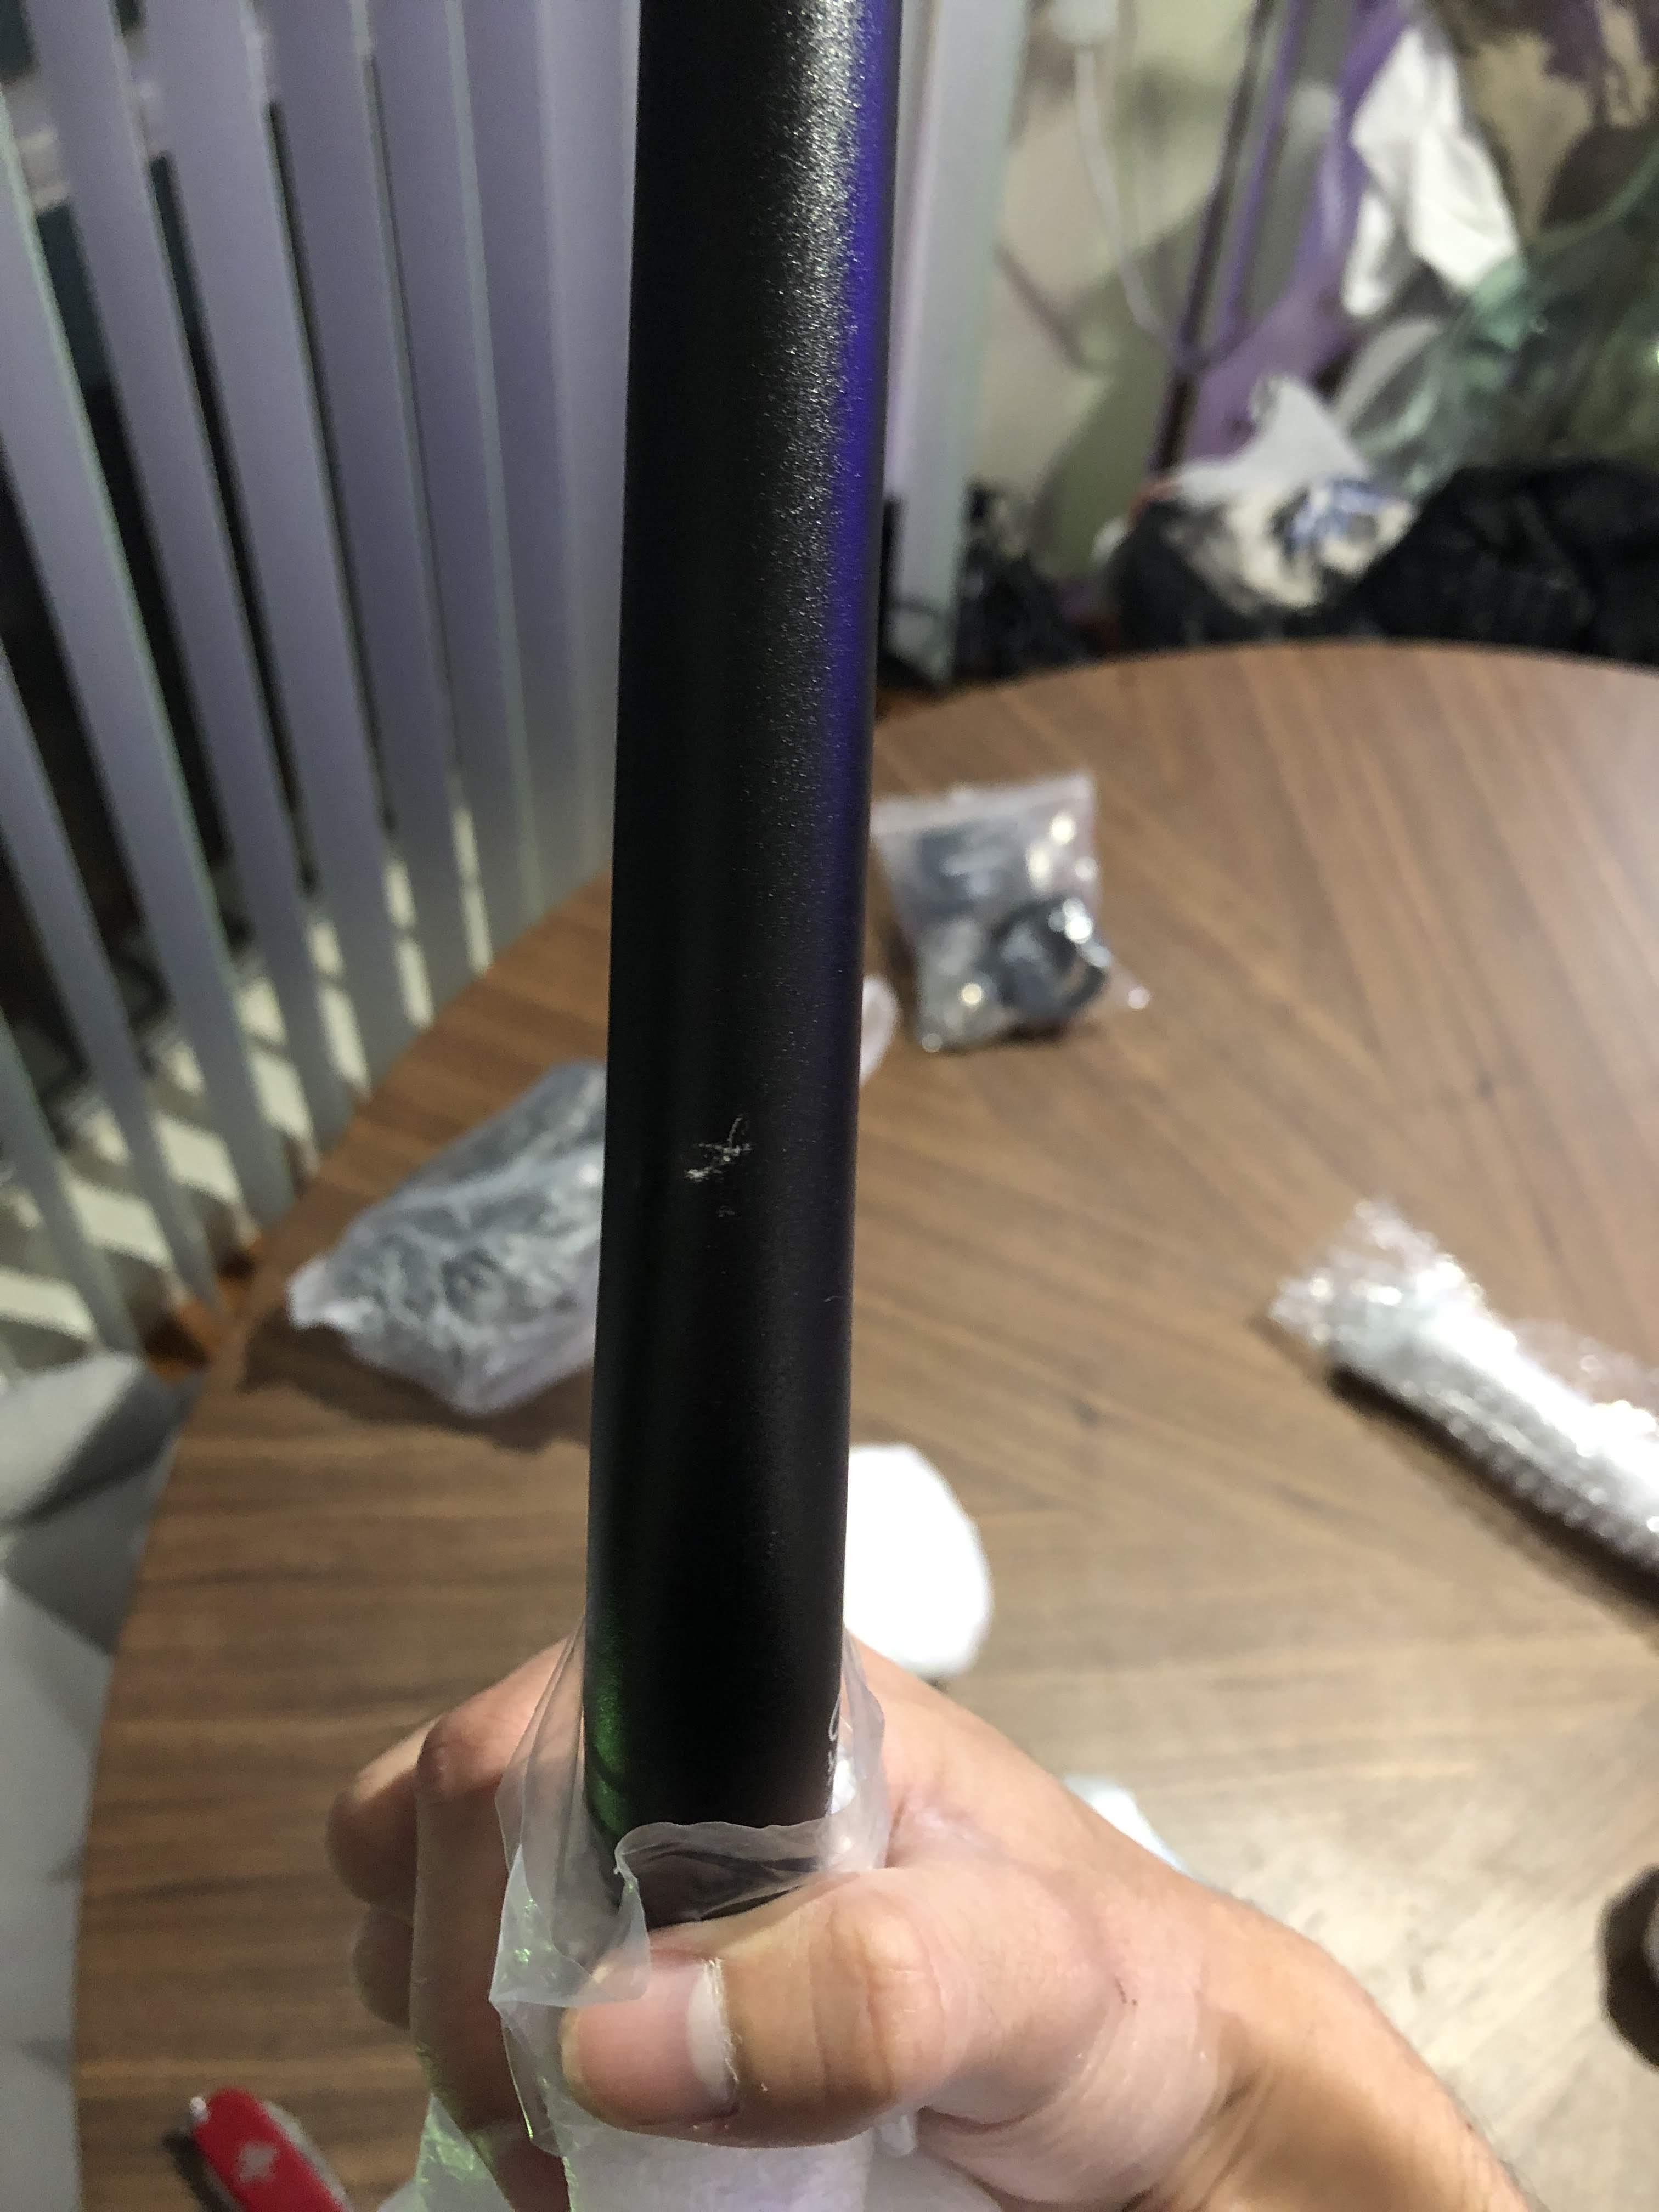
Tis but a scratch. It's a bike, it's going to get dinged and scratched over time. No big deal.
Alright, here we go... Time to start building!
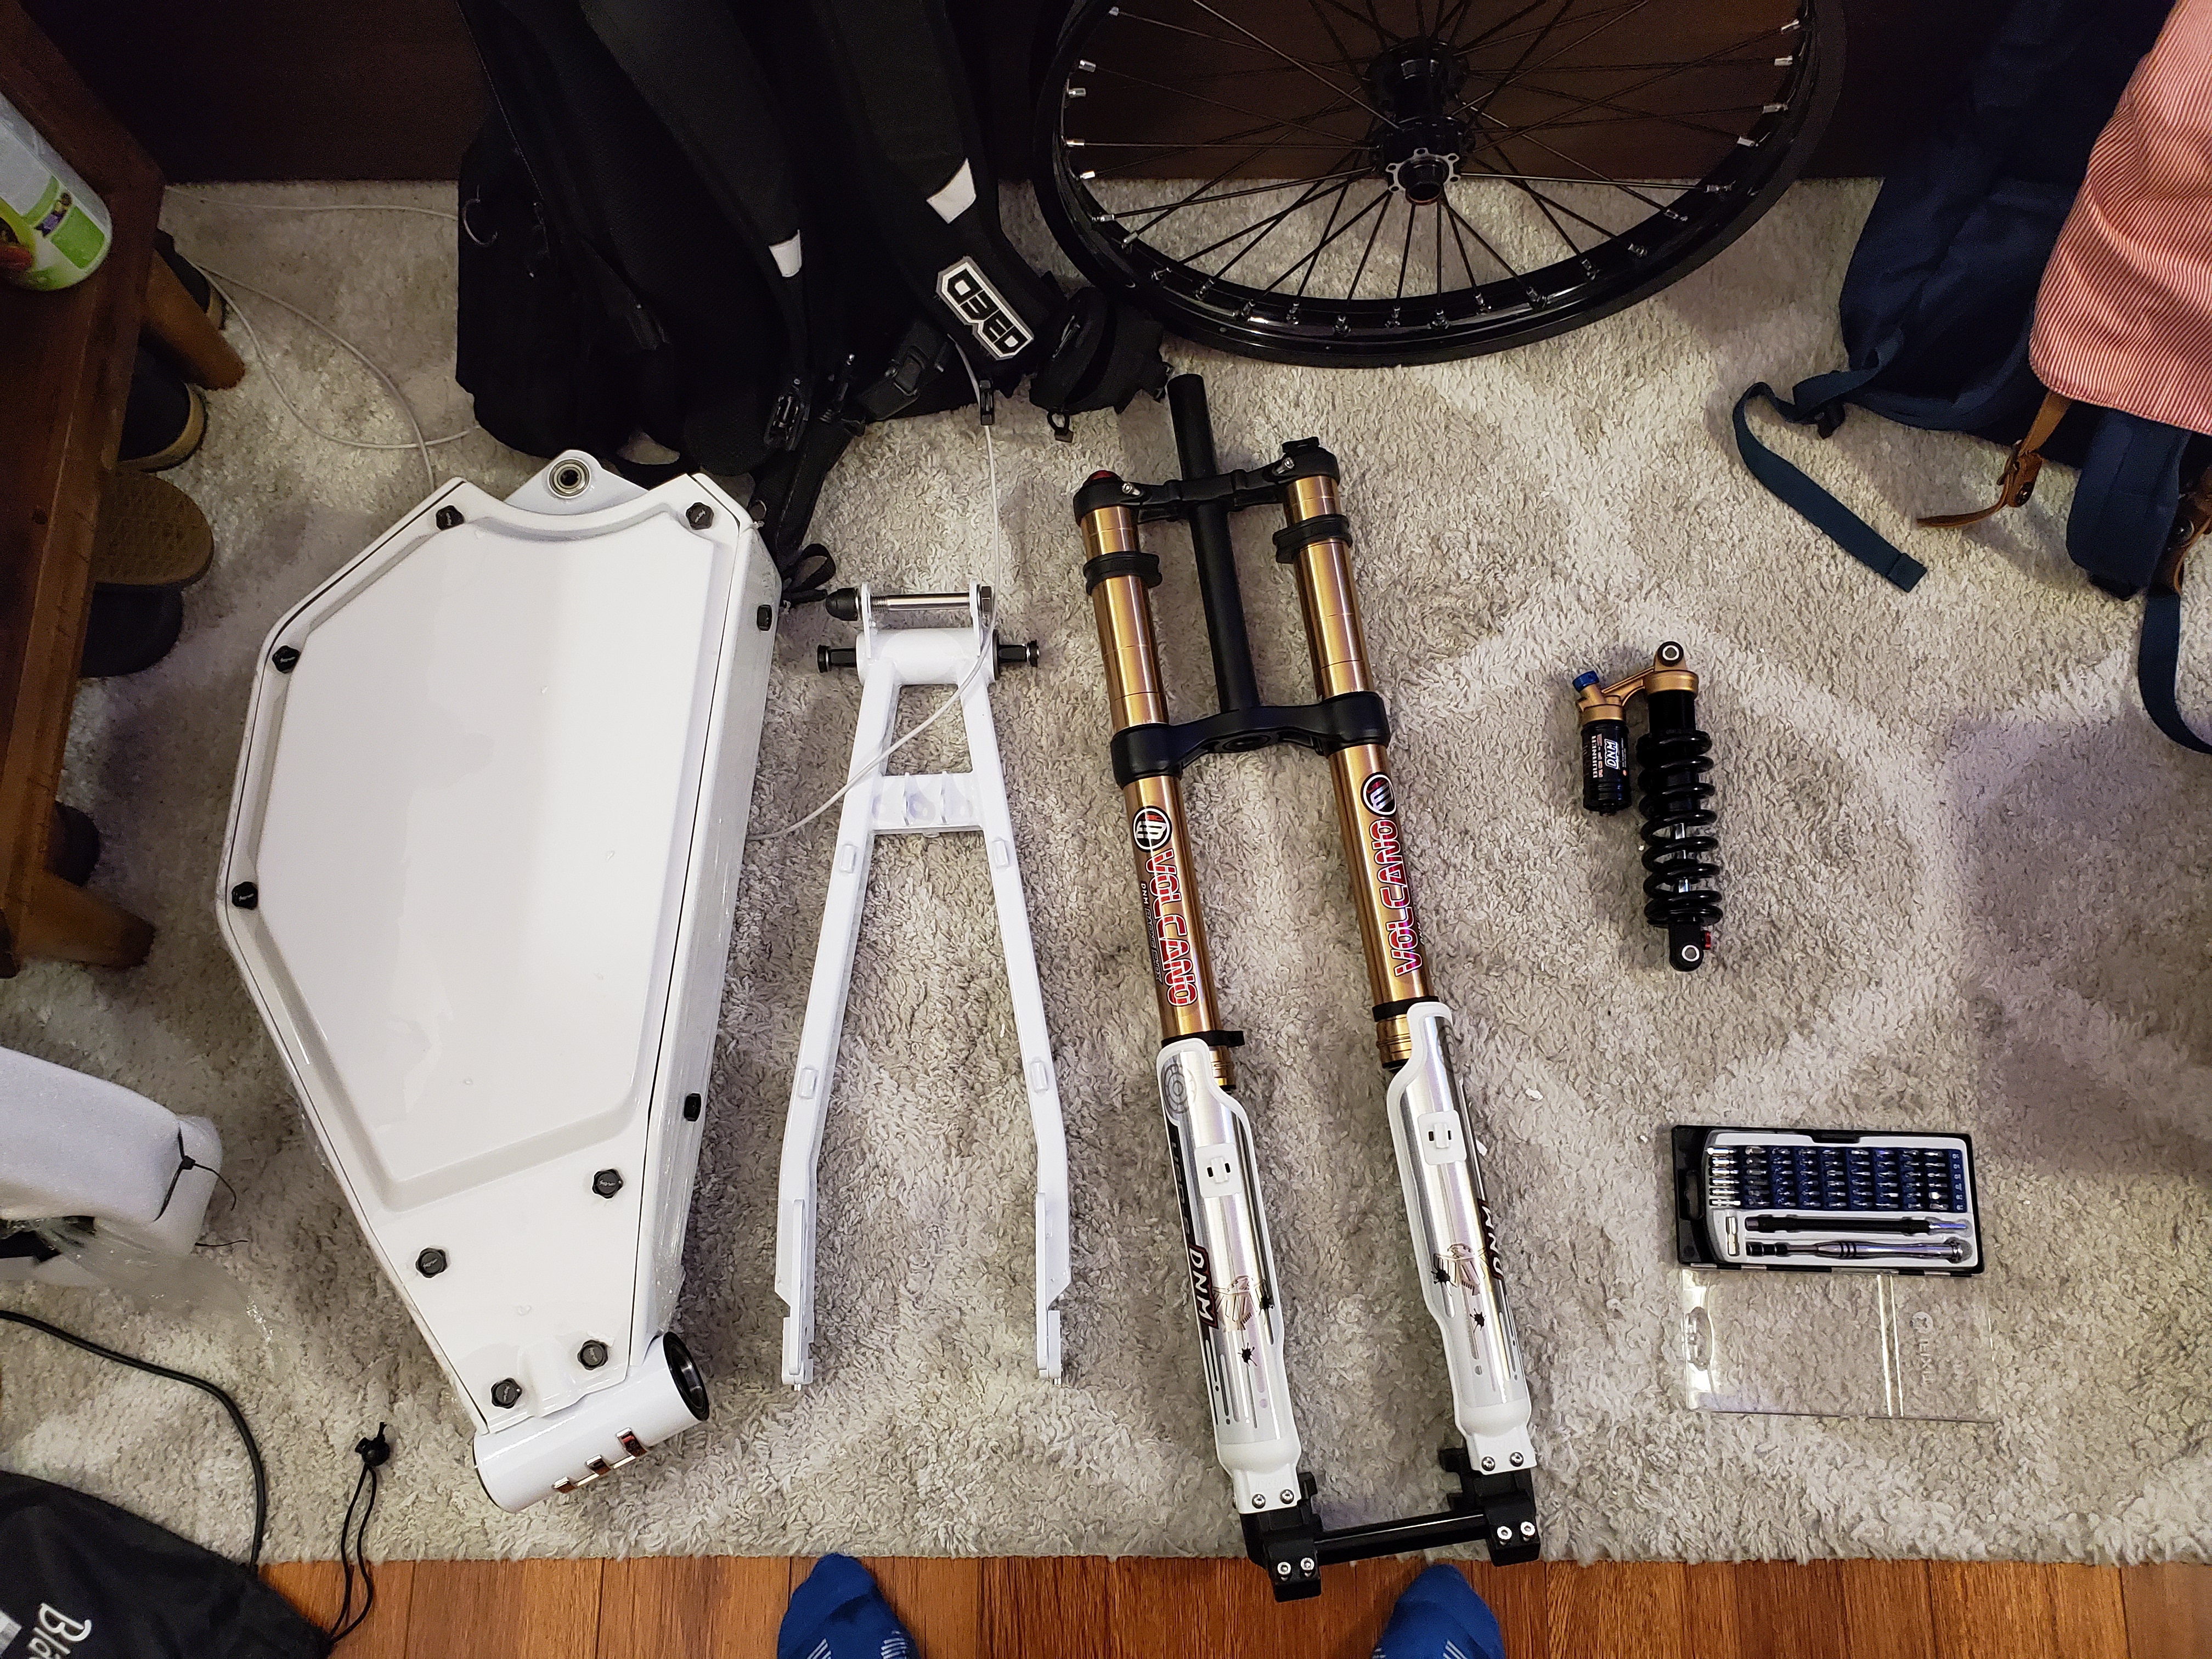
Using DNM USD-8 Downhill Fork and DNM Mountain Downhill Bike Rear Shock
Assembling the Frame:
I started with the seat post mount. Pretty simple undo the 4 bolts holding it inside the frame, place it on the outside and tighten it down again.
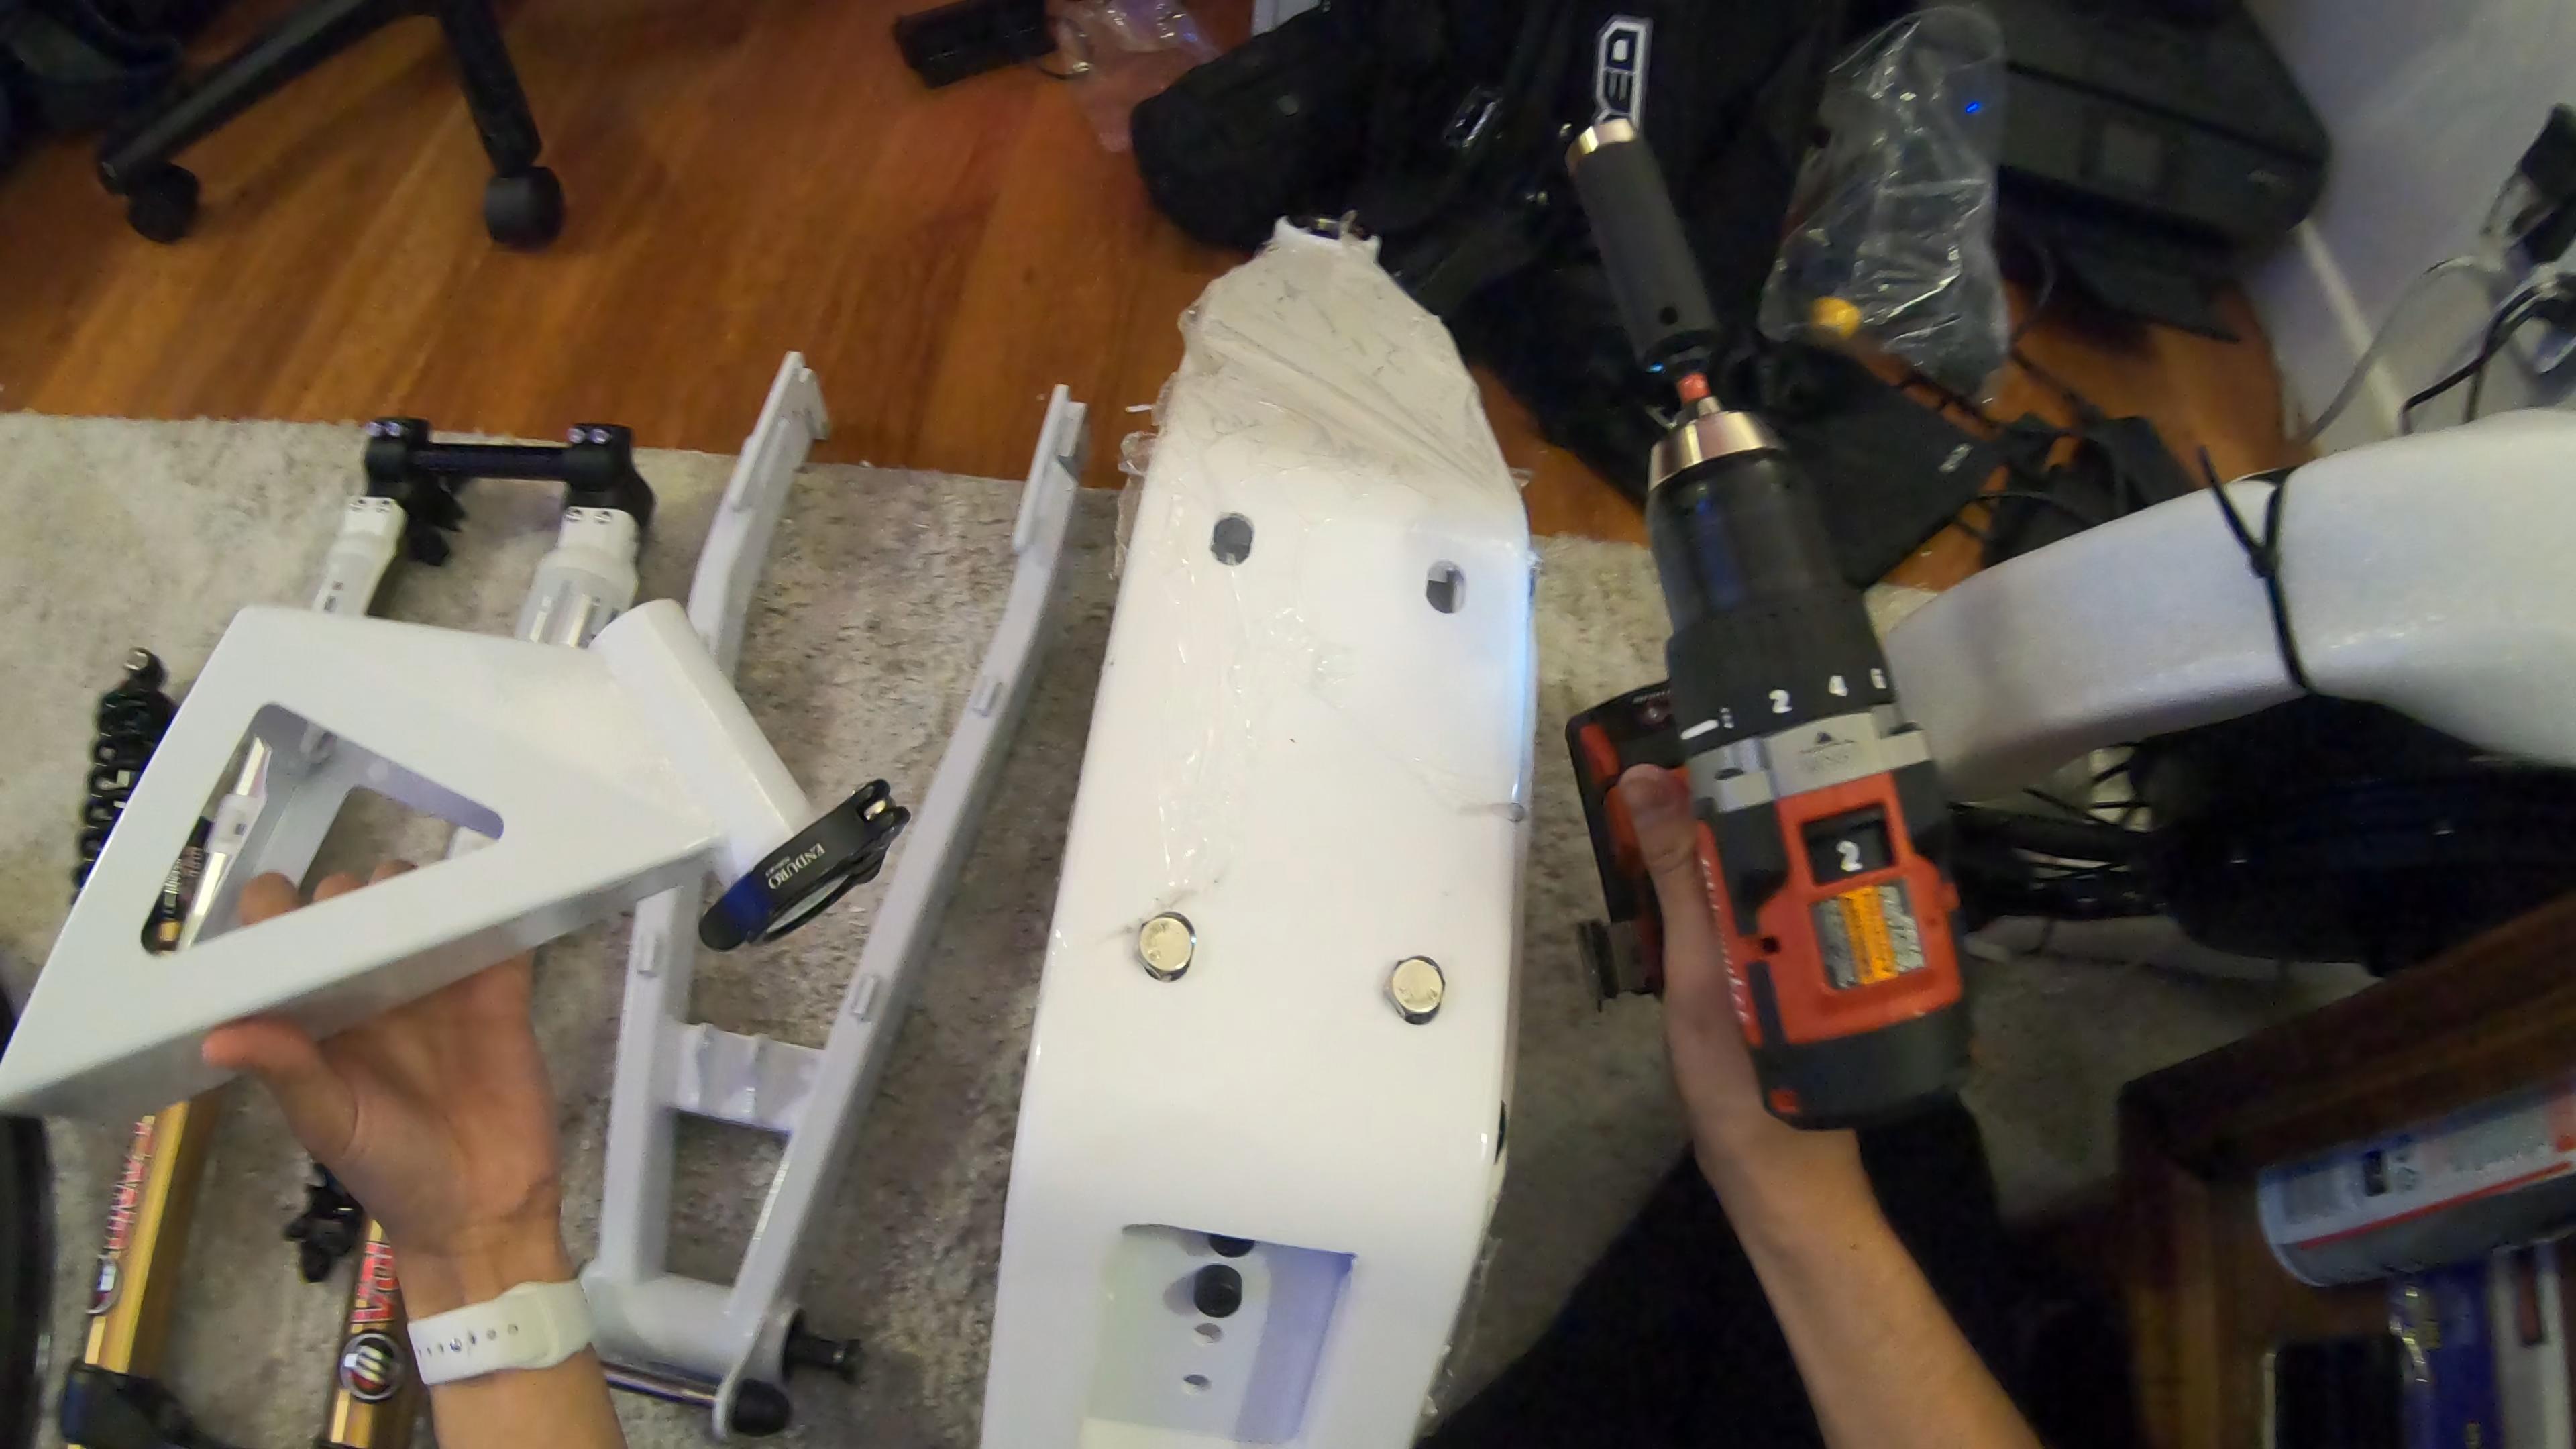
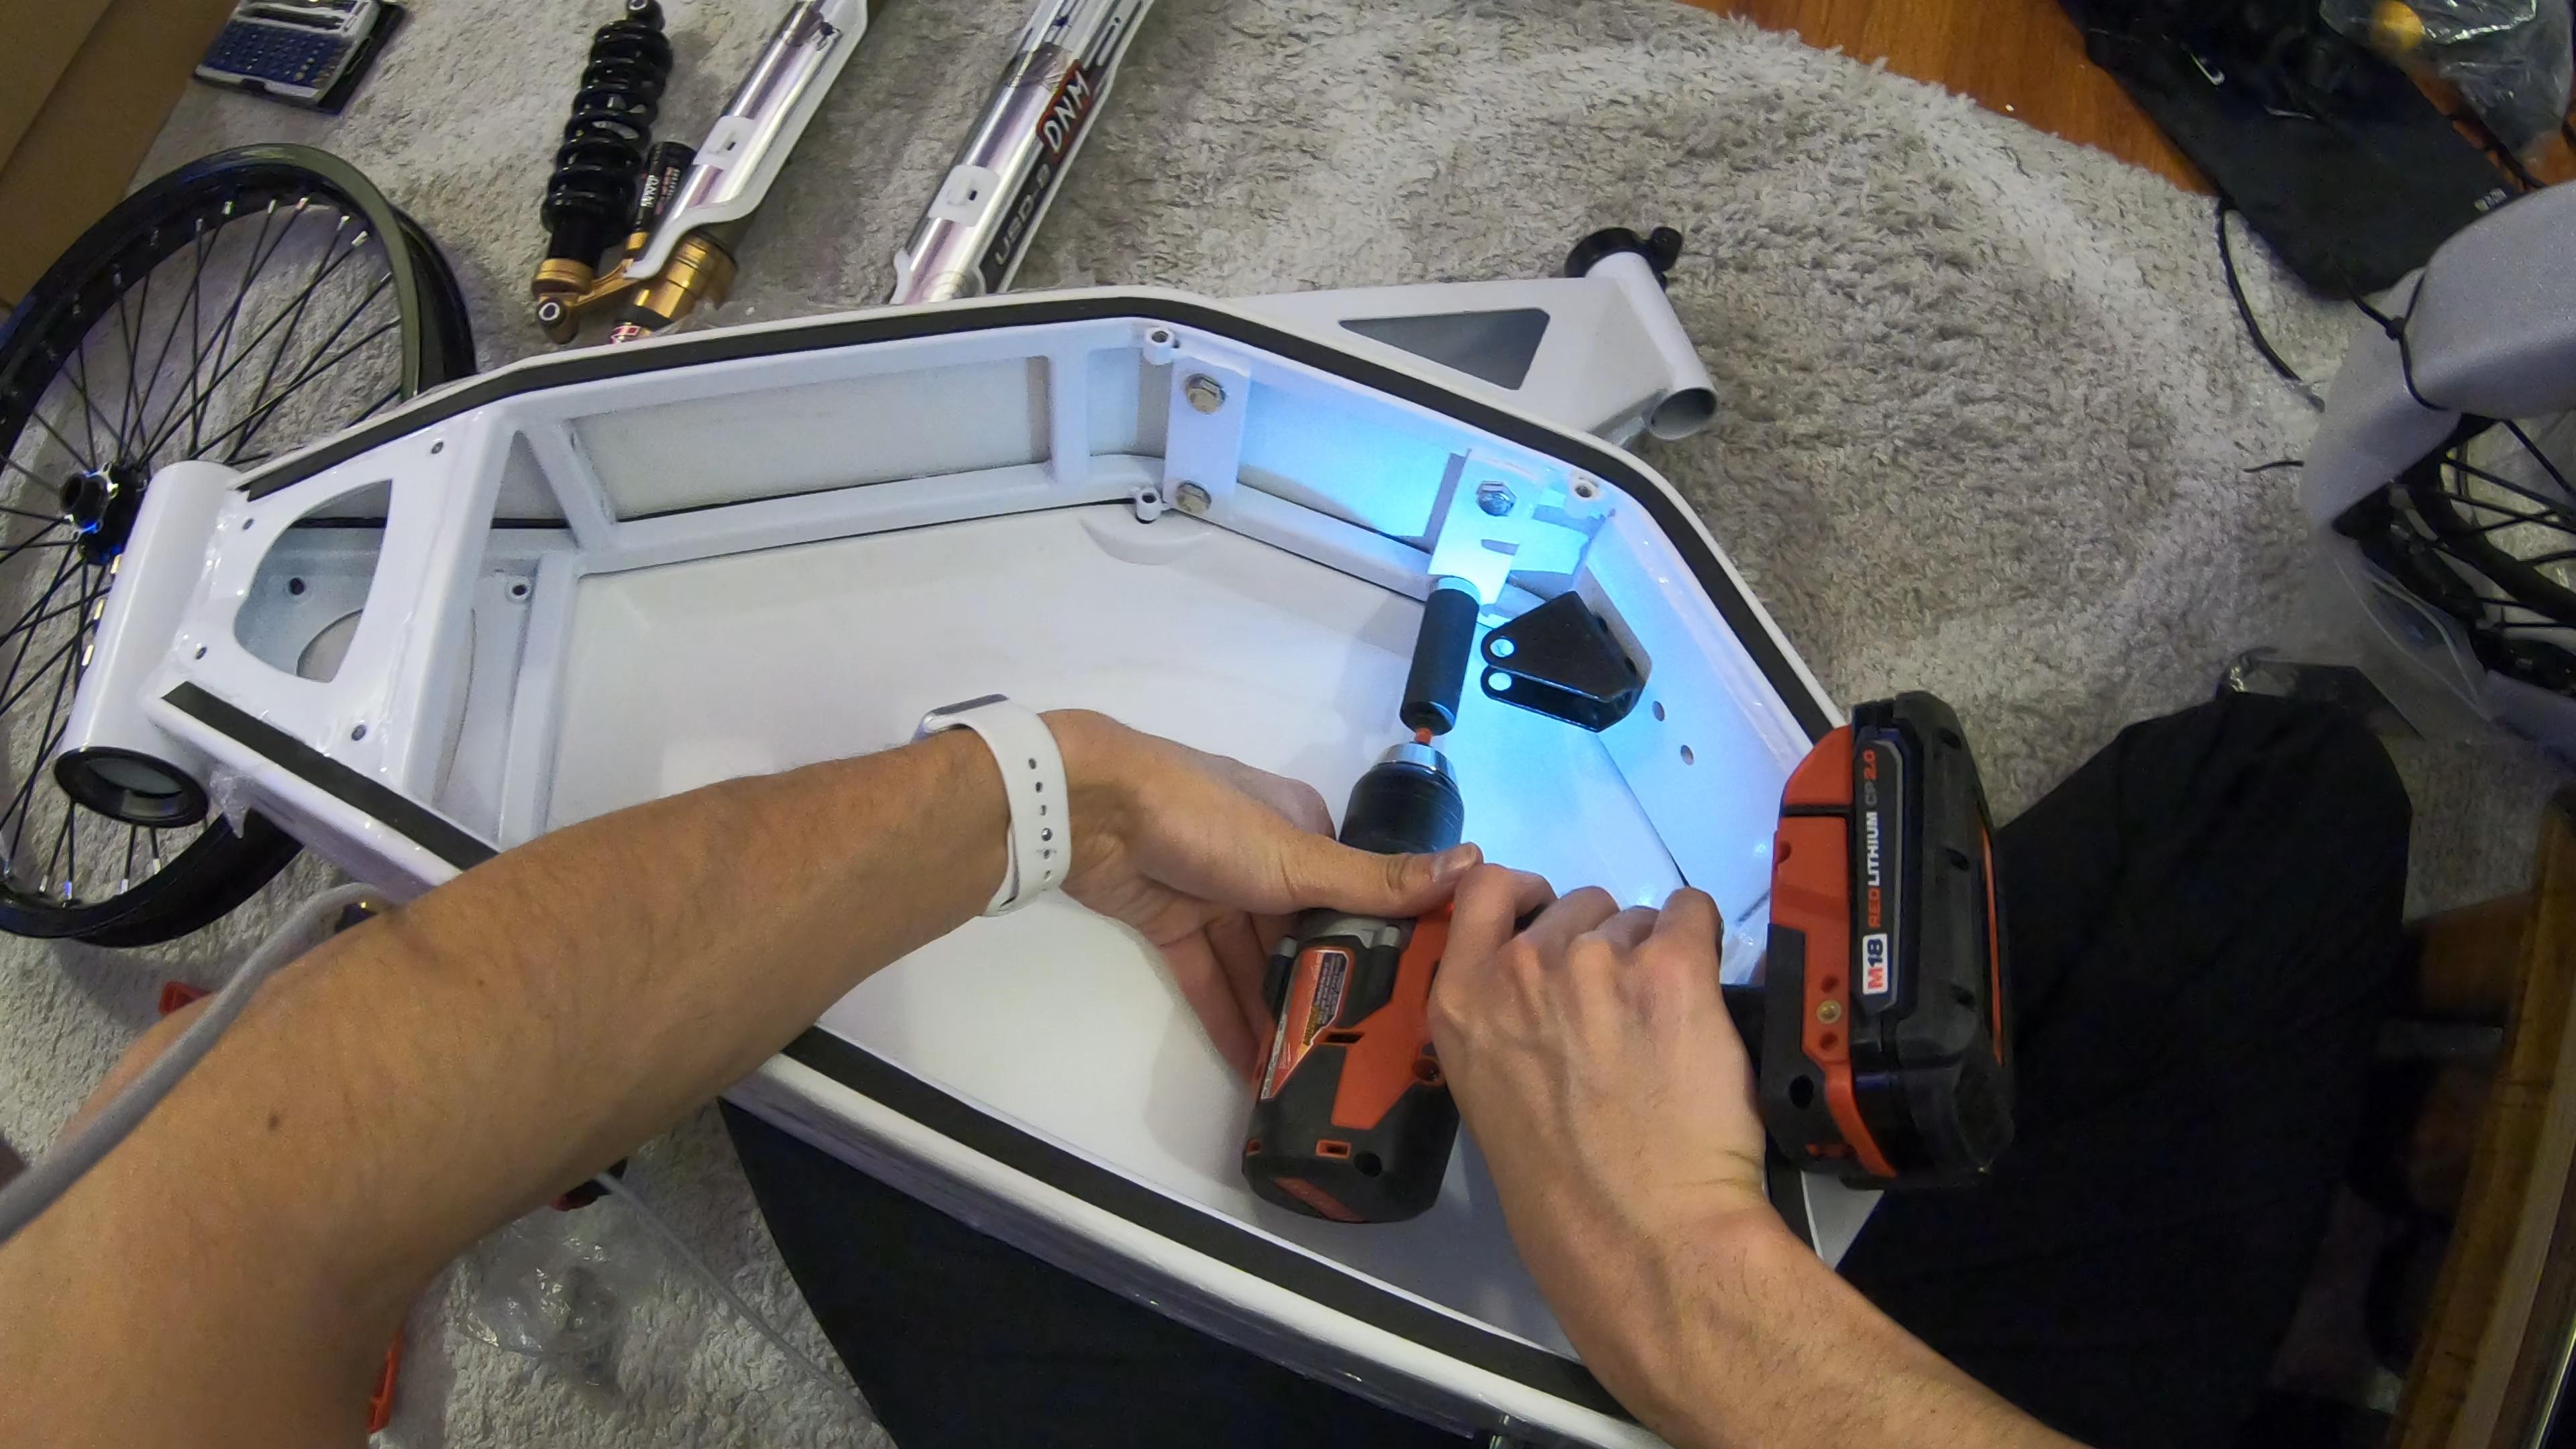
Next I mounted the rear shock mount. Same as the seat post, remove from inside mount on the outside. Remember to mount it in the correct direction, angled downwards as shown in this image (and the frame images I had to double check on my phone :lol: ) There's a few different mounting holes depending on your shock length and how tall or short you want the bike to sit.
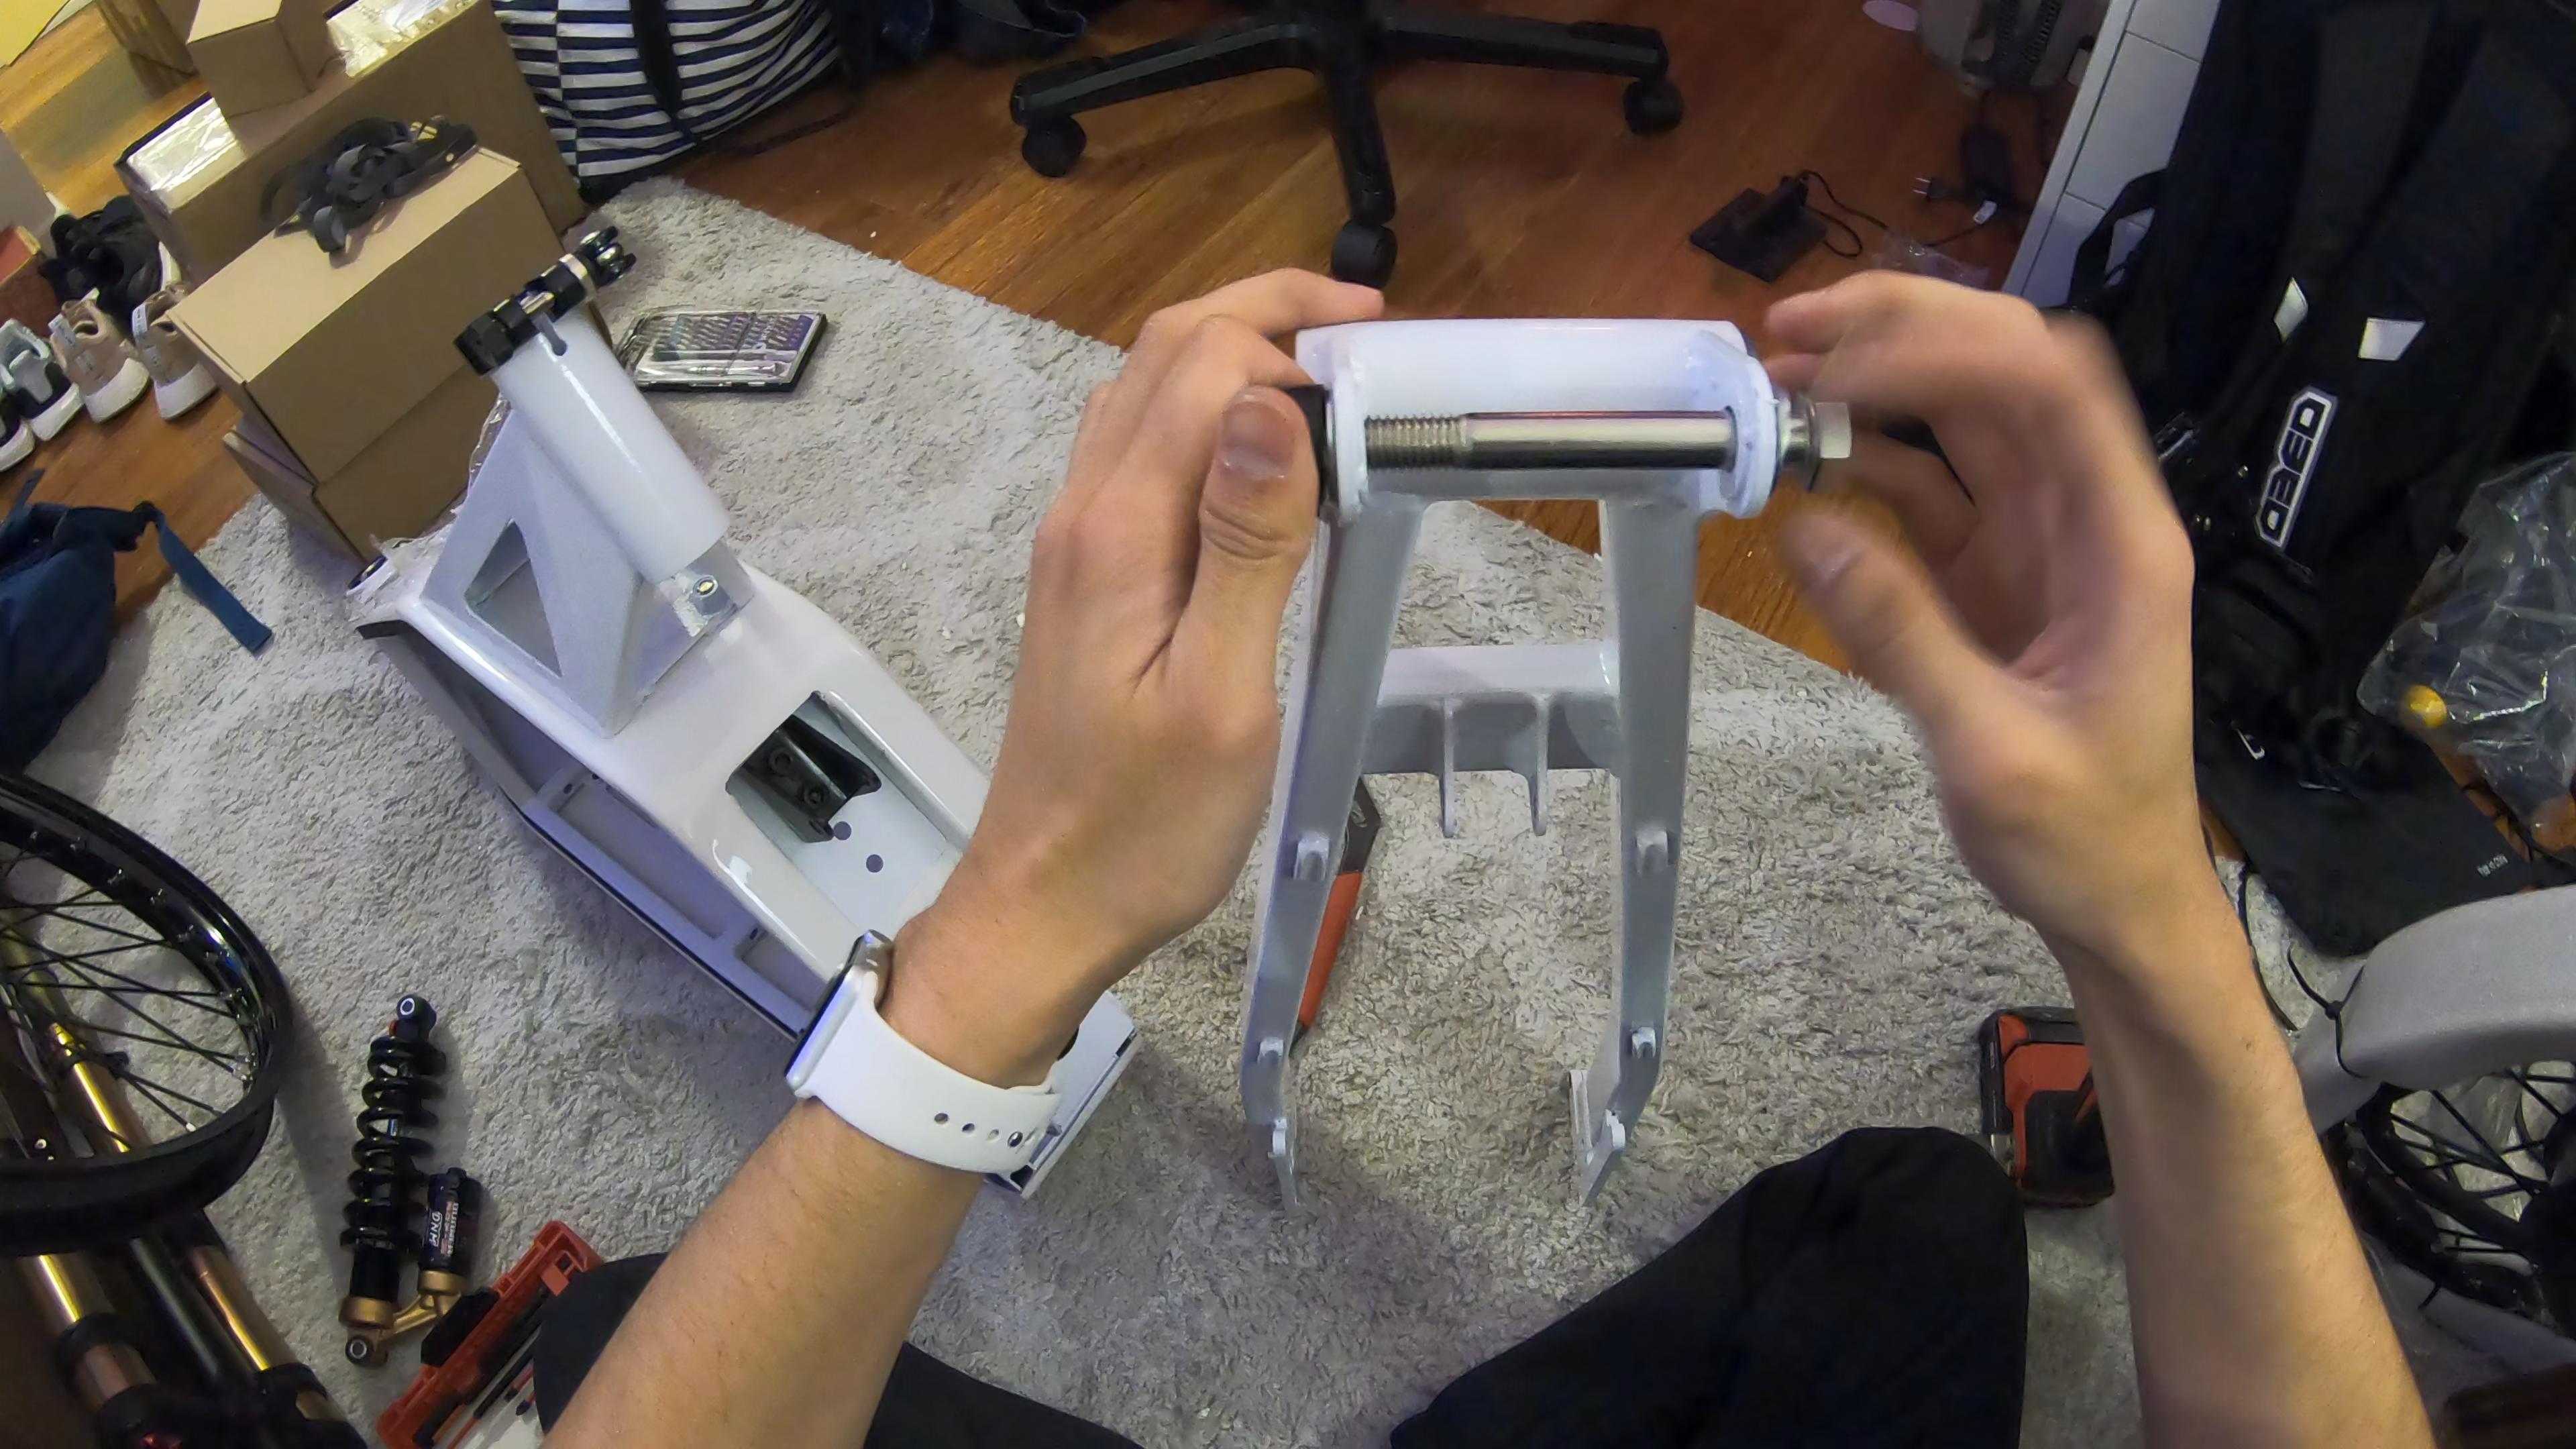
Putting on the swing arm, remove the bolt from the swing arm and install it through the frame bearing. So far so good.
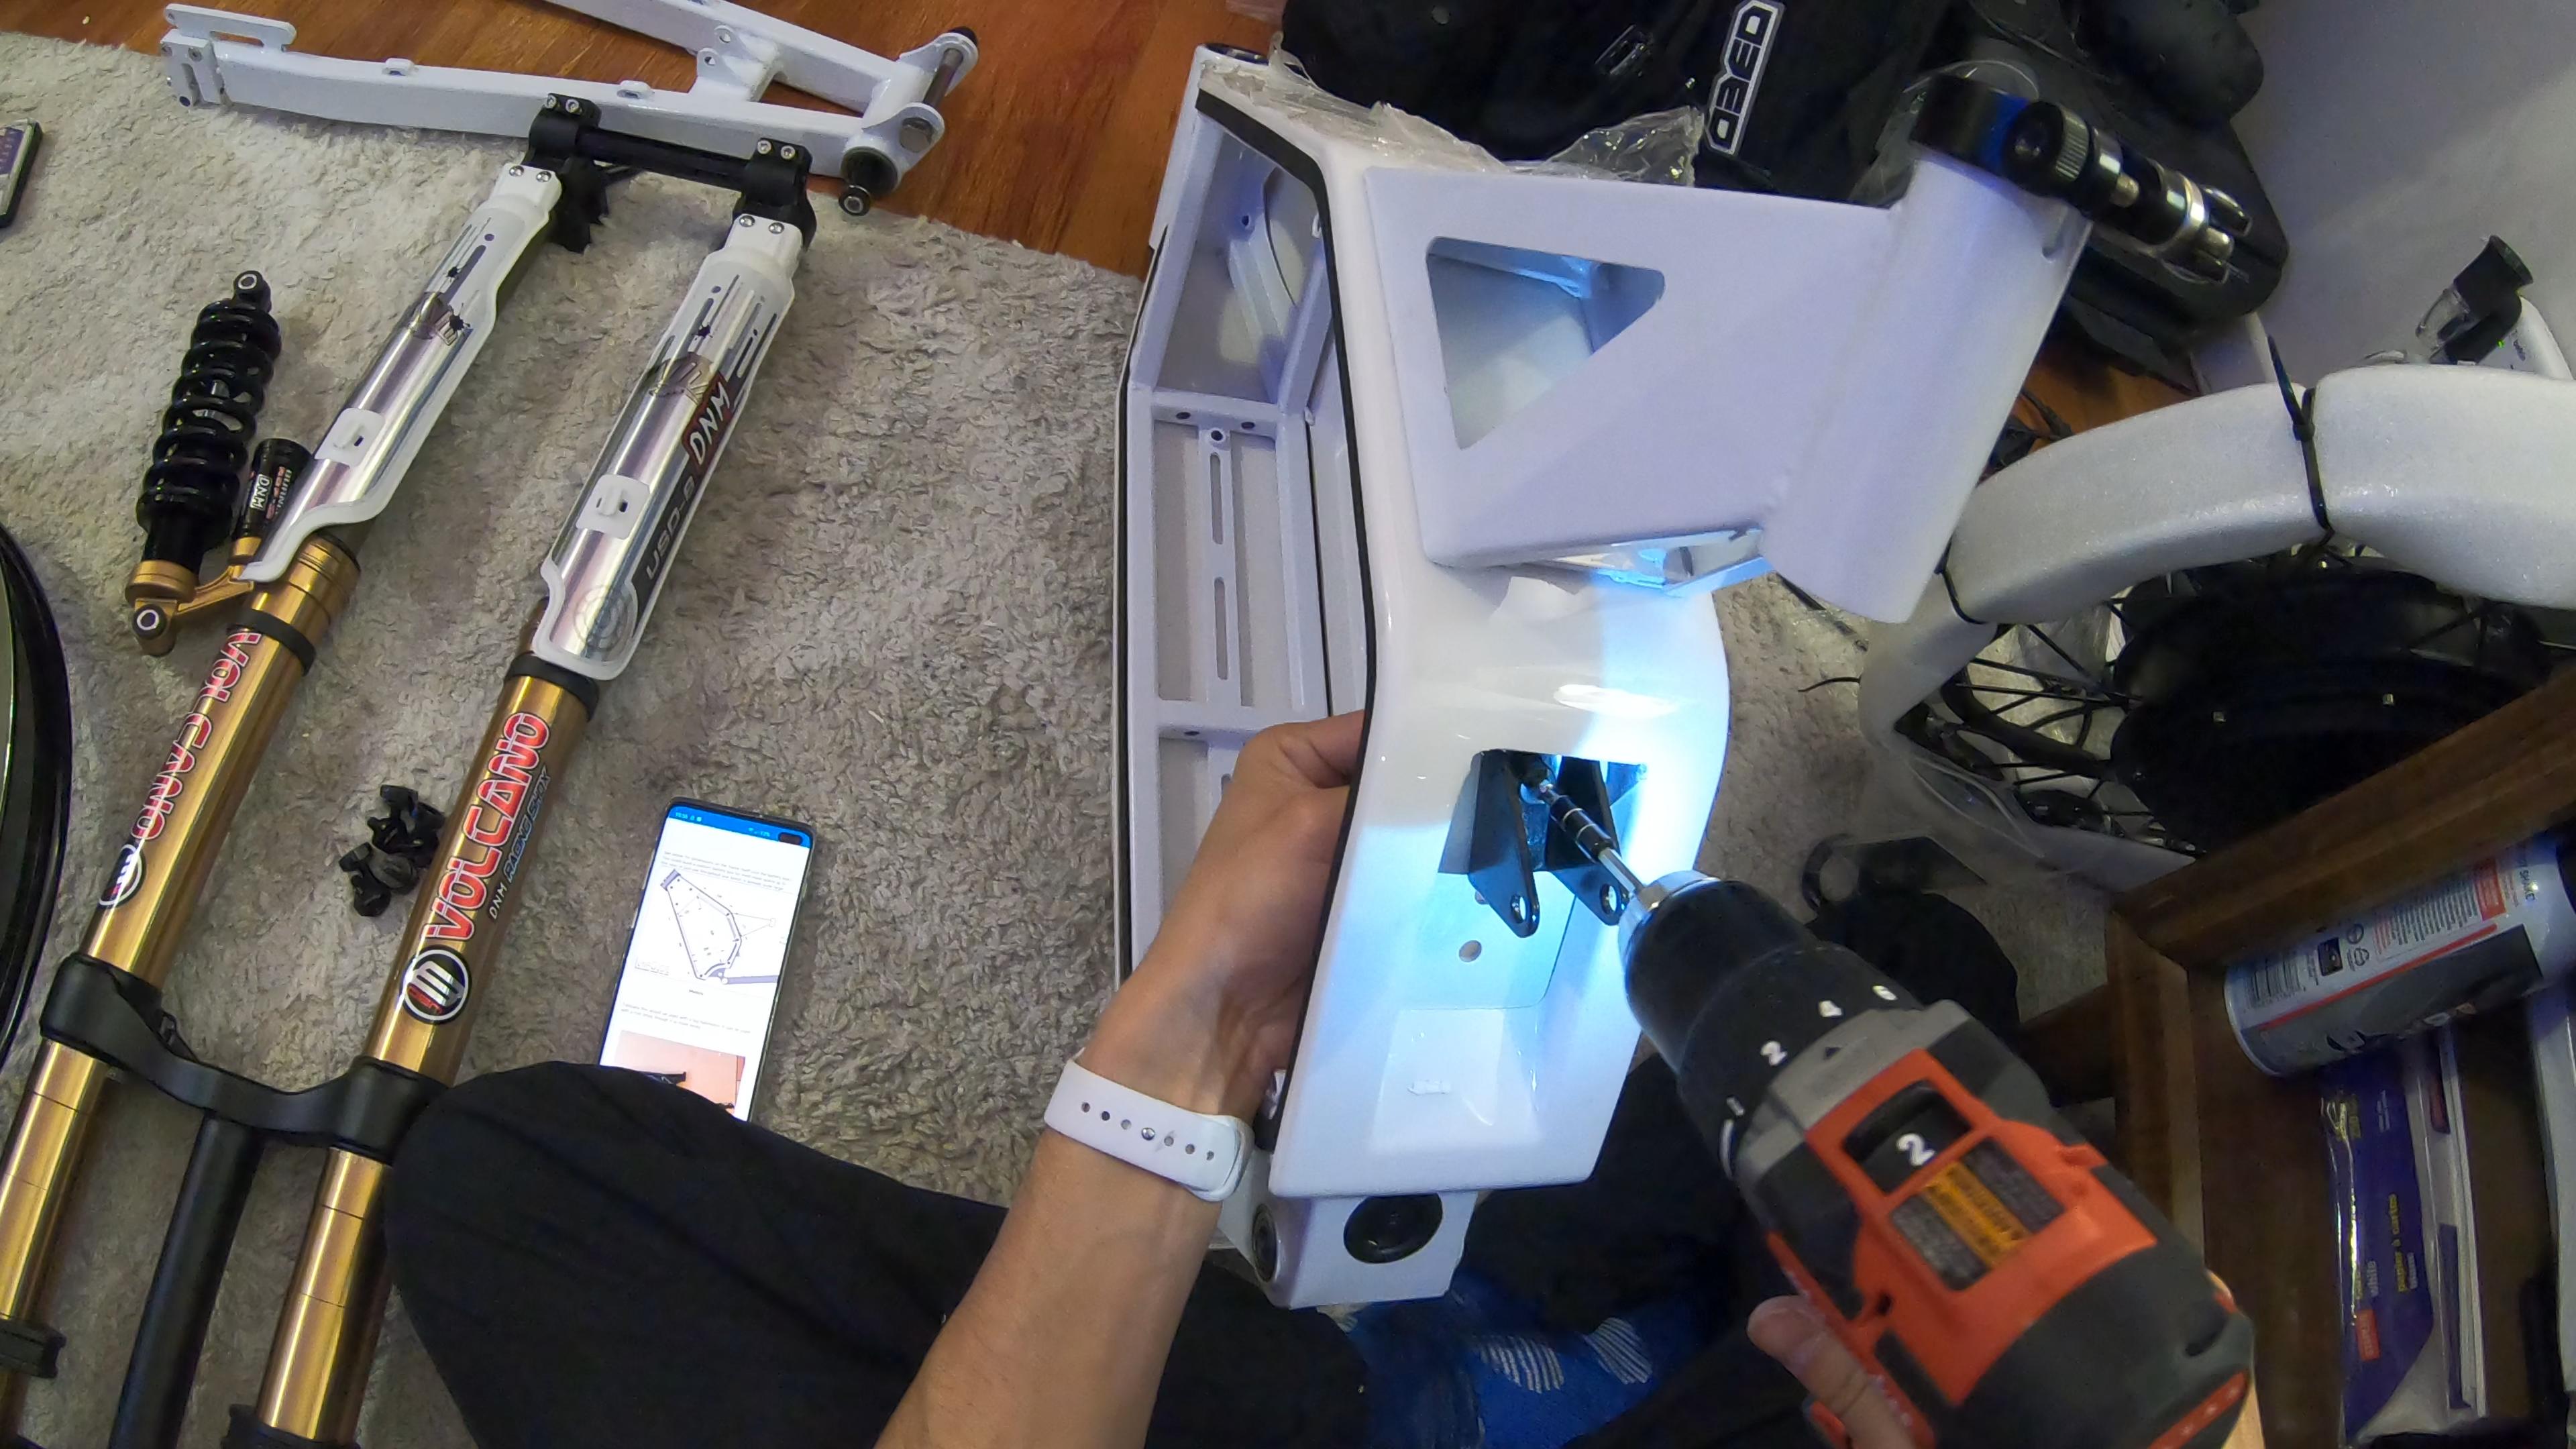
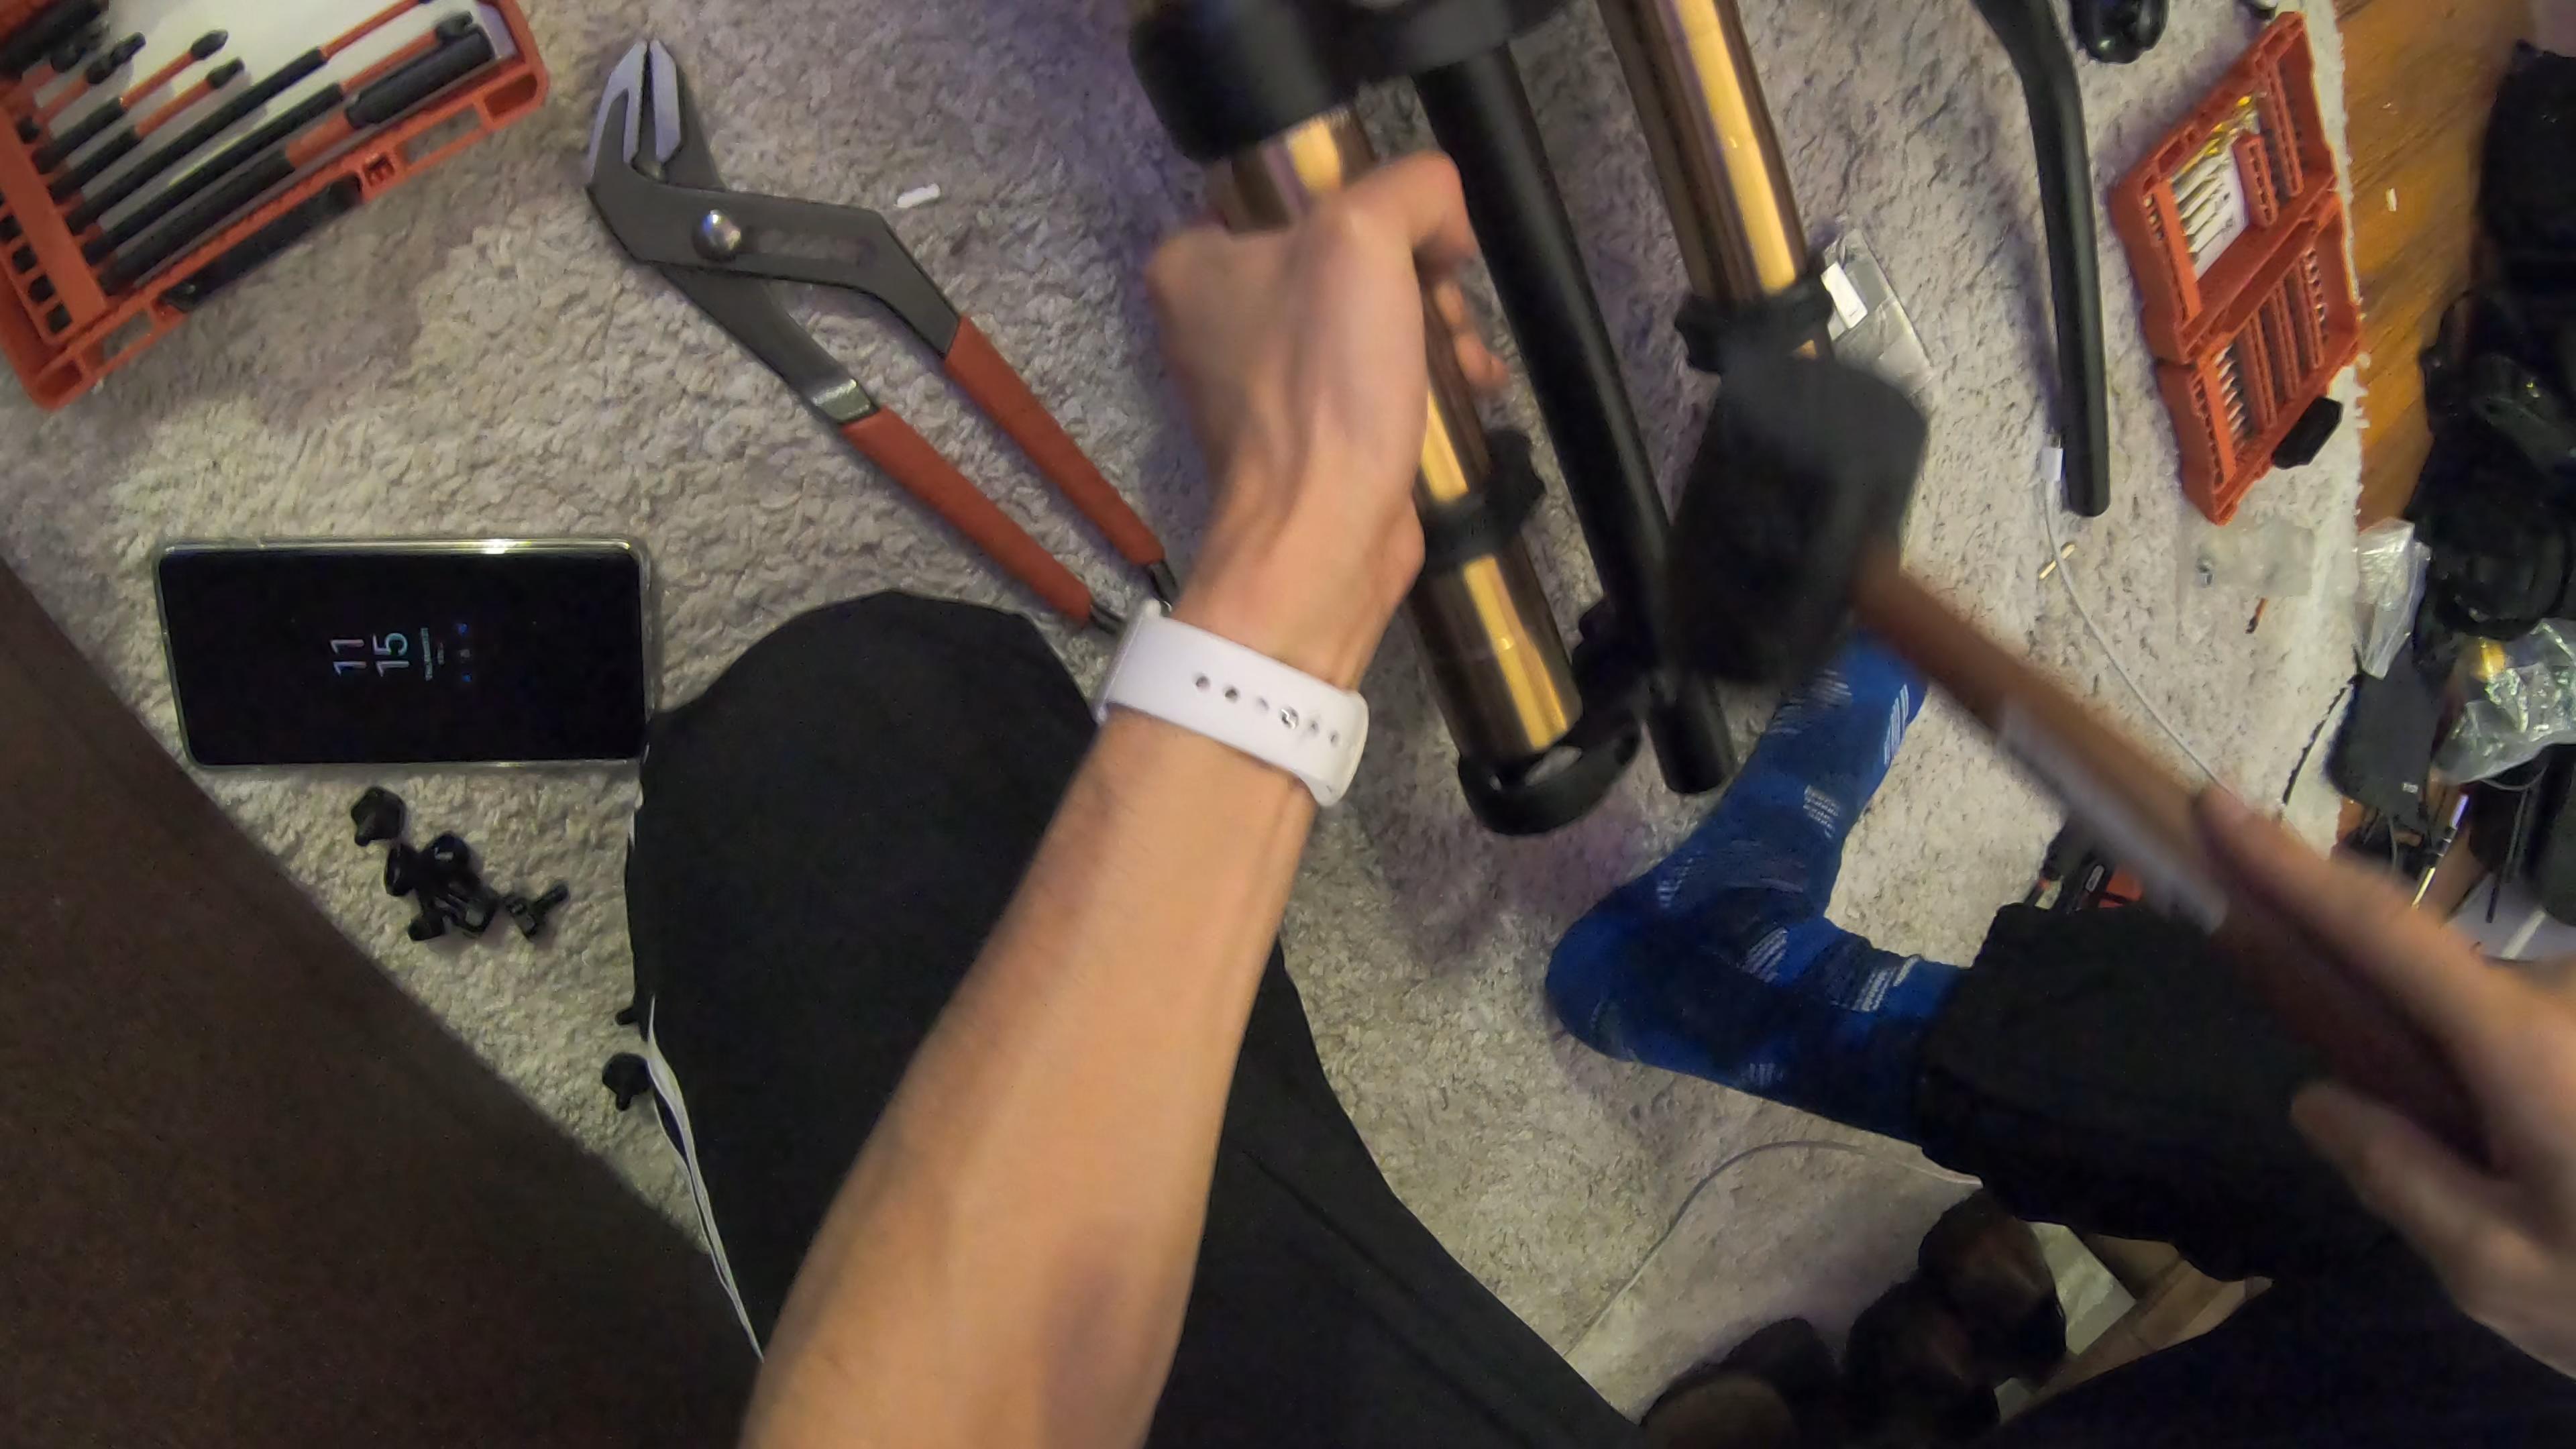
Mounting the front fork, this took a bit more time and research. Remember, new to bike building. Just in case anyone is wondering, this is how to install a DNM USD-8 Front Fork.
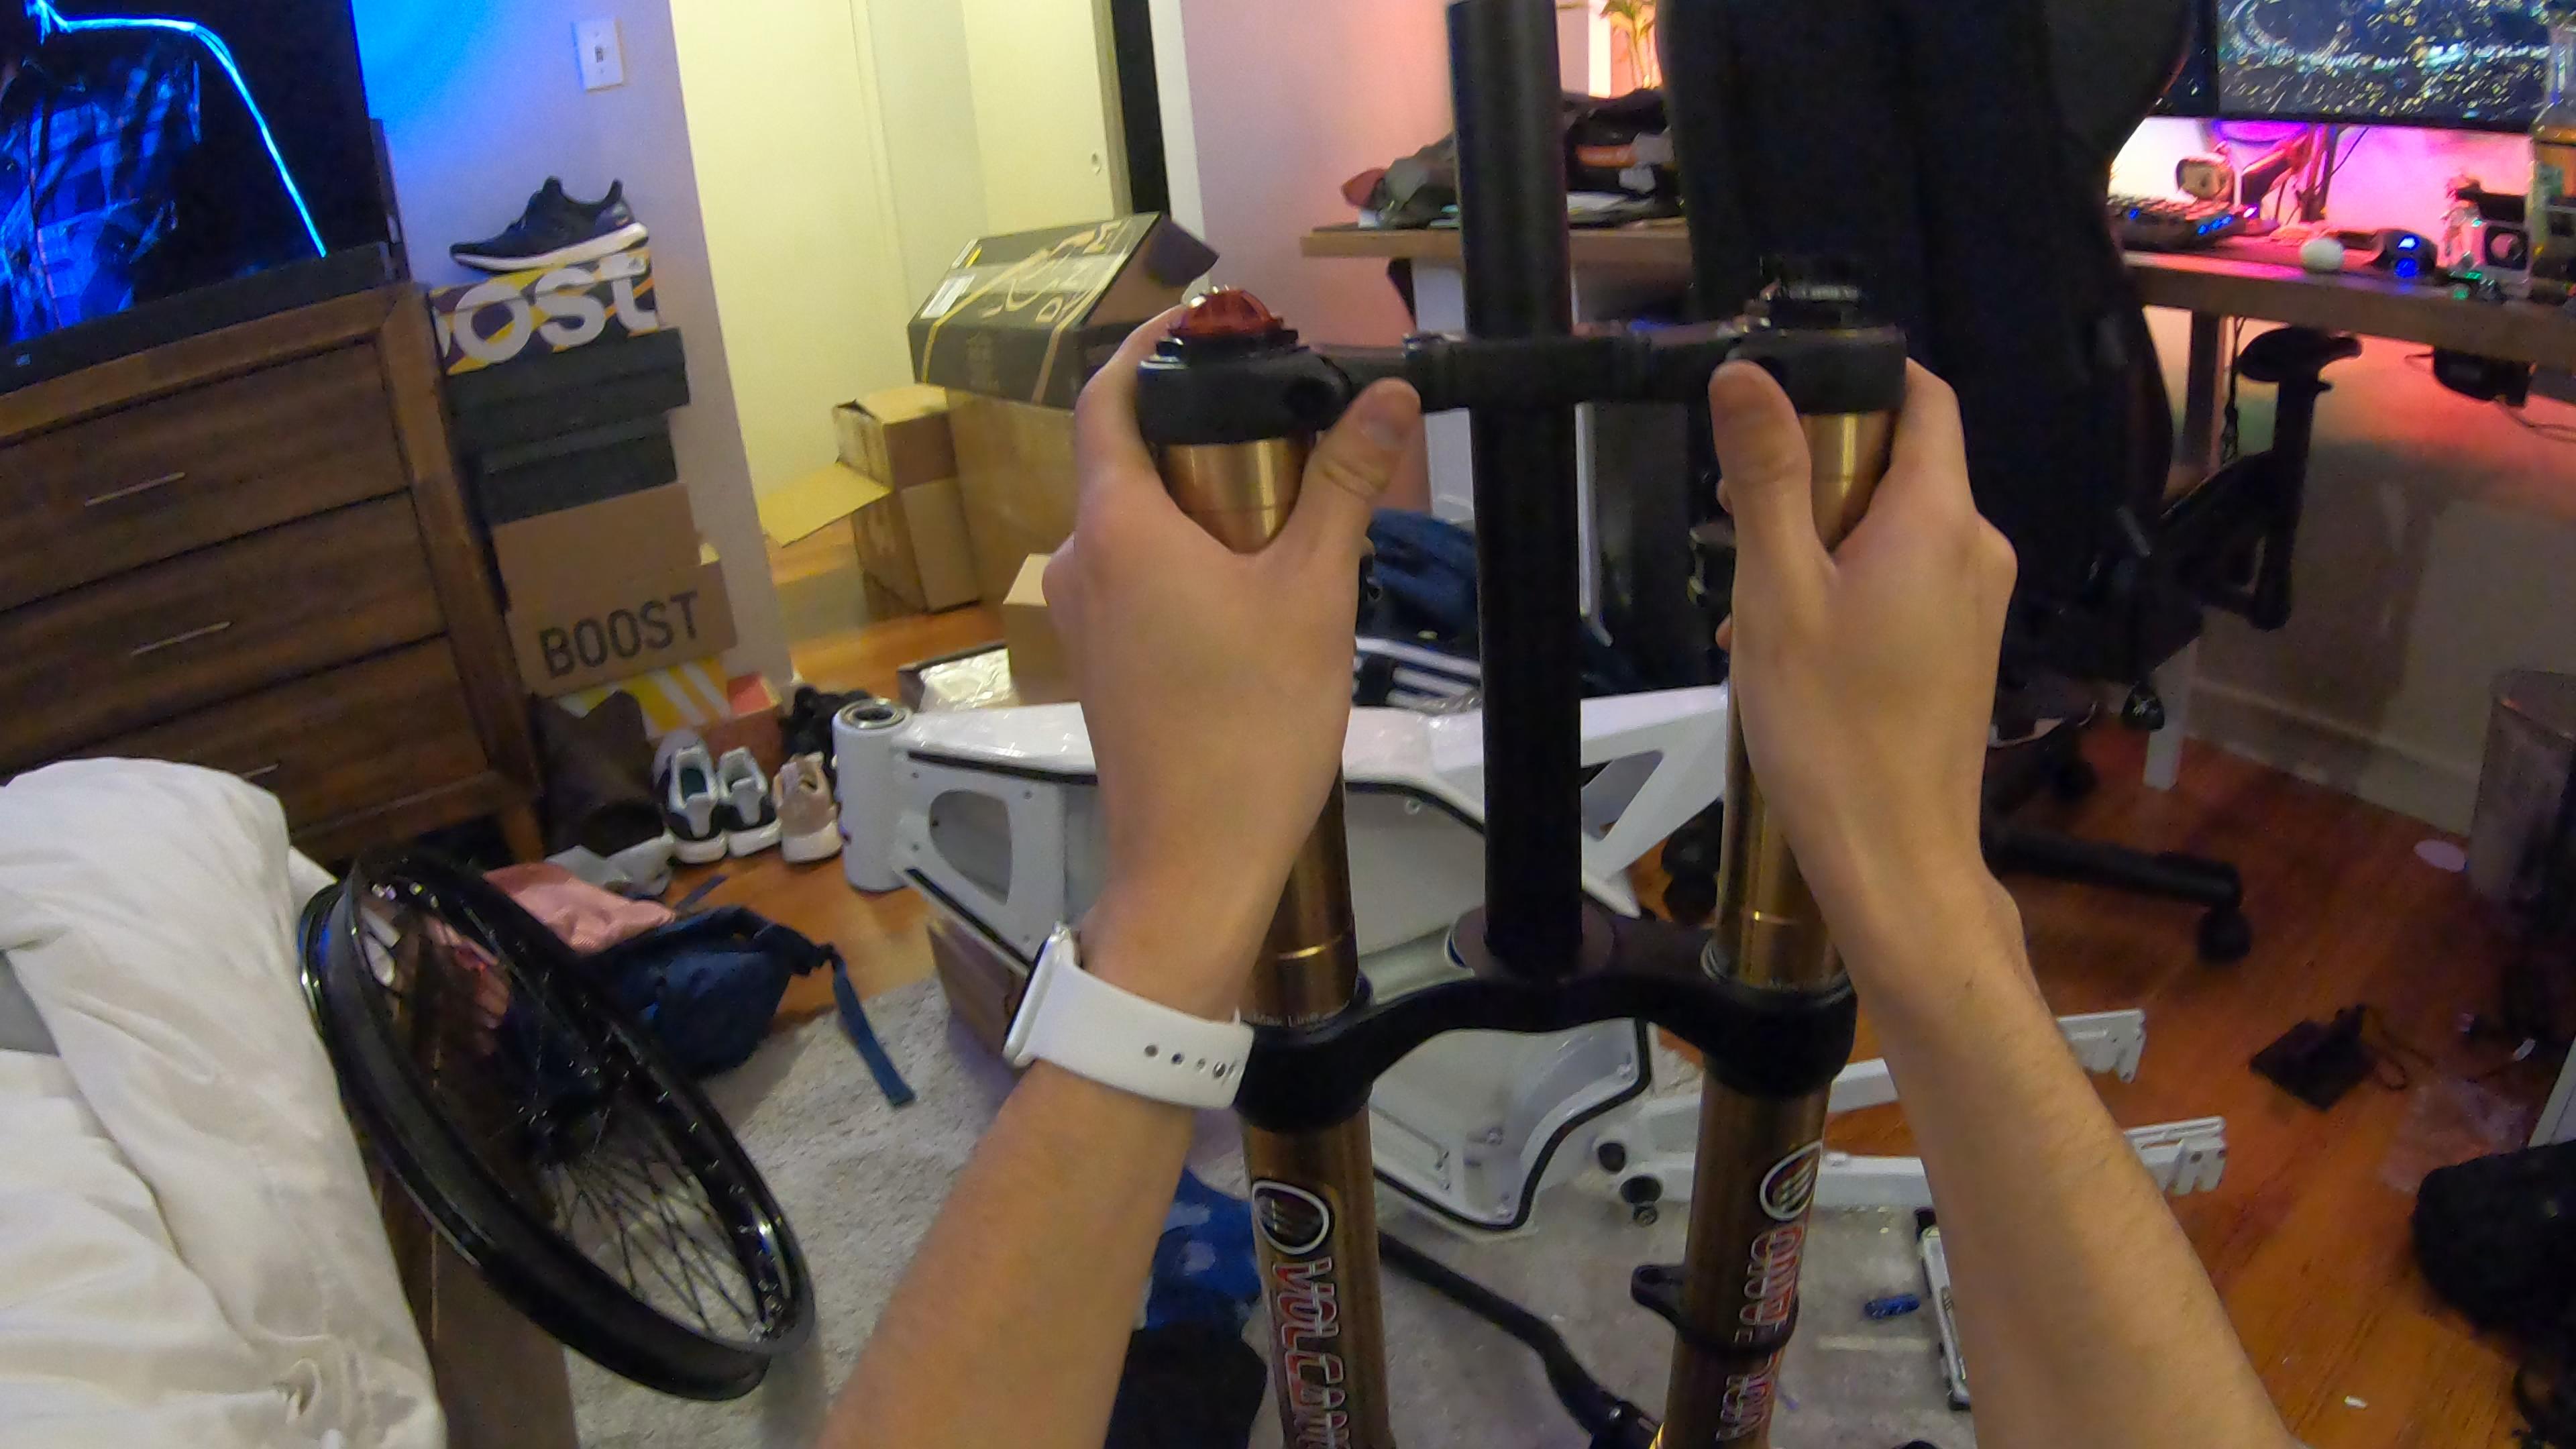
First you have to take off the top portion of the fork, self explanatory, I know; it took me awhile to be sure that's what you have to do. :lol: Don't worry, it will take some force.
Most important is to correctly install all of the different crown race and compression rings. paxtana on the forum has done a great job documenting this part. You can find his write up on the EEB Frame Here
After that, secure the top of your fork, and tighten all the screws.
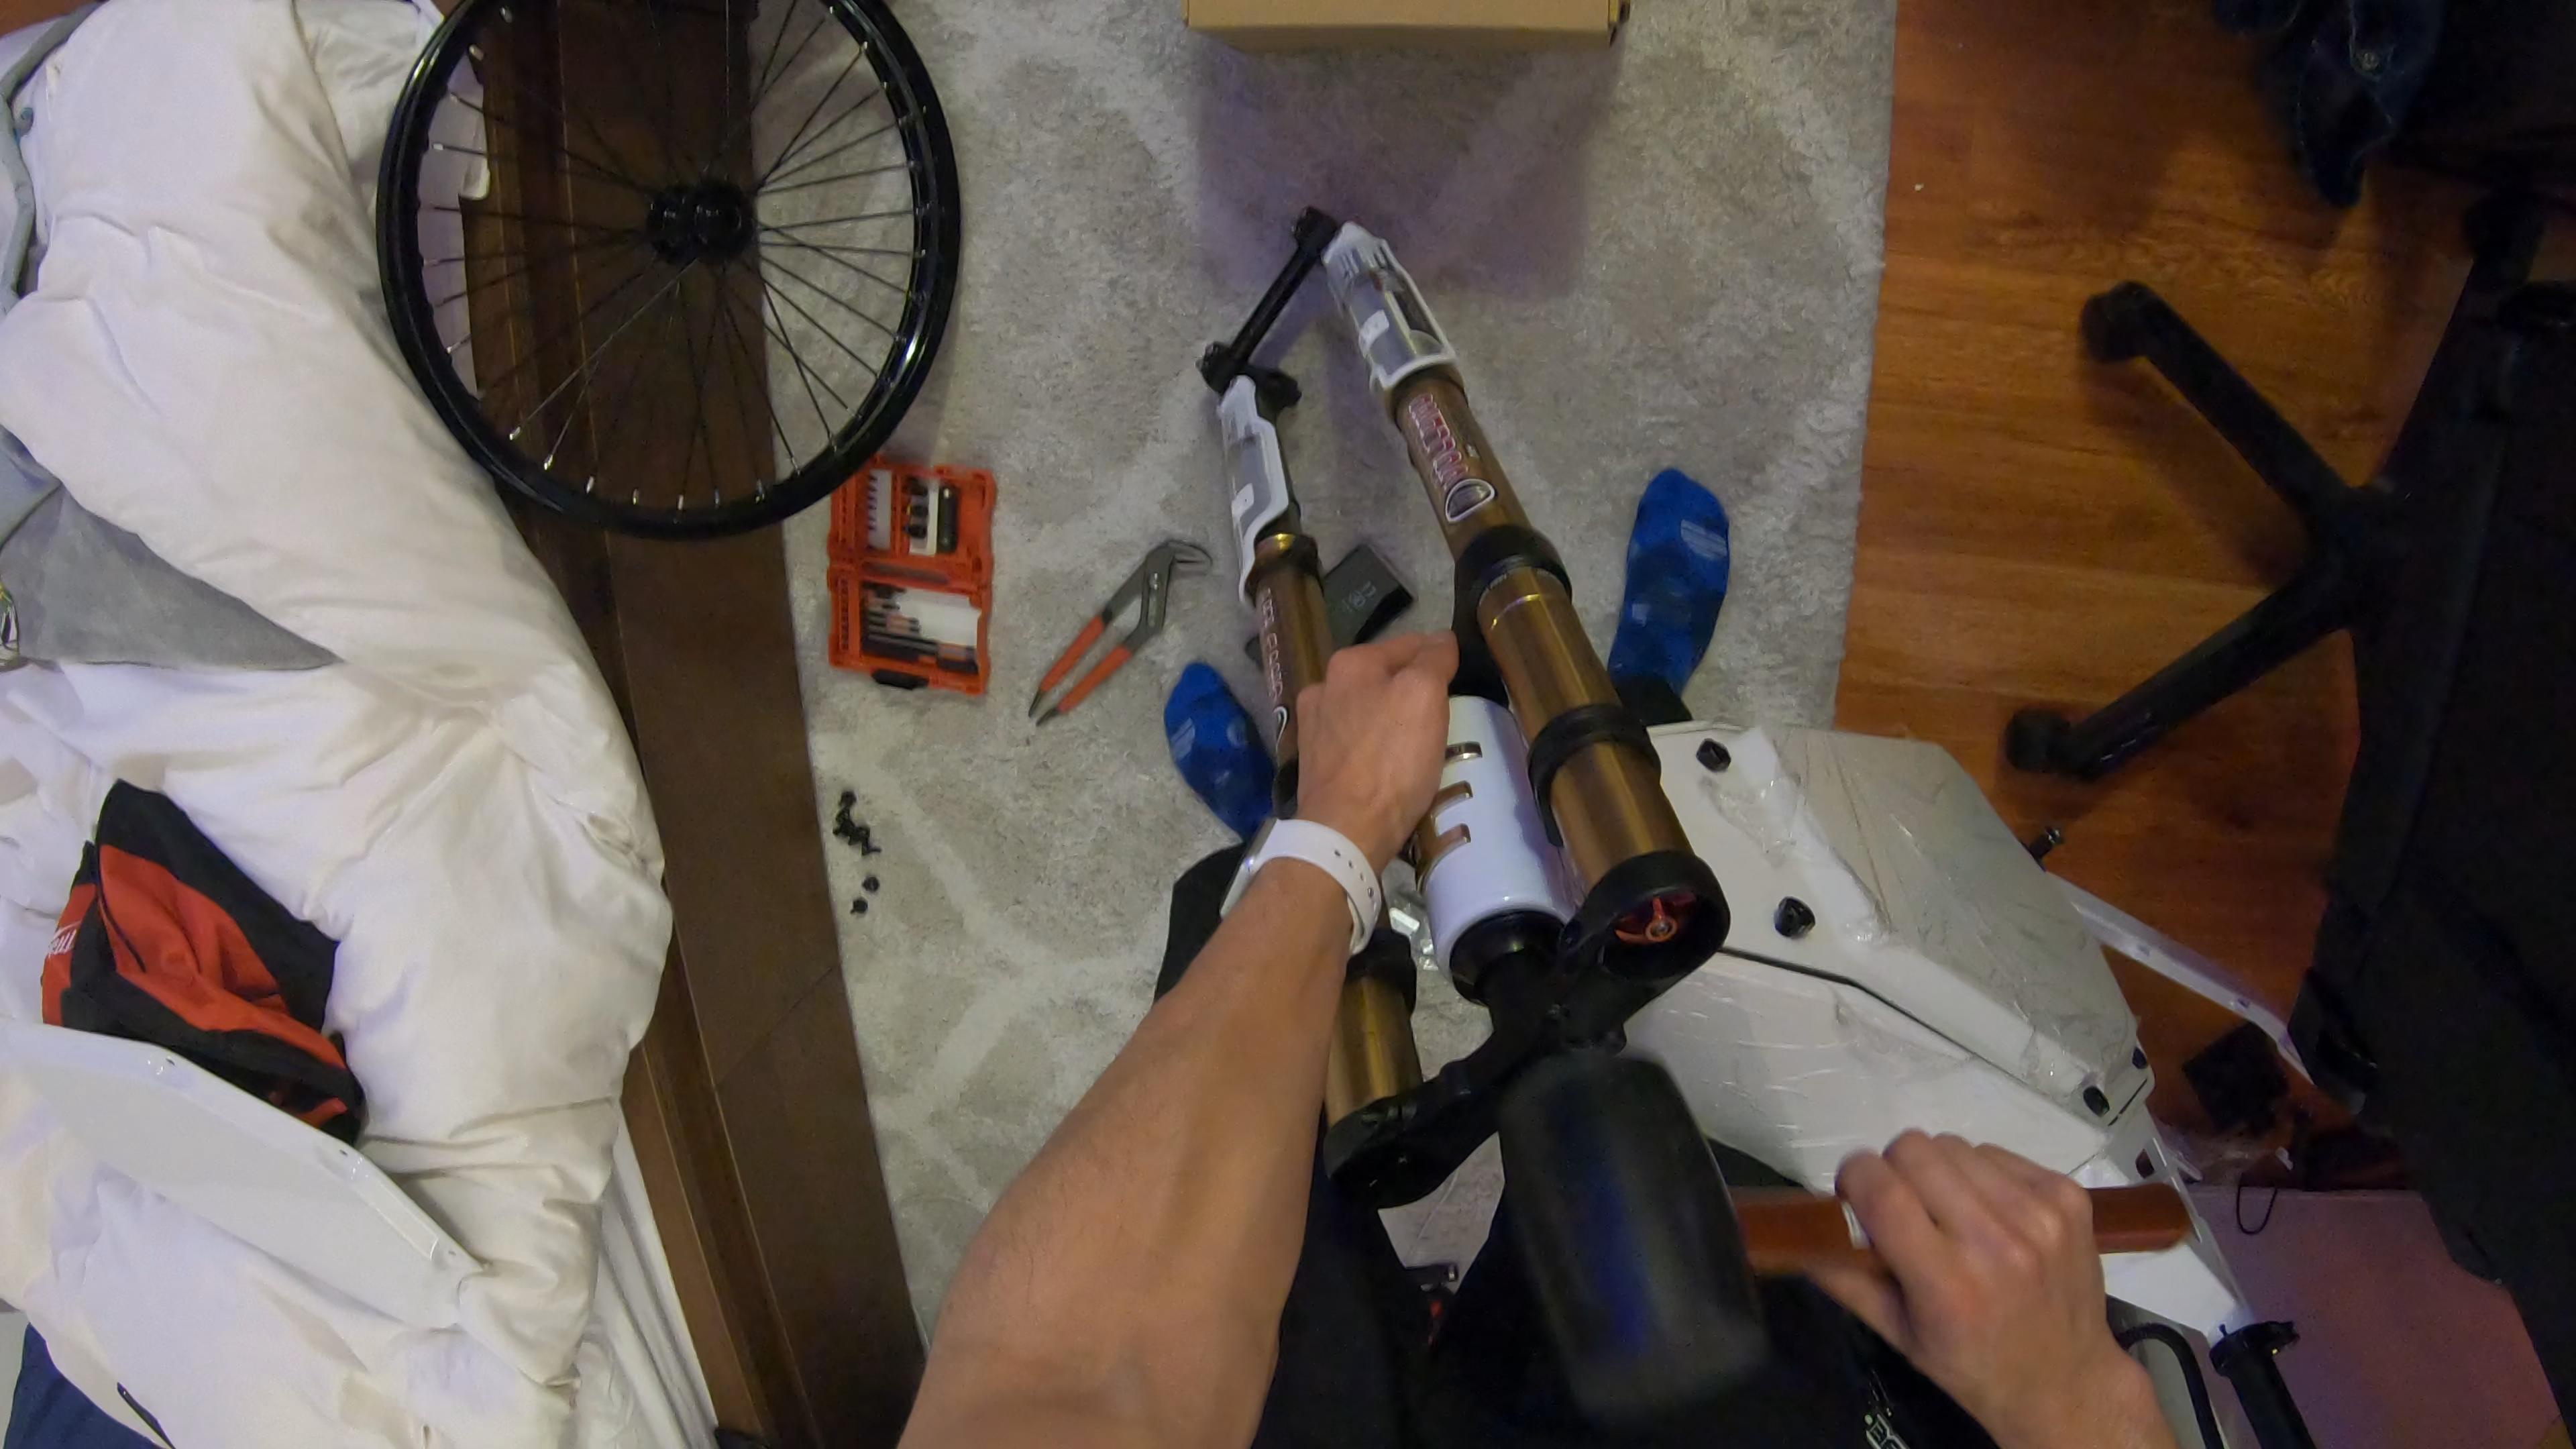
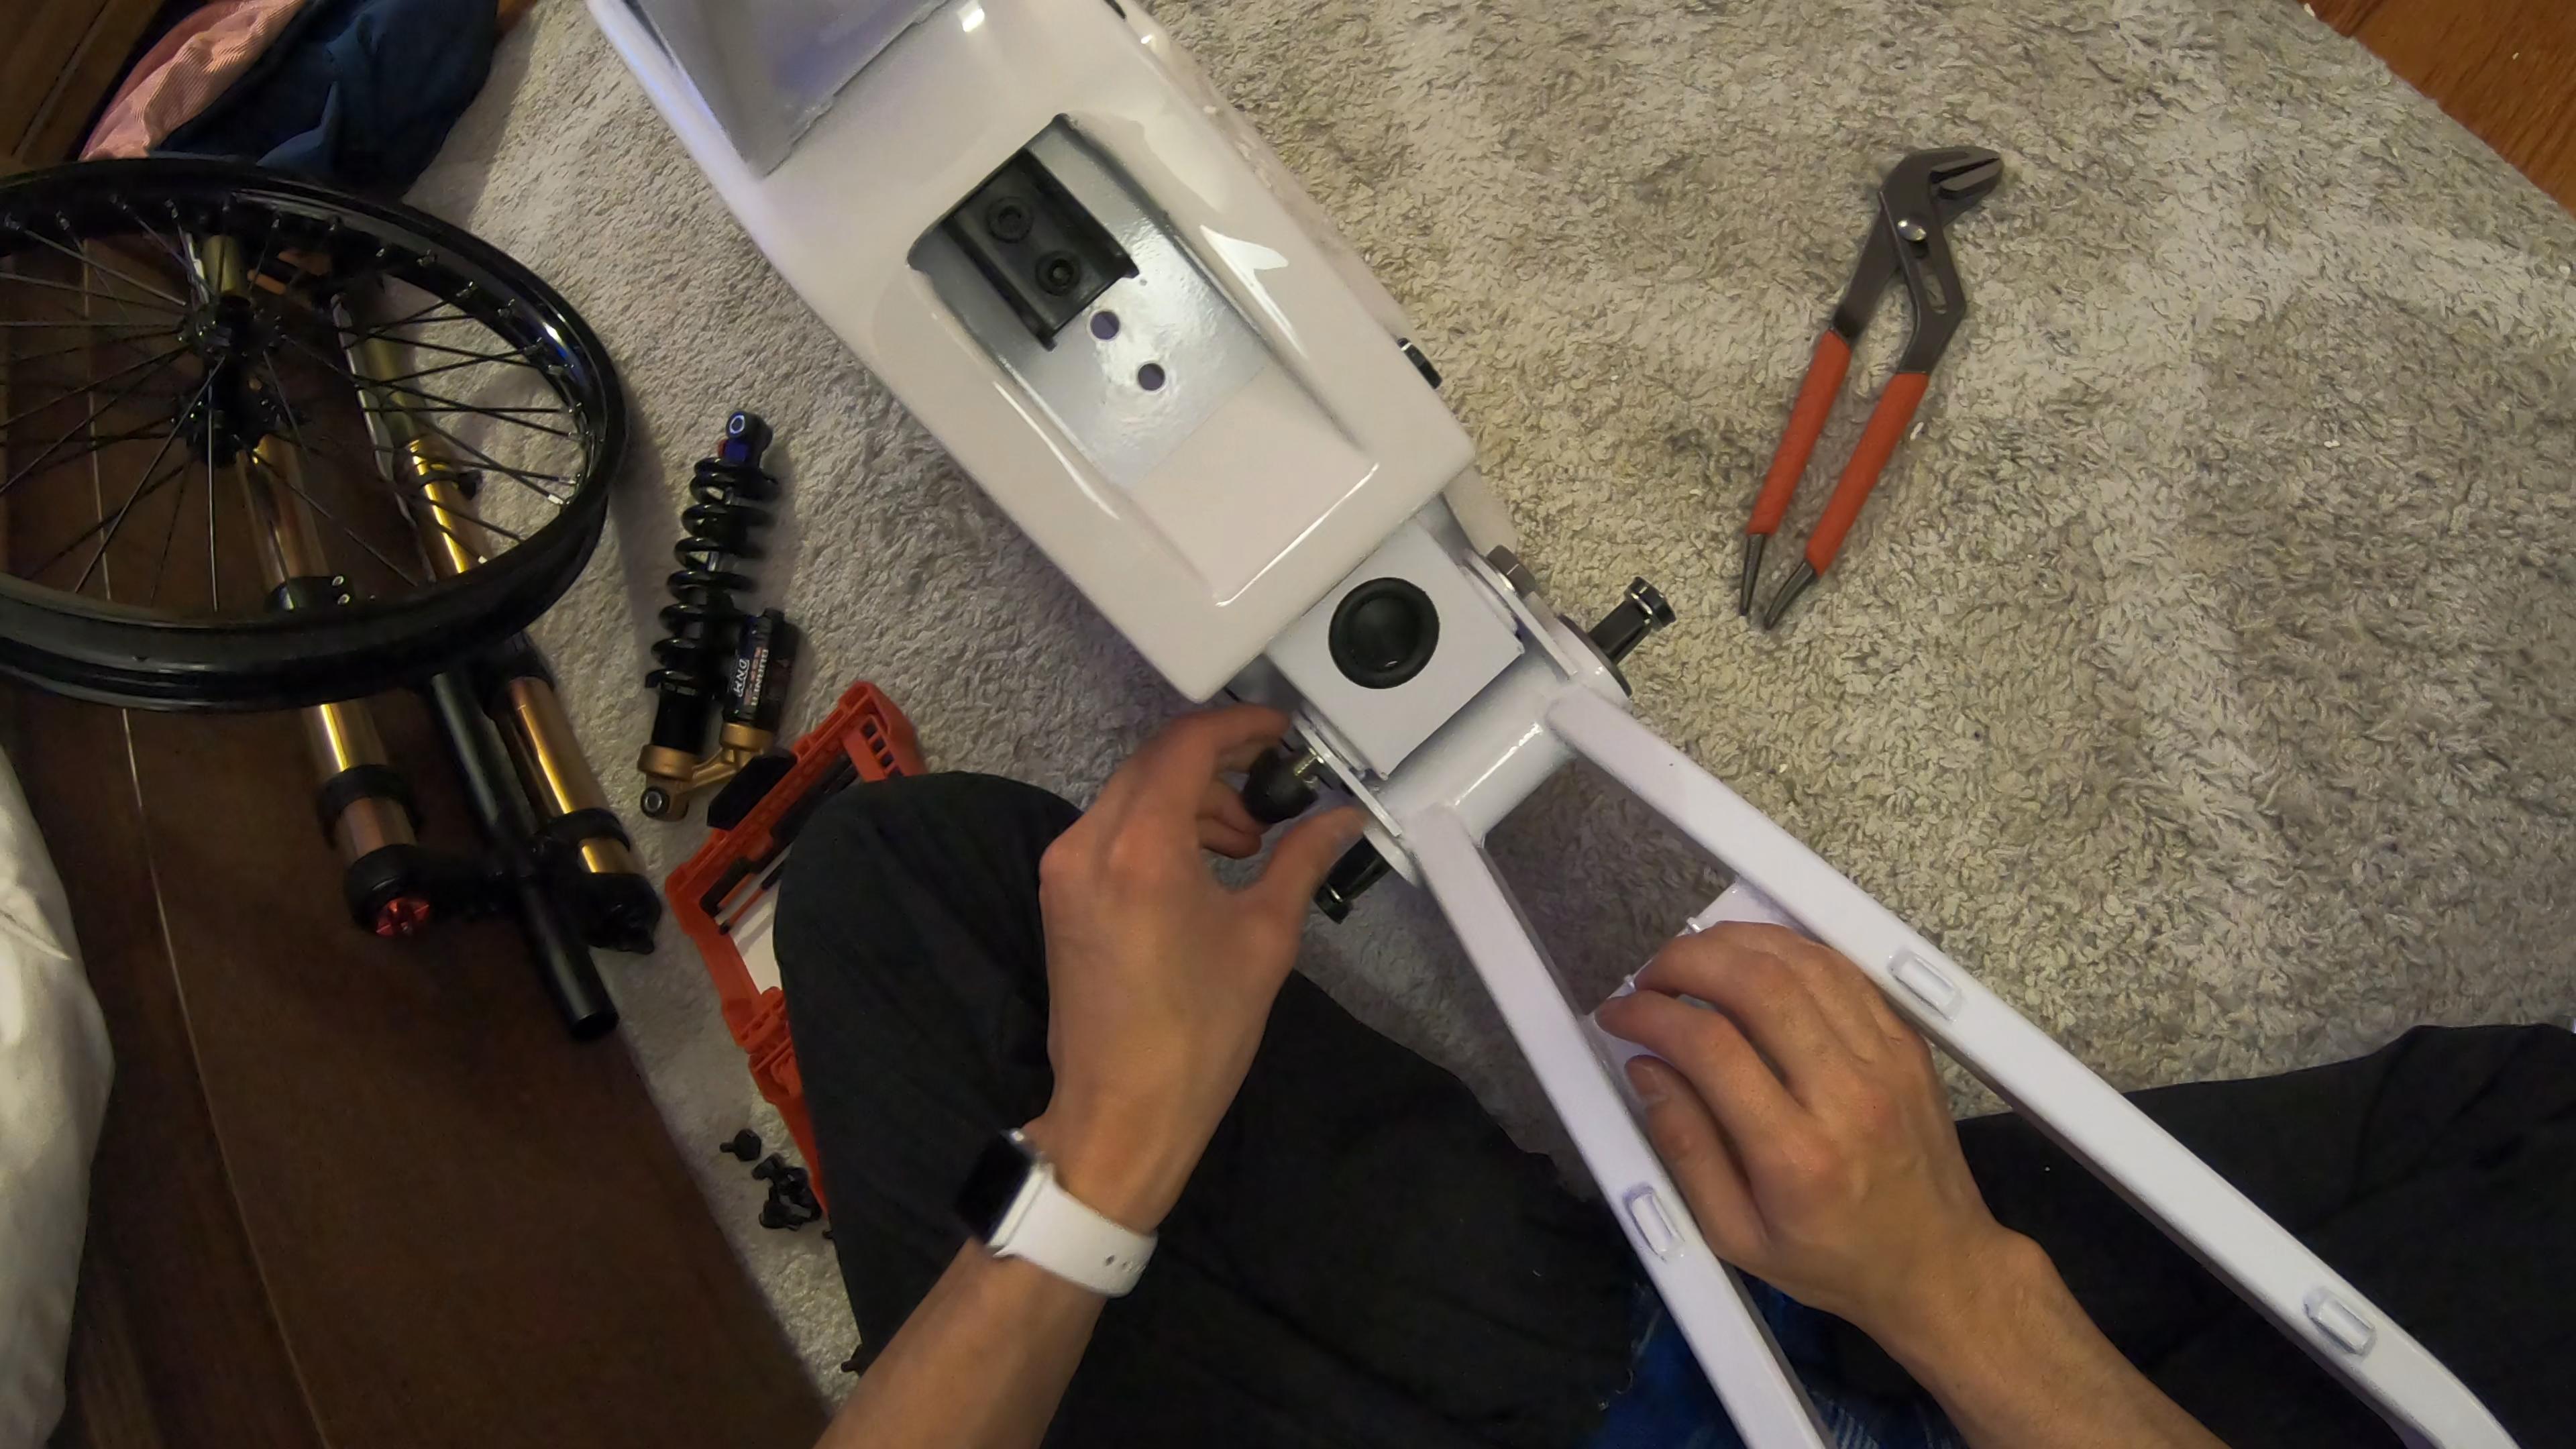
Once your handlebars are mounted to the stem, you have something that looks kinda like a bike!
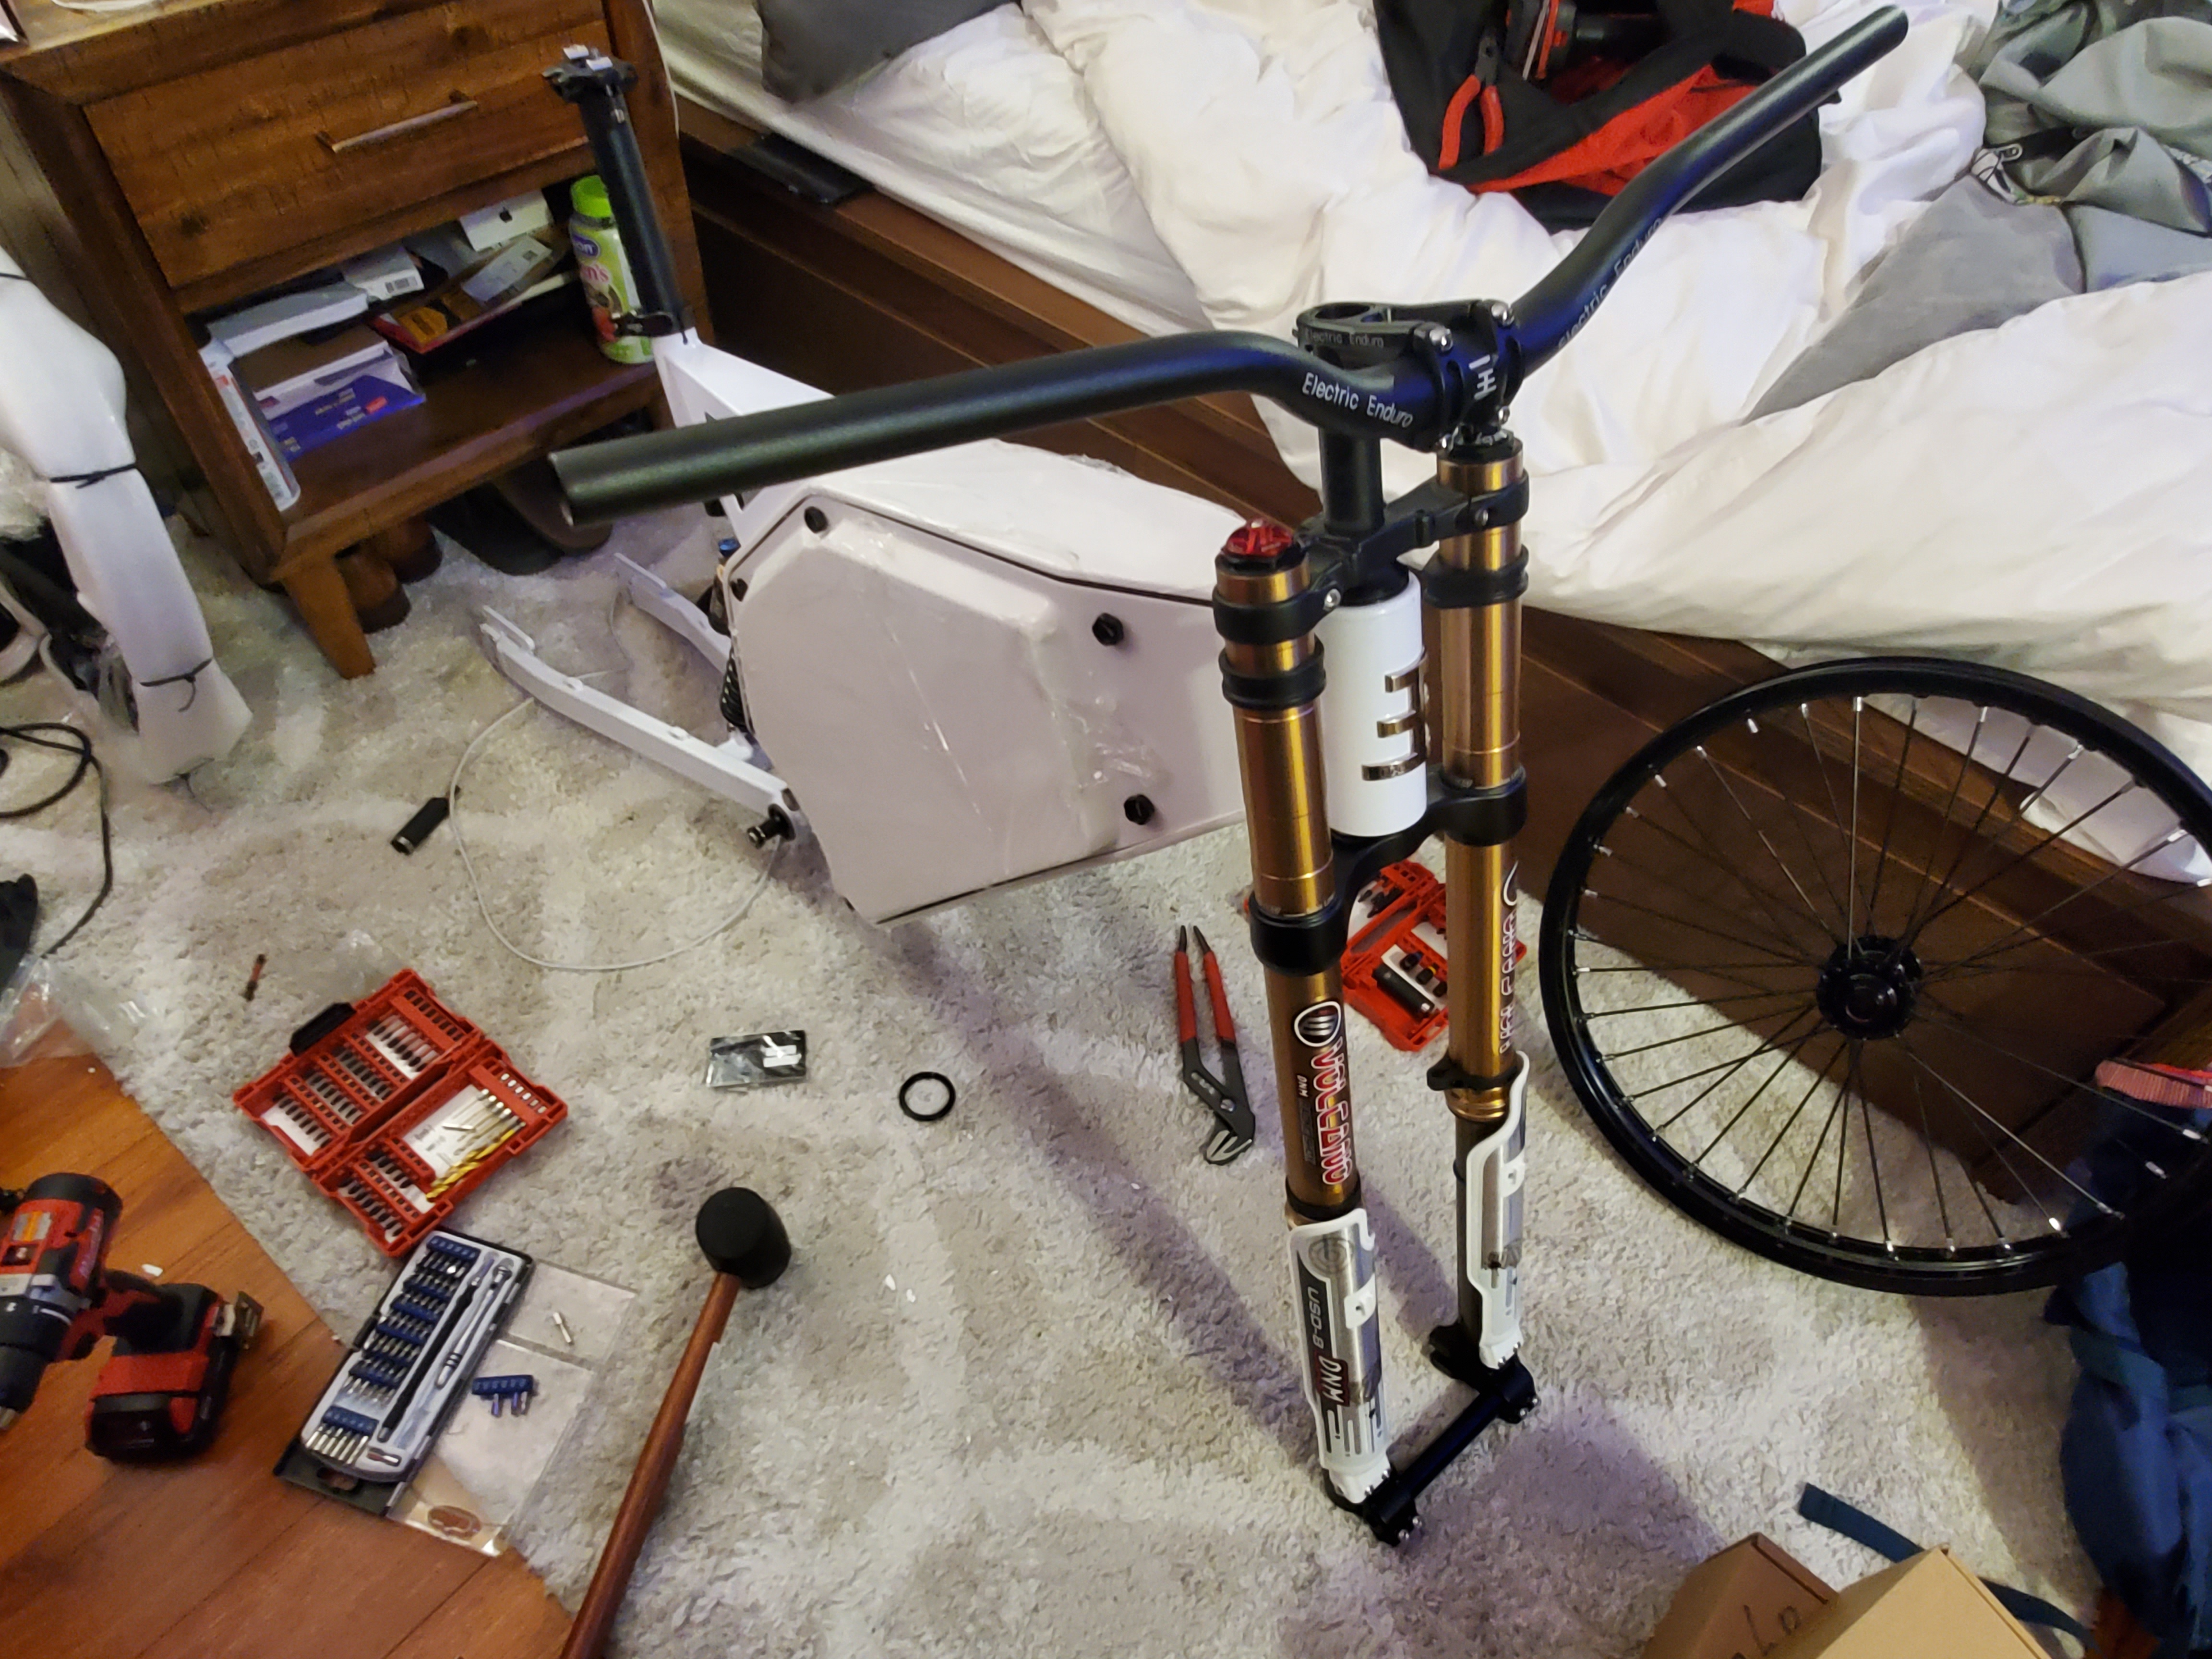
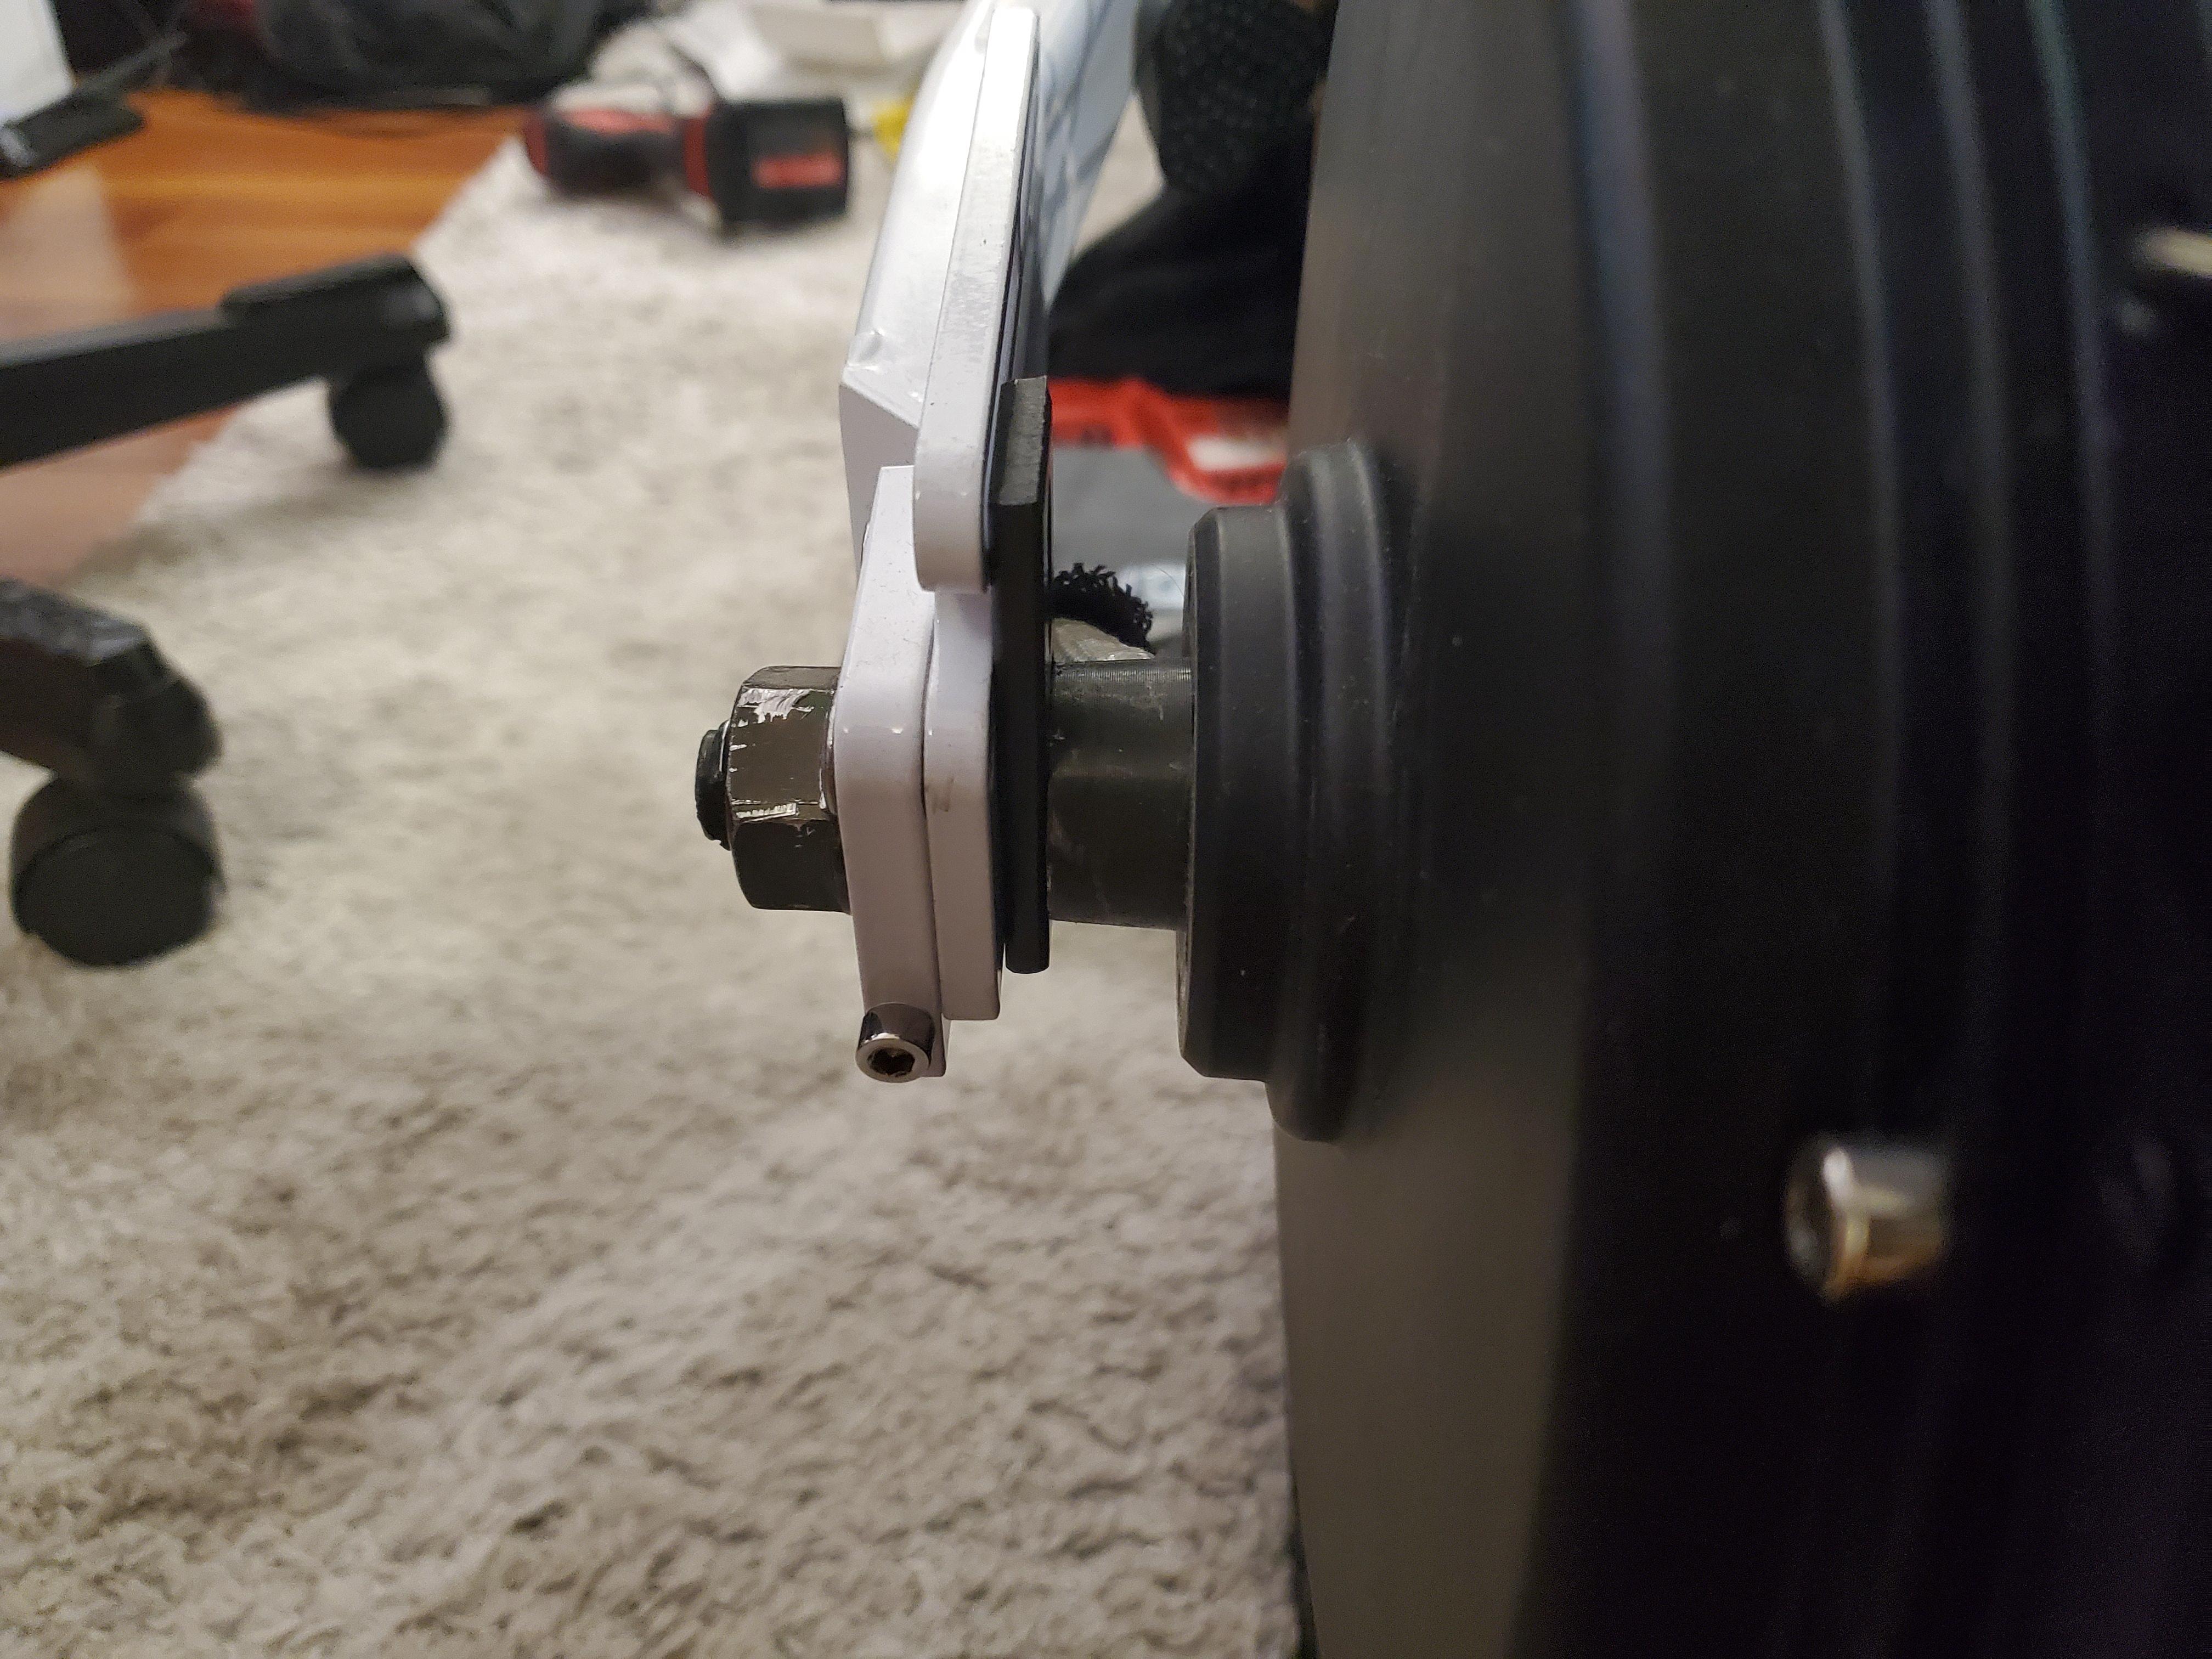
So this is where it gets a bit cloudy for me. Not to sure how to utilize the torque arms that come with the motor. The EEB Frame has built in torque arms, but I can never be too sure as a new builder. Mounting the rear wheel was fairly simple, vertical drop out. Mounting the freewheel is very easy, just screw it on in the right direction.
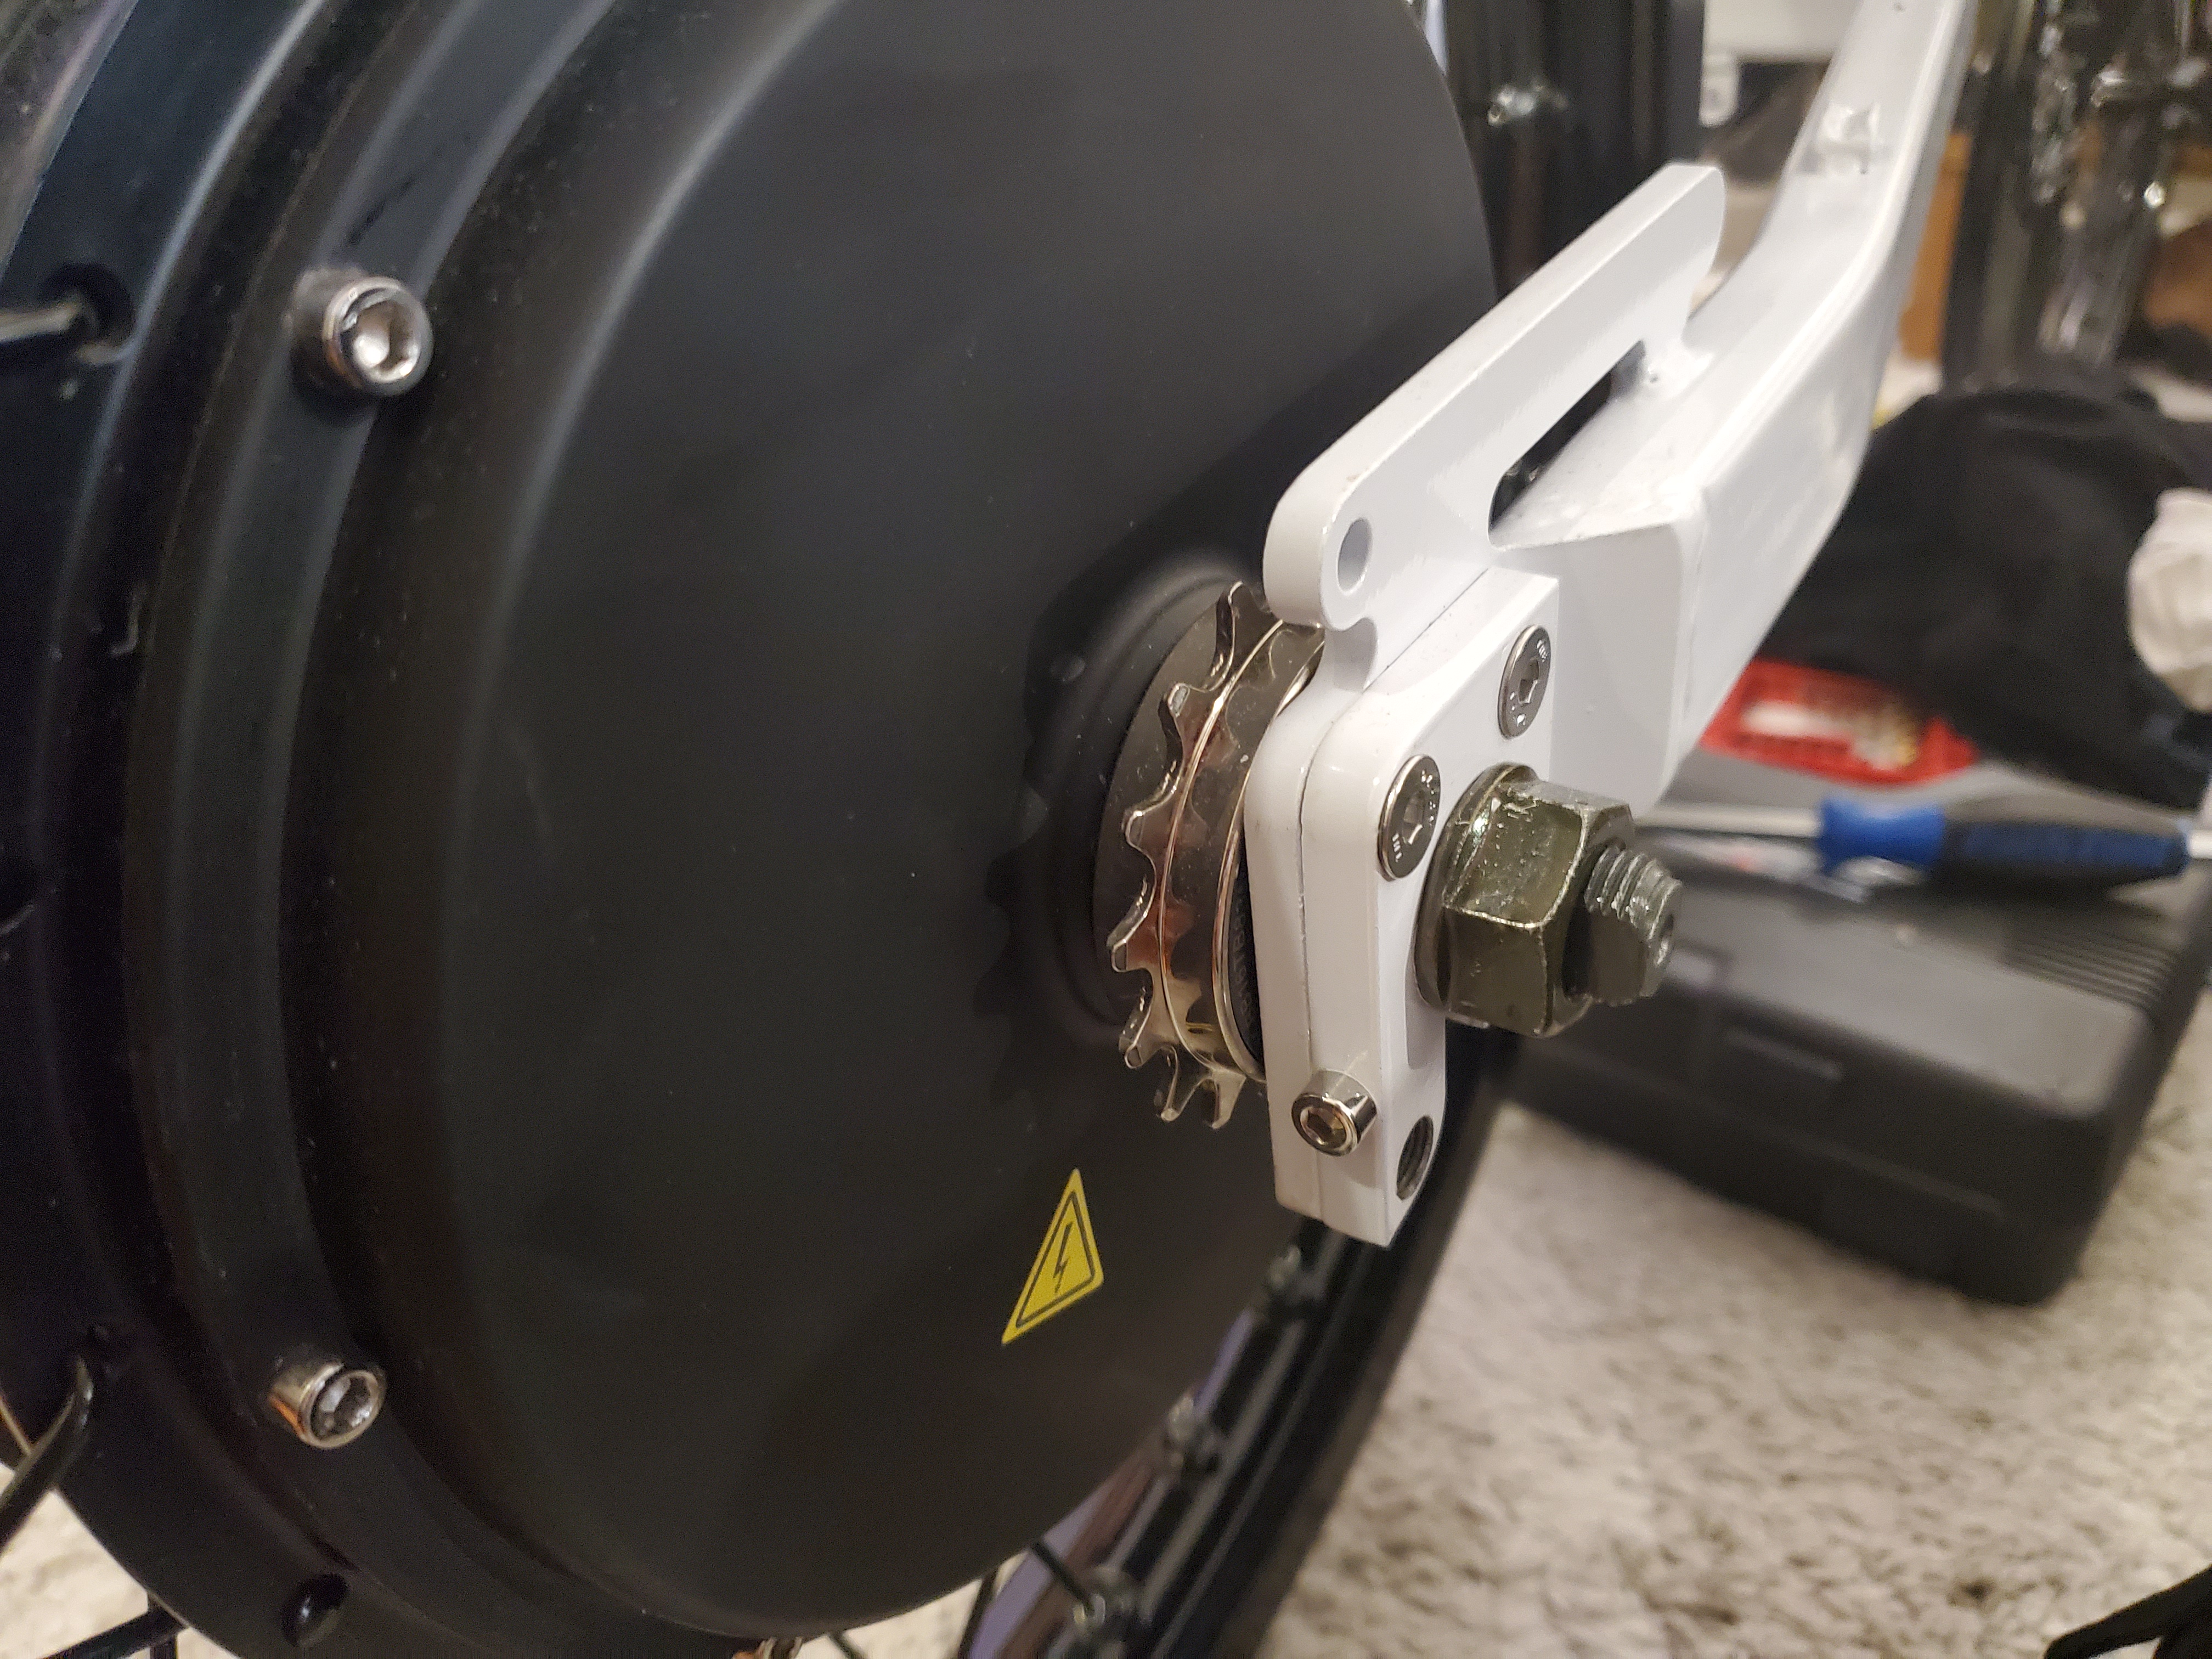
Please Help! As it currently stands, I have the torque arm that came with the motor in place against the drop out on the left side only. I imagine this is incorrect; as it obstructs the mounting points for rear brakes. Any input would be awesome!! Just want to make sure the motor is mounted properly. Its only the most important part of the build.
Skipping ahead a couple weeks. Lets install the brakes. I am only running a very powerful front brake for now, and going to rely on regen for the rear. Will probably pick up a rear brake in the coming months. Using the BR-M8020 XT Deore w/ a RT66 203mm Rotor.
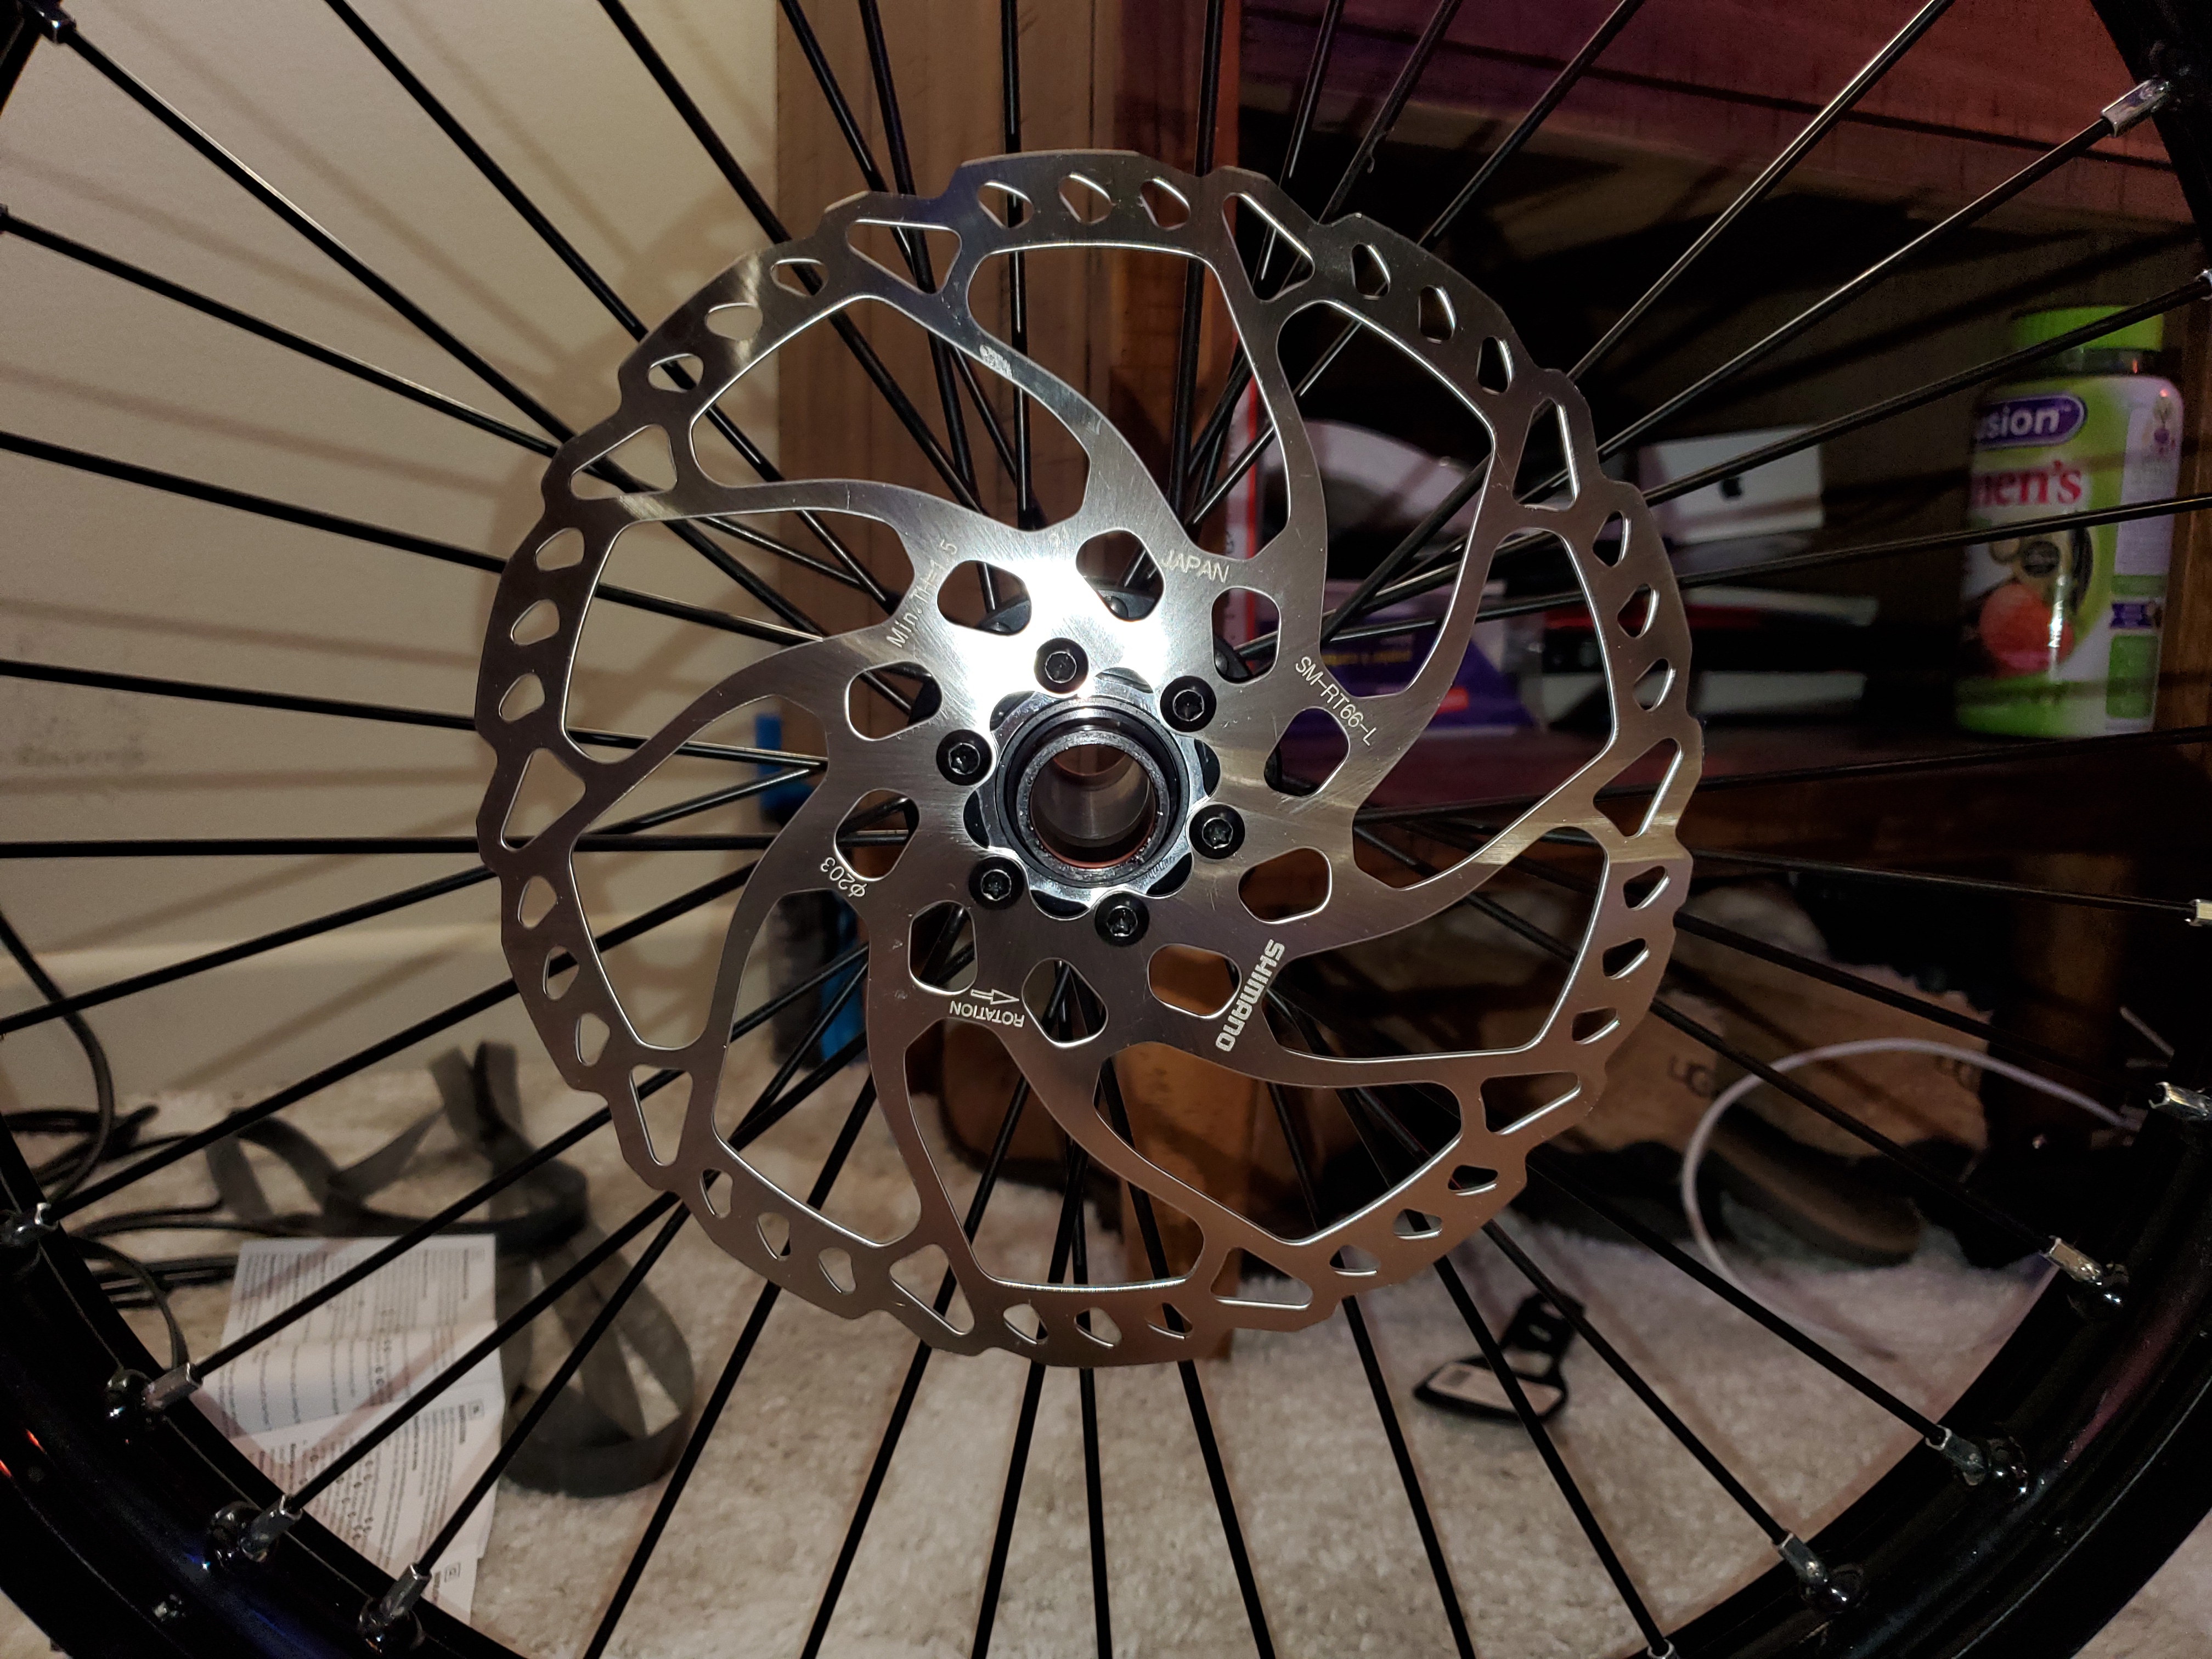
6 hex screws mount the RT66 Rotor
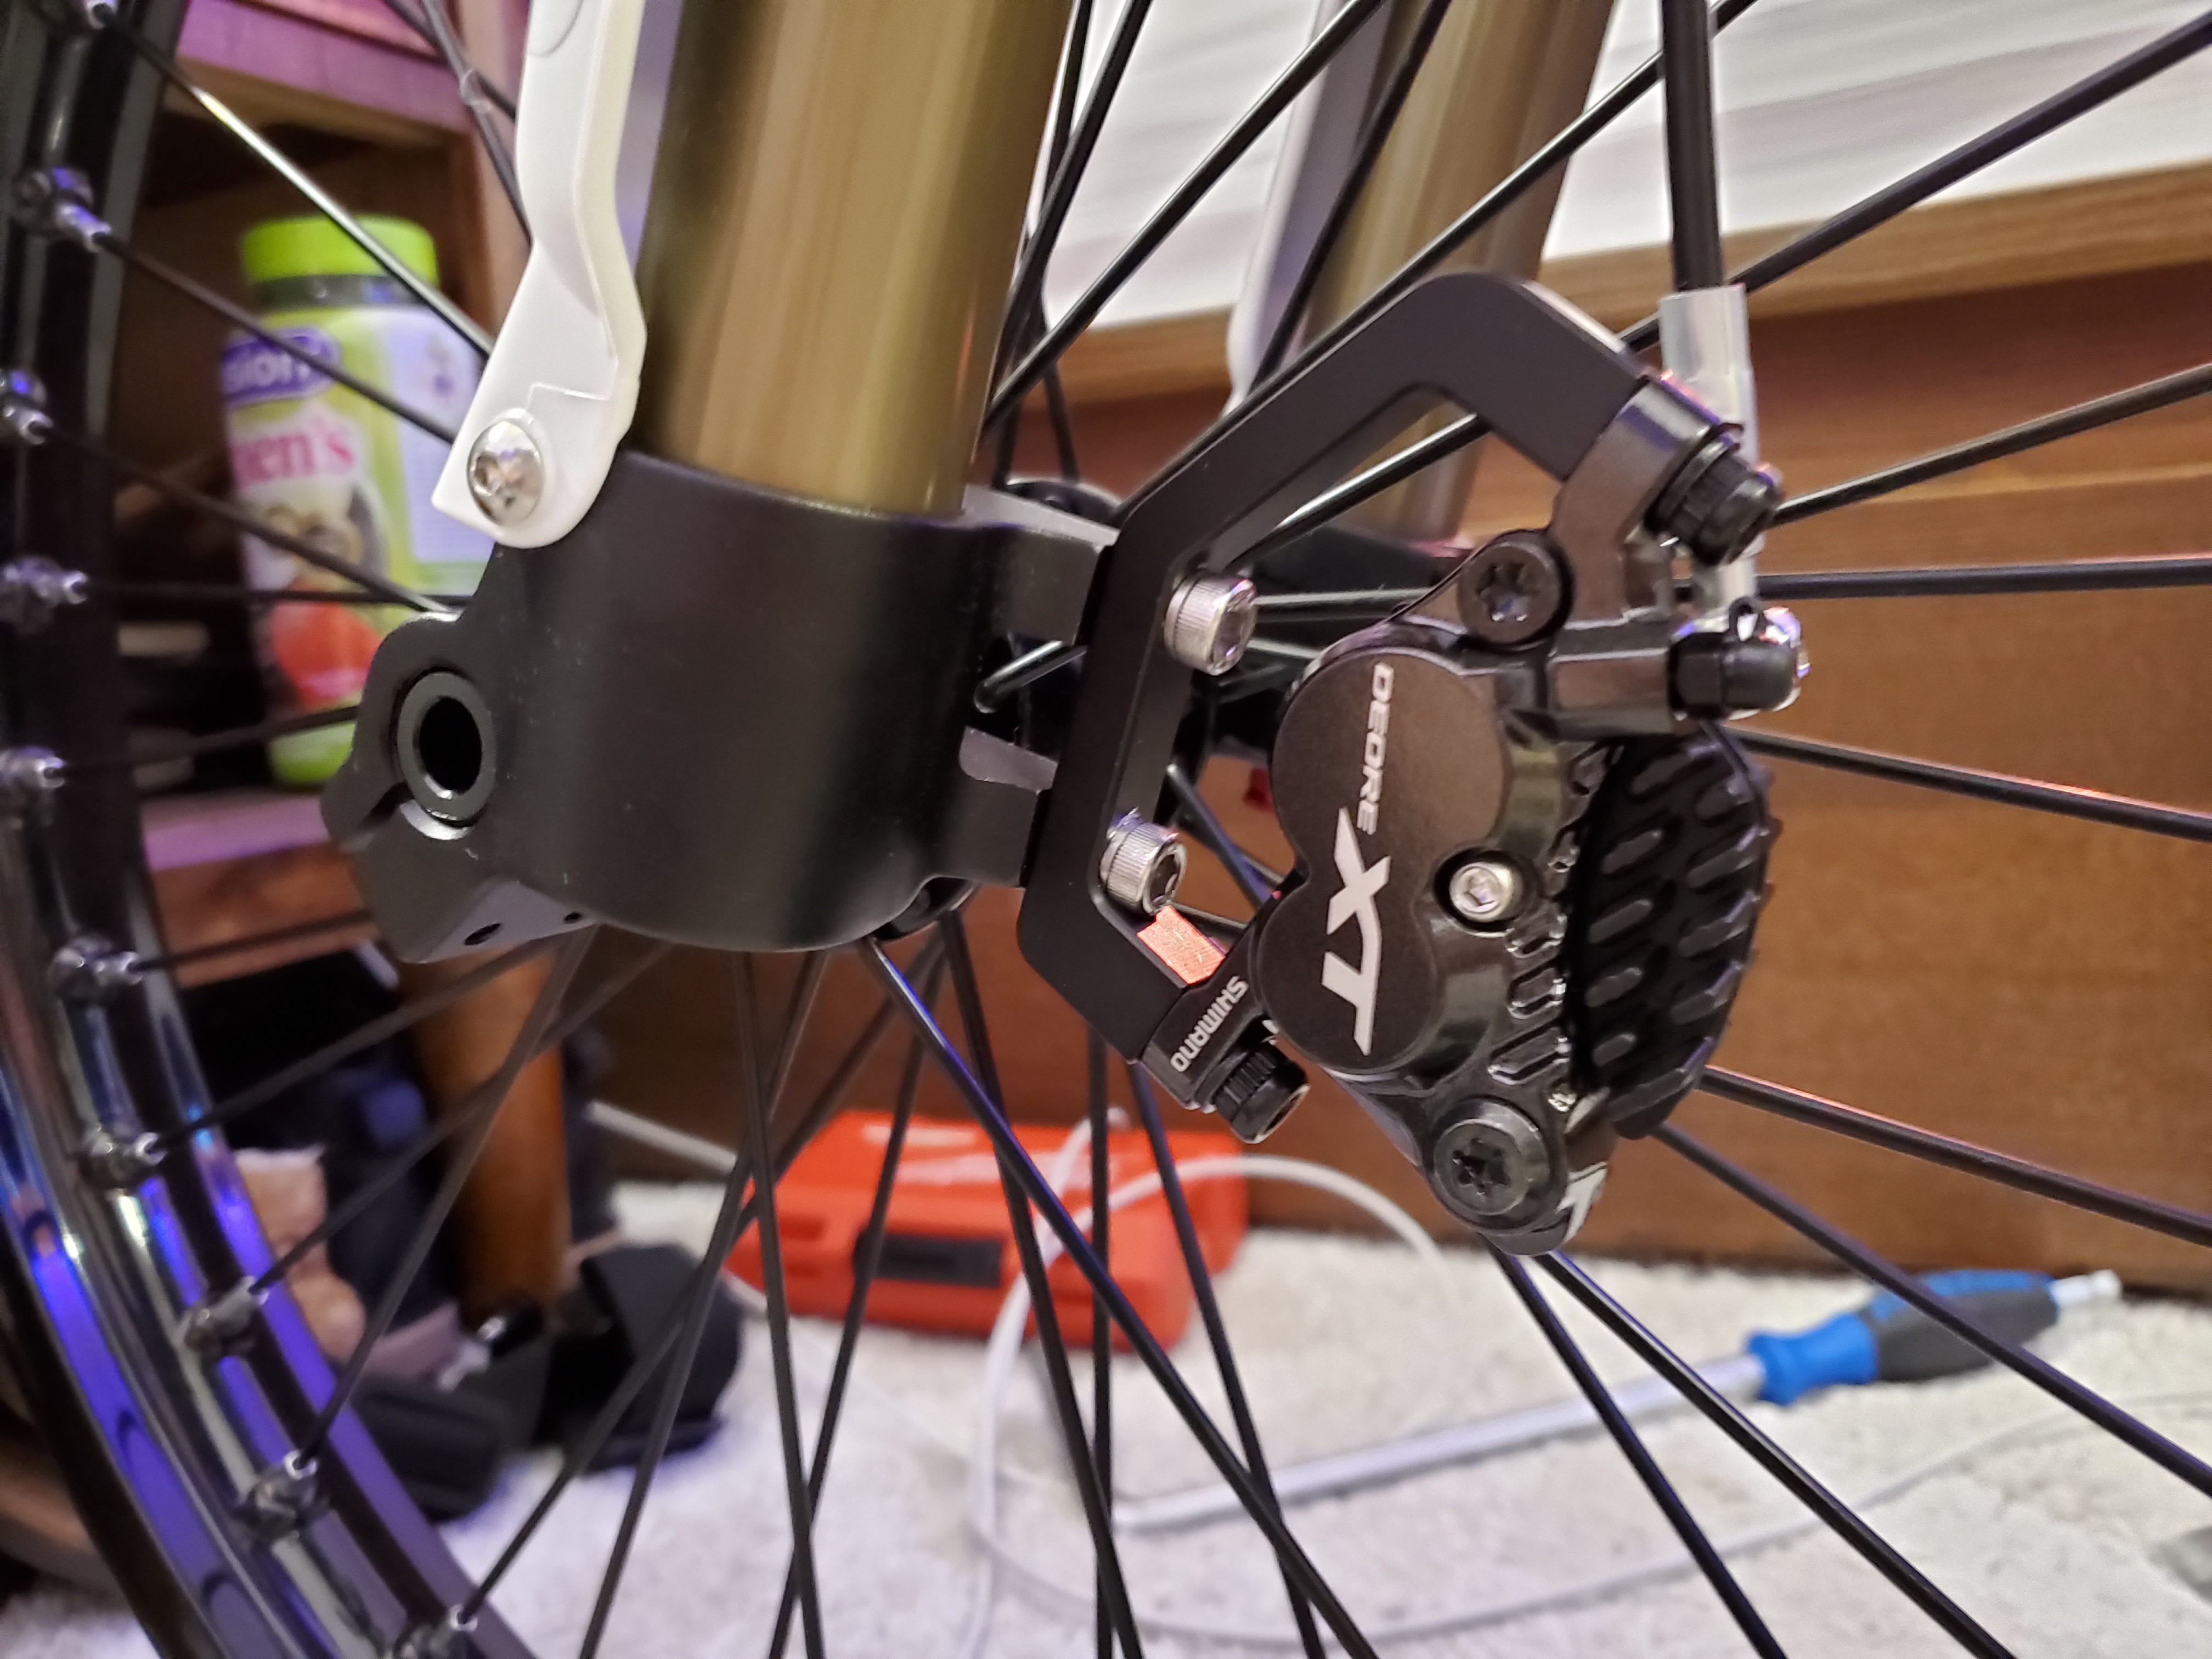
Using an adapter that came with the DNM fork, the brakes mount easily for 203mm rotor using two larger hex screws.
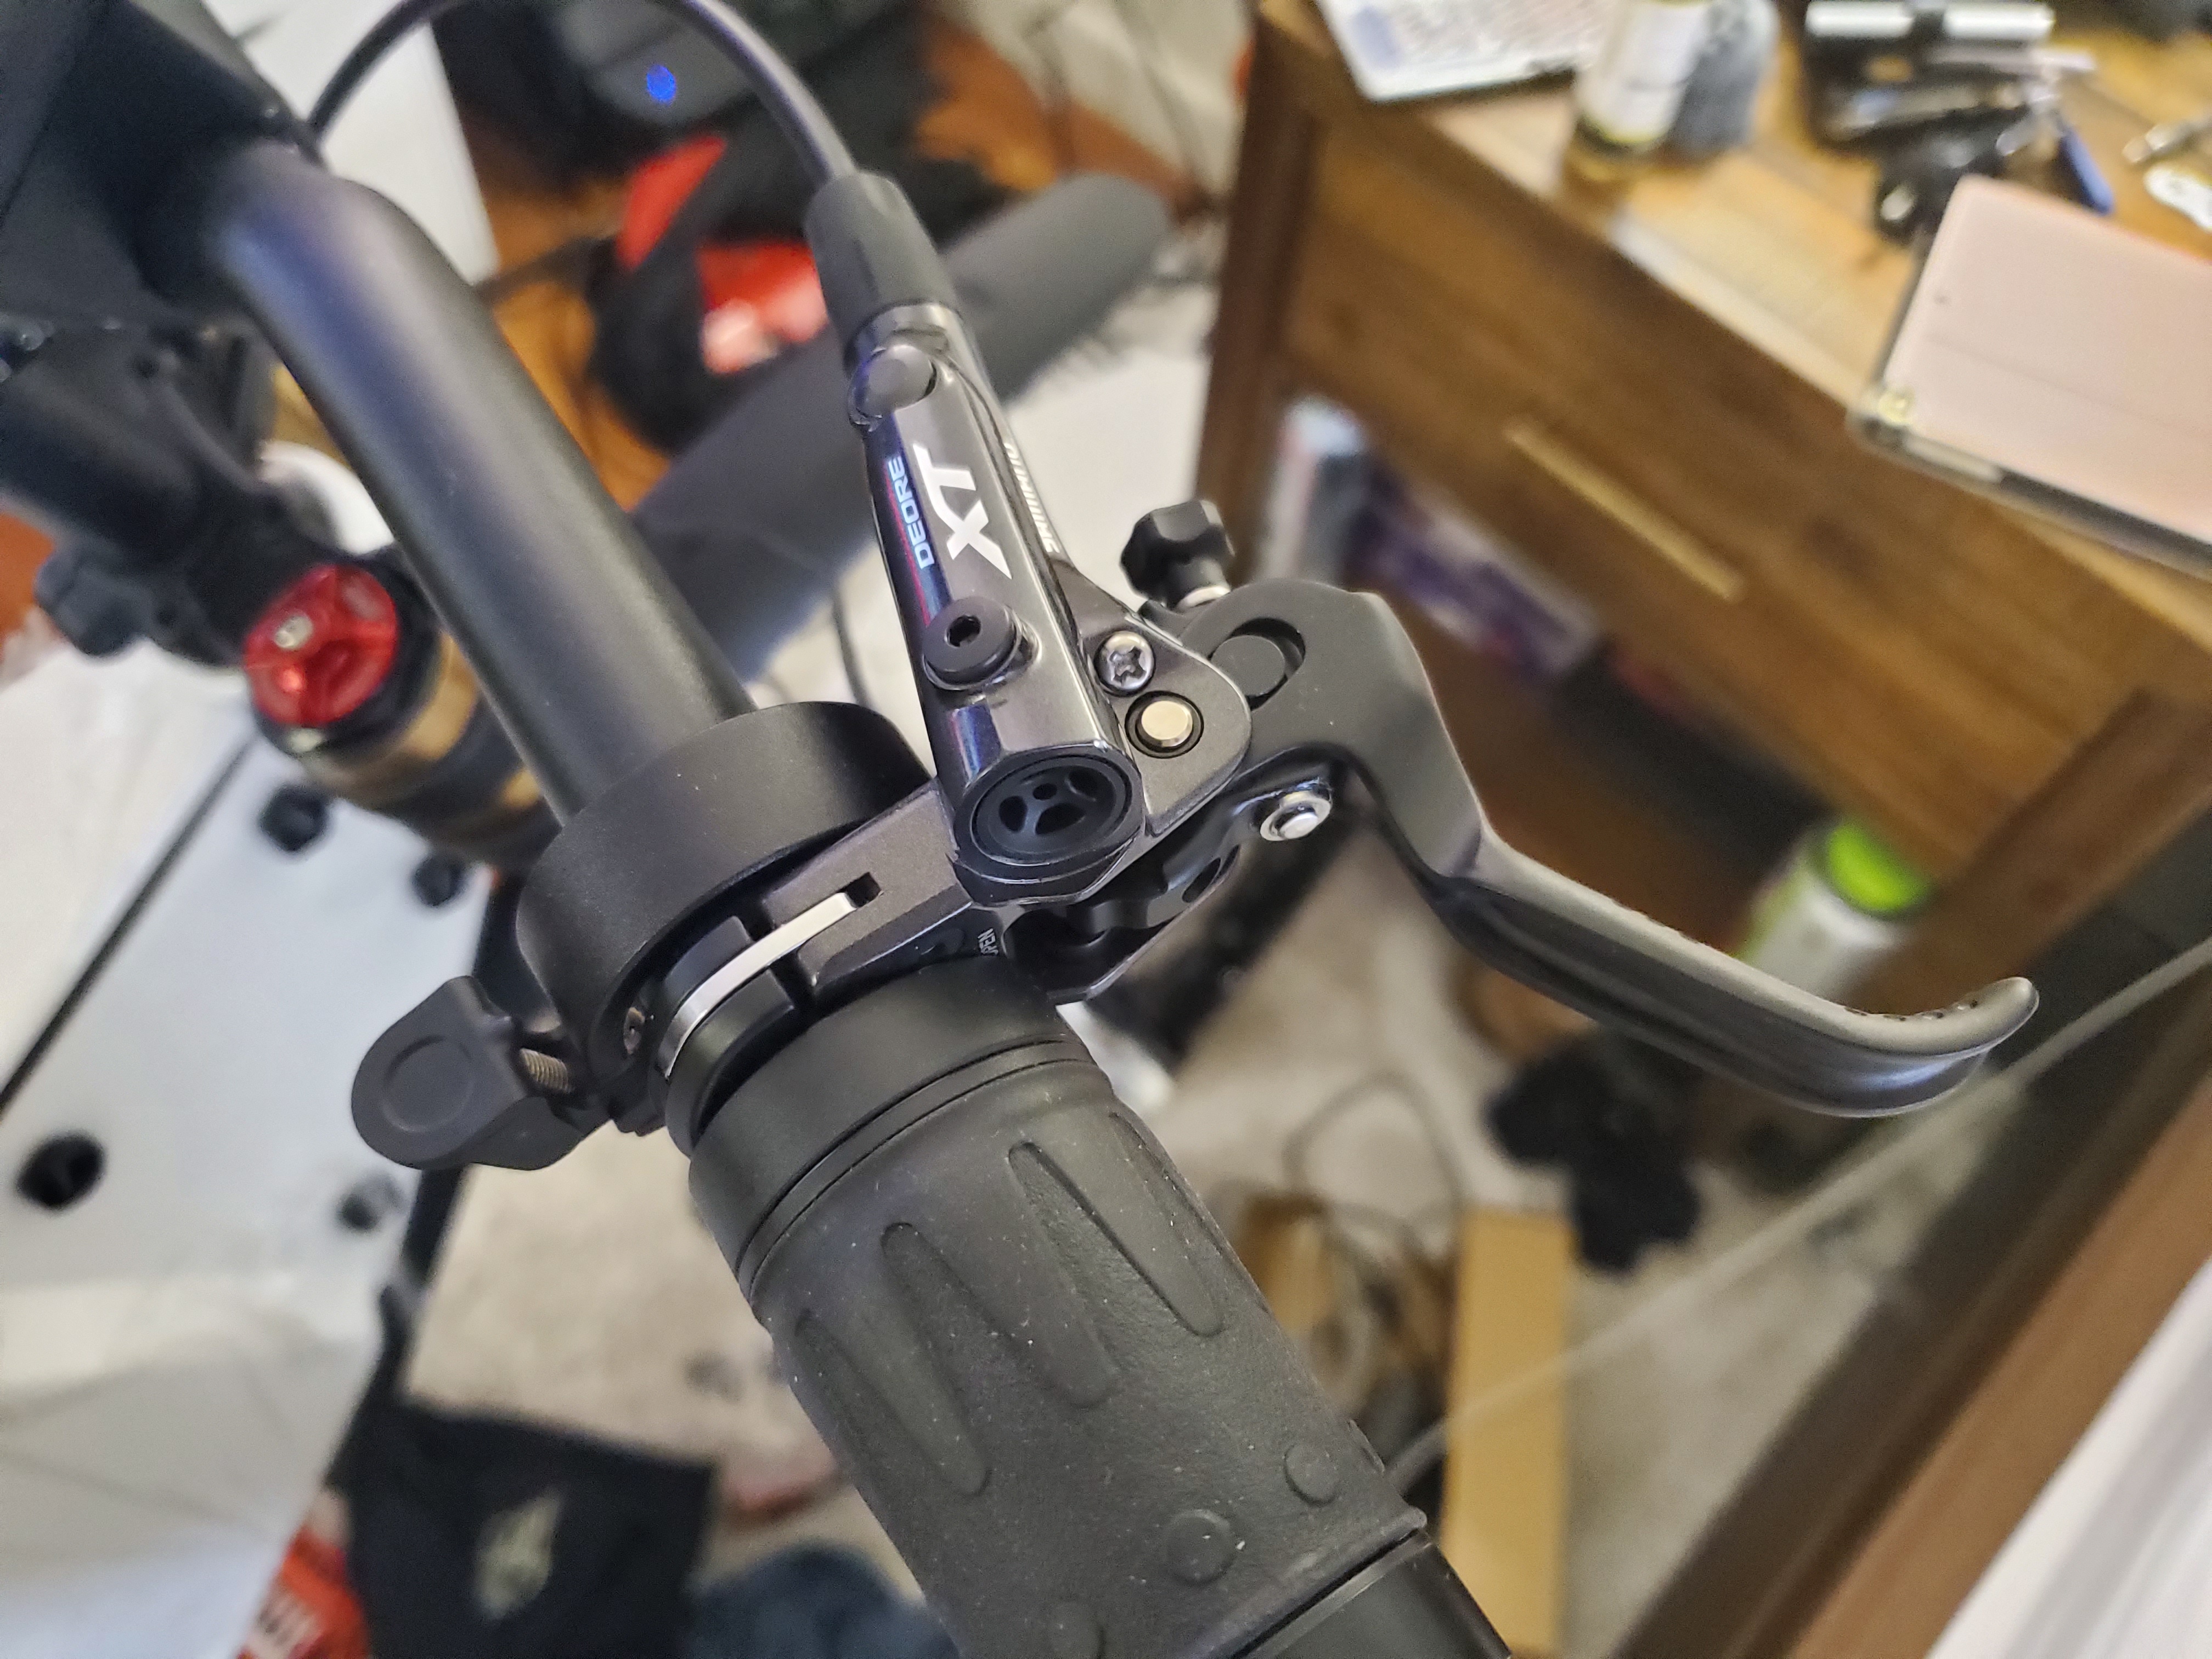
Brake levers mount very easily on the handlebars.
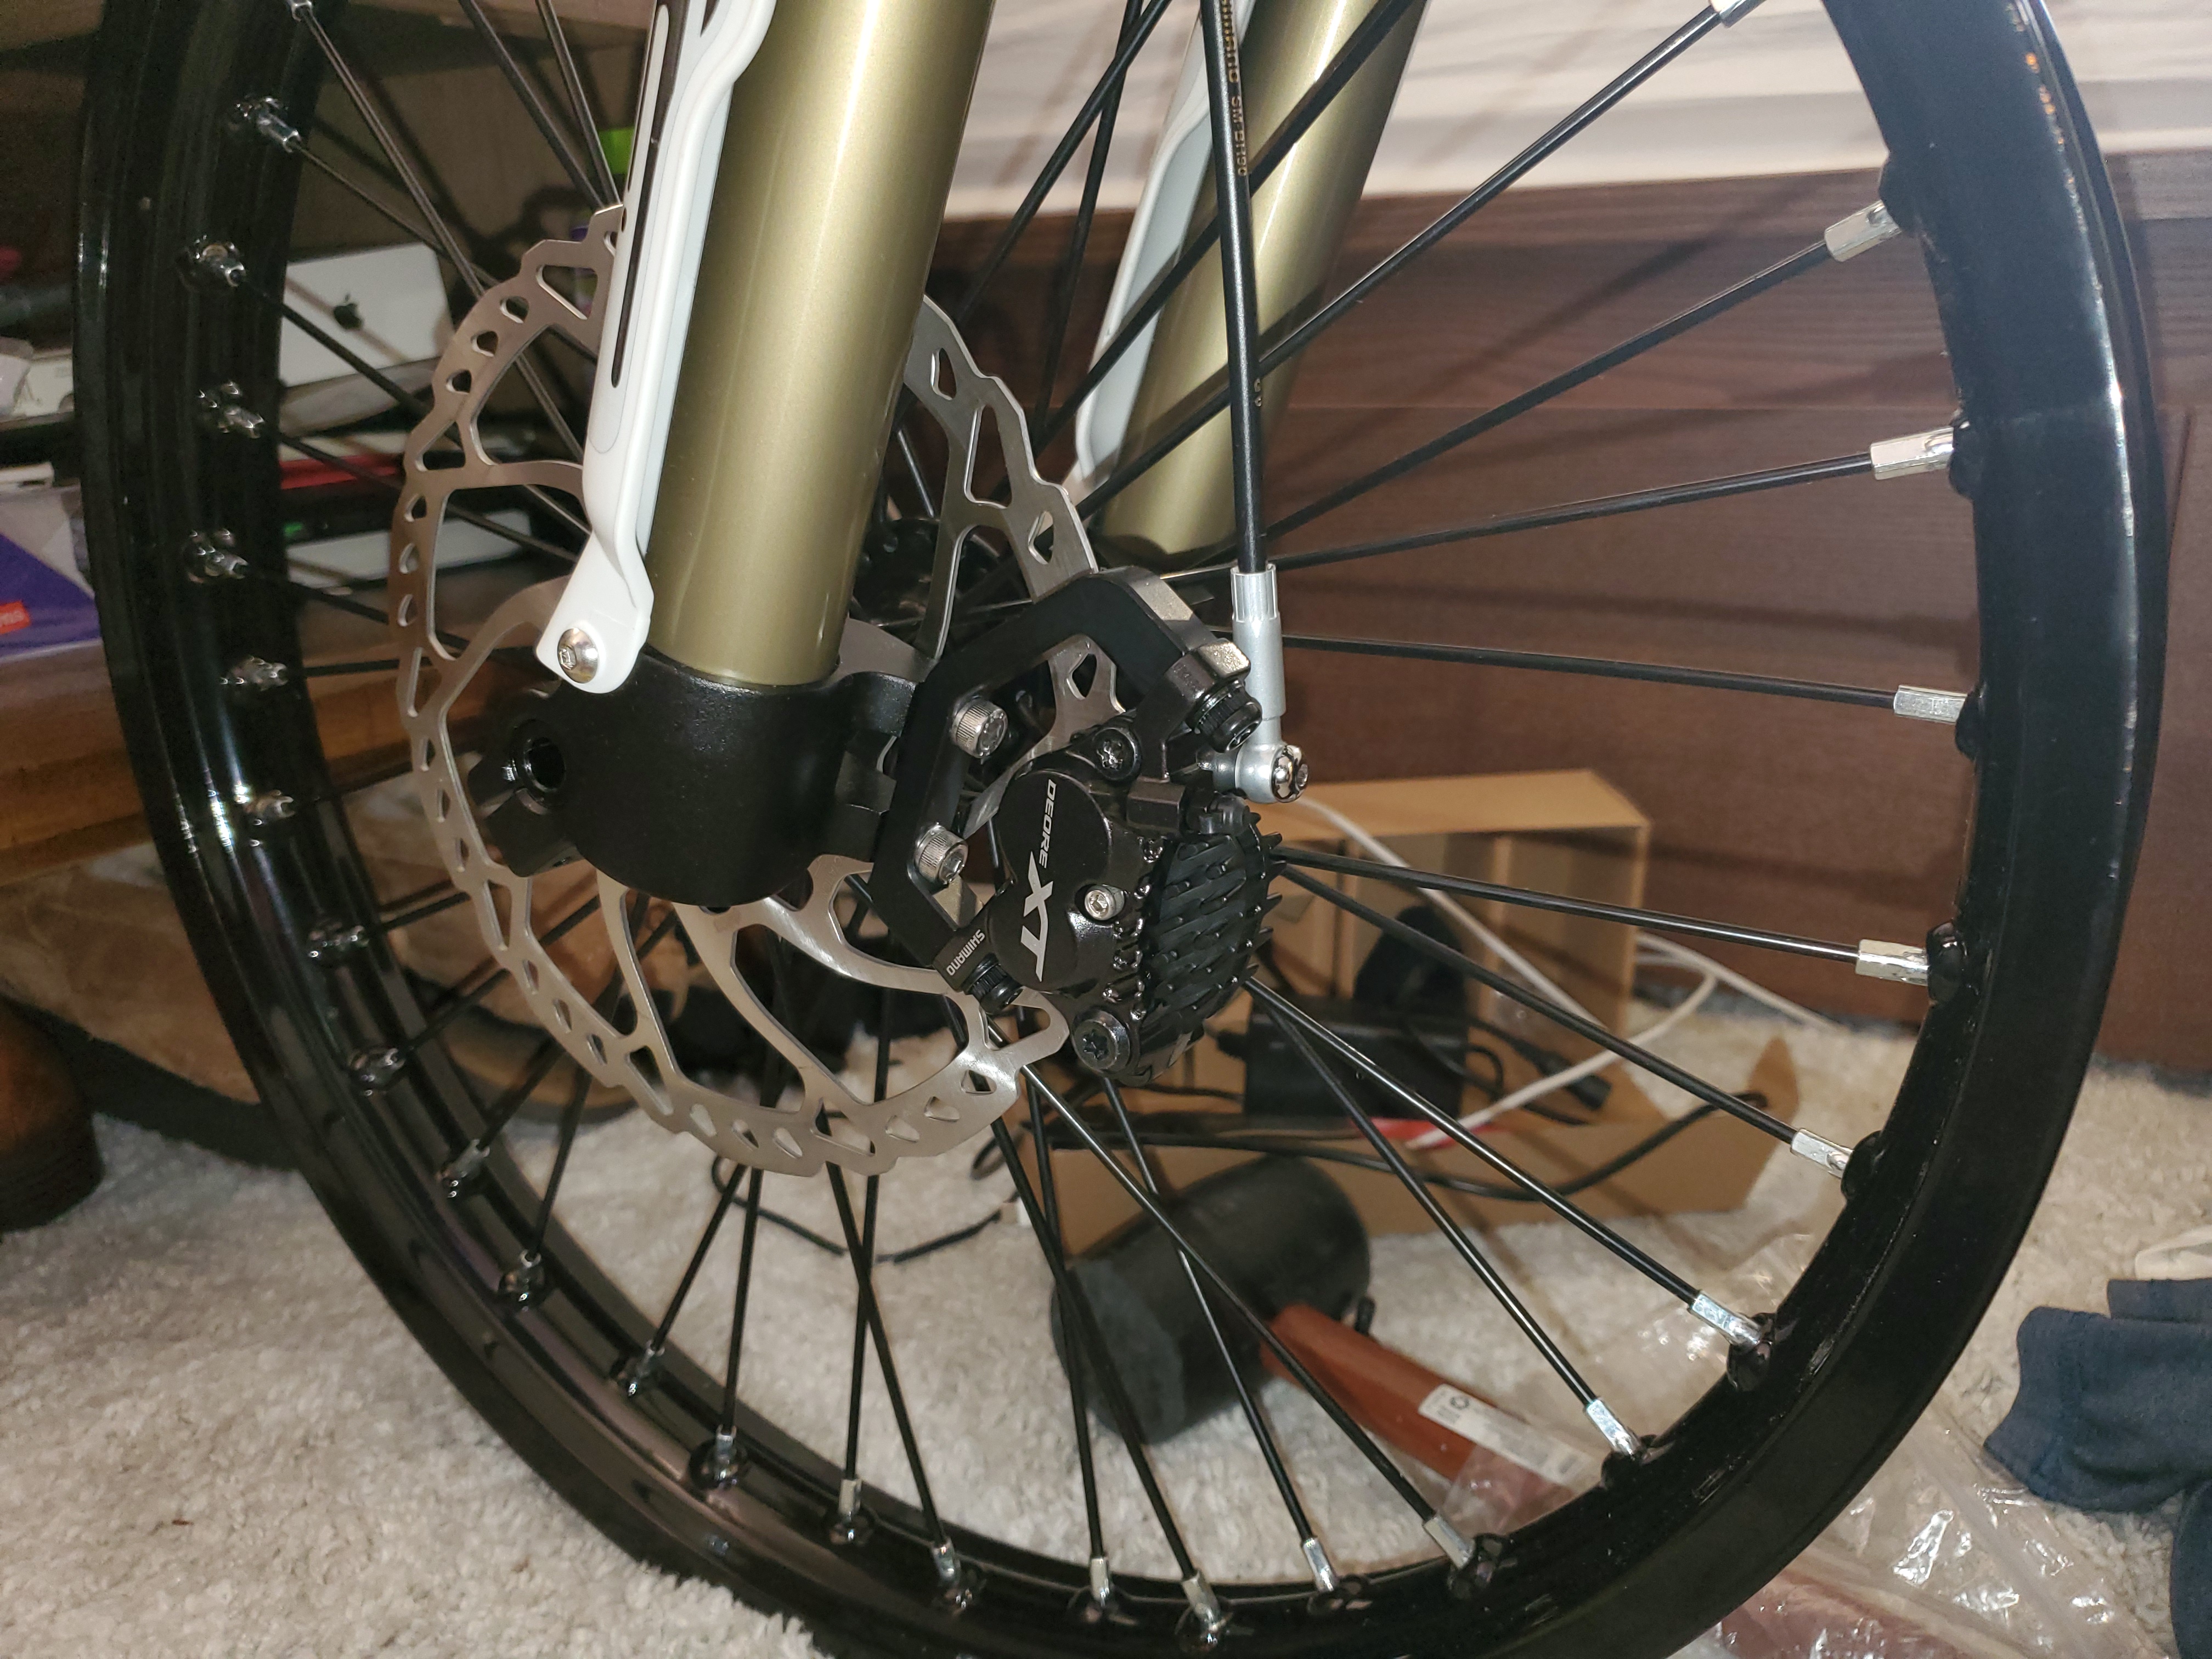
The pistons on my brakes were not fully retracted, so in order to get it to fit, you have to push them back. I used the backside of a nail clipper to get them pushed back in.
Added some fenders, lights, installed the grips, Sabvoton Screen, added a cheap vibration triggered alarm, prologo saddle and luna thin bell. Bachi Dragon is almost ready to take the streets.
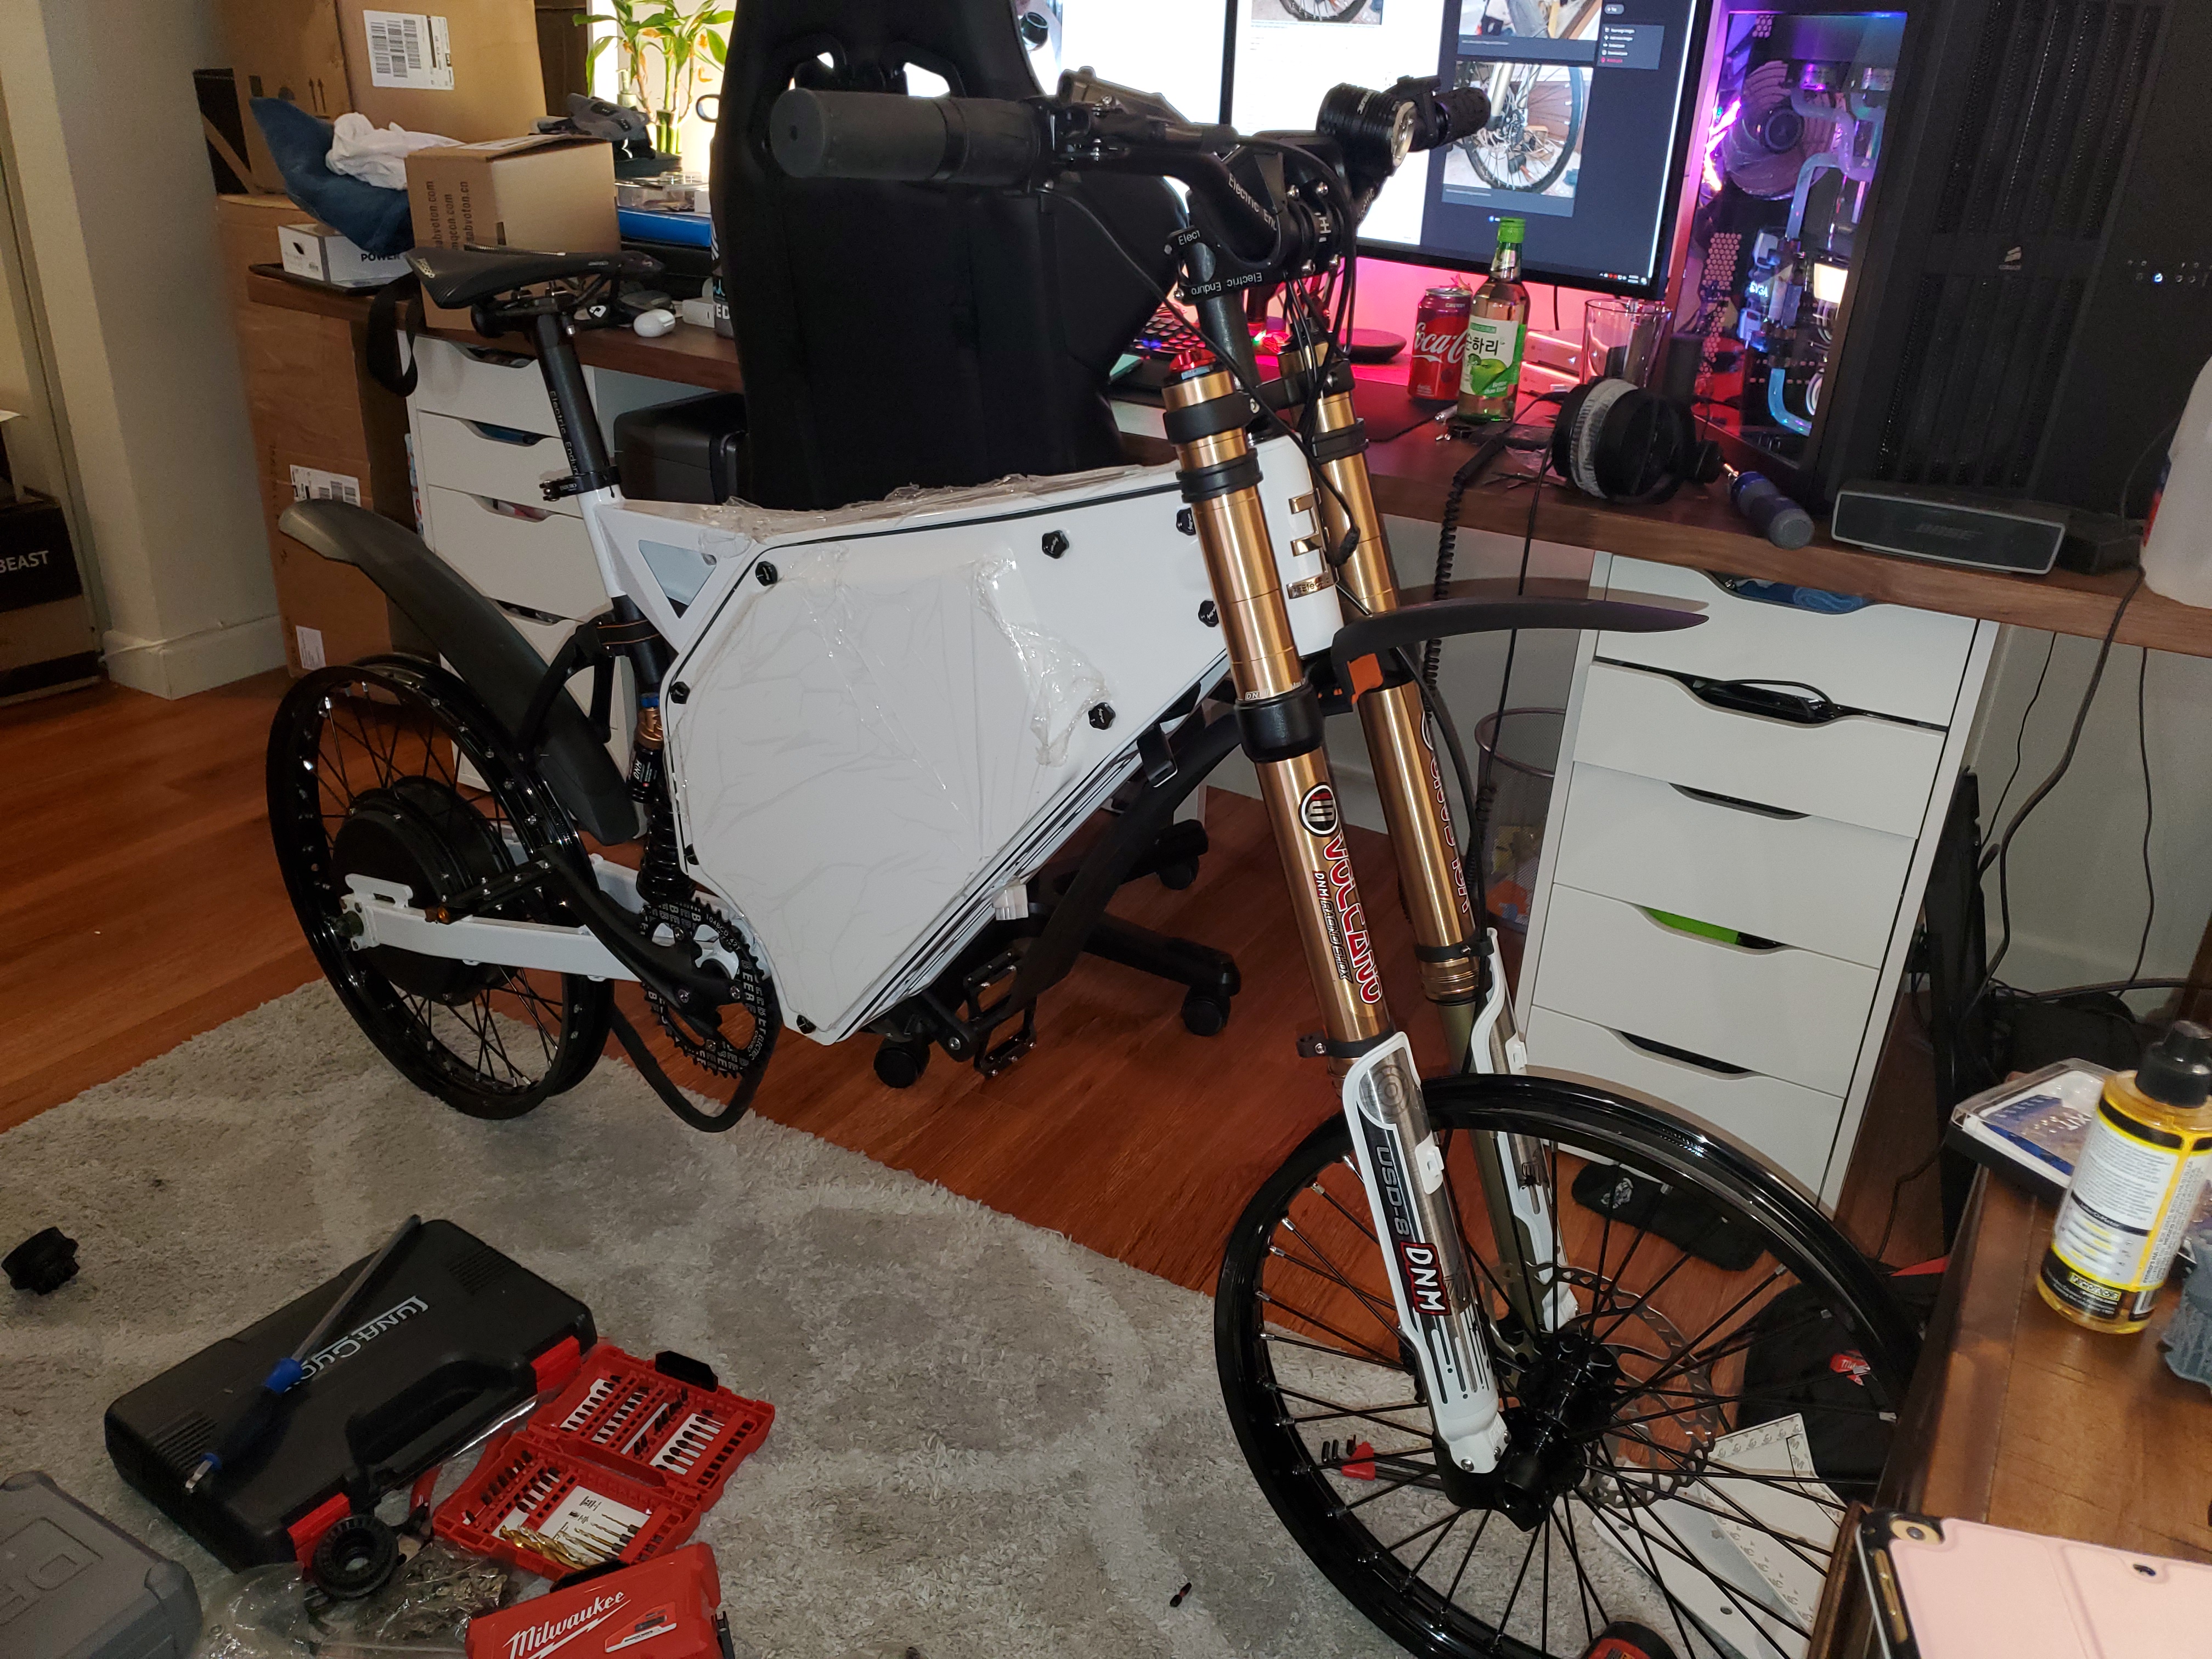
Still waiting for the battery and moto-tires from EM3EV, once those arrive in a week or two we should be close to rolling! If anyone has any questions feel free to reach out to me! But for now, this is how she sits!
I would like to introduce the Bachi Dragon EEB! I am brand new to the idea of eBikes, and
Just a forewarning, THIS BUILD LOG HAS A LOT OF PICTURES trying to be as detailed as I can with documenting this build!
So here we go, I have a full parts list containing everything I have purchased for this bike here -> BUILD PARTS LIST
This list is pretty comprehensive and even has info on how long orders took to arrive.
-------------------------------------------------------------------------------------------------------------------------------------------------------------------
A large amount of the parts were purchased from EM3EV. I gonna start off by saying my experience with them has been amazing so far. From start to finish they kept great contact, they assisted in choosing any additional parts I may need and provided info on installing some components. Not to mention their shipping on non battery parts was
EM3EV Parts were paid for on 3/15/2019, Packages started arriving on 3/21/19
Try to ignore the mess throughout this build log, we live in a Studio Apartment :lol:
The packaging was very high quality. All items were packed extremely well, and a slight scratch to the handlebars was the only damage to the shipment. Here's some more images of the packages for those who are interested in what to expect from EM3EV.
Tis but a scratch. It's a bike, it's going to get dinged and scratched over time. No big deal.
Alright, here we go... Time to start building!
Using DNM USD-8 Downhill Fork and DNM Mountain Downhill Bike Rear Shock
Assembling the Frame:
I started with the seat post mount. Pretty simple undo the 4 bolts holding it inside the frame, place it on the outside and tighten it down again.
Next I mounted the rear shock mount. Same as the seat post, remove from inside mount on the outside. Remember to mount it in the correct direction, angled downwards as shown in this image (and the frame images I had to double check on my phone :lol: ) There's a few different mounting holes depending on your shock length and how tall or short you want the bike to sit.
Putting on the swing arm, remove the bolt from the swing arm and install it through the frame bearing. So far so good.
Mounting the front fork, this took a bit more time and research. Remember, new to bike building. Just in case anyone is wondering, this is how to install a DNM USD-8 Front Fork.
First you have to take off the top portion of the fork, self explanatory, I know; it took me awhile to be sure that's what you have to do. :lol: Don't worry, it will take some force.
Most important is to correctly install all of the different crown race and compression rings. paxtana on the forum has done a great job documenting this part. You can find his write up on the EEB Frame Here
After that, secure the top of your fork, and tighten all the screws.
Once your handlebars are mounted to the stem, you have something that looks kinda like a bike!
So this is where it gets a bit cloudy for me. Not to sure how to utilize the torque arms that come with the motor. The EEB Frame has built in torque arms, but I can never be too sure as a new builder. Mounting the rear wheel was fairly simple, vertical drop out. Mounting the freewheel is very easy, just screw it on in the right direction.
Please Help! As it currently stands, I have the torque arm that came with the motor in place against the drop out on the left side only. I imagine this is incorrect; as it obstructs the mounting points for rear brakes. Any input would be awesome!! Just want to make sure the motor is mounted properly. Its only the most important part of the build.
Skipping ahead a couple weeks. Lets install the brakes. I am only running a very powerful front brake for now, and going to rely on regen for the rear. Will probably pick up a rear brake in the coming months. Using the BR-M8020 XT Deore w/ a RT66 203mm Rotor.
6 hex screws mount the RT66 Rotor
Using an adapter that came with the DNM fork, the brakes mount easily for 203mm rotor using two larger hex screws.
Brake levers mount very easily on the handlebars.
The pistons on my brakes were not fully retracted, so in order to get it to fit, you have to push them back. I used the backside of a nail clipper to get them pushed back in.
Added some fenders, lights, installed the grips, Sabvoton Screen, added a cheap vibration triggered alarm, prologo saddle and luna thin bell. Bachi Dragon is almost ready to take the streets.
Still waiting for the battery and moto-tires from EM3EV, once those arrive in a week or two we should be close to rolling! If anyone has any questions feel free to reach out to me! But for now, this is how she sits!