E-racer said:
Wow that looks really good! Props on the sheet metal skills! Are you cnc cutting your pieces? Twin 80-100's will be brutal :-D That was originally my plan but I'm going with 1 rewound 80-100 and a Nuvinci instead. I warn against using #25 harnessing twin motors. My 80-100 goped stretches chains like crazy. I just replace the chain often. I've heard good things about 219 chain. Good luck on your build!
I planned on using #25 chain since I already bought chains and sprocket. It's just for the first stage, with a torque limiter.
If it breaks I will find another setup. I got someone to cut and bend the parts for me, I just gave them the drawings and explained myself.
kfong said:
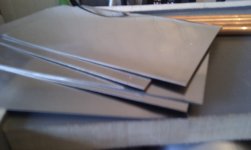
The level of builds on ES keeps improving. Fantastic job, makes me want to build one from scratch as well. How thick are the metal plates?
I just realized it's all aluminum. 2-3mm. The areas with a lot of stress are going to need a lot of support. Any info on how you plan to do this?
Thank you :wink: .
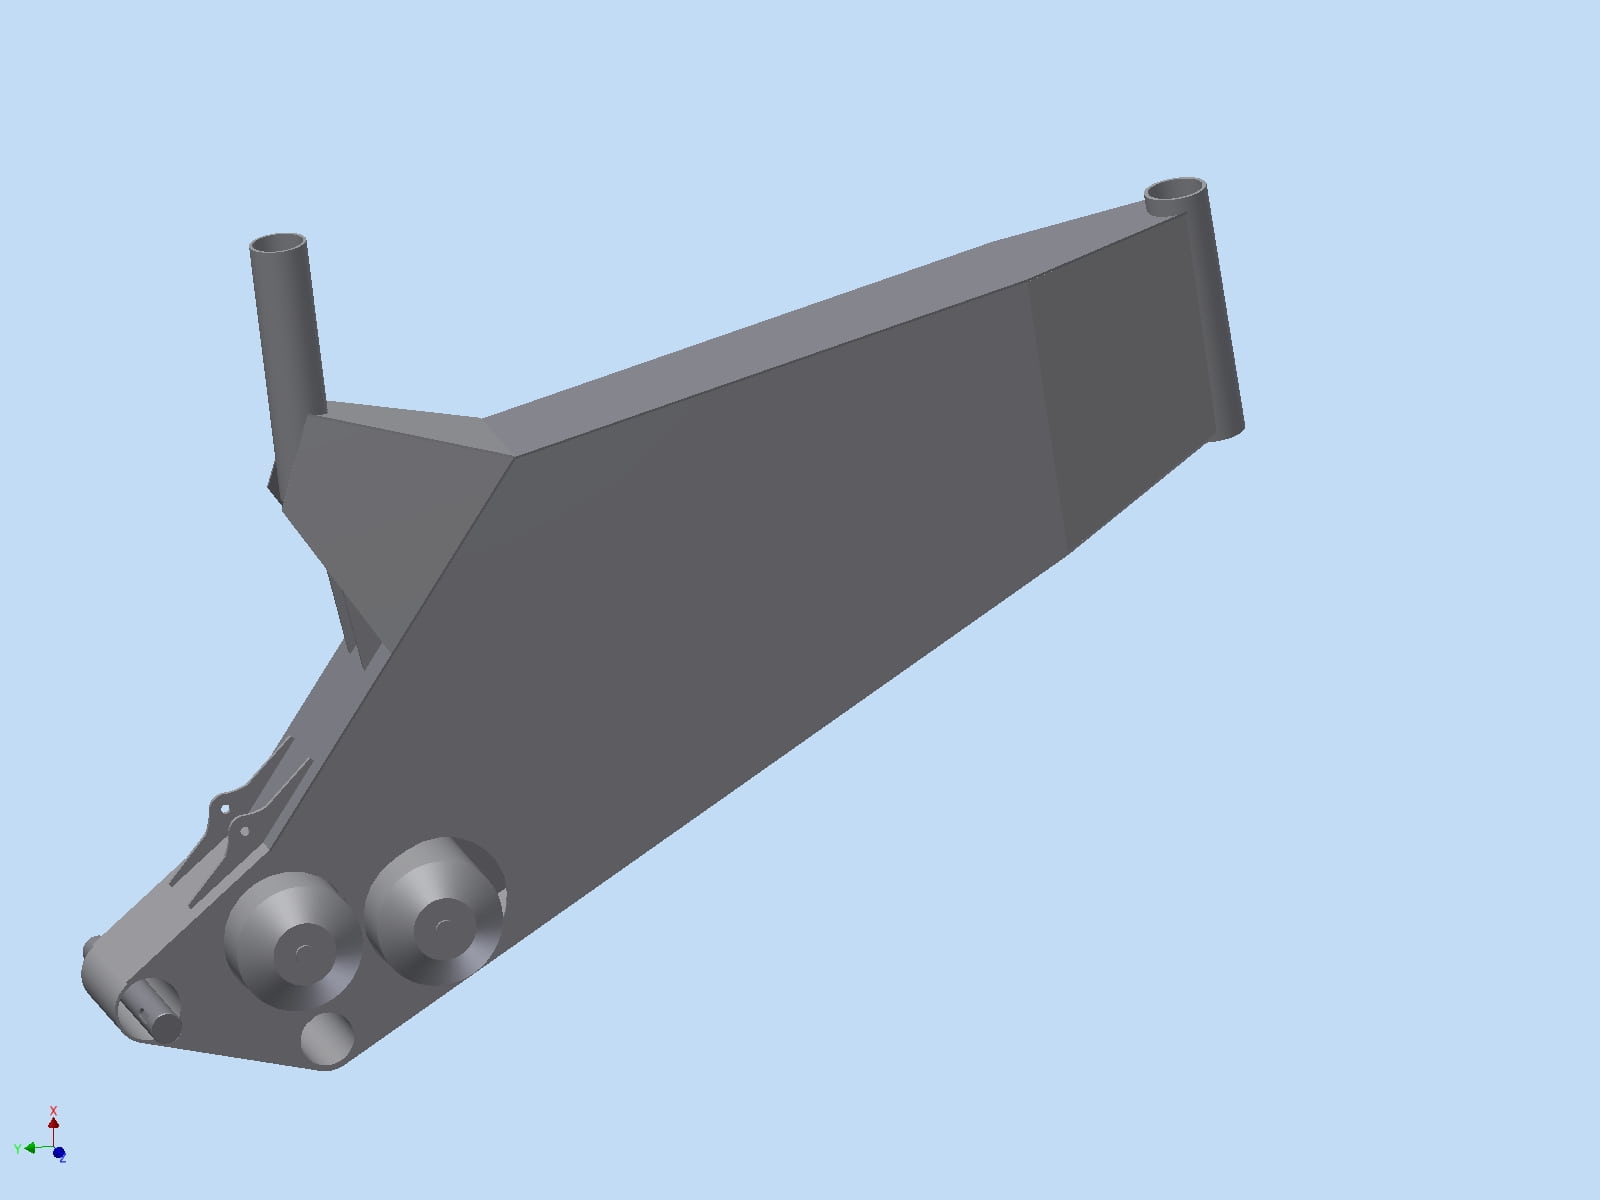
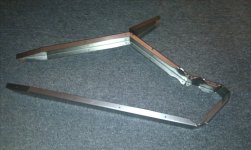
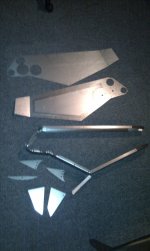
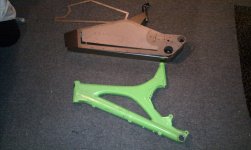
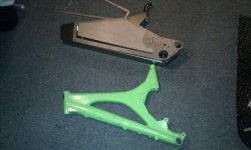
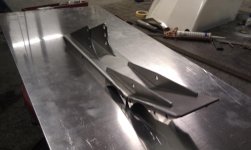
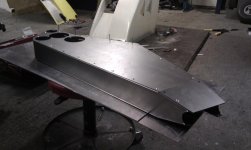
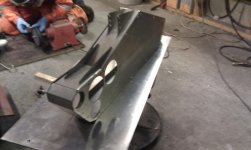
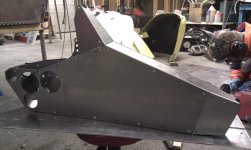
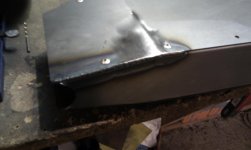
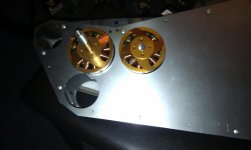
The sheet metal is originally 1.25mm but the shop did not have that in stock so 1.5mm is used. Its all steel, and because of the bends there is no way this bike will ever break. Some of the parts are 3mm steel, where the spring and brackets are mounted.
farmkid4 said:
WOW this thing is gonna rip!!

cant wait to see how it turns out
")
Thanks, can't wait myself
Whiplash said:
Wow so this will be nearly weld free?? Looks like a cool design!!
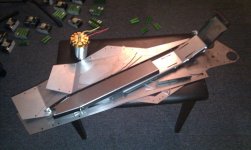
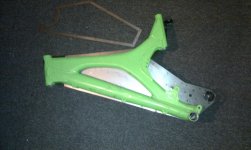
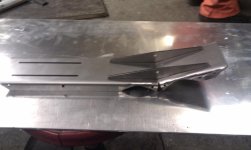
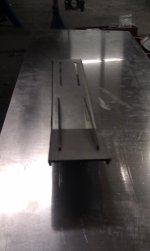
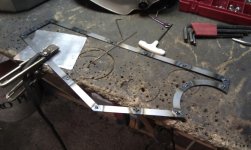
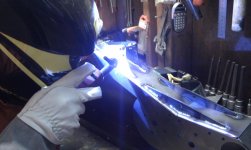
That's just for guiding before welding so the hole frame will be dead straight. Thank you
etard said:
VERY impressive!!
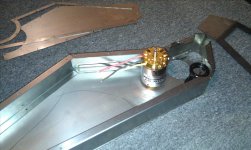
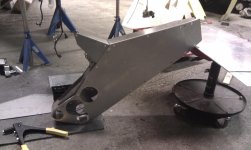
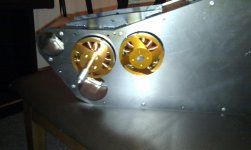
Did you get a weight on the metal to get a general idea of final measure? You aren't messing around here man, I like this design a lot! Is that the DMR bottom bracket adapter?
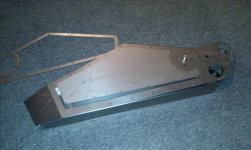
The weight that Inventor gave me was 7kg with all the parts. Since the lasercutter used 1.5mm instead of 1.25mm I suspect it will be a bit heavier.
Thats no biggie, I am not a lightweight myself. The bottom bracket is a sick bike one. Cheap and seems to be good quality. Thanks, I like it mysef
bzhwindtalker said:
any chance you publish your cad? just asking....

I have acces to a water jet machine and I need a new frame
Maybe I will, but I want to check the concept myself first. There is a slight chance that there need some adjustments here and there. I would rather find out myself than wasting your hard earned money with a bad drawing.
motorino magnet said:
Great-you should sell kits -you do ? How much ?
Serious.
Cheers
That would be very very expensive. Not that I would charge much but a electric hi power bike is very expensive. I don't think there would be any marked for that any soon.
GITech said:
Cool, can't wait to see this thing come together!
Thanks,
Jay
Thanks, will do my best to satisfy the electric group of people :wink:
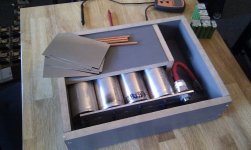
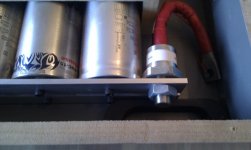
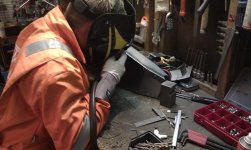
I have done some more work on a diy spot welder that Jeremy Harris made some time ago, thats one missed stand up guy I want back to this forum.
I got four 1F caps, I hope they supply enough juice for some welding.
I also got a call today, there are several boxes with makita packs waiting for me to be picked up
Thats alot of work, but I feel committed to use them since I have invested so much time and money in them(even when I get them for free all the sorting and checking of every cell takes alot of time).
Fyi, nickel plates are rare and expensive. All in all, use lipo. If I knew all the work this would take I would rather buy new packs from hk.