ridethelightning
1 MW
- Joined
- Jul 21, 2013
- Messages
- 2,010
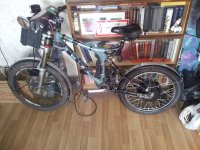
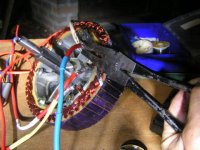
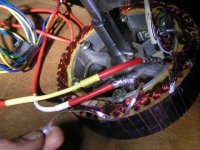
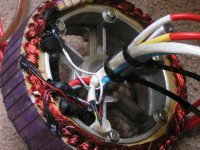
Here is a start to a build i am doing for a mate, that i thought i might share with all you fellow electric speed deamons out there 
all components have already arrived, so this should progress fairly quickly.
components list:
cro v2
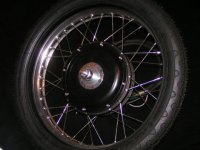
rear 18" ally moto rim, jrh moped spokes.
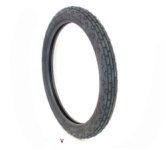
hydenau tyre(forgot the number)
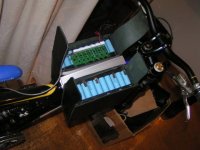
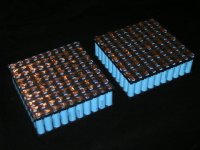
200 samsung 25R cells, 20s10p
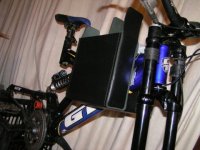
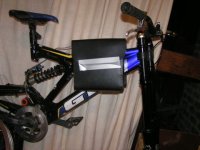
custom leather case
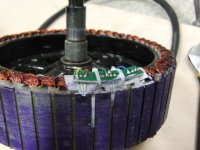
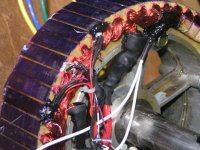
adaptto max-e,bms,charge coil.
magura throttle
wuxing thumb throttle(good for adaptto varyable regen)
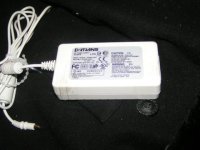
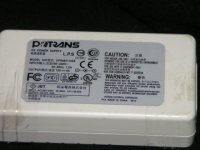
portable cherokee 1.5kw charger
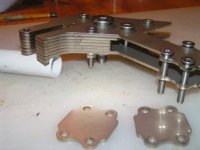
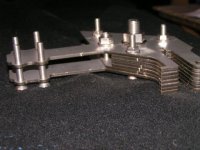
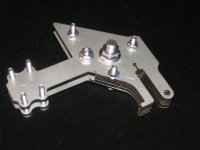
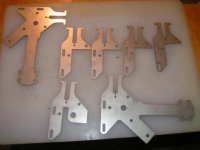
lazercut torque plates,laminated
shimano zee brakes
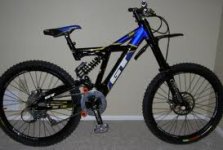
gt dhi race
all components have already arrived, so this should progress fairly quickly.
components list:
cro v2
rear 18" ally moto rim, jrh moped spokes.
hydenau tyre(forgot the number)
200 samsung 25R cells, 20s10p
custom leather case
adaptto max-e,bms,charge coil.
magura throttle
wuxing thumb throttle(good for adaptto varyable regen)
portable cherokee 1.5kw charger
lazercut torque plates,laminated
shimano zee brakes
gt dhi race