DrkAngel said:
HypnoToad said:
Just finished reading this thread, it's rather long but there's lots of great info here.
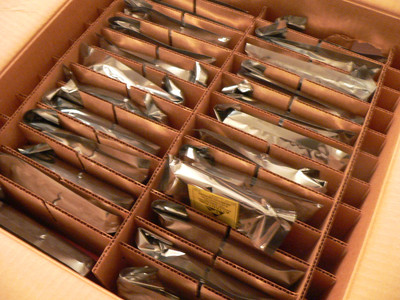
I'm almost done doing a 18650 based pack, 10s 6p, I'll post some photo's when I can.
Today I was wiring up my balance cables to the pack, and I accidentally shorted out 2 of the wires with my cable cutters.
The short was only brief, but I still produced a few sparks.

Did I cause any damage to my cells at all?
All the voltages still measure ok, I balanced all the packs before paralleling them up and they're mostly around 4.082v per cell.
If the individual cells measure OK, then no problem.
"Typical" balance cables are light enough that damage is unlikely.
37V ~15Ah? 15Ah is a bit lacking, unless you're running <350w.
Might be OK, with pedal assist - getting started and on hills etc.
Highly recommend adding a few extra "p" - 20Ah minimum, 30Ah recommended.
But mainly ... to fit your use.
The more the merrier!
I actually shorted out the tabs on the cells as opposed to the balance wires, the short was between 2 cells in series and left a black mark on my wire cutters!
Still the voltages are ok, and it was only a brief short. I'm trying to be a little more careful now.
")
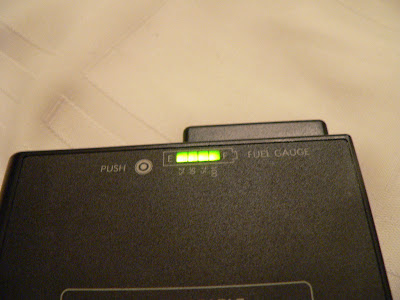
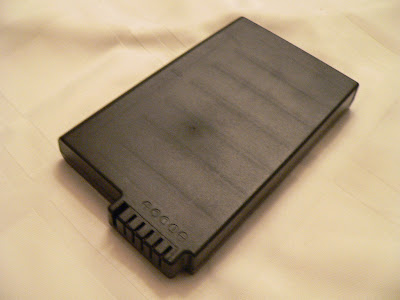
I was thinking 6p may be enough, but after seeing some of the 20p monster battery packs in this thread I'm now not so sure. I did start building it before even finding this thread however, and it was the most I can fit in the bikes existing battery mount. The bike is an Ezee Forza, which only has a 250W motor, so I guess 6p may be ok? Even so I've ordered one of those voltage monitor things, and if I'm getting too much voltage sag then I can always build a 2nd pack and run then in parallel. The bike did originally have a 10Ah Li-ion battery apparently, I bought the bike without any battery however hence me having a go with 18650's.
I did make a typo, I'm actually making a 12s 6p pack, and I did use a different method to you guys here, as I only found this thread yesterday. I kept each laptop battery pack together, as opposed to removing each cell, here's my method in case you are interested:
-=-
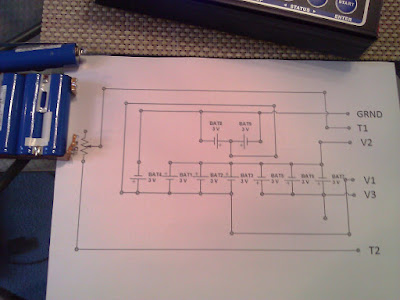
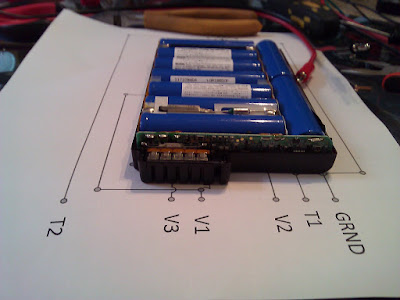
I had identical laptop battery packs, and either all cells were good or all cells in each pack were dead. Each pack is 4s 2p, and I chose to keep the packs together, and charge and balance them with an RC charger before paralleling them up. I used an Imax B6 with the current set to 1.6 amps charging current, and it would take between 4 to 6 hours to balance charge each pack from empty.
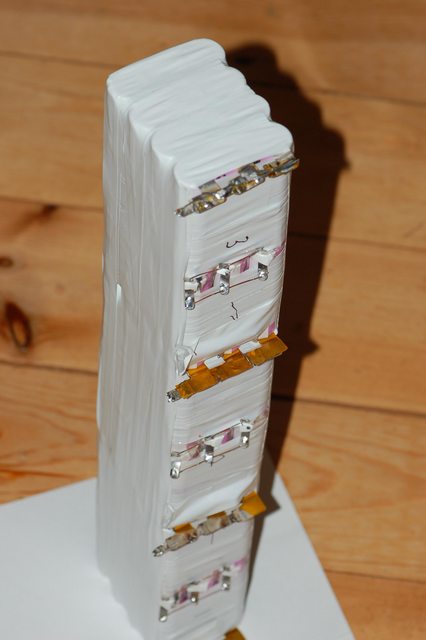
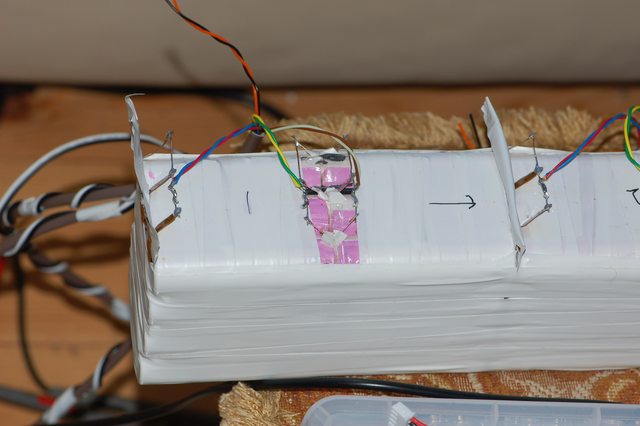
Once charged and balanced, I compared the total voltage of each pack and also the voltage of each cell and tried to match voltages and capacities, and I ran 3 laptop battery packs in parallel giving me 3 x 4s 6p packs. Here's a photo of one of these packs, this is the middle pack and the numbers are for each set of cells in series:
After insulating each pack I then put each pack end-to-end as I need a long thin pack to fit my battery mount, then I soldered the tabs together in order to parallel the packs:
And today I connected up the balance cables:
The short I made was actually between the tabs on the pack, but I've measured the cells voltage since the brief short and they all seem ok. I need to actually test this pack on the bike in order to really see how much current it can deliver.
I still need to solder on the main power cables and insulate the exposed connections, and once I've done that I'll make another post on how well it works.
Now I didn't test each cell individually, but I did find each pack did balance charge evenly and pretty quickly, and each 4s2p pacl had a capacity between 4400mAh-4600mAh when charging from empty according to my iMax B6 charger, so can I assume that all my cells are good? If there were any bad ones then surely balancing would have taken much longer and I would have seen reduced capacity?
My reasoning behind my method is that the laptop originally kept the pack balanced, so I'd try and avoid breaking up packs if i could, and also this method means it's quicker to build larger packs, if you have a large lot of identical packs like I do.
I would be interested to hear people's thoughts on this method as I'm learning as I'm going along here, and this is my first attempt, and it would be good to know weather building a 2nd pack using this method is a good or bad idea?
Thanks