Trackman417
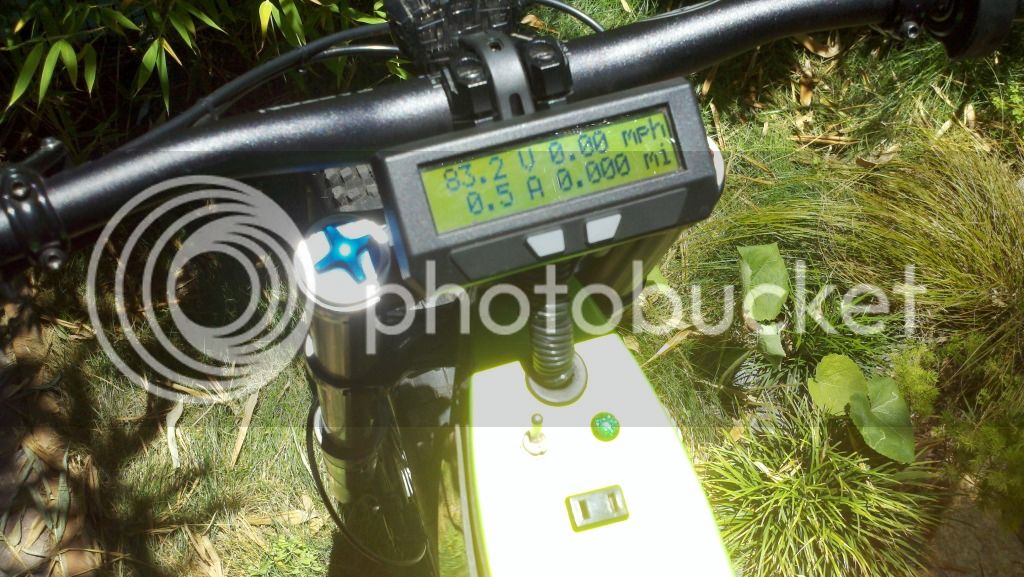
10 kW
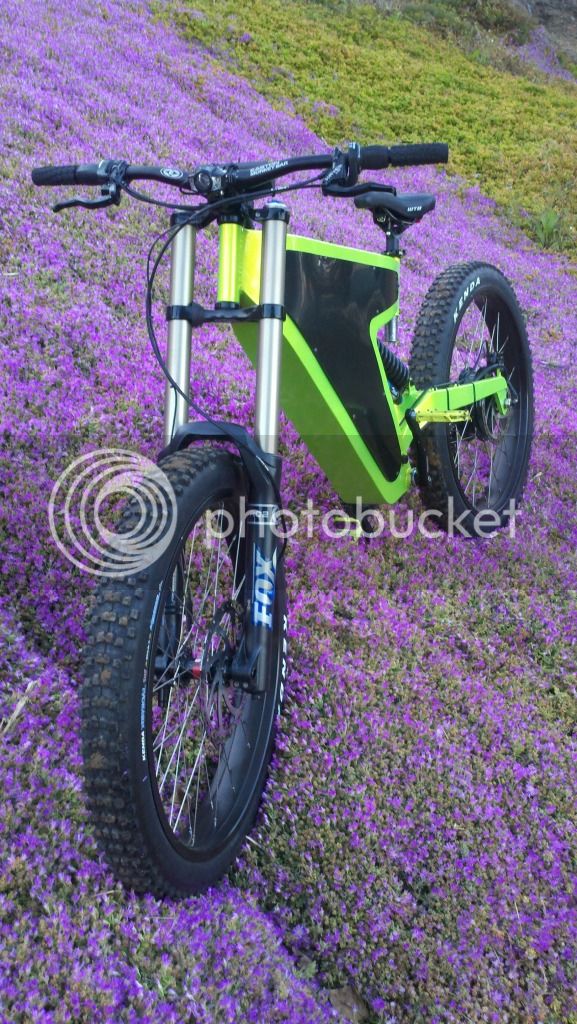
That is on handsome bike man!
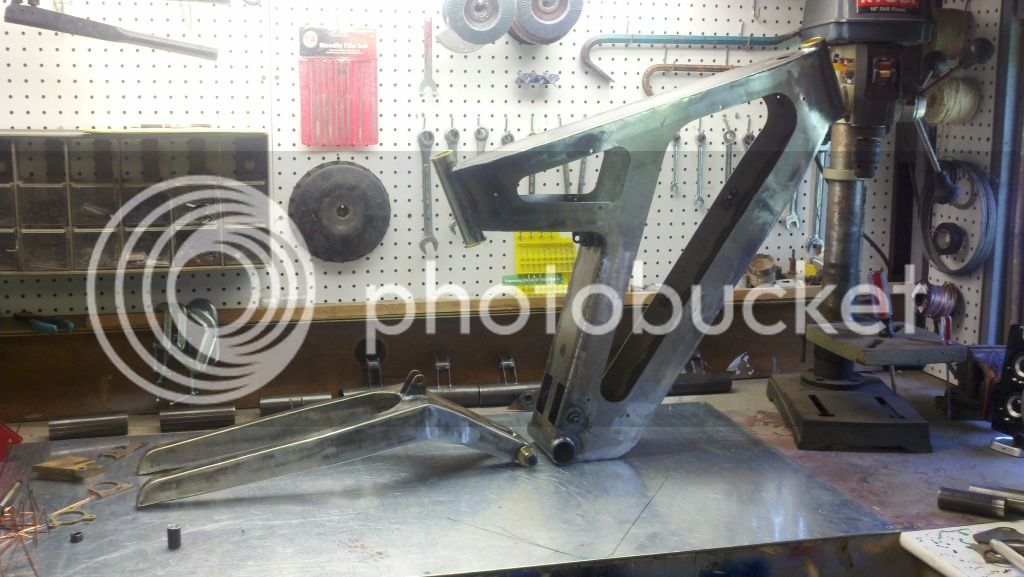
I'm looking at buying this frame this summer and filling it with bike part from my current build. I'm envious that you came work with metal in such an art form.
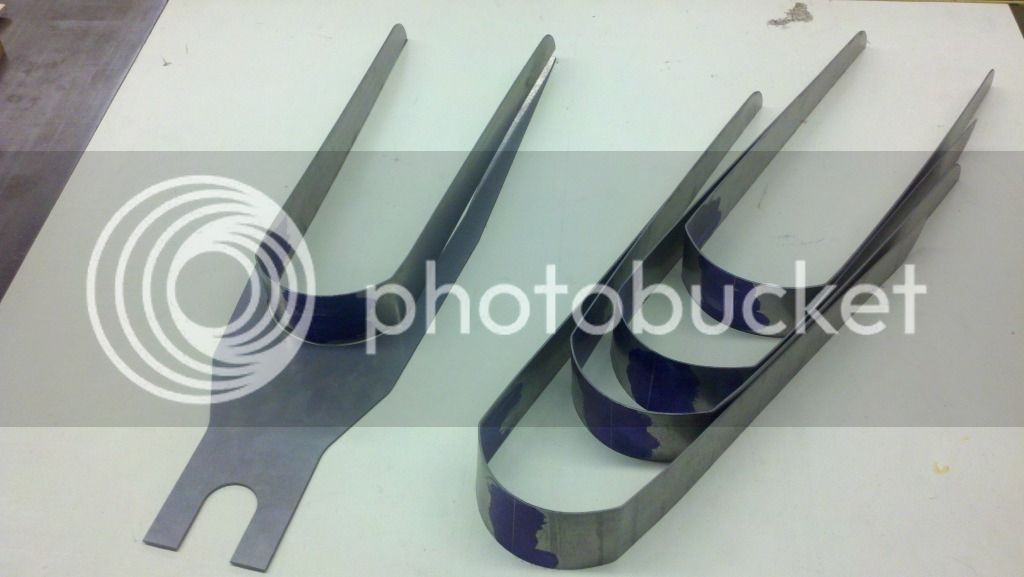
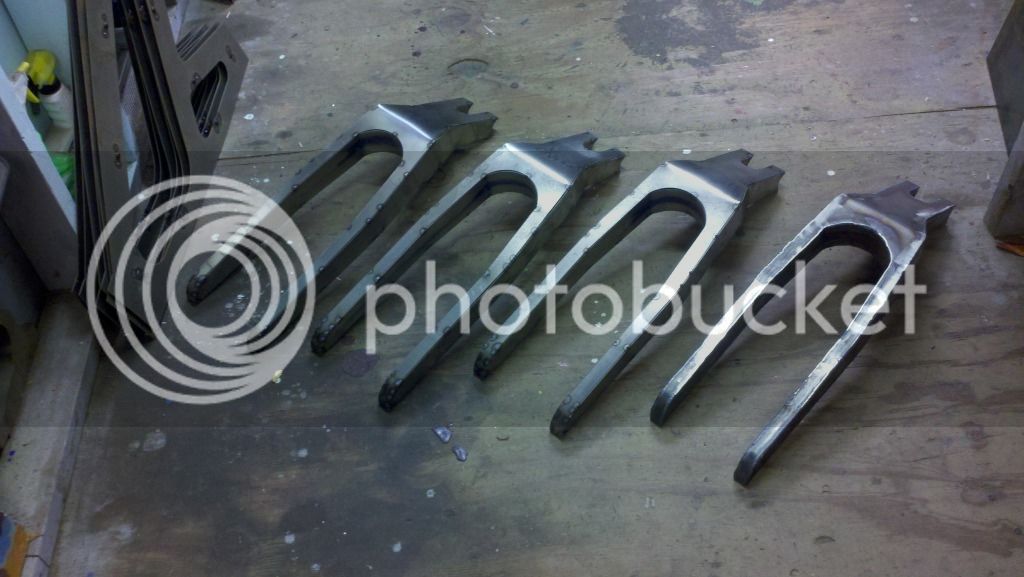
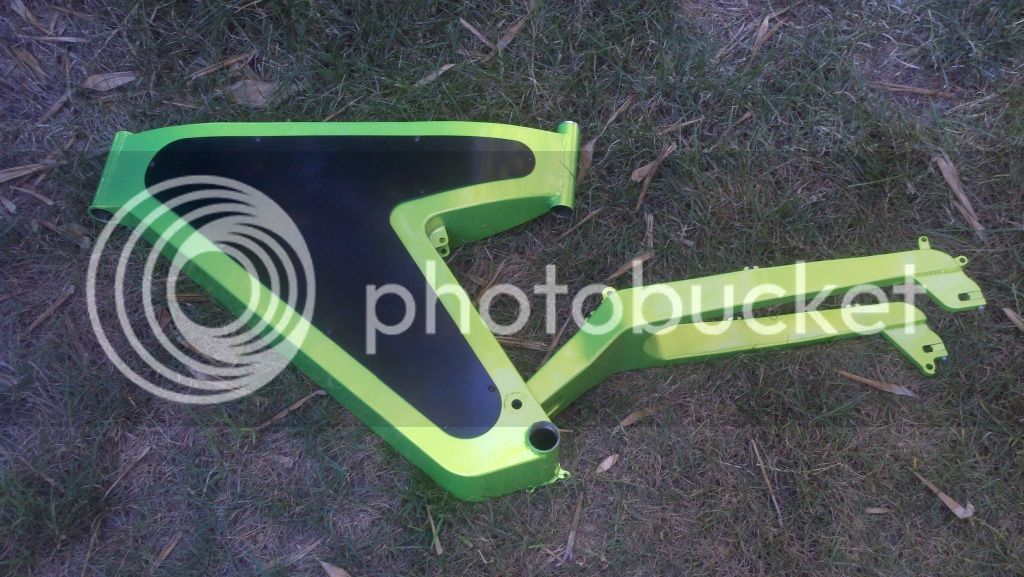
will there be a choice of colors or green just the most bad ass color that works with this frame? 8)
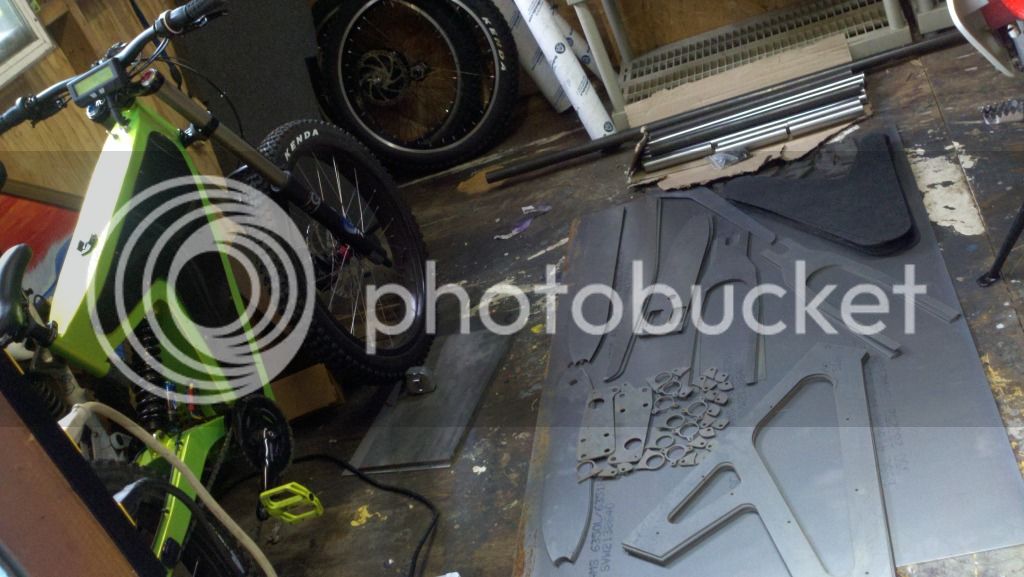
I'm looking at buying this frame this summer and filling it with bike part from my current build.
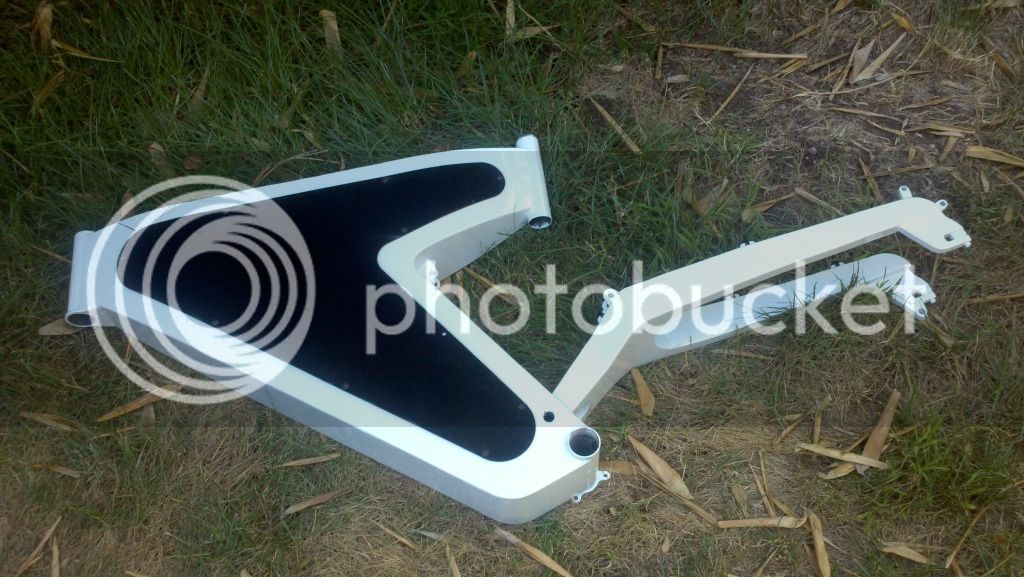
I'm envious that you came work with metal in such an art form. will there be a choice of colors or green just the most bad ass color that works with this frame? 8)