silicium
10 W
Wood process ")
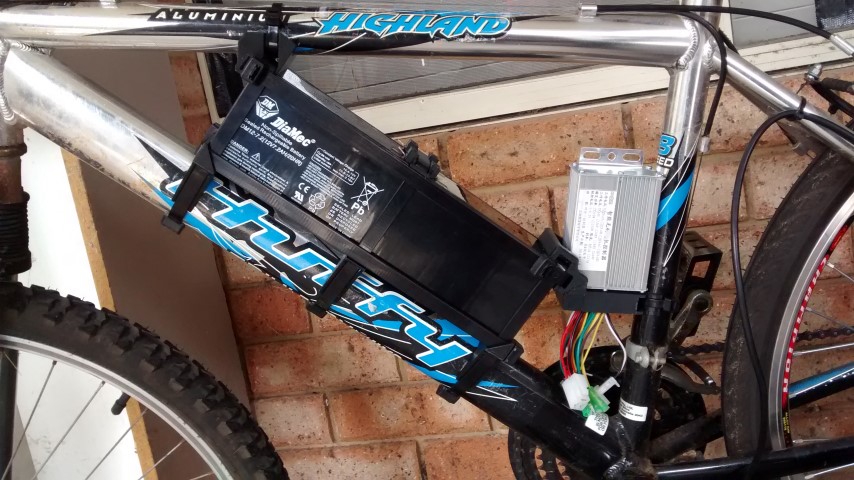
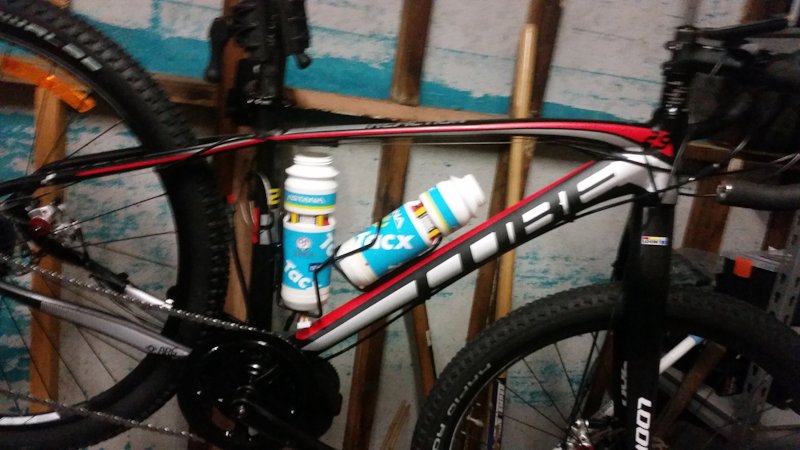
A123M1 12S4P used (6 years old)
assembly: glued - screwed

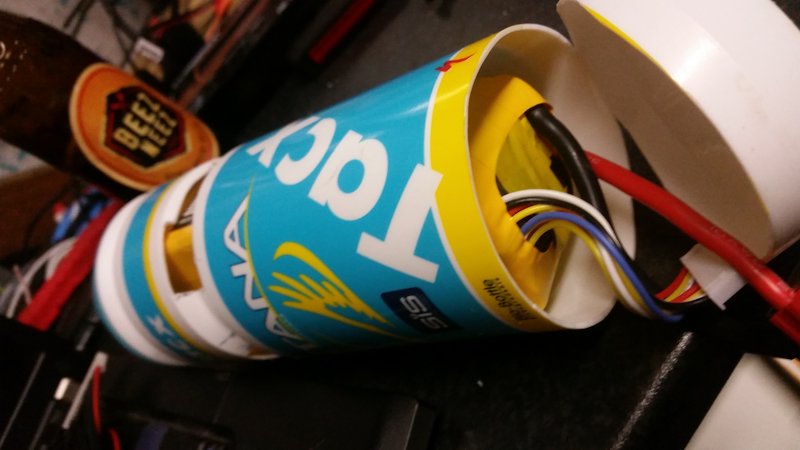
The battery box is complete:
The flanks are epoxy plates rid of copper (plate for use in making printed circuit boards)
We distinguish the key that acts on a static switch mosfets (3 milliohms to the state on) and the charging socket (protected by a cover)

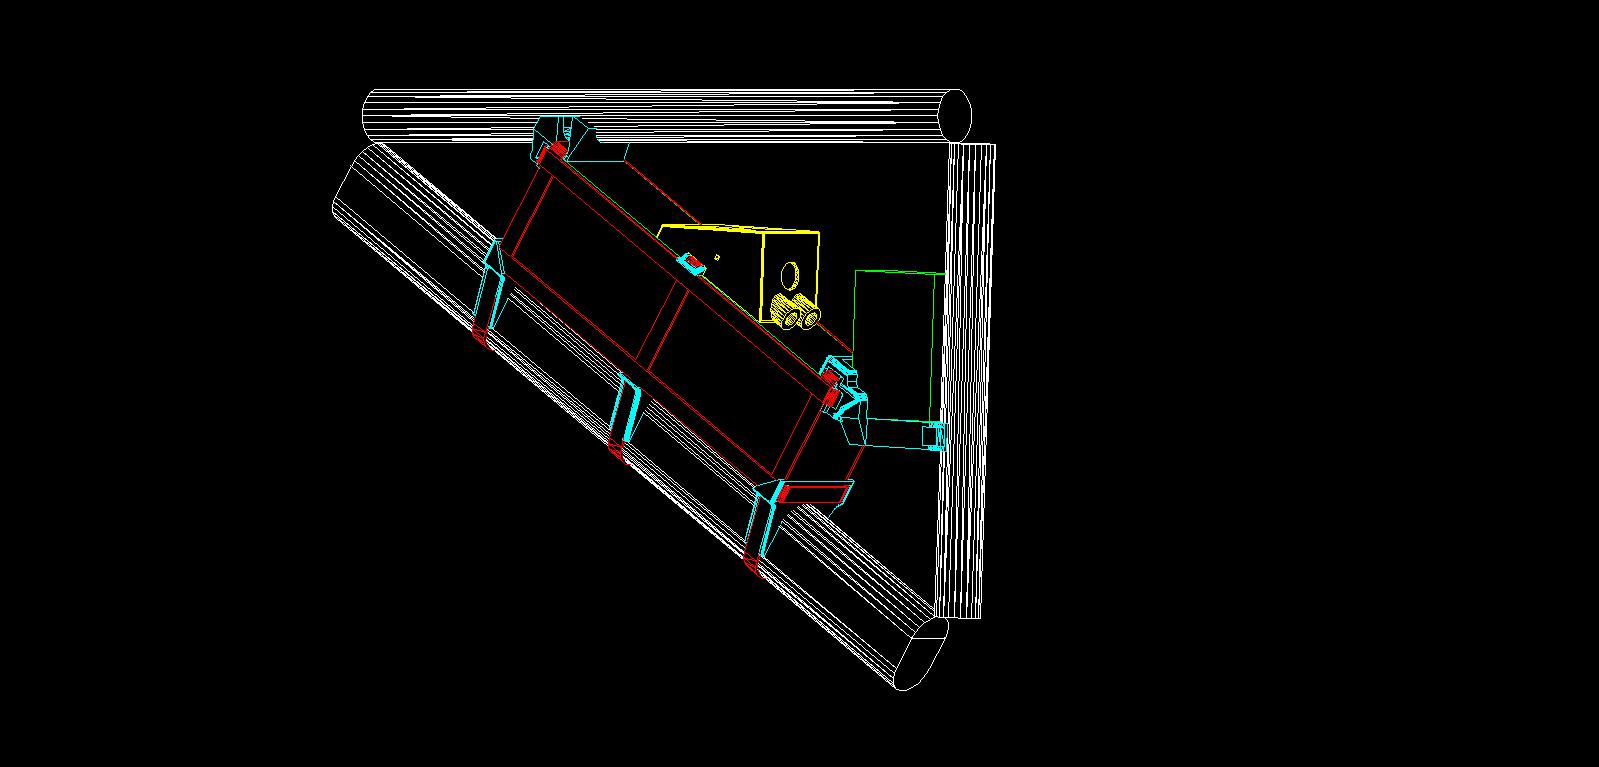
The wiring in the box:

BMS is placed horizontally above the batteries. We distinguish the key switch and charging socket.
BMS DIY: http://endless-sphere.com/forums/viewtopic.php?f=14&t=2498&start=200#p49038
A123M1 12S4P used (6 years old)
assembly: glued - screwed
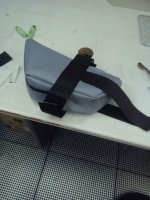
The battery box is complete:
The flanks are epoxy plates rid of copper (plate for use in making printed circuit boards)
We distinguish the key that acts on a static switch mosfets (3 milliohms to the state on) and the charging socket (protected by a cover)

The wiring in the box:
BMS is placed horizontally above the batteries. We distinguish the key switch and charging socket.
BMS DIY: http://endless-sphere.com/forums/viewtopic.php?f=14&t=2498&start=200#p49038