Samd
10 MW
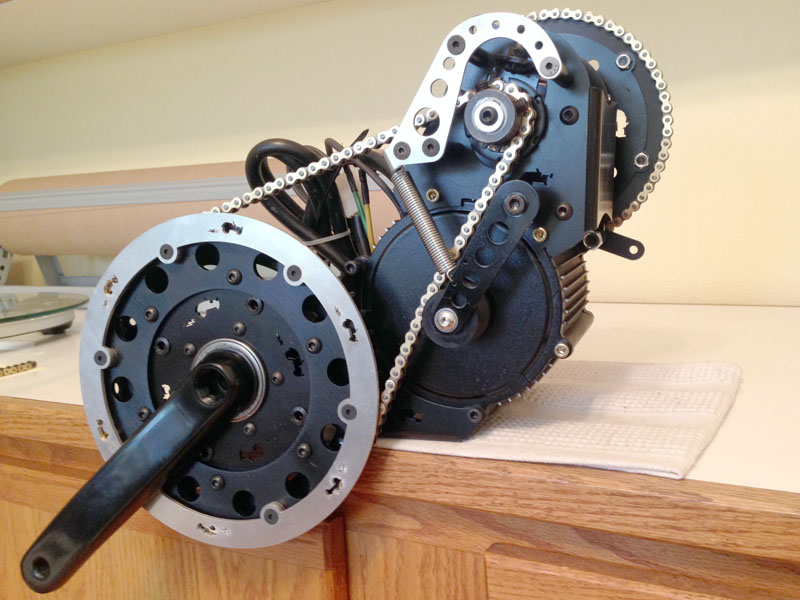
Looking good!
") . I always do one wire after the other and isolate the other side while doing so.
. I always do one wire after the other and isolate the other side while doing so. drew12345 said:Pretty cool! Not sure if I seen anyone do this before. How durable is this stuff? I know bouncing on the trails will test durability of this stuff. Or you adding extra support? Could use this stuff also to creatively mount a controller.


John Bozi said:Should have it in a month.
The to do list:
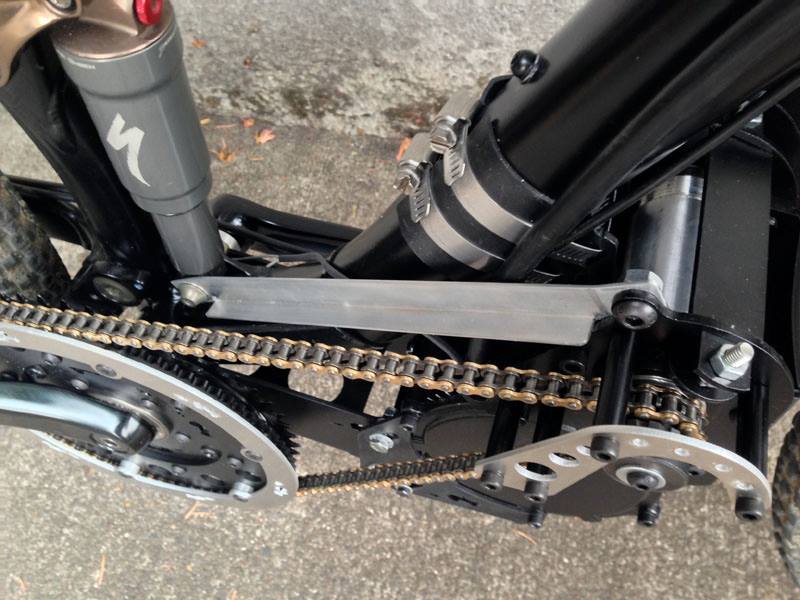
I will have to put a torque brace = bit angle alu, fixed this chain retension device hole.
Similar to this:
Not sure you will be able to tighten up your torque brace if you put it there.
Also not sure the angle is enough to take out the twist.
try using the front shock mount with some mini hiem joints and threaded bar.
Darren
cheekybloke said:Not sure you will be able to tighten up your torque brace if you put it there.
Also not sure the angle is enough to take out the twist.
try using the front shock mount with some mini hiem joints and threaded bar.
Darren