Longshot said:
Hey Emmett, thats the USD-8 right? What did you do to it to make it good? Why not make a write up on what you did?
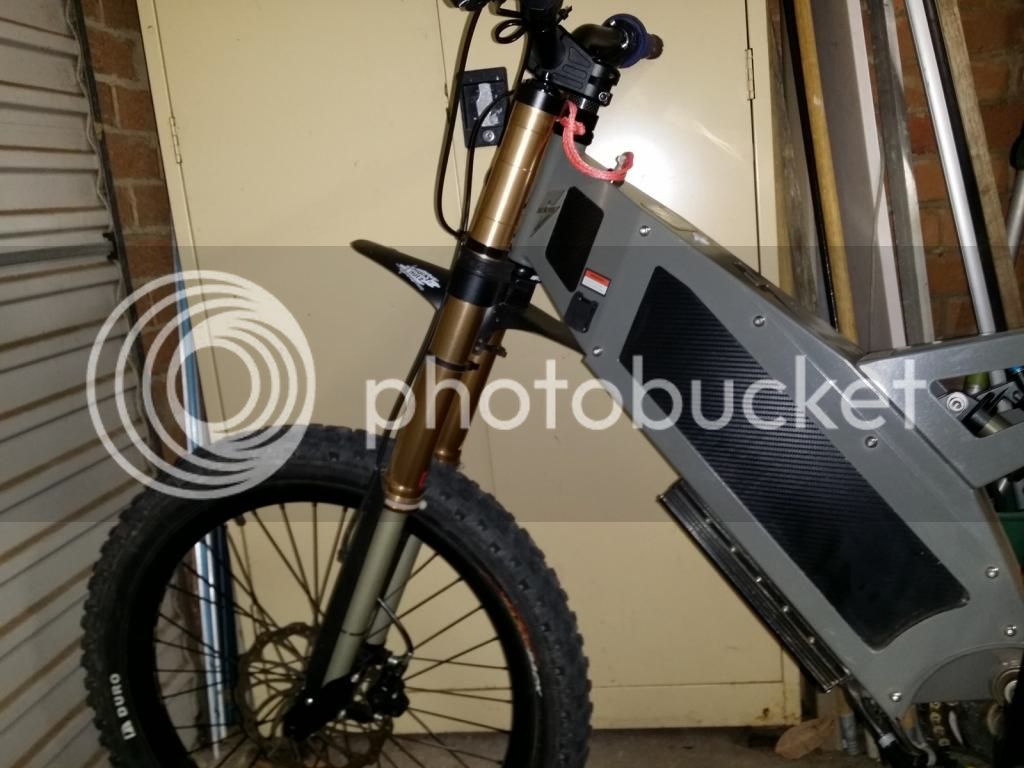
DNM USD-8:
Positives:
0. Low cost.
1. Very low stroke friction. I think their best feature.
2. Full 200mm of travel.
3. Seems strong and good stiffness f/aft and sideways.
4. Increased steering range for low speed technical riding. They use more steering offset in the triple clamps and less in the lower axle lugs.
5. Excellent traction and control, after some fixes ...
For rough off-road riding - problems and solutions:
1. Super slow rebound stack. Can never get good low and high speed rebound setting. Fix = Install new stack.
2. No compression damping. Only has air spring adjustment for compression. So a loss of traction and control. Fix = Add a comp stack.
3. Too much spring preload, even when adjuster is fully backed out. Loss of traction and a top out sensation. Fix = remove spring spacers.
4. Leaking damper seal. Fix = Add some auto transmission "step leak" additive to the damper oil. After about 2 weeks mine was good.
5. Lacks torsional stiffness. Mainly due to bushing slop. Fix = none. Or be careful where you place the front wheel. A good rear shock helps here since you can put more weight on the rear and the bike still behaves.
To disassemble the left spring leg: Just note that the lower gold seal/bush assembly unscrews. Also the spring preload adjuster assembly unscrews off the top end of the spring compression load shaft. Everything else is common sense.
Damper (right) leg) dissembly (enough to change valving):
1. Remove right fork leg from bike. Remove lower plastic guard. Deflate air from lower air res chamber.
2. Undo the fork cap, and slide the upper tube down the whole way to expose the nut on the top of the damper.
3. Clamp lower fork lug in a vice (with soft jaws) and undo the damper cartridge cap.
4. Carefully out the damper rod and piston assembly. Eye protection is a good idea in case of oil splash.
5. Take the fork out of the vice and pour out the old oil.
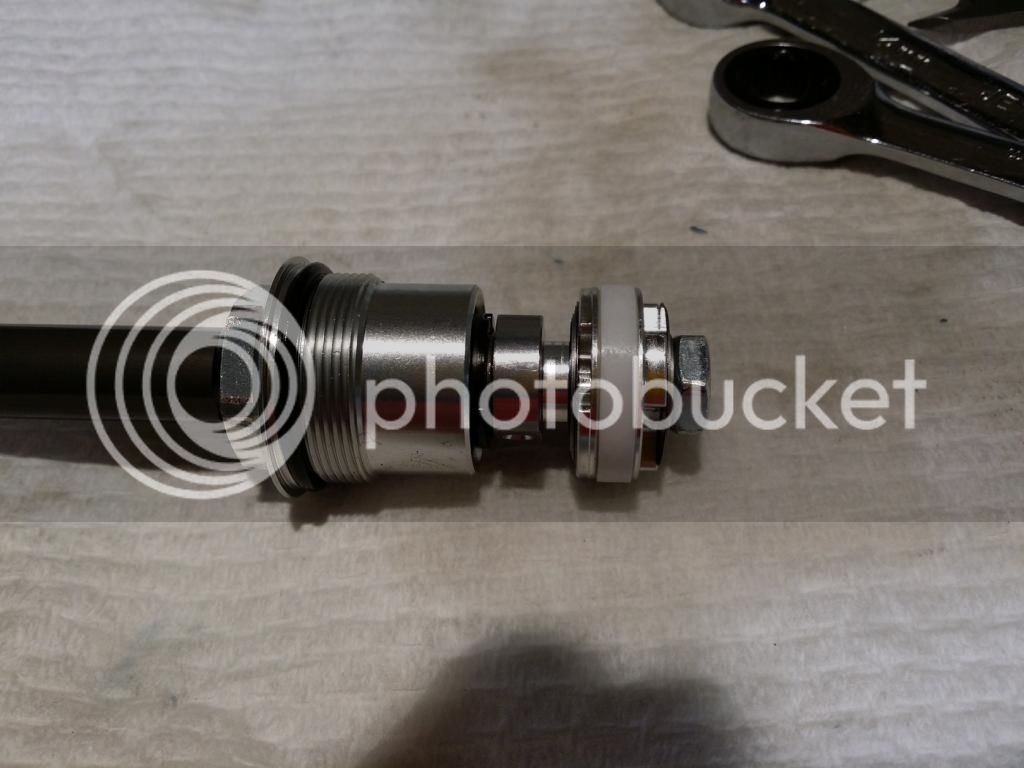
6. Remove nut off the end of the damper valve, to access the shim stacks.
To reassemble the damper, the reverse applies, but the trick is correctly filling the damper with oil and no air. To do this:
A. Position fork leg vertically, then fill the damper with quality 7.5w oil until 15mm from the top.
B. Ensure clicker adjuster (piston bleed valve) is fully wound out (open or anti-clockwise).
C. Pull damper cap fully down on the shaft so it touches the piston assembly (fully extended position).
D. Pre-add 55 psi to the lower air res. This is essential or the fork will have too much oil and not enough air, and it'll not compress fully, feel harsh and might even blow a seal on a fast hard hit.
E. Slowly insert piston assembly (ideally revalved) into the damper. Be careful with the piston ring-seal. Allow air to bleed up through the bleed ports. Then insert and tighten the inner damper cap. For a perfect damper seal, I recommend lot of teflon plumbers tape on the thread instead of trusting the DNM supplied o-ring.
F. Complete assembly and increase base air pressure up to 100 psi. Up to 130psi for more bottoming resistance. As low as 80 for more easy fork travel. Don't go below 80 else you give up the benefits of oil cavitation control.
For the valving mods, you will need some shims with 8mm ID and 0.1 thickness. It took me about 10 goes to come up with this, which is I think pretty good, and just so much better than stock USD-8 or R1. You'll think you are riding on a magic carpet with this. Firm yes plush, and good response to clicker adjustment:
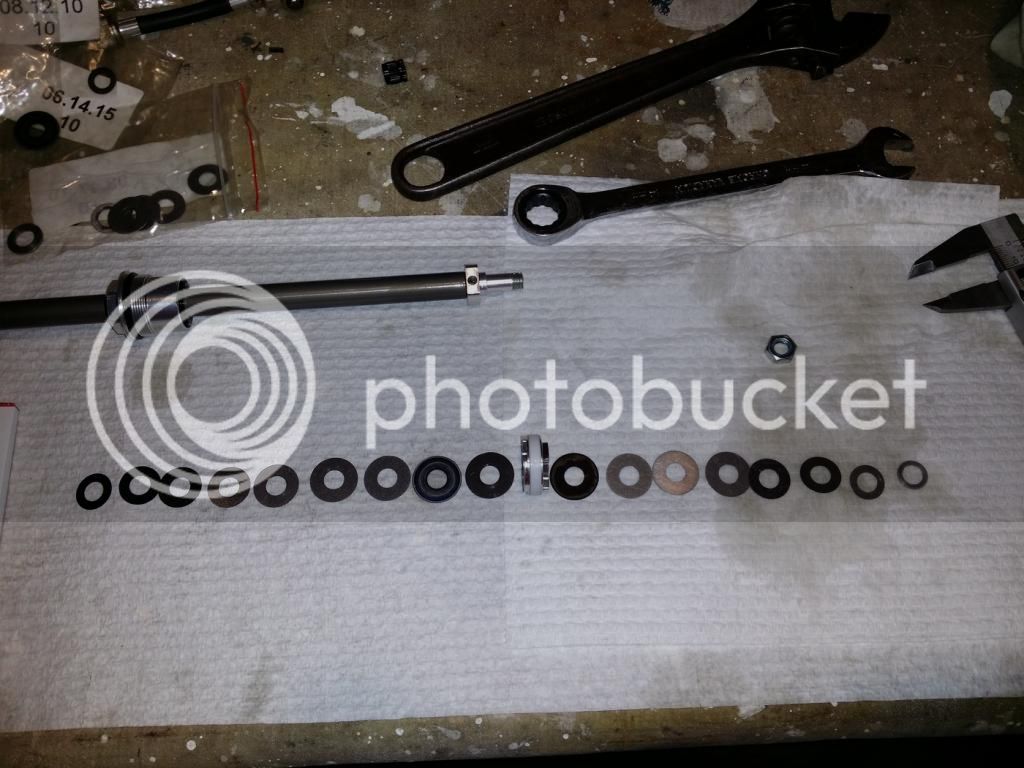
Comp: 21 2x20 19 13 2x19 18 2x17 15 over the 10mm clamp.
Reb: 19 17 13 17 16 14 over the 12b clamp washer.
Some photos. Don't copy the shims laid out in the photo. Use the above.