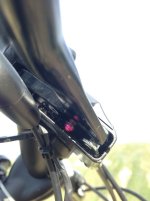
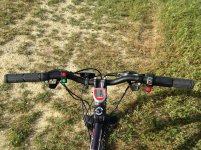
I hope this would help others build their Magic Pie e-bikes and also help me get some answers
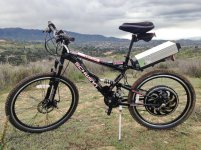
Before photo:
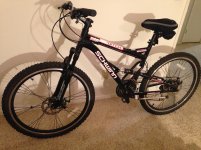
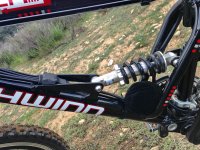
A ~5 year old Schwinn bike from Costco with 26" wheels.
All the parts I got from goldenmotor.ca
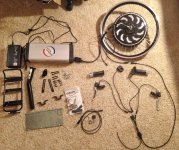
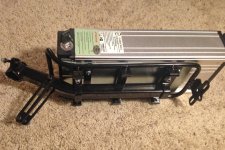
48V10AH LiFePO4 Aluminum Cased Battery
Seatpost Battery Rack
Rear Torque Arm
USB Programming Cable for Magic Pie 4 VECTOR and Smart Pie 4 VECTOR Controllers
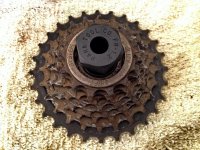
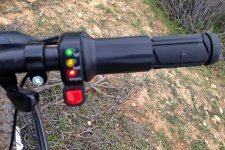
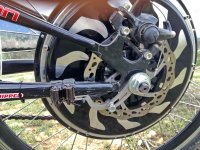
Magic Pie 4 (VECTOR) 24 Inch Rear Conversion Kit (Throttle: 48 Volt Twist)
Challenges:
1) The parts come with ZERO instructions! :x Assembling the seatpost battery rack is gonna take some guessing since I cant even find a clear photo of it assembled online.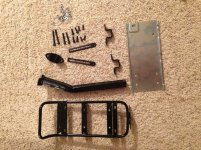
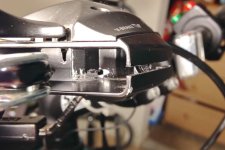
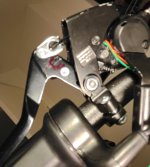
2) I cannot replace my brake levers because they're one piece with the shifters: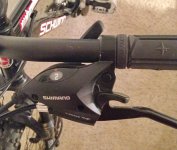
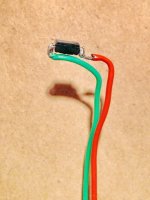
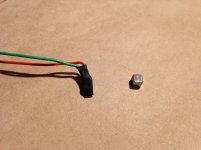
So I might get the hidden wire brake sensors http://www.greenbikekit.com/hidden-wire-brake-sensor.html
I wonder if they're reliable to cut off the power and compatible with magic pie.
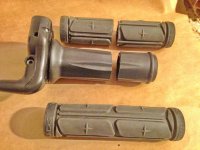
3) I want a half twist throttle, not available from golden motor so I'll have to shorten this one:
What is the widest tire that would fit on this rim?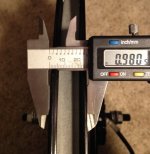
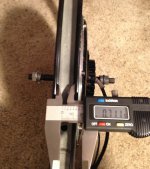
Before photo:

A ~5 year old Schwinn bike from Costco with 26" wheels.
All the parts I got from goldenmotor.ca

48V10AH LiFePO4 Aluminum Cased Battery
Seatpost Battery Rack
Rear Torque Arm
USB Programming Cable for Magic Pie 4 VECTOR and Smart Pie 4 VECTOR Controllers
Magic Pie 4 (VECTOR) 24 Inch Rear Conversion Kit (Throttle: 48 Volt Twist)
Challenges:
1) The parts come with ZERO instructions! :x Assembling the seatpost battery rack is gonna take some guessing since I cant even find a clear photo of it assembled online.

2) I cannot replace my brake levers because they're one piece with the shifters:

So I might get the hidden wire brake sensors http://www.greenbikekit.com/hidden-wire-brake-sensor.html
I wonder if they're reliable to cut off the power and compatible with magic pie.
3) I want a half twist throttle, not available from golden motor so I'll have to shorten this one:

What is the widest tire that would fit on this rim?


