sl33py
10 kW
So OKP's Vanguard build with cables on top got me thinking of doing the same on my GF's Vanguard 41 (flex 1 - it's mine she's permanently borrowed).
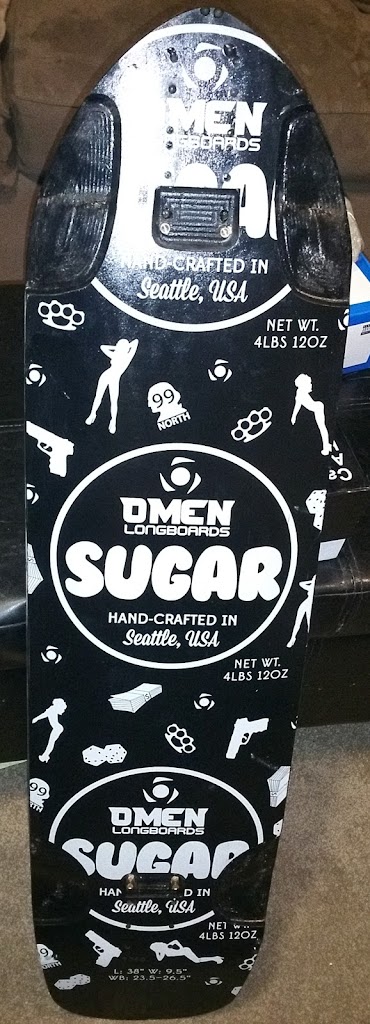
BUT i really don't want to mess it up. SO, i got the Omen Sugar deck i wanted to build for guests to ride with us, and i like kick tails for maneuverability. I like the bottom graphic (nothing fancy), so decided i'd practice routing the power on top of the board to see how it goes.
I wanted to also practice laying down some GF. (before i dive into the e-Chief and CF) I bought two rolls of tinted GF (like texalium) specifically to practice with. I also have a quart of Polyester Resin and MEKP. I have a respirator, but holy crap that stuff stinks up the garage!
Here we go:
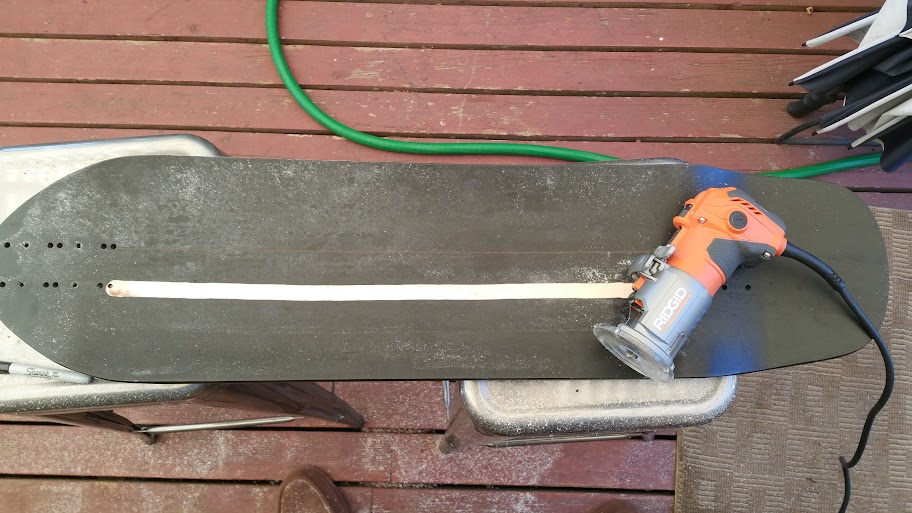
By hand - not perfectly straight, but the raised edge prevented a flat surface to use the guides. I marked a centerline on the bolts to follow.
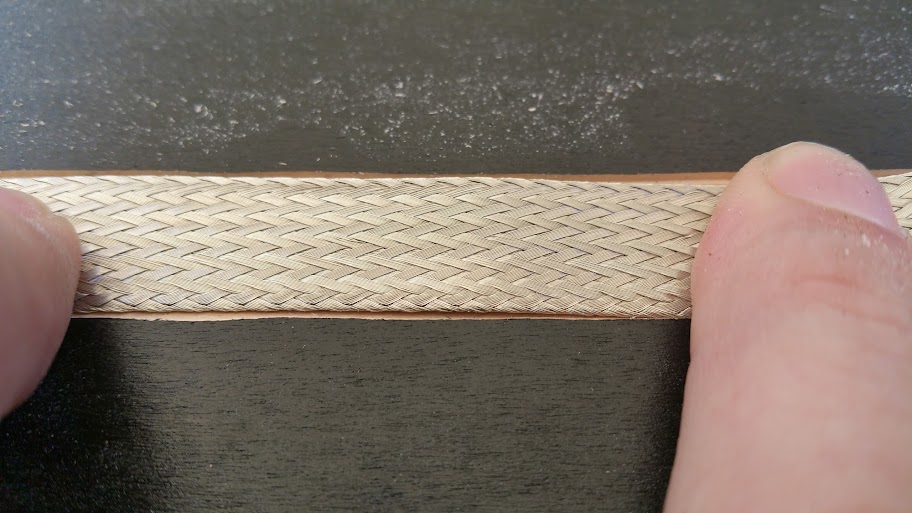
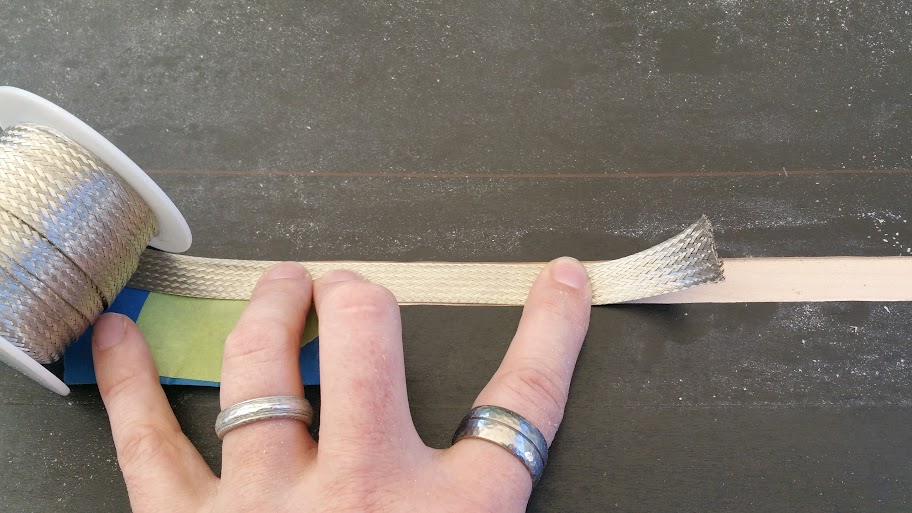
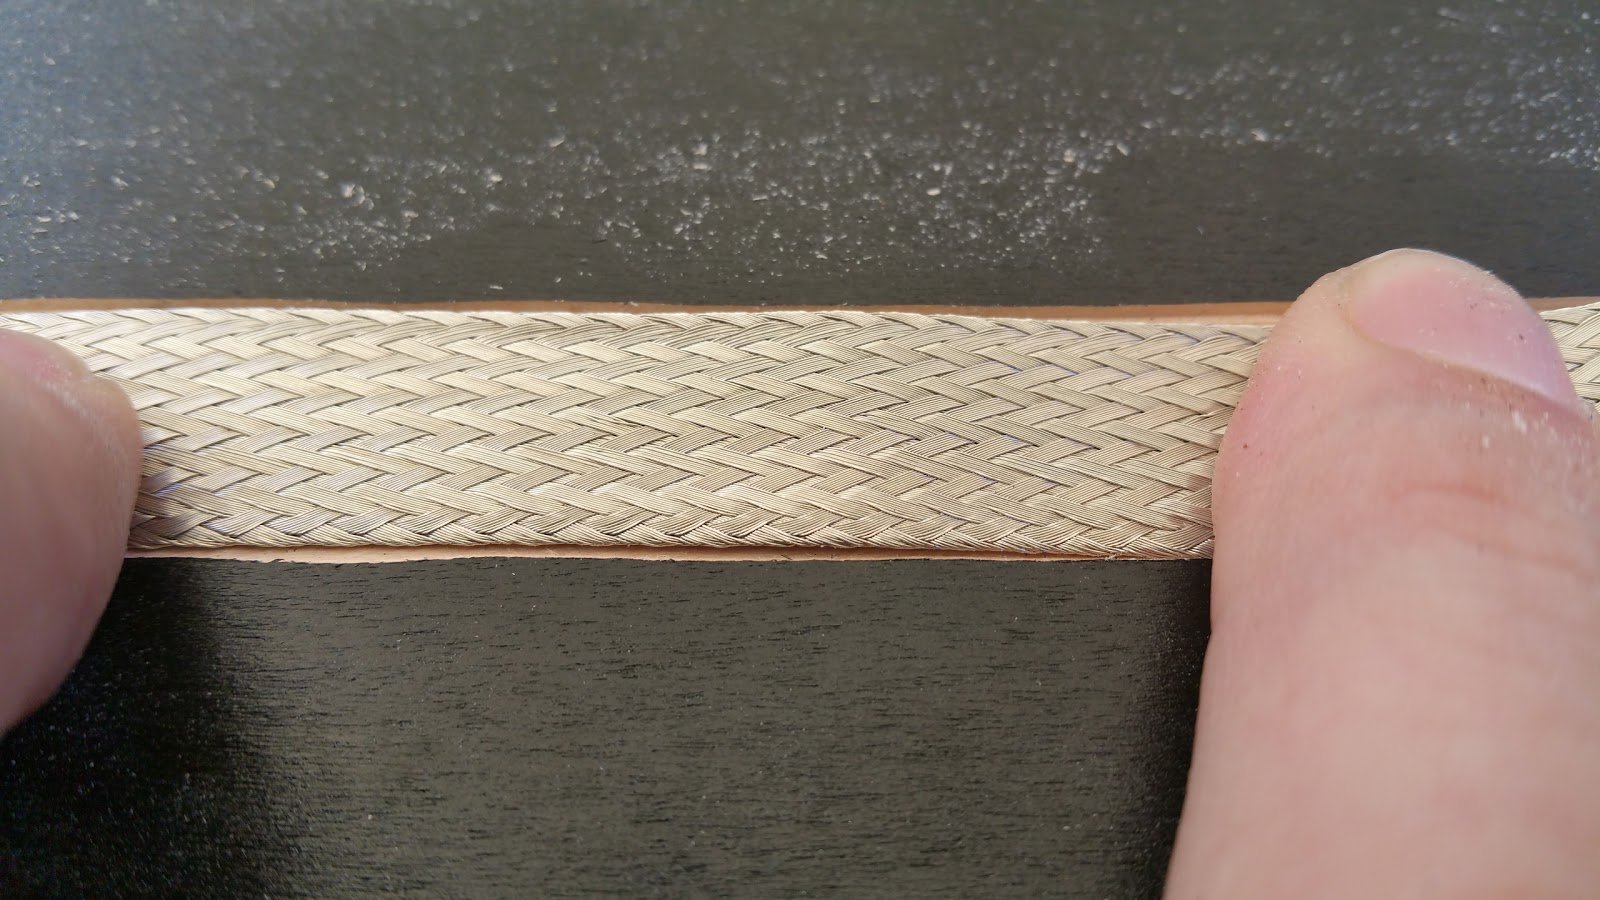
surprisingly enough 5/8 flat tinned copper wire fits perfectly in 5/8 router channel!
Router channels done! Not perfect, but close enough for me!
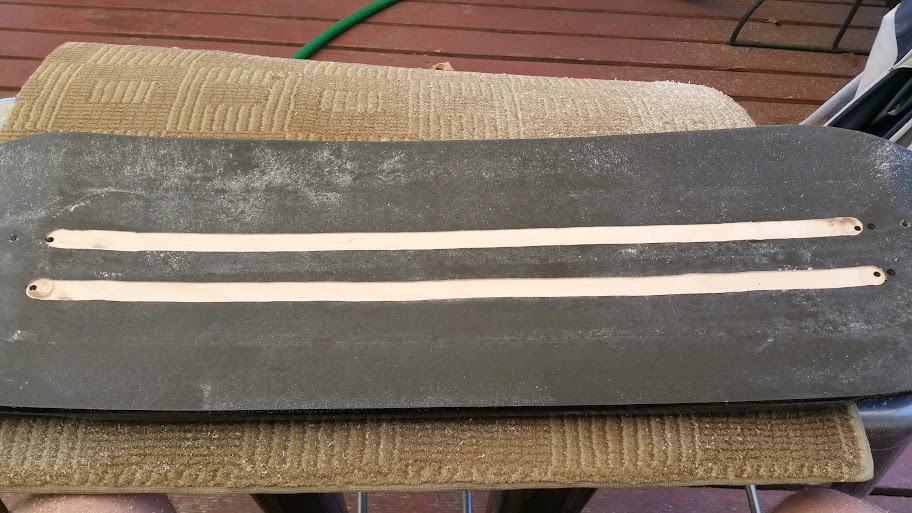
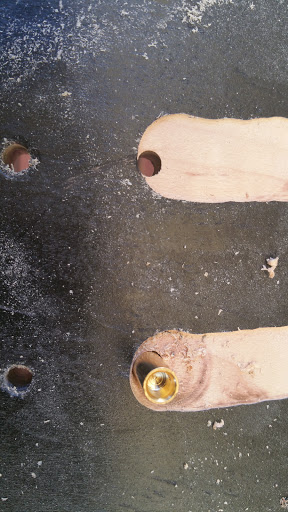
I grabbed some 4.5-5mm connectors and they looked perfect to be the pass-through from the top to the bottom of the deck (thanks LHB for the inspiration). Outside dimensions were 6.5mm so the closest drill bit i could find was my 1/4 (need to get a metric set, but what i had) which measured 6.4. So a bit of work to get them to fit.
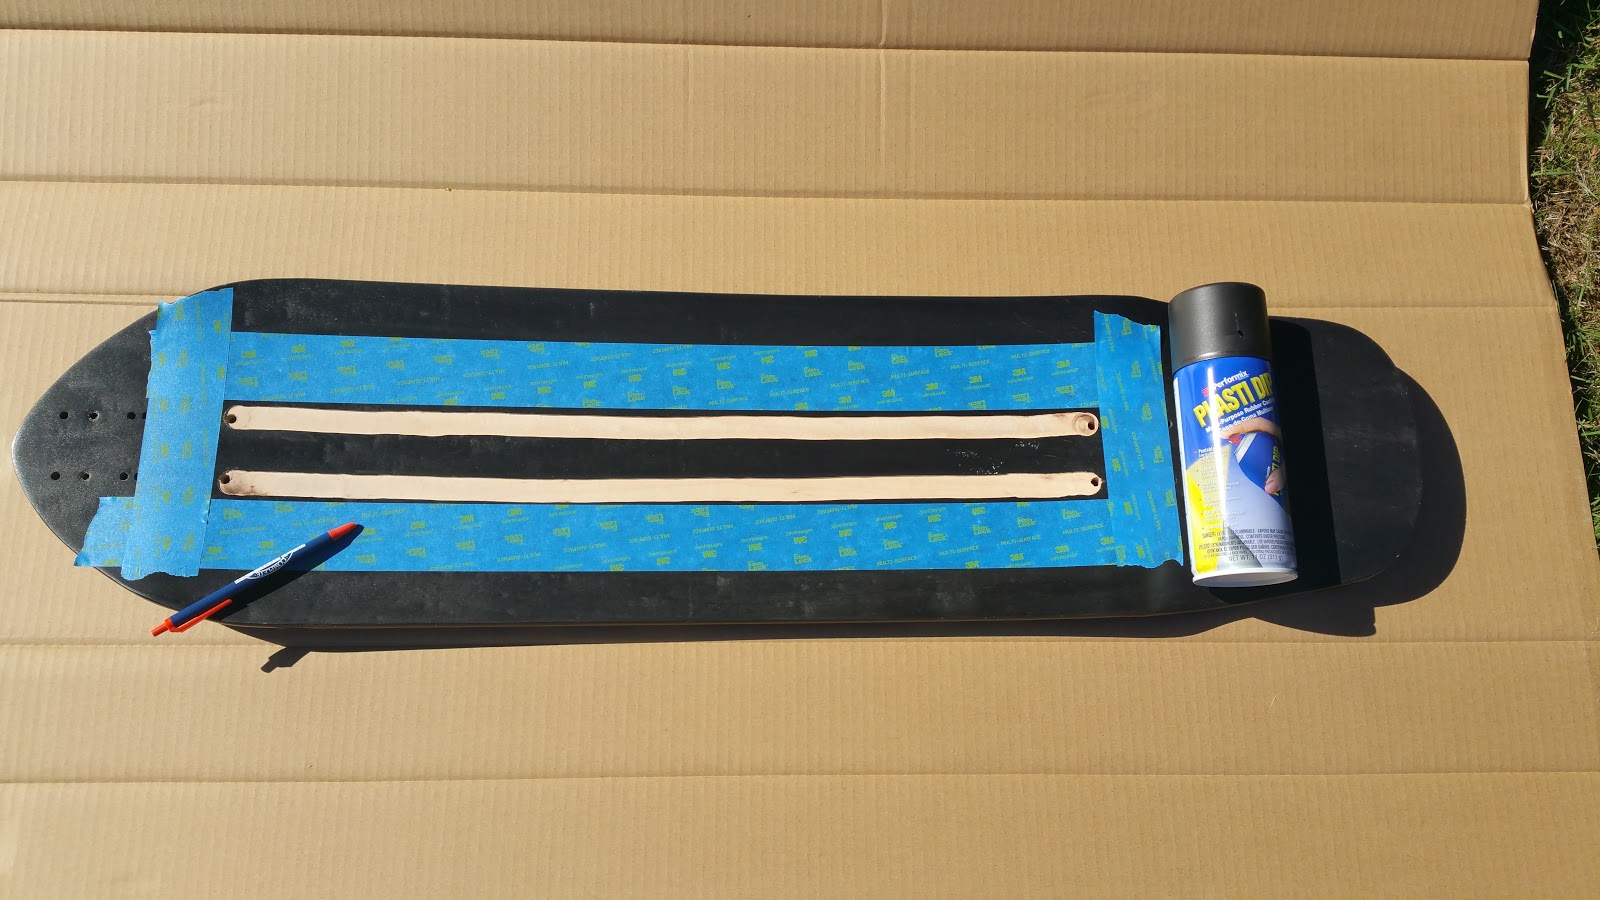
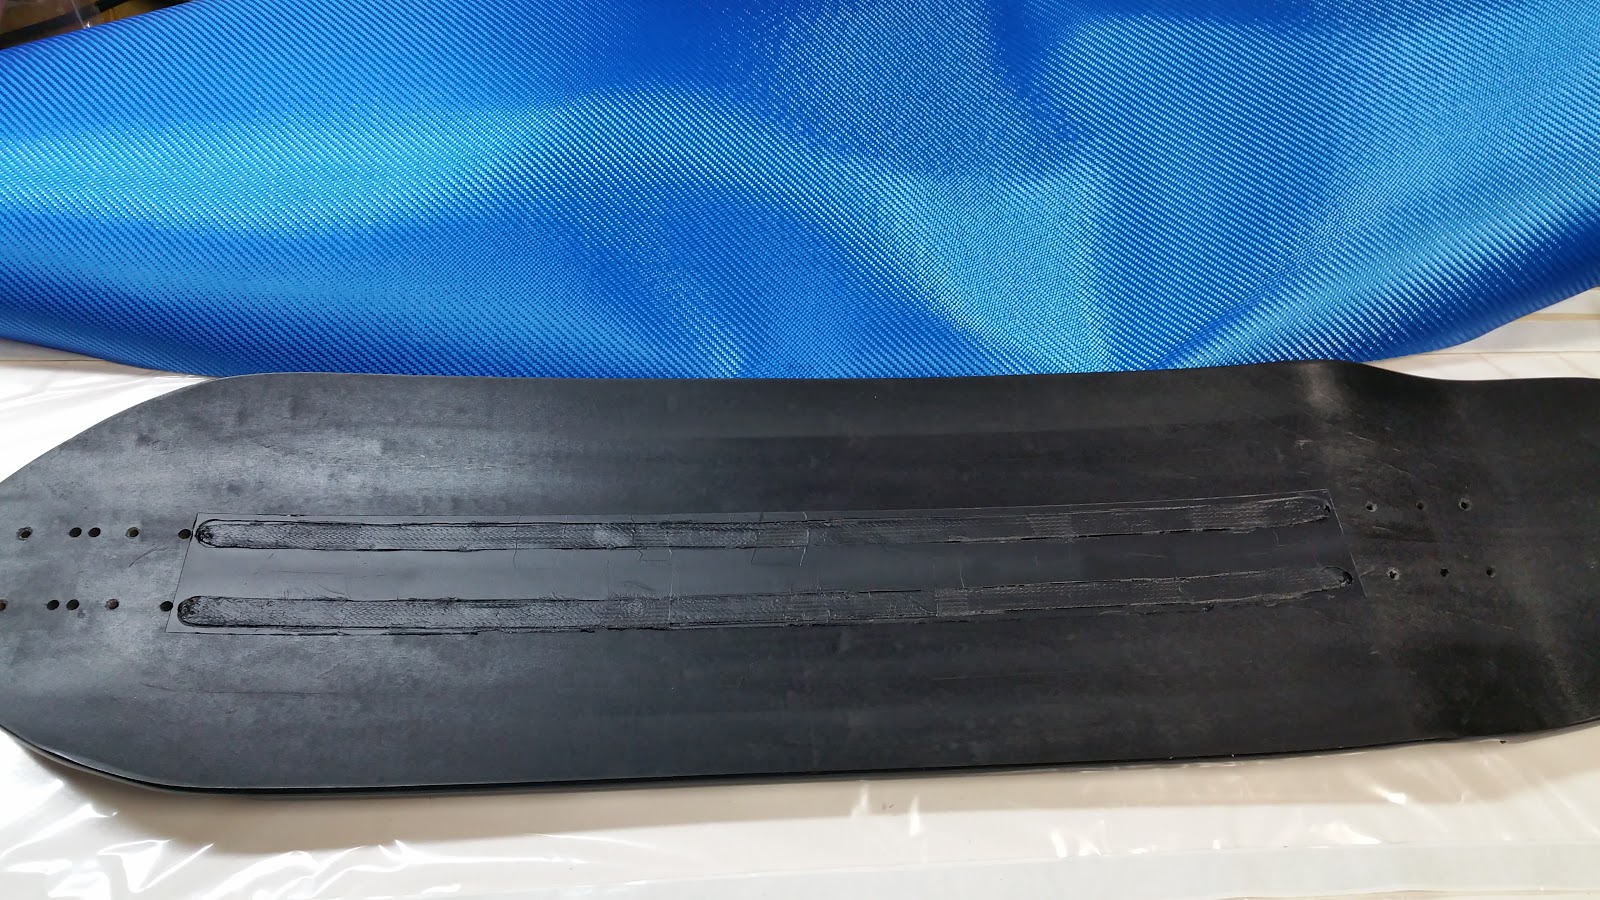
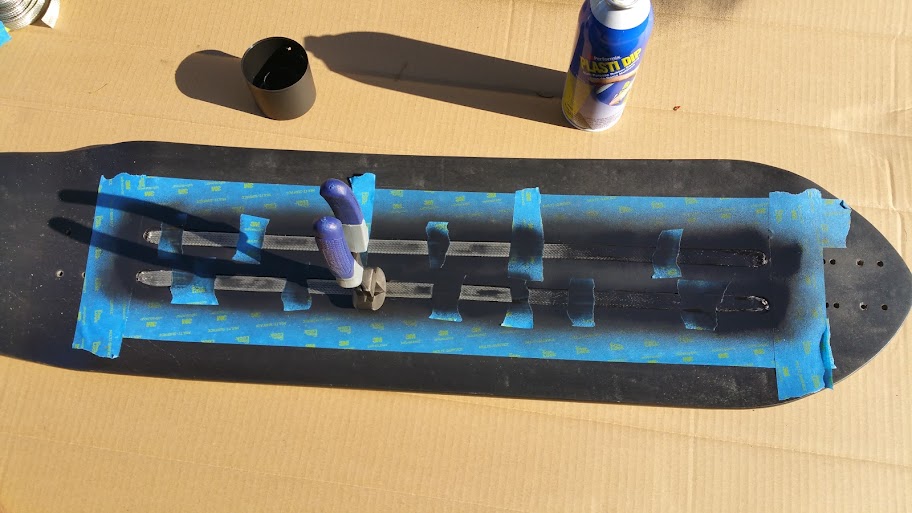
The tinned wire i got isn't insulated... So i was thinking either heat shrink tubing (likely not stay flat when shrinks) or plasti-dip. Had a can of plasti-dip already in the garage (ridiculously handy stuff). So i know wood is an insulator already but wanted to make sure so sprayed the channels with a good 3-4 thin coats to get a nice layer of insulation, then laid the flat wire in the channels and sprayed over them to saturate and adhere into the channel. In hindsight i would do several "dots" of hot glue to keep it stuck down next time then spray it. I tried thin strips of painters tape and alternated pulling them up and re-spraying. Time consuming and didn't do a great job holding the flat wire down. I already planned to GF over it, but if i were just doing grip tape once insulated it would likely pull up if you re-gripped the deck.

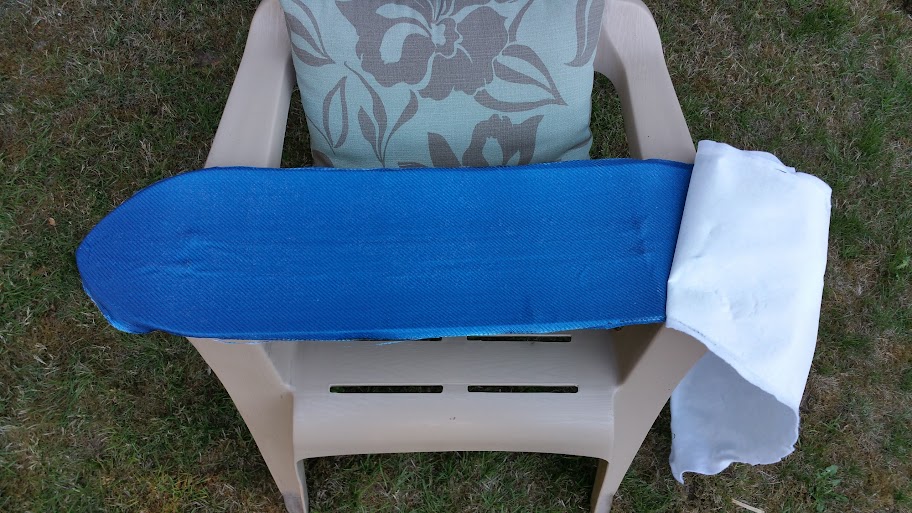
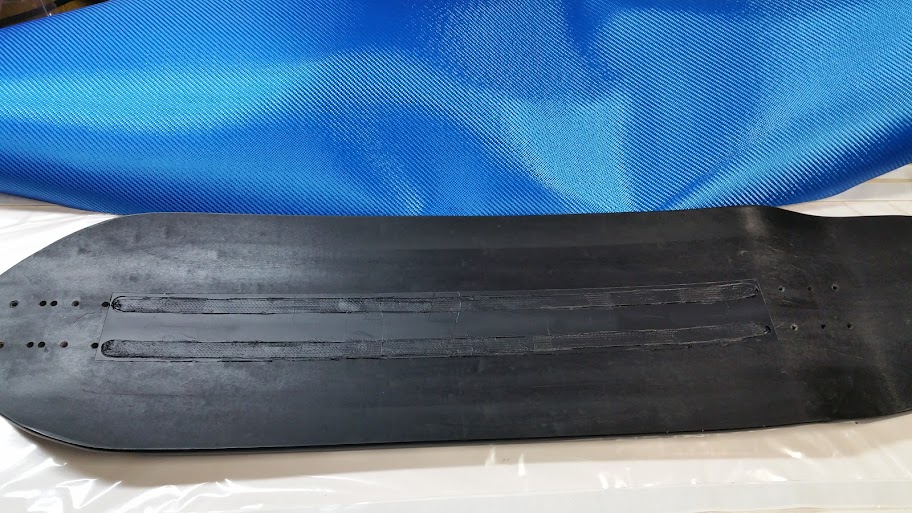
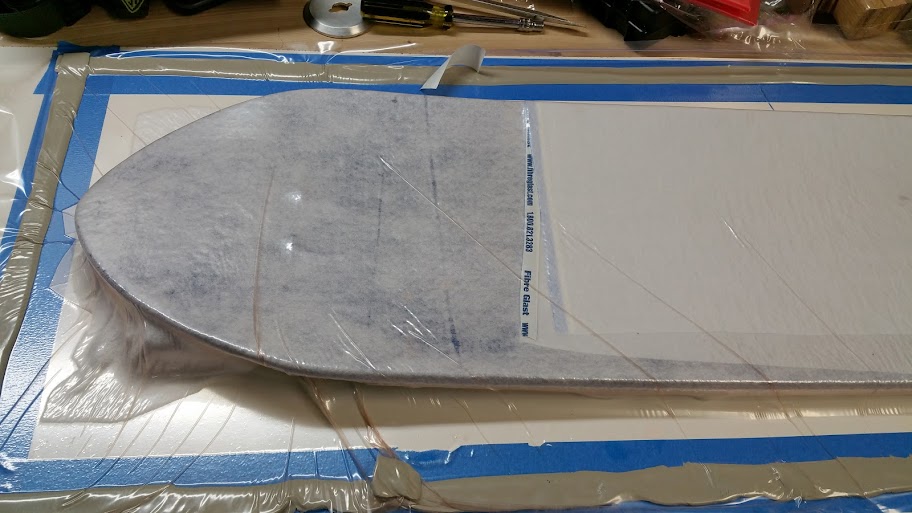
Wires insulated and ready to play with GF!
Respirator on, i didn't even notice the horrible smell (i knew it was bad, but jeez) until later when went back into garage that evening.
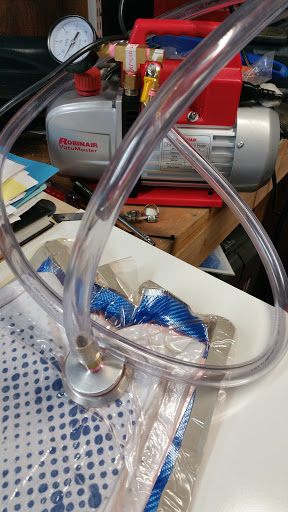
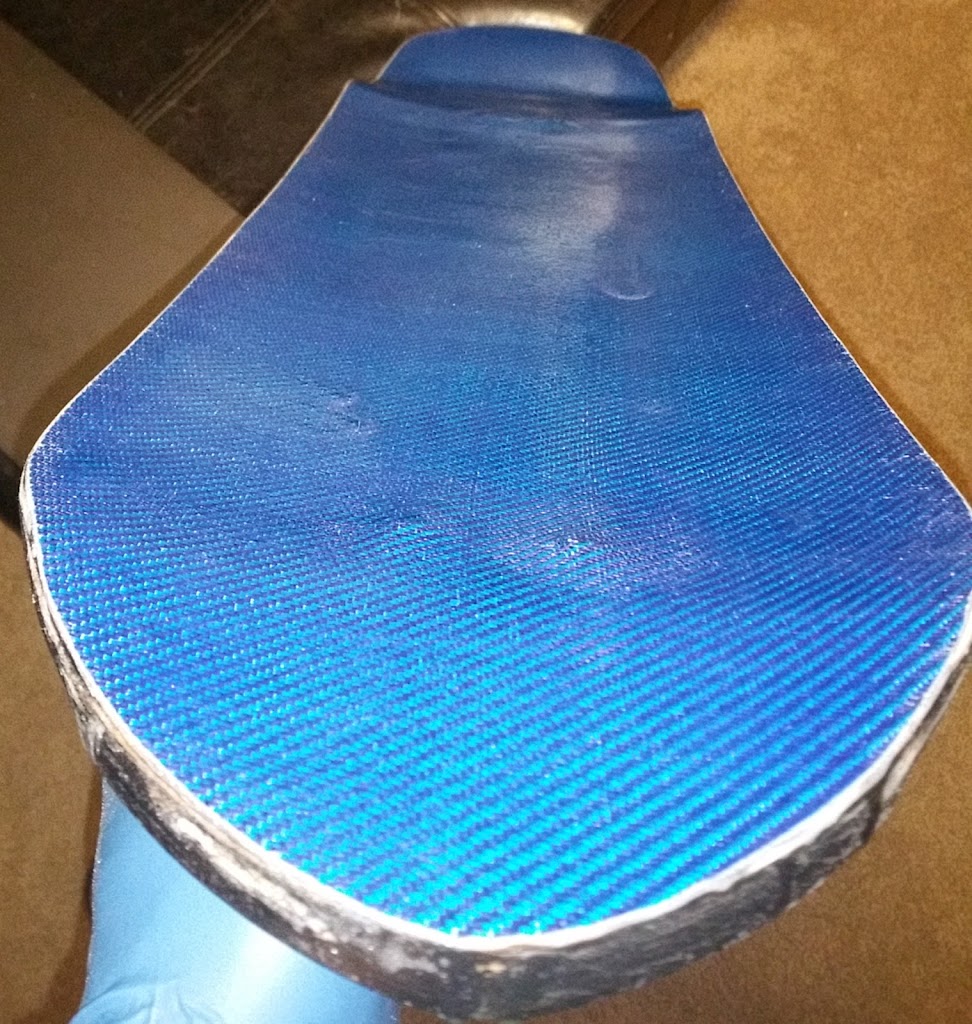
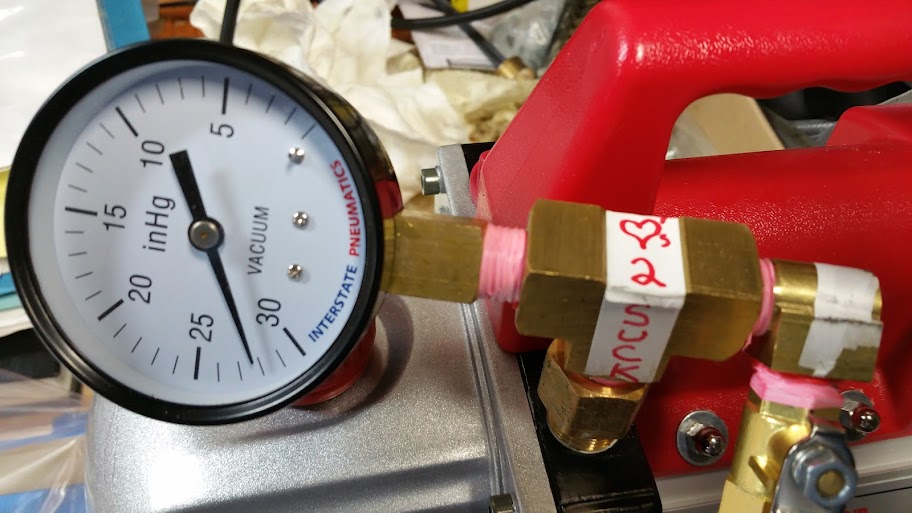
Issue - vacuum is so strong it pulled up the fabric on the tail. I killed the vacuum and moved the fabric, but it's a little messed up there after.
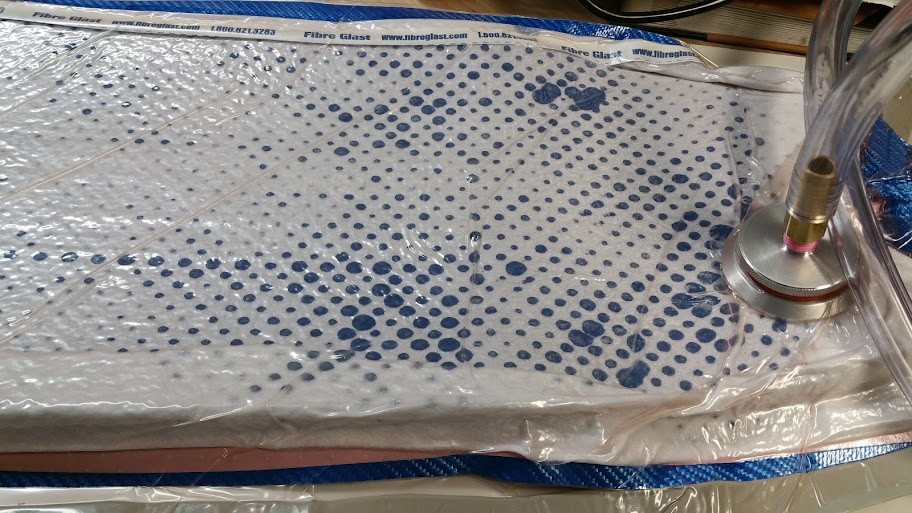
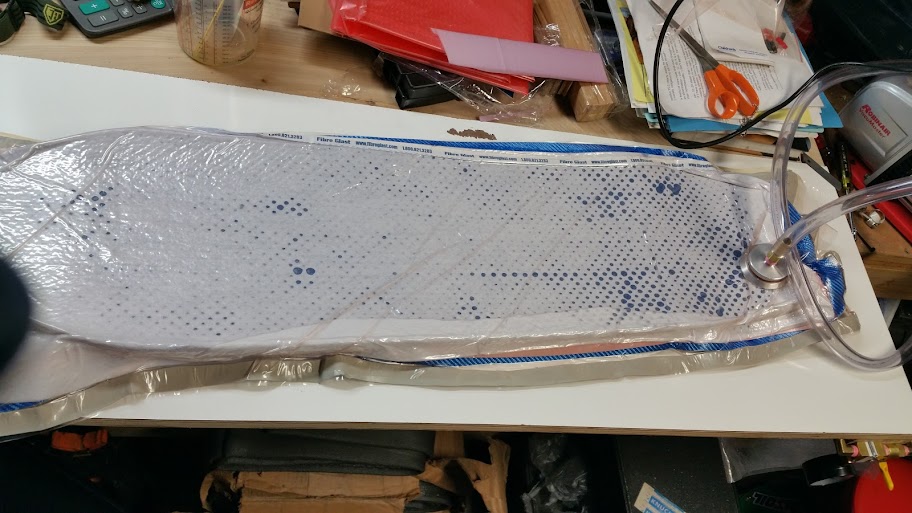
I realize now that was in large part due to the placement of my vacuum line and fitting. I would center mount it next time. I like the even "dots" of the resin being pulled into the breather fabric!
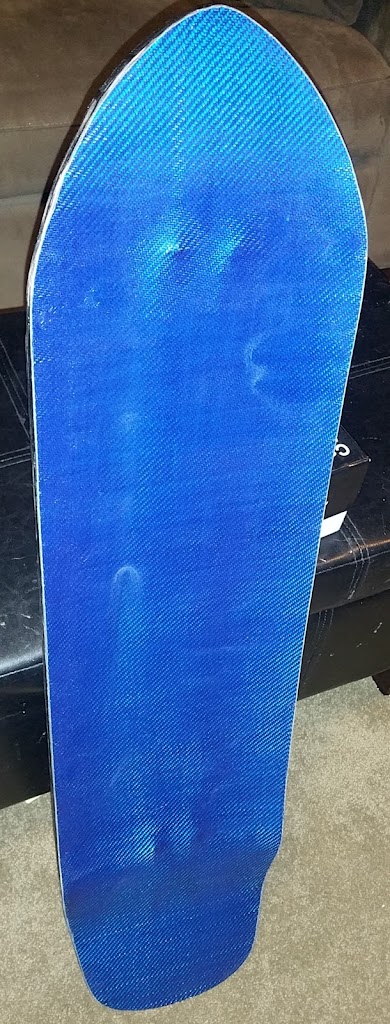
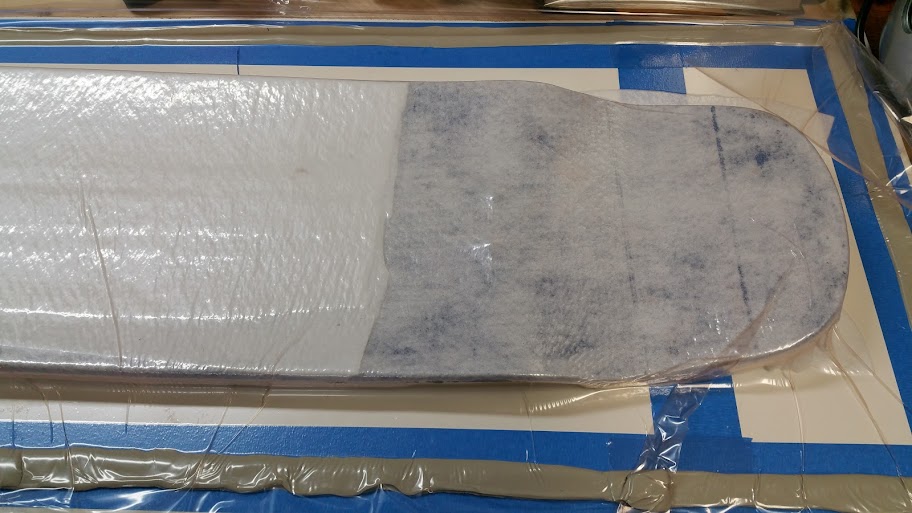
First layer isn't exactly where i want it, so planned on a second layer when i saw results. Not super disappointed, but not quite pleased with results either. I tried just the release film that's perforated and the finish shows a lot of texture i don't really like. I also don't think i added enough MEKP for my cool temperature (about 8 drops per oz (Silmar 249a Resin) which is 1%).
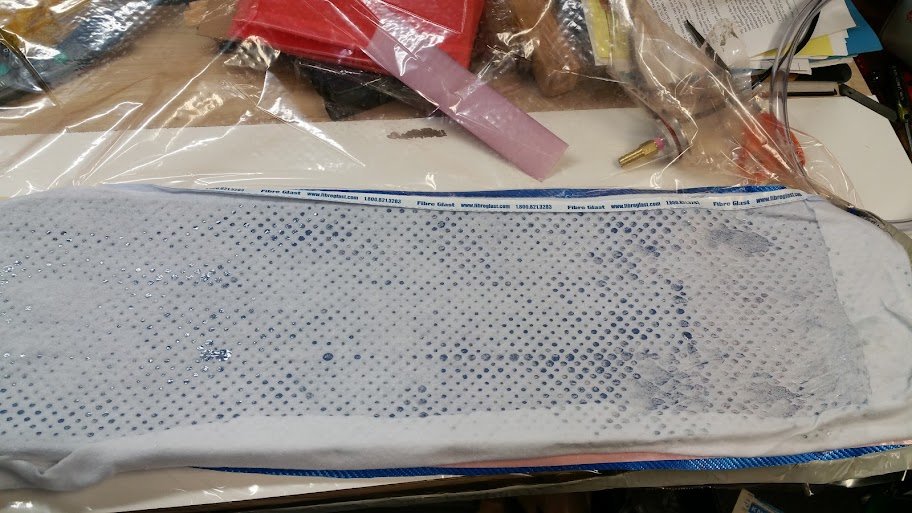
Other lessons learned - i'd trim the fabric once laid instead of letting it bunch up. I also changed to using the vacuum table i built instead of sandwiching layers of membrane w/ butyl tape to seal the two (for second layer of GF).

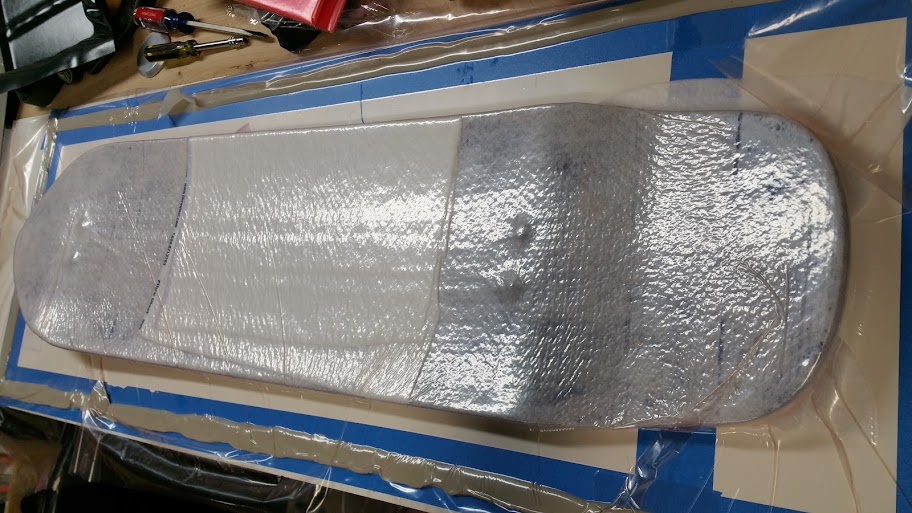
Finish is rough and glossy - rough from the perforations, glossy from the film. I would do a layer of release *Fabric* on top of the perf'd film next time if i wanted a glossier but still smooth finish. Tacky to the touch (loooong cure time w/ 1% MEKP - i went to 1.5% for second layer).
Also - the connectors do stick up slightly and dimple the surface. I will recess them more next time. Once gripped i don't think it'll be too noticeable.
So Round Two!:
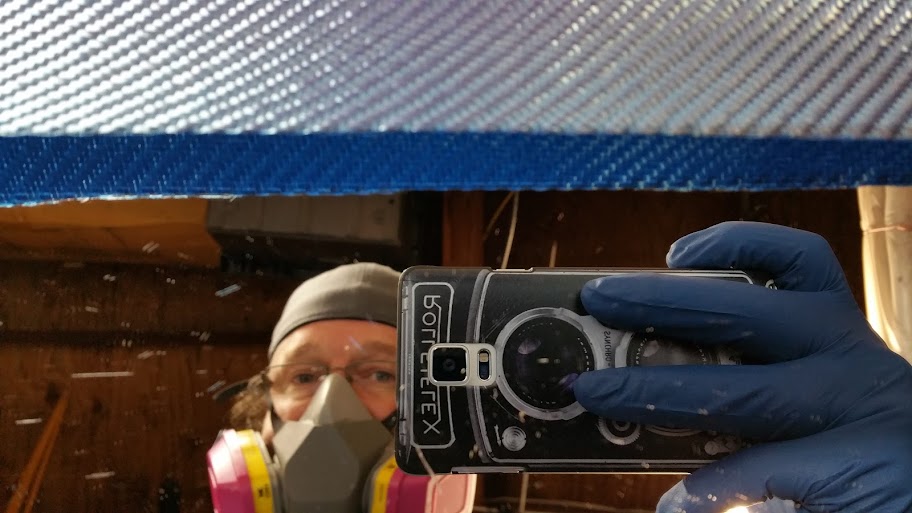
Safety first!
Using the table i built works great. I like the down force only this way for the edges, especially after trimming the GF back a bit all the way around so less excess to bunch up.
I plugged my Hot wire hole on the left side/end w/ a small ball of butyl tape. worked great. I laid down some painters tape to protect the plastic/smooth finish of the table as some butyl tape did pull it up when i did a practice run on some vacuum formed kydex.
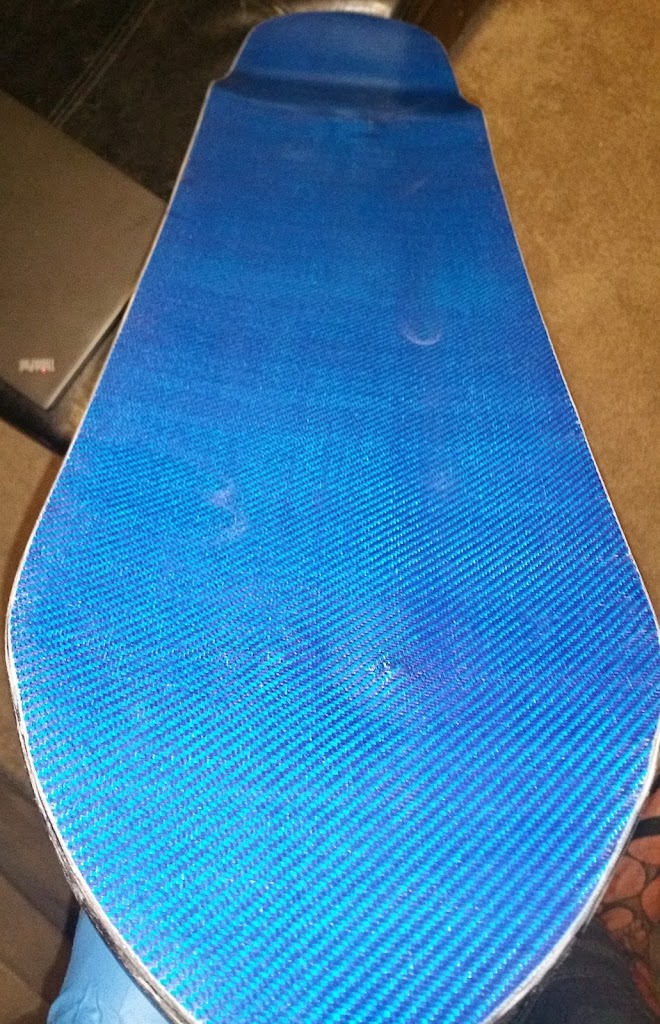
This is where i'm at now. It sat overnight but was really cool (50's) so i'm going to pull it off the table but leave it in the fabric/membrane and set in the sun this afternoon (low 70's) to let it warm up and finish for a couple hours before i pull the films off.
I went with just the release fabric, so it should have a more uniform matte texture this time. Just practicing to see which i like more. We shall see soon!
Updates to follow.
I know this was pic heavy, i hope it helps anyone else looking to do similar themselves! Ask questions and i'm happy to let you know anything i can to help!
BUT i really don't want to mess it up. SO, i got the Omen Sugar deck i wanted to build for guests to ride with us, and i like kick tails for maneuverability. I like the bottom graphic (nothing fancy), so decided i'd practice routing the power on top of the board to see how it goes.
I wanted to also practice laying down some GF. (before i dive into the e-Chief and CF) I bought two rolls of tinted GF (like texalium) specifically to practice with. I also have a quart of Polyester Resin and MEKP. I have a respirator, but holy crap that stuff stinks up the garage!
Here we go:
By hand - not perfectly straight, but the raised edge prevented a flat surface to use the guides. I marked a centerline on the bolts to follow.
surprisingly enough 5/8 flat tinned copper wire fits perfectly in 5/8 router channel!
Router channels done! Not perfect, but close enough for me!
I grabbed some 4.5-5mm connectors and they looked perfect to be the pass-through from the top to the bottom of the deck (thanks LHB for the inspiration). Outside dimensions were 6.5mm so the closest drill bit i could find was my 1/4 (need to get a metric set, but what i had) which measured 6.4. So a bit of work to get them to fit.
The tinned wire i got isn't insulated... So i was thinking either heat shrink tubing (likely not stay flat when shrinks) or plasti-dip. Had a can of plasti-dip already in the garage (ridiculously handy stuff). So i know wood is an insulator already but wanted to make sure so sprayed the channels with a good 3-4 thin coats to get a nice layer of insulation, then laid the flat wire in the channels and sprayed over them to saturate and adhere into the channel. In hindsight i would do several "dots" of hot glue to keep it stuck down next time then spray it. I tried thin strips of painters tape and alternated pulling them up and re-spraying. Time consuming and didn't do a great job holding the flat wire down. I already planned to GF over it, but if i were just doing grip tape once insulated it would likely pull up if you re-gripped the deck.
Wires insulated and ready to play with GF!
Respirator on, i didn't even notice the horrible smell (i knew it was bad, but jeez) until later when went back into garage that evening.
Issue - vacuum is so strong it pulled up the fabric on the tail. I killed the vacuum and moved the fabric, but it's a little messed up there after.
I realize now that was in large part due to the placement of my vacuum line and fitting. I would center mount it next time. I like the even "dots" of the resin being pulled into the breather fabric!
First layer isn't exactly where i want it, so planned on a second layer when i saw results. Not super disappointed, but not quite pleased with results either. I tried just the release film that's perforated and the finish shows a lot of texture i don't really like. I also don't think i added enough MEKP for my cool temperature (about 8 drops per oz (Silmar 249a Resin) which is 1%).
Other lessons learned - i'd trim the fabric once laid instead of letting it bunch up. I also changed to using the vacuum table i built instead of sandwiching layers of membrane w/ butyl tape to seal the two (for second layer of GF).
Finish is rough and glossy - rough from the perforations, glossy from the film. I would do a layer of release *Fabric* on top of the perf'd film next time if i wanted a glossier but still smooth finish. Tacky to the touch (loooong cure time w/ 1% MEKP - i went to 1.5% for second layer).
Also - the connectors do stick up slightly and dimple the surface. I will recess them more next time. Once gripped i don't think it'll be too noticeable.
So Round Two!:
Safety first!
Using the table i built works great. I like the down force only this way for the edges, especially after trimming the GF back a bit all the way around so less excess to bunch up.
I plugged my Hot wire hole on the left side/end w/ a small ball of butyl tape. worked great. I laid down some painters tape to protect the plastic/smooth finish of the table as some butyl tape did pull it up when i did a practice run on some vacuum formed kydex.
This is where i'm at now. It sat overnight but was really cool (50's) so i'm going to pull it off the table but leave it in the fabric/membrane and set in the sun this afternoon (low 70's) to let it warm up and finish for a couple hours before i pull the films off.
I went with just the release fabric, so it should have a more uniform matte texture this time. Just practicing to see which i like more. We shall see soon!
Updates to follow.
I know this was pic heavy, i hope it helps anyone else looking to do similar themselves! Ask questions and i'm happy to let you know anything i can to help!