sl33py
10 kW
It has begun.
My board being stolen is an "opportunity" to build it's replacement with the minor/major improvements i wanted anyway...
Components:
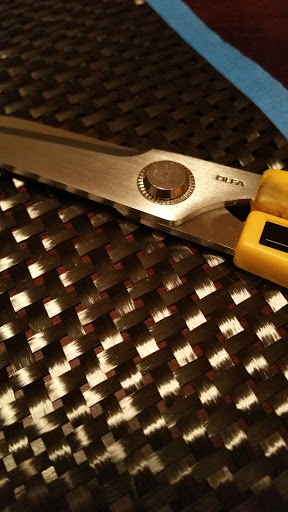
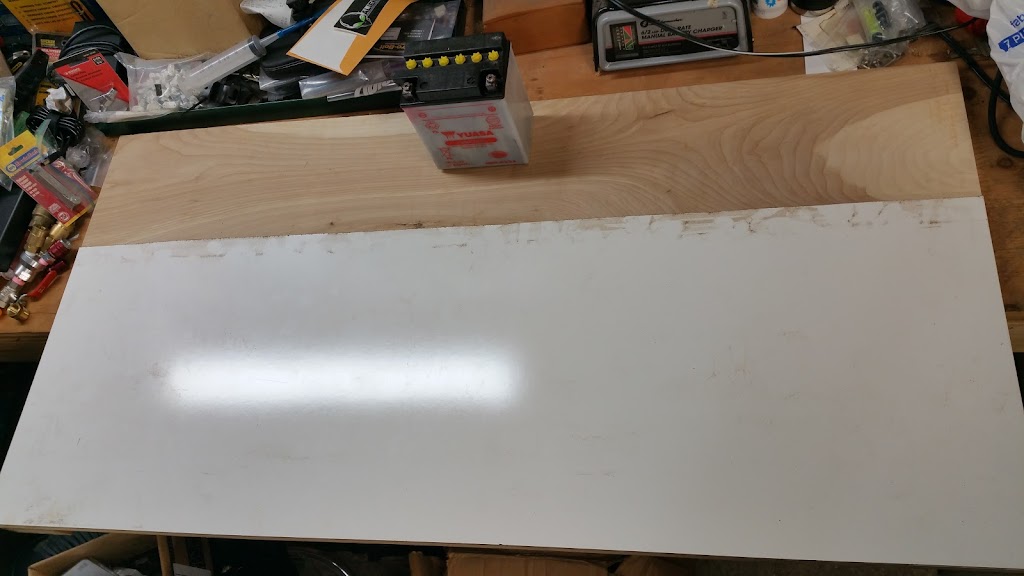
Deck - Omen Chief. Credit to rs4race who got it built originally. I called and spoke with the folks at Omen and they had a double thick deck i was able to score. I have it routered out partially already to sink the electronics and batteries into the deck bottom. I want to tweak it just a little bit w/ some CF "bling", but it's just about perfect right now.
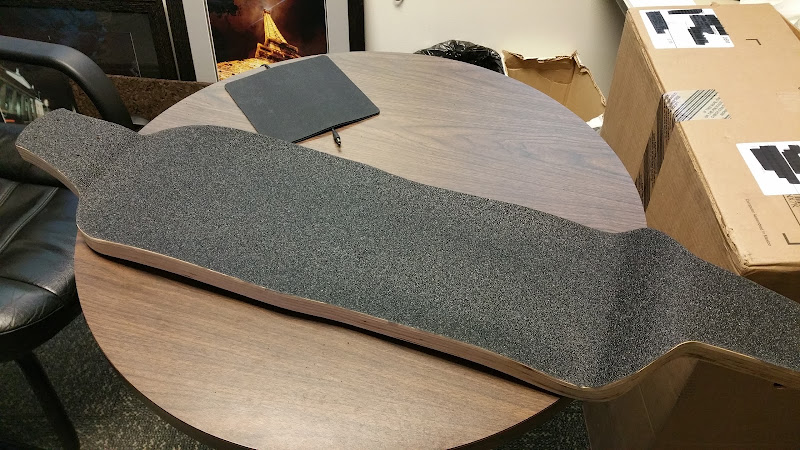
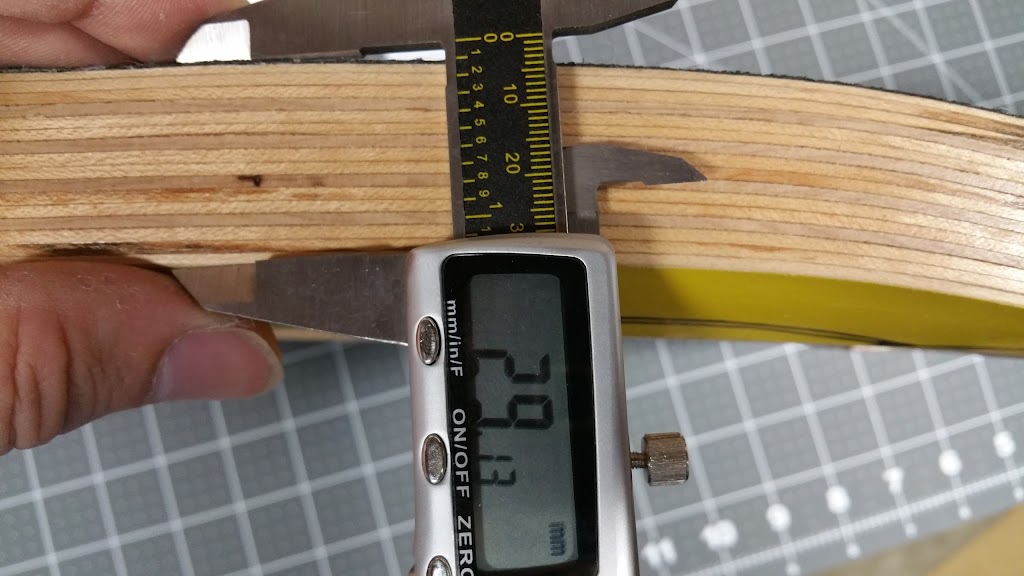
I was curious so i weighed it. Just the deck (mostly routed out) - 7.6lbs/3.45kg. Will not be winning any "lightest e-board" comparisons... (29mm thick!)
Motor mounts - Torque / DIYElectricSkateboard.com new "v1" fully adjustable:
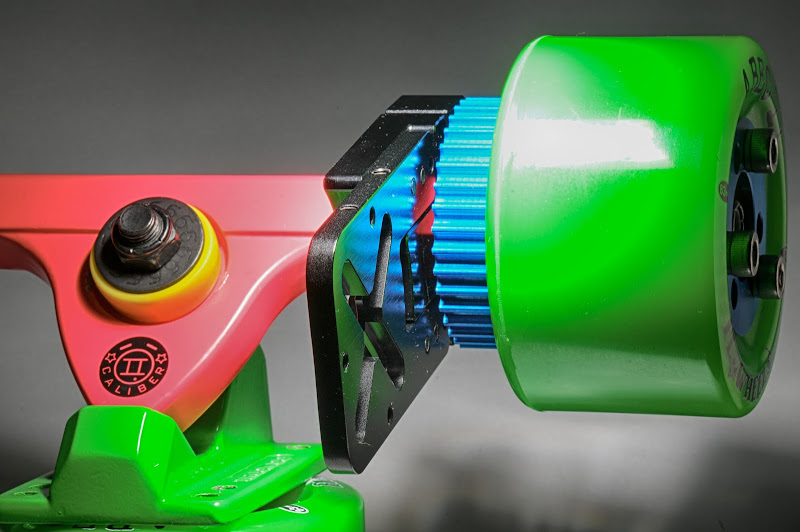
Motors - dual Onloop / Enertionboards.com R-Spec 63mm 190kv:

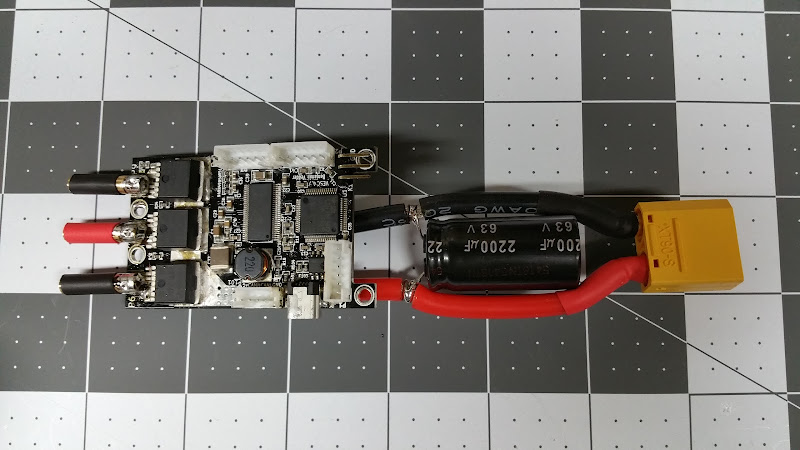
ESC's - VESC's the only way to go! I got two from Jamesonotc and just finished swapping connectors (xt-60->xt-90, and 4mm female connectors replaced wire leads to motors):
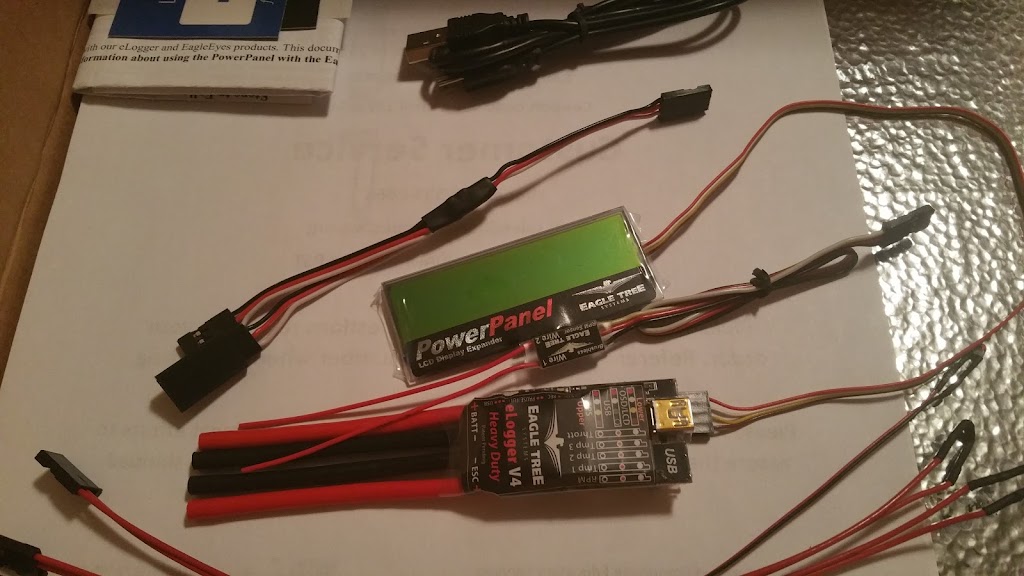
Misc Electronics - Will definitely have a Watt Meter (shows peak Amps, Ah consumed, Watts, etc.), and possibly a voltage display or "fuel gauge". Going to use an anti-spark XT-90 for power "switch". Just thought up a great way to do it the other night (literally just waking up and came to me - nothing ground breaking, but neat tweak) so need to fiddle with it and test.
Still a LONG way to go. Planning to reinforce the deck bottom w/ CF square tube (trying to maximize battery area and minimize flex). Also thinking to try laying Carbon Fiber into battery pockets to reinforce it. Looking at difficulty of vacuum forming now... Don't know what i'm doing but it will be a fun adventure! Ideally and somewhat uniquely (i think) setup to be modular.
I envision 2 typical configurations:
1. Short range/low profile setup - 4500mAh batts w/ 5000mAh swap packs. Almost flush with deck and the *super stealth* configuration (also lighter/more portable).
2. Longer range setup - 5-8Ah batts w/ cover that will stick down below deck.
Both will keep ability to easily swap batteries to extend range (pull cover easily w/o tools and swap packs).
Speaking of weight... It's not going to be an ultra-light. But i hope to keep it in the 15-20lb range. Dual motors, big wheels (83-97mm), etc. 7.6lb deck means it's going to be heavy.
Low-tech charging - No BMS, regular old RC car charger for the packs between rides. As part of the primary/key modular concept - pulling batteries to charge needs to be as easy as pulling them to swap and extend range.
I'm at least a week away from some of the final bits to arrive. Not counting time to further recess/router the bottom for batteries.
Will be on hold until then, but feel free to comment away. I am reserving the "unveiling" of the deck bottom until i have electronics installed. Will show all then. Just to build anticipation a bit.
You wouldn't respect me if i gave it up too easily right? :wink: hehehe
My board being stolen is an "opportunity" to build it's replacement with the minor/major improvements i wanted anyway...
Components:
Deck - Omen Chief. Credit to rs4race who got it built originally. I called and spoke with the folks at Omen and they had a double thick deck i was able to score. I have it routered out partially already to sink the electronics and batteries into the deck bottom. I want to tweak it just a little bit w/ some CF "bling", but it's just about perfect right now.
I was curious so i weighed it. Just the deck (mostly routed out) - 7.6lbs/3.45kg. Will not be winning any "lightest e-board" comparisons... (29mm thick!)
Motor mounts - Torque / DIYElectricSkateboard.com new "v1" fully adjustable:
Motors - dual Onloop / Enertionboards.com R-Spec 63mm 190kv:
ESC's - VESC's the only way to go! I got two from Jamesonotc and just finished swapping connectors (xt-60->xt-90, and 4mm female connectors replaced wire leads to motors):
Misc Electronics - Will definitely have a Watt Meter (shows peak Amps, Ah consumed, Watts, etc.), and possibly a voltage display or "fuel gauge". Going to use an anti-spark XT-90 for power "switch". Just thought up a great way to do it the other night (literally just waking up and came to me - nothing ground breaking, but neat tweak) so need to fiddle with it and test.
Still a LONG way to go. Planning to reinforce the deck bottom w/ CF square tube (trying to maximize battery area and minimize flex). Also thinking to try laying Carbon Fiber into battery pockets to reinforce it. Looking at difficulty of vacuum forming now... Don't know what i'm doing but it will be a fun adventure! Ideally and somewhat uniquely (i think) setup to be modular.
I envision 2 typical configurations:
1. Short range/low profile setup - 4500mAh batts w/ 5000mAh swap packs. Almost flush with deck and the *super stealth* configuration (also lighter/more portable).
2. Longer range setup - 5-8Ah batts w/ cover that will stick down below deck.
Both will keep ability to easily swap batteries to extend range (pull cover easily w/o tools and swap packs).
Speaking of weight... It's not going to be an ultra-light. But i hope to keep it in the 15-20lb range. Dual motors, big wheels (83-97mm), etc. 7.6lb deck means it's going to be heavy.
Low-tech charging - No BMS, regular old RC car charger for the packs between rides. As part of the primary/key modular concept - pulling batteries to charge needs to be as easy as pulling them to swap and extend range.
I'm at least a week away from some of the final bits to arrive. Not counting time to further recess/router the bottom for batteries.
Will be on hold until then, but feel free to comment away. I am reserving the "unveiling" of the deck bottom until i have electronics installed. Will show all then. Just to build anticipation a bit.
You wouldn't respect me if i gave it up too easily right? :wink: hehehe
") .
.