hillzofvalp
100 kW
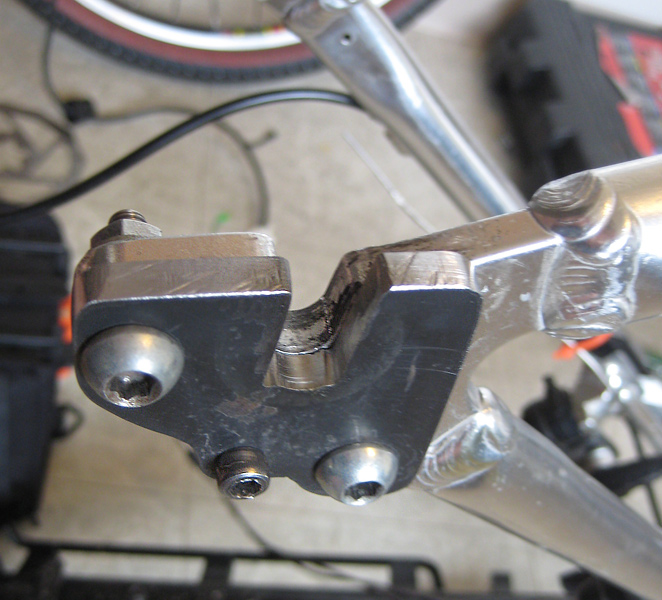
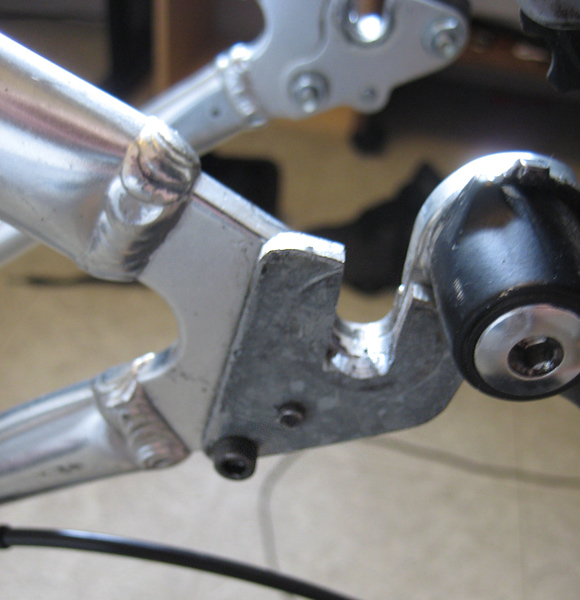
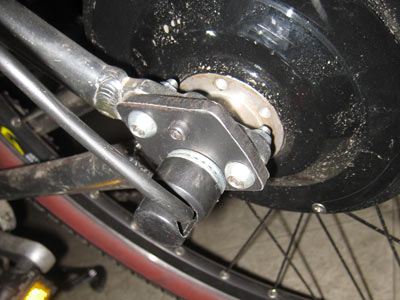
so maybe I should just finger tighten the pinch from now on..? I have trouble seeing how the pinch could've loosened the piece from the epoxy in the cove of the dropout.. since it is thick and doesn't have a slot. I noticed this when I found my wheel leaning to this side of the frame, meaning the piece was actually being forced downward. WHat is the correct way to compress an axle? it completely wedged apart my chromoly.. smeared it. "safety washers" seem to just pancake. Should I mill some sleeves that perfectly fit the OD of the axle .. with an end pad that conforms to the shoulder of the axle?