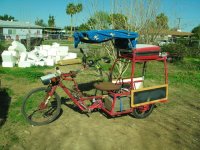
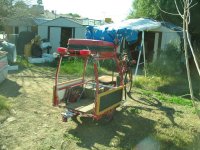
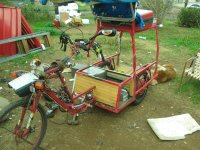
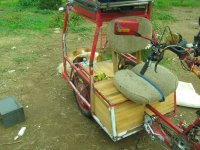
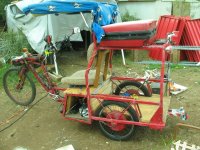
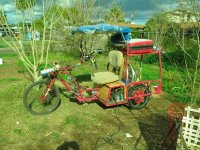
Today's list of stuff that got done:
-- putting the trailer hitch back on
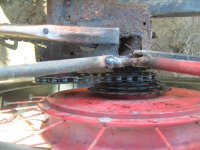
-- adding a chainguard so cargo/etc can't push on the chain (not that I use it much but if I need it I will really need it to be clear)
-- wiring up the temporary left wheel/controller
-- reconnecting the reverse switch on the right motor (doesn't have reverse on the left)
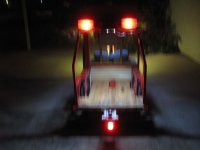
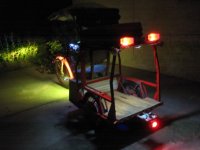
-- swapping out the 3rd brake light from the busted-up old HF LED one to a nicer-looking (but incandescent) one probably from a car
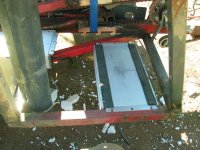
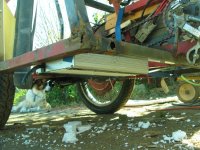
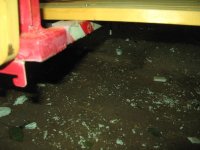
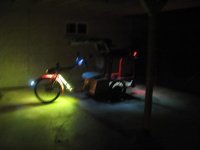
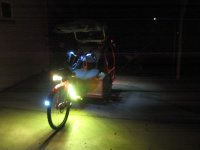
-- putting the HF LED light with a red lens cover to make it "stick out" and be visible from the sides, down on the bottom of the trailer hitch boom.
-- adding a battery cutoff / "keyswitch" that can actually handle the current of the whole system
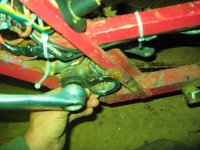
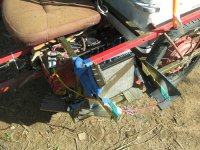
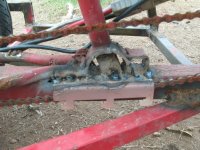
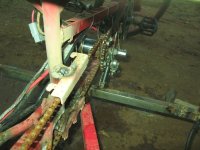
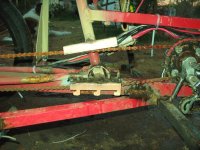
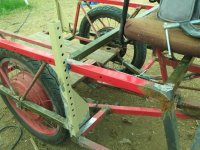
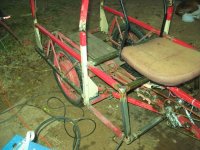
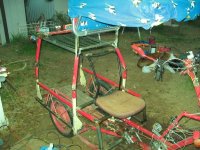
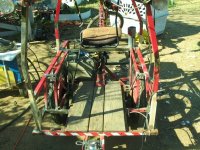
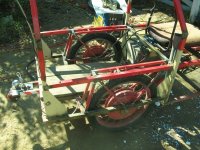
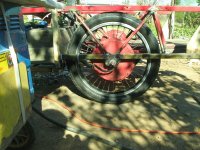
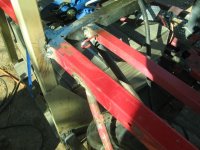
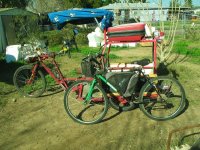
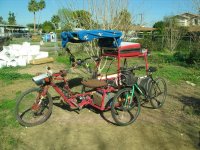
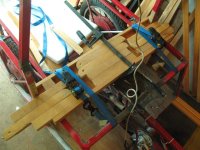
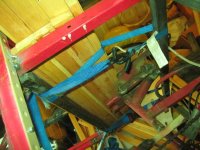
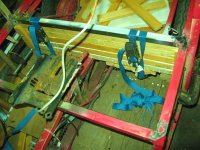
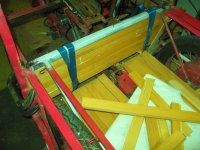
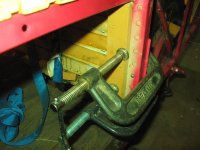
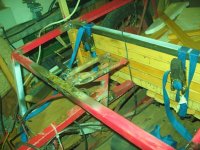
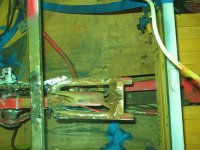
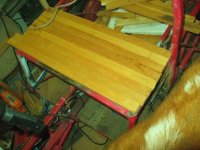
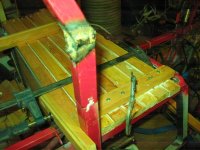
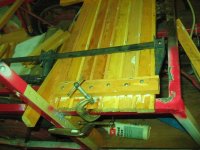
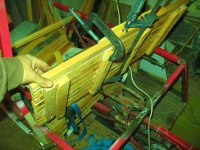
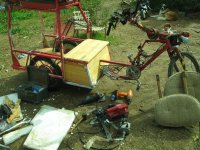
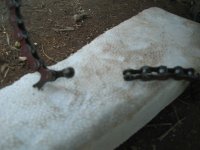
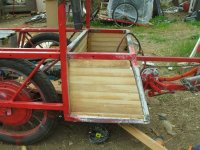
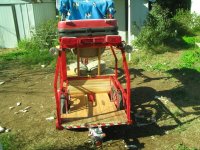
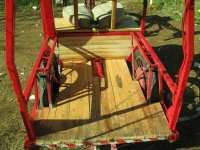
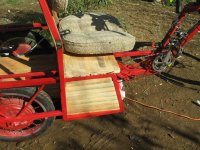
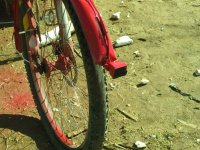
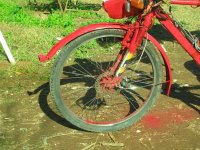
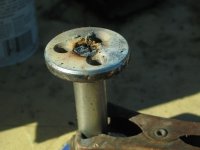
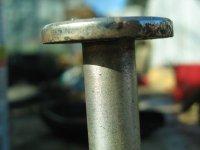
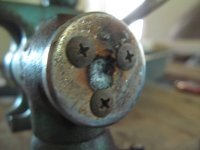
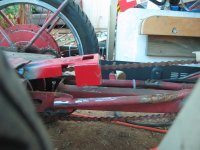
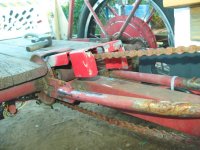
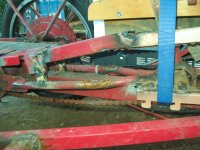
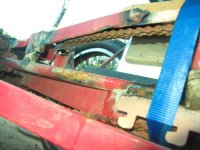
Some pics of the chainline/axle stuff from yesterday:
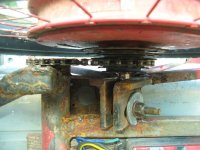
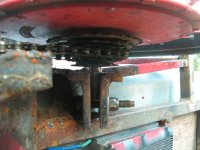
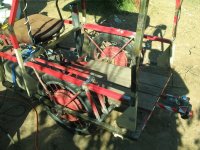
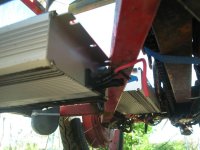
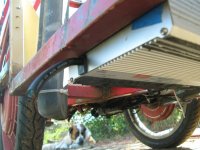
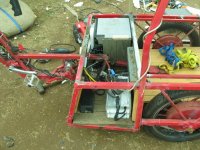
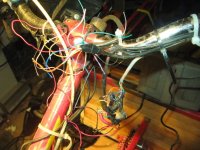
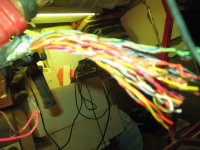
I wired up the controller to the trike's power and throttle/brake, and rewired to the motor itself to get longer wires, so I wouldn't have to mount the controller on the side of the trike like this
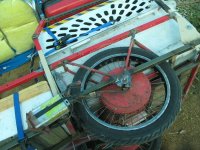
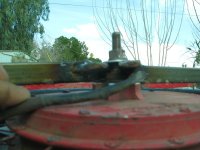
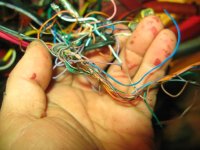
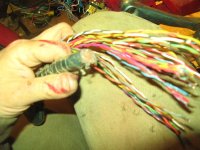
First were the halls, using part of an old cable from the original Fusin kit I bought from Dogman years ago, since it had six wires in it (originally for throttle plus 3speed switch). This gave me a few feet of wire to work with, enough to get around the wheel and have some slack to position controller in center of cargo deck between the other two. I left the original left motor's controller in place, in case it is needed as a spare for either of the others, for now).
Since the phases actually had andersons under the wrappings (I'd forgotten this, and thought they were soldered cuz I *had* done that on the front wheel), I pulled the phase wires plus andersons off an old Crystalyte 20A controller and spliced them onto this controller's output wires, in place of the last inch or so of existing wires plus andersons; this is about the same length as the halls now.
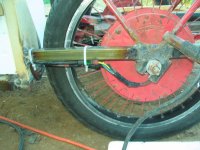
Bolted the controller to the deck underside between the other two, and wired it up to the ebrake/throttle connections the old one used to be hooked up to.
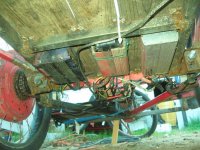
First test did not work, acted like I had a wrong combo, which wasn't possbile because I verified via camera that the wire colors are the same at each end of the splices. Well, the only connectors are the andersons on the phases, and I found that the green phase wire's contact was not fully clipped into the housing on the controller side. Fixed that and no more problems.
Spun up the motor, and works fine off ground, but the chain between mtoor and IGH also spun up

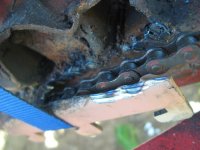
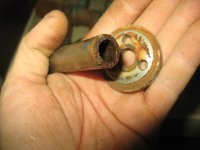
meaning the freewheel isn't freewheeling. It should, because I made sure to put a spacer in there (made of wire) and it did work last night when I pedalled around, and hand-rolled it while off the trike. So I figured some of the wire must've come loose and gotten between the back of the sprockets/body and the motor cover. Since it's just wire, it should be easy to remove, but there's no tools I have to get in there, other than maybe a hacksaw blade, and rather than risk damaging something I figured a better way. Or at least, easier.
I used the makeshift chainwhip to hold the largest sprocket of the freewheel in place, and then engaged the motor, slowly at first, then when it freed up I did full throttle until the resistance went away, as it had worn thru the wire.

One more problem fixed by brute force.

Test rode it around the block a bunch of times, no problems. Current draw is up to about 85A, with the HSR / 40A controller pulling about 50A peak on it's own, and since the halls are acutally used by this controller (unlike either of the orignals on SBC), it starts smoothly from a complete stop, no jerking, etc. Accleration is a bit quicker, but not a lot; gonna need more torque than this motor/controller can provide.

I did watch the current while accelerating with just this motor, and interestingly it peaks about halfway to 20MPH, then falls off. It takes over 20 seconds to get there with just this motor, though. (similar to the X5304; both better than the 9C, at least).
WHen I got back to the house, I had some trouble with the gate again; it really needs fixing...so I got the trike in the yard, and spent an hour or so fixing up the gate; tha'ts over in the housefire/blog thread in today's post there.
Oh, and while I was doing the motor/controller wiring, I added some wires to carry the reverse-signal for the rightside controller, so I can now backup under power again.
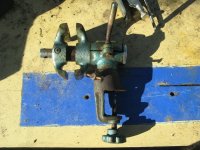
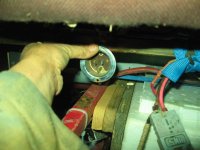
And I used an old (US General?) battery cutoff, which I think AussieJester sent me years ago, and has only been used as temporary experimental stuff until now. I think Im going to keep it on the trike permanently, though it will probably not stay where it is (my toes will hit it getting on and off sometimes; that's how I broke my first headlight switch).
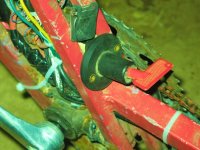
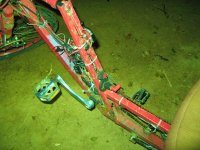
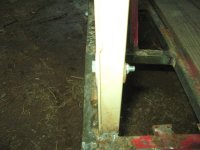
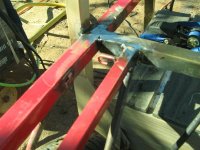
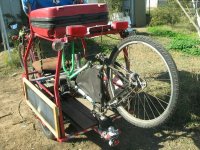
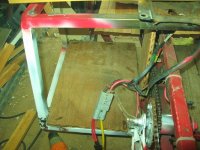
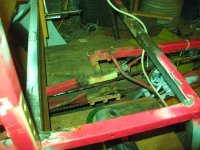
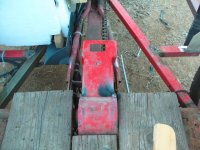
Then I built a chainguard for the top of hte chainline, to prevent cargo (or the dog crate) from rubbing on the chain, cuasing it to be harder to pedal if I do need to do that. It's made first of a thick hard steel T-plate used to connect endcaps to aisles in retail; happened to fit perfectly to cover the shaft/inputsprocket area of the axle, and will not bend from anything I'll carry there. Then a 1" square tube with relatively thin walls, and one side cut away, with that side pointed down and welded at it's ends to the Tplate and to the other guard at the seatpost.
View attachment 33
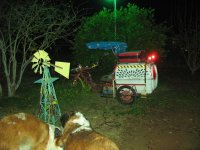
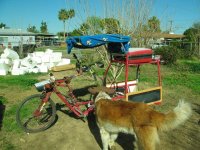
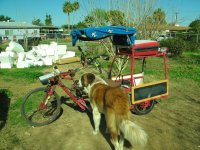
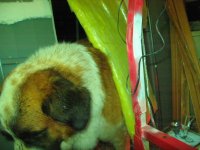
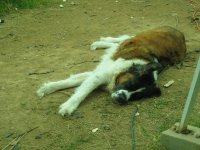
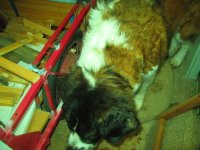
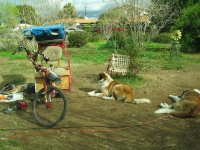
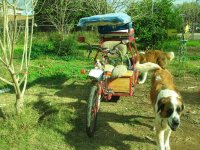
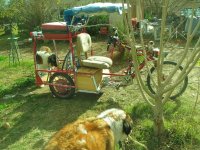
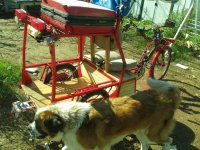
Kirin stayed out there with me even when it got cold (<50F) after sunset, but Yogi got bored and went in except for when other dogs would bark, or loud cars/trucsk would zoom by (cuz he HAS to chase them or explode :lol

.
View attachment 27
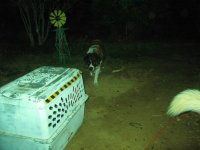
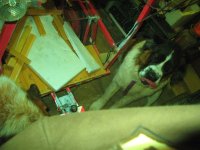
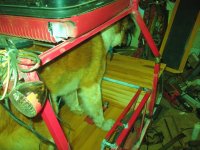
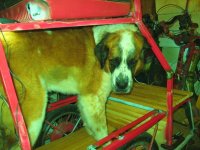
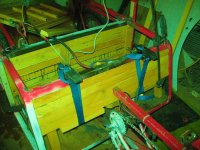
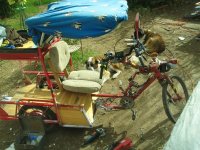
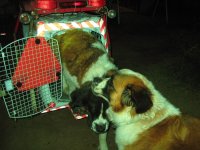
At one point Yogi decided to get in the trike's kennel, and Kirin thought it'd be a great time to corner him to play
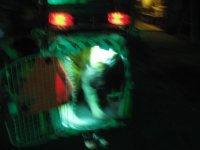
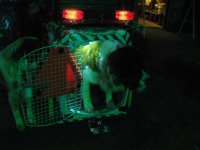
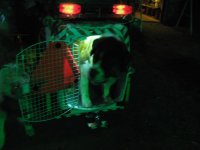
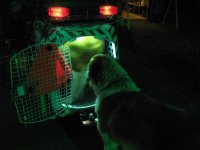
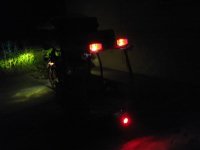
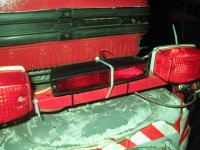
Removed the HF LED brake light, and replaced it with an incandescent automotive 3rd-brake-light, whiclh looks a lot better and is about as bright, but mroe surface area. It's still just ziptied on, till it's tested thoroughly, then I'll bolt it on.
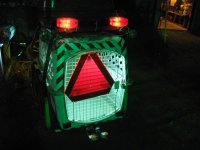
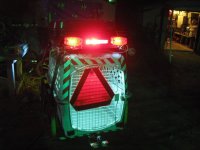
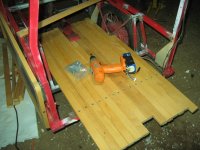
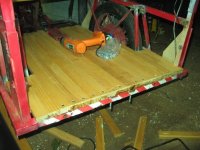
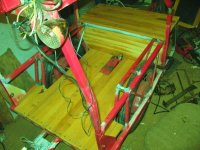
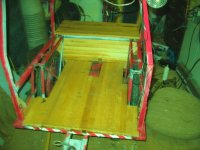
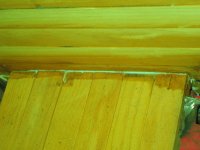
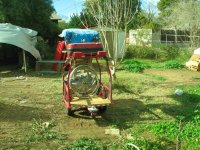
Trailer hitch was easy; I just had to trim off the front edge (so it wouldn't overlap the center controller (which is for the temporary left motor)), and drill a new set of rear holes in it for the existing bolts in the rear frame edge, then drill new holes in the cargo deck/frame up at the front edge of the hitch bar for bolts to go thru it's existing holes there.
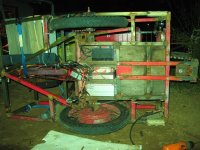
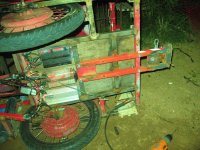
I used carriage bolts, since the deck is wood they'll hold them in place, and have rounded tops that will let the cargo slide over them without catching on them, wihtout having to be recessed.
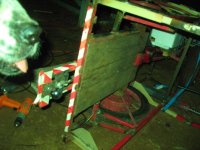
It's still got the reflective tape on it
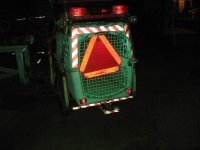
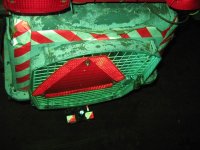
The HF LED light is just ziptied to the bottom/back edge of the hitch bar, and has a lens from a "first alert" LED flasher beacon taped over it. It was used because it is meant to spread the light in the beacon to as wide an area as possible, and that's what I want on there, so it's visible from the sides as well as behind, and will kinda light up the area under hte trailer itself, too, when it's attached.
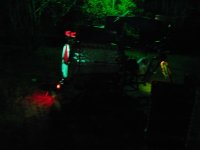
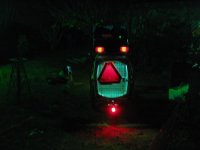
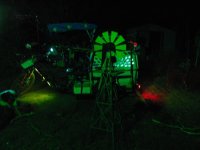
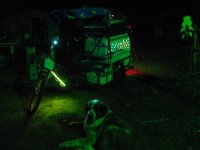
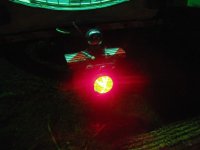
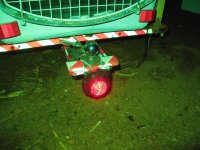
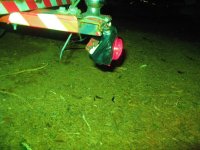
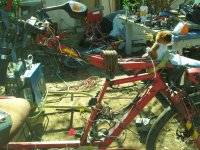
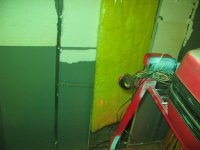
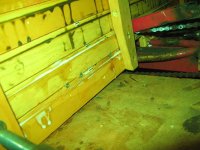
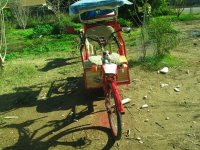
It was too cold (about 48F, it's 45F now, about 3 hours later) at that point to do anything else; my hands hurt too much to hold tools anymore. But I pondered and took some pics for ideas on where to put the AC-input plug for the future onboard chargers. First candidate is right under the seat, and second is just under teh cranks.
 View attachment 10
