• Hello ES! We could use some help to get us past the finish line on building the new knowledgebase for the forum.
    Can you donate? Please see our fundraising page. Thank you!

Yamaha YZ450F

I even have these microballoons:

2h24xNc.jpg


I haven't used this, but something similar a long time ago.
But I thought I would be able to get the fiberglass down there as I had time to go back and forth many times.
I was thinking it would be better in the end to get the strength of the fiberglass holding it together, but ended up with air :rolleyes:
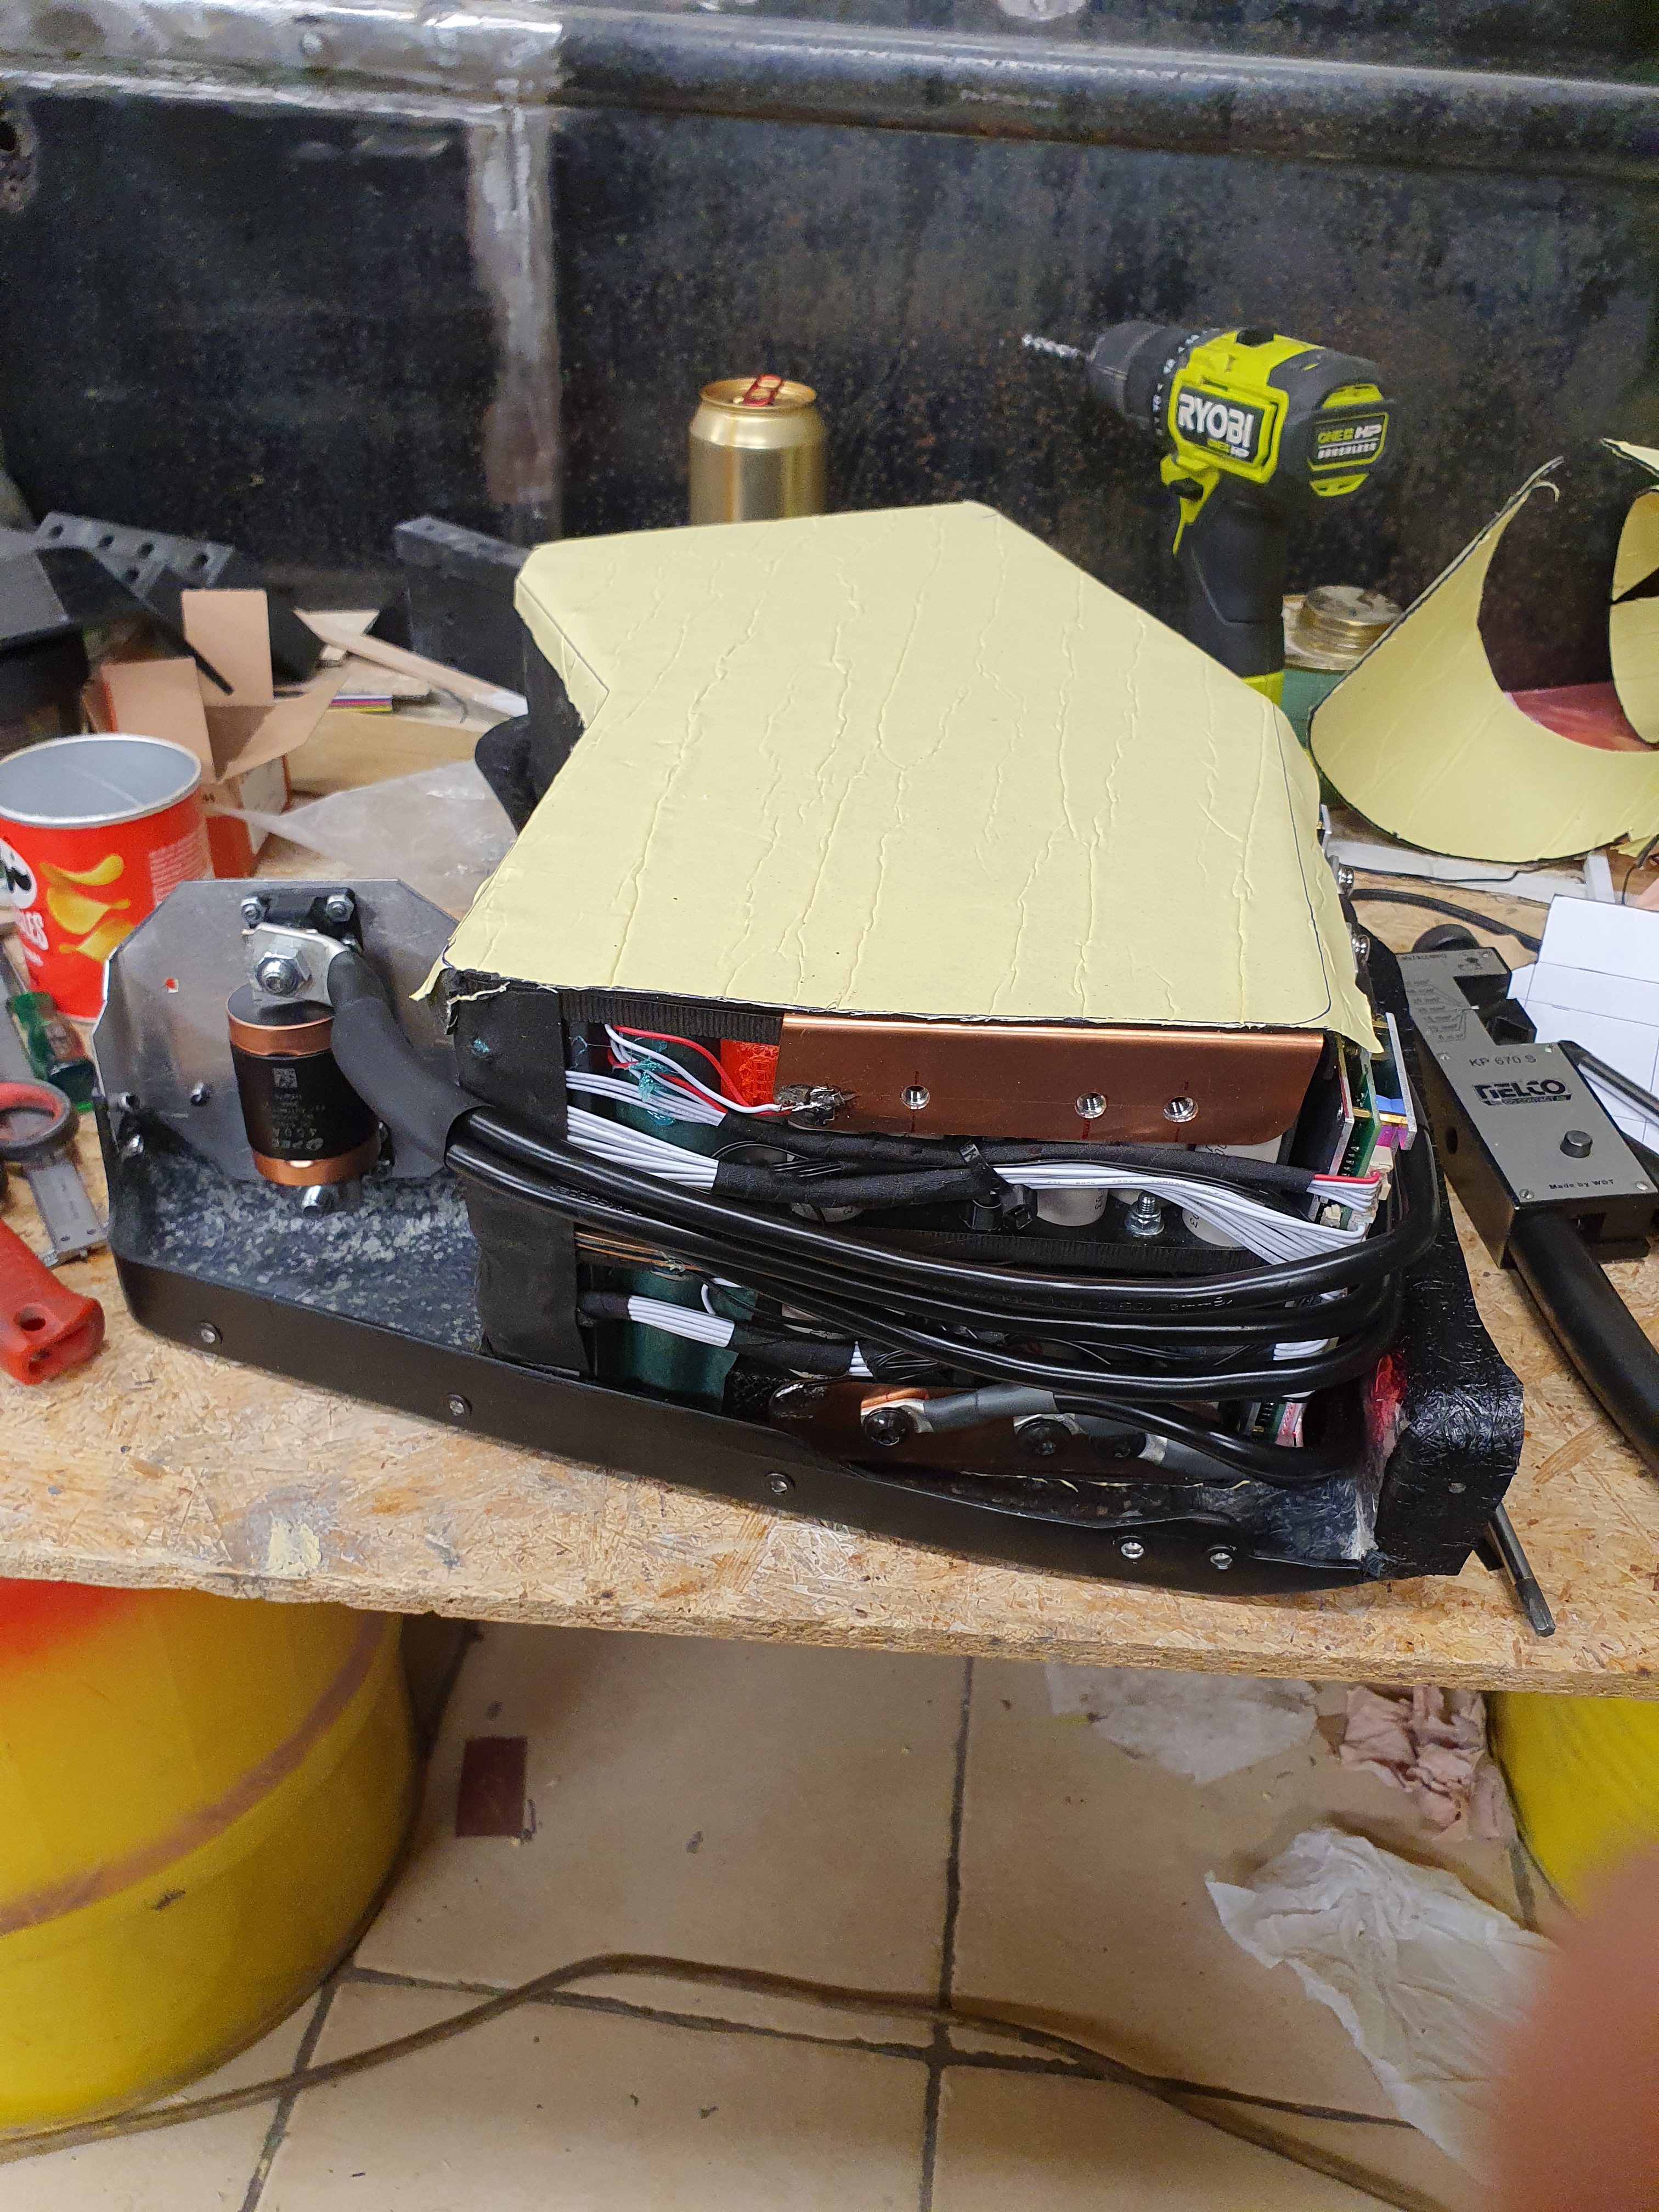
 
Building battery:

fY3sgbg.jpg


It seems I don't have many decent photos, so it seems this will be it for now.
450A fuse might be on the low side, but I have a few of these..
It should be able to take bursts of a lot more it seems:


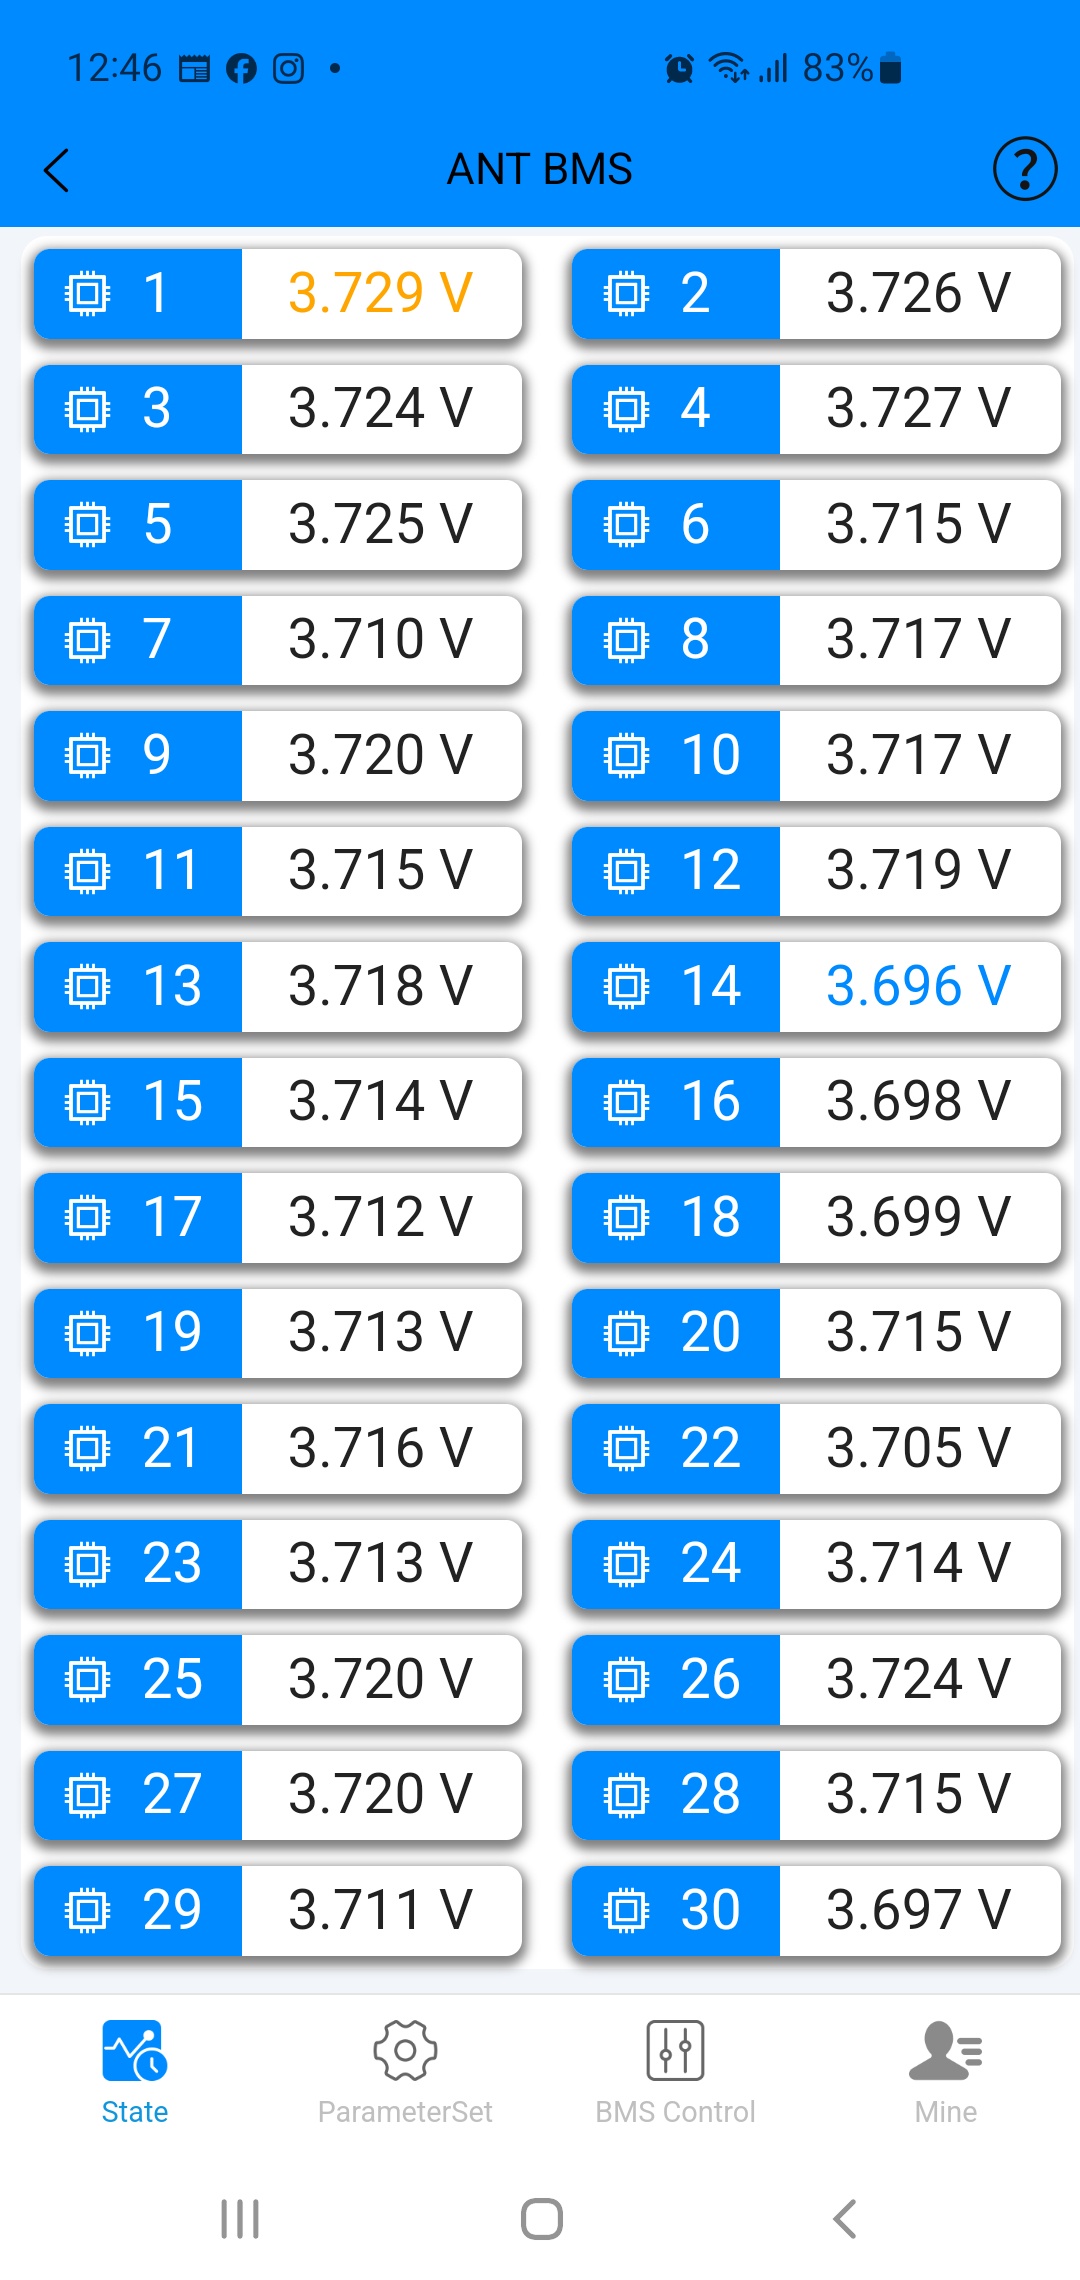
The voltages were all over the place:

s3KgP1K.jpg


They never were perfectly equal, so it might not be too bad.
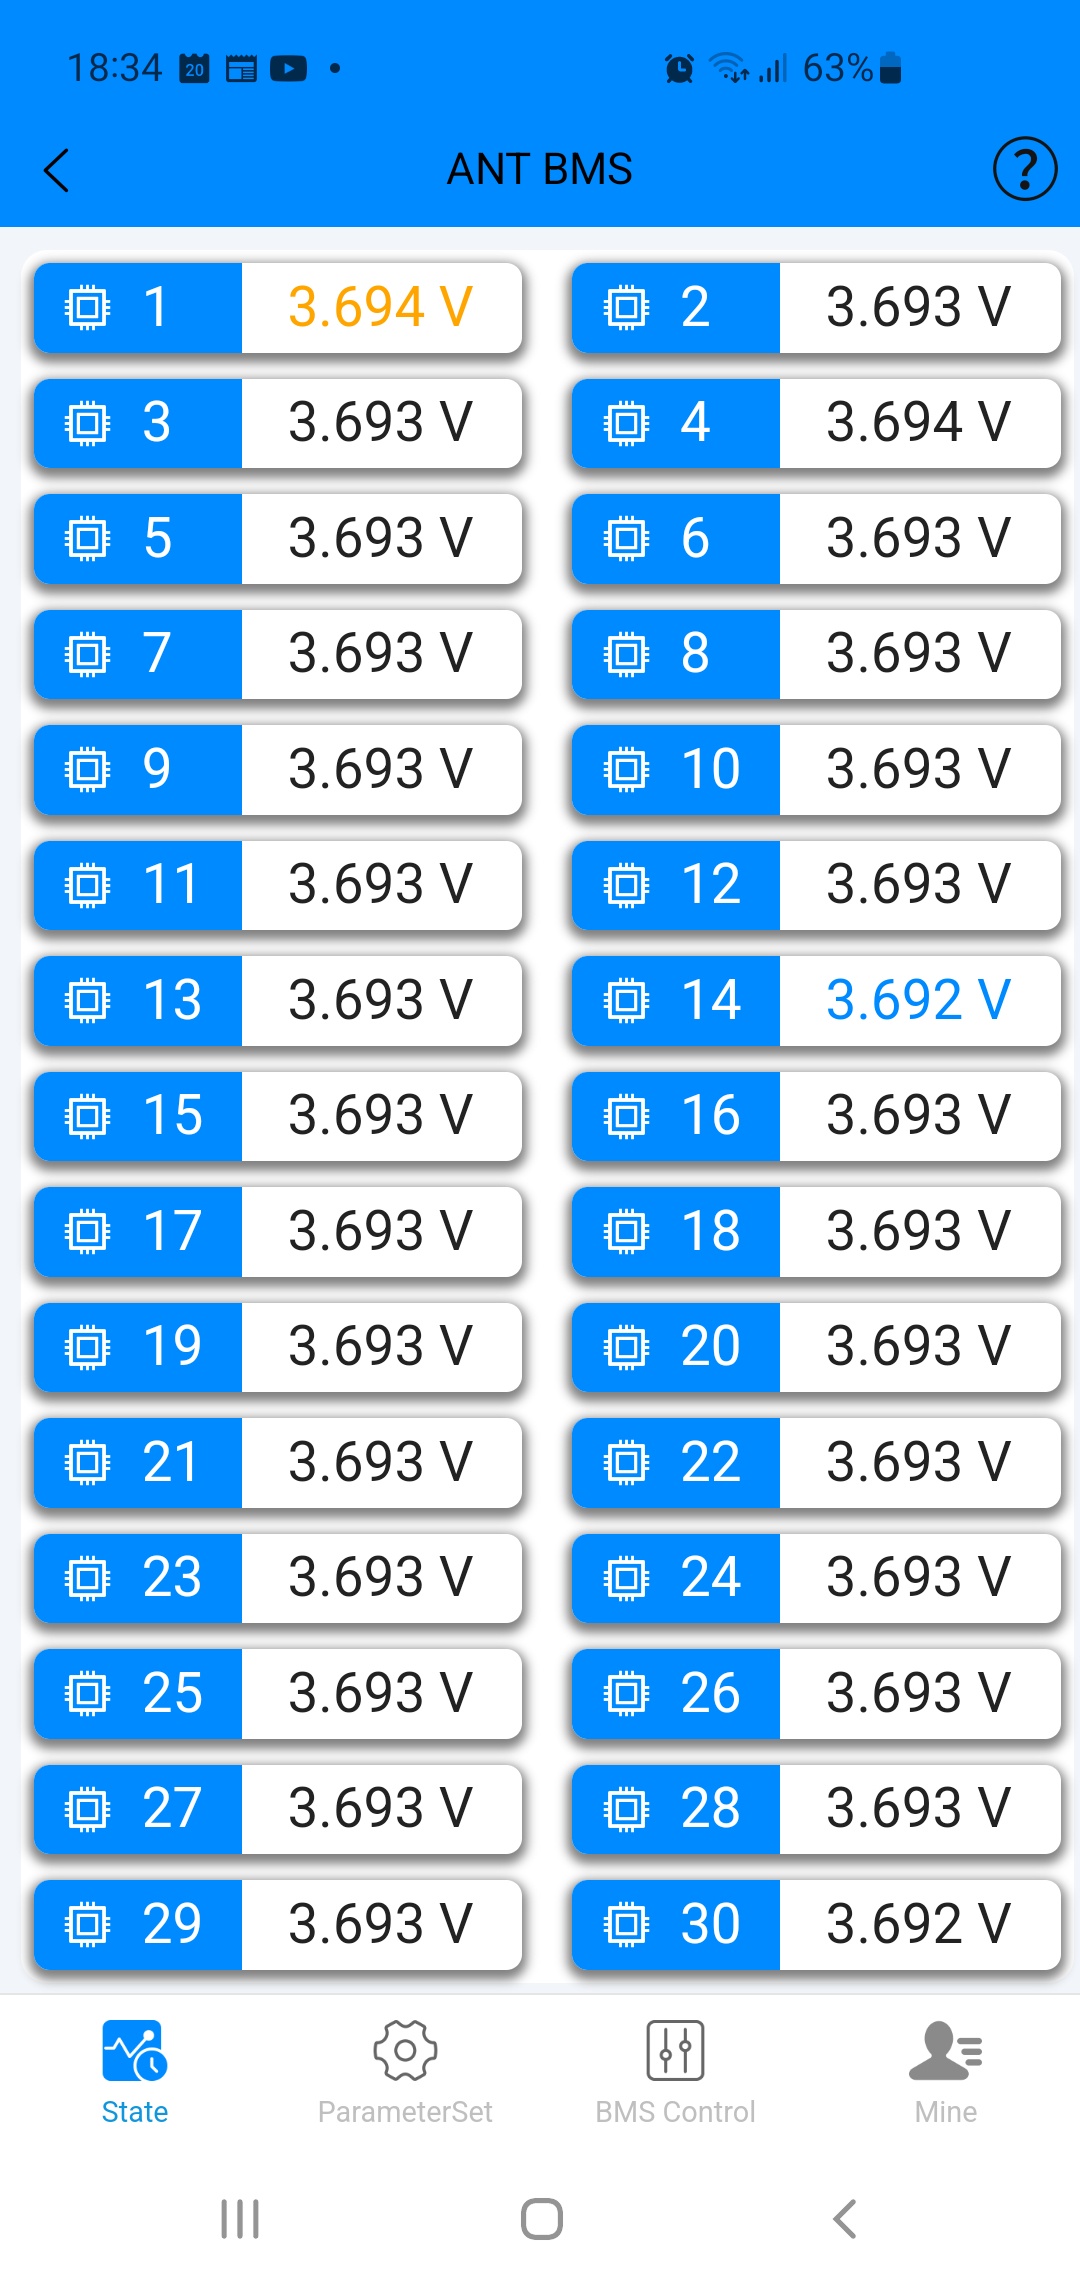
I balanced them for a long time, (like 48hours or something) now it looks like this:

FWM1Mz1.jpg


Time will tell :)
 
Hard to see in the picture, but it is very tight to fit the wiring over the cells:

7yYzJtF.jpg


It would probably be possible to get some more room if I built a new top part now when I can see exactly how much room I have over it.

CD0ZVty.jpg


It isn't sealed yet, but still a milestone to have a "finished" battery in place :)
 
Designing some peaces here and there:

1cN2ccy.jpg


Bracket for radiator wings and battery cover.

zFcpC40.jpg


Should slide in here.

Hri0UcD.jpg


I had this skid plate I planned to use with some small modifications.
Well, not much left of it.

ZUq5rv8.jpg


This is how the right side will look.

ZIgtApd.jpg


And the left side will look something like this.

2AqI6Ty.jpg


I will probably bolt this chain guard to the skidplate instead of the motor.
 
I haven't updated this for a long time..
Mostly because nothing have happened 🙁

4YV8lnS.jpg


I have got some alu to start welding as soon as I find some time for it at least.
 
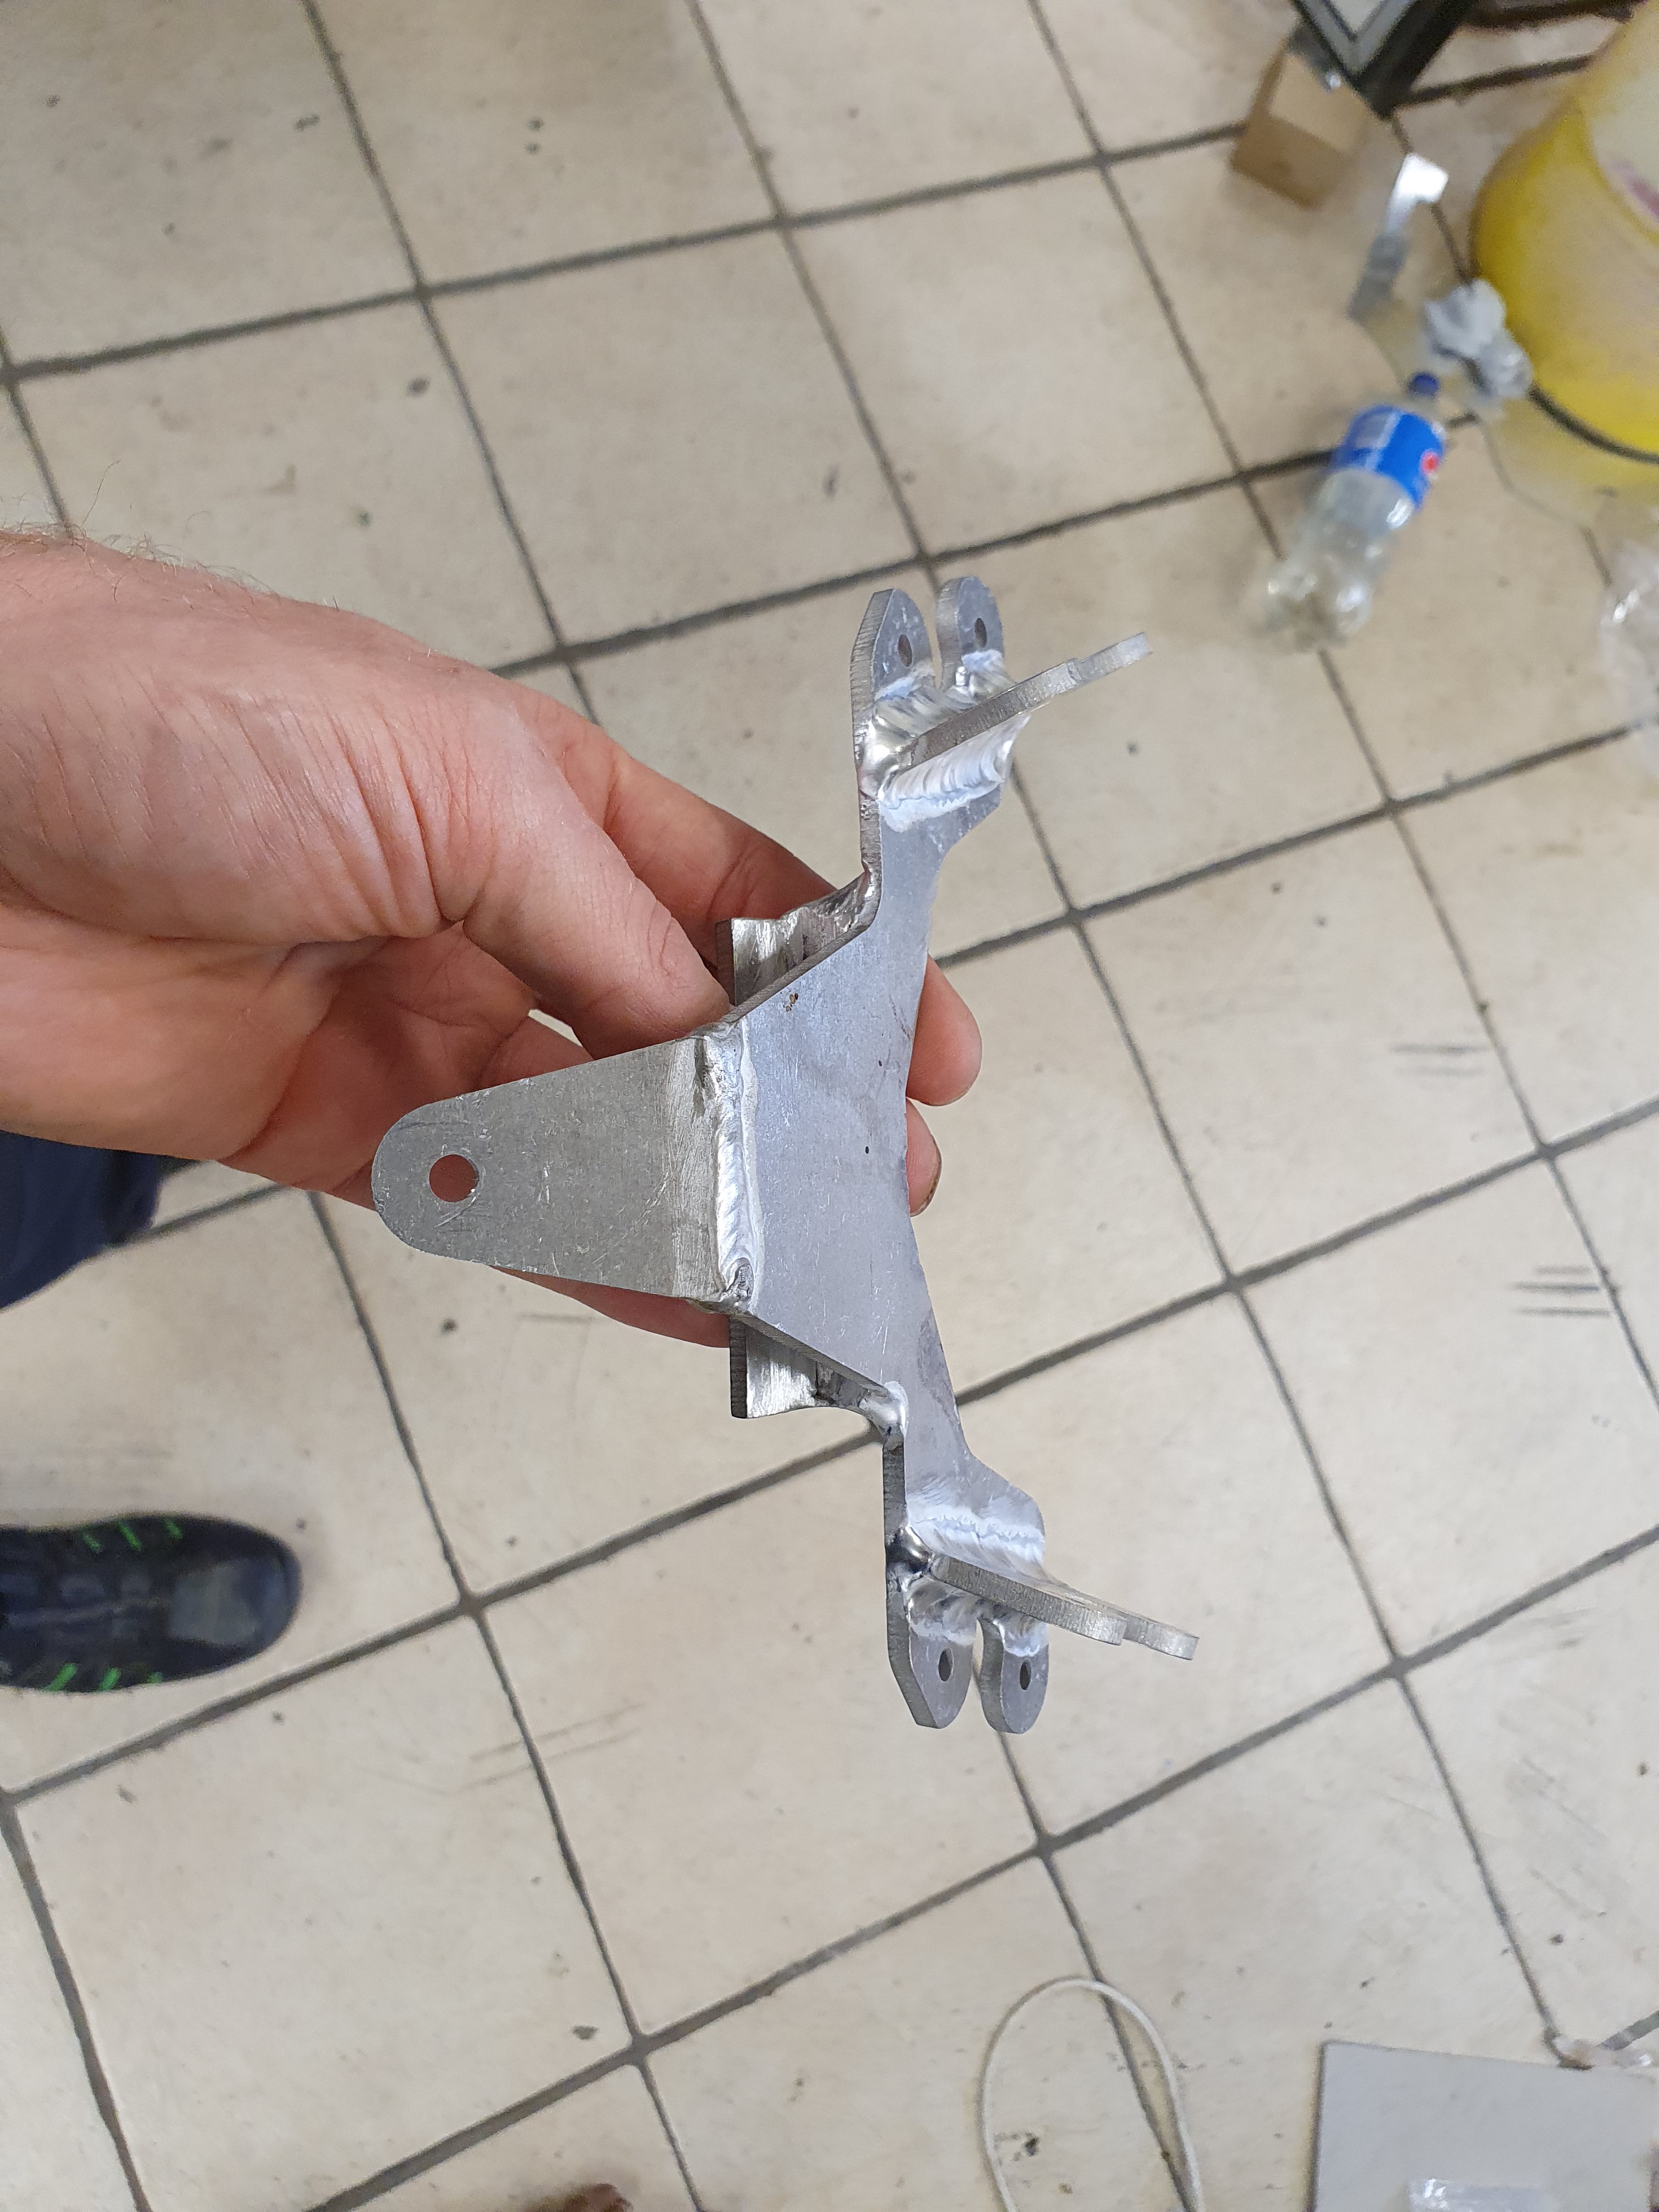
I have welded up the front tank cover bracket:

aMbkxSk.jpg


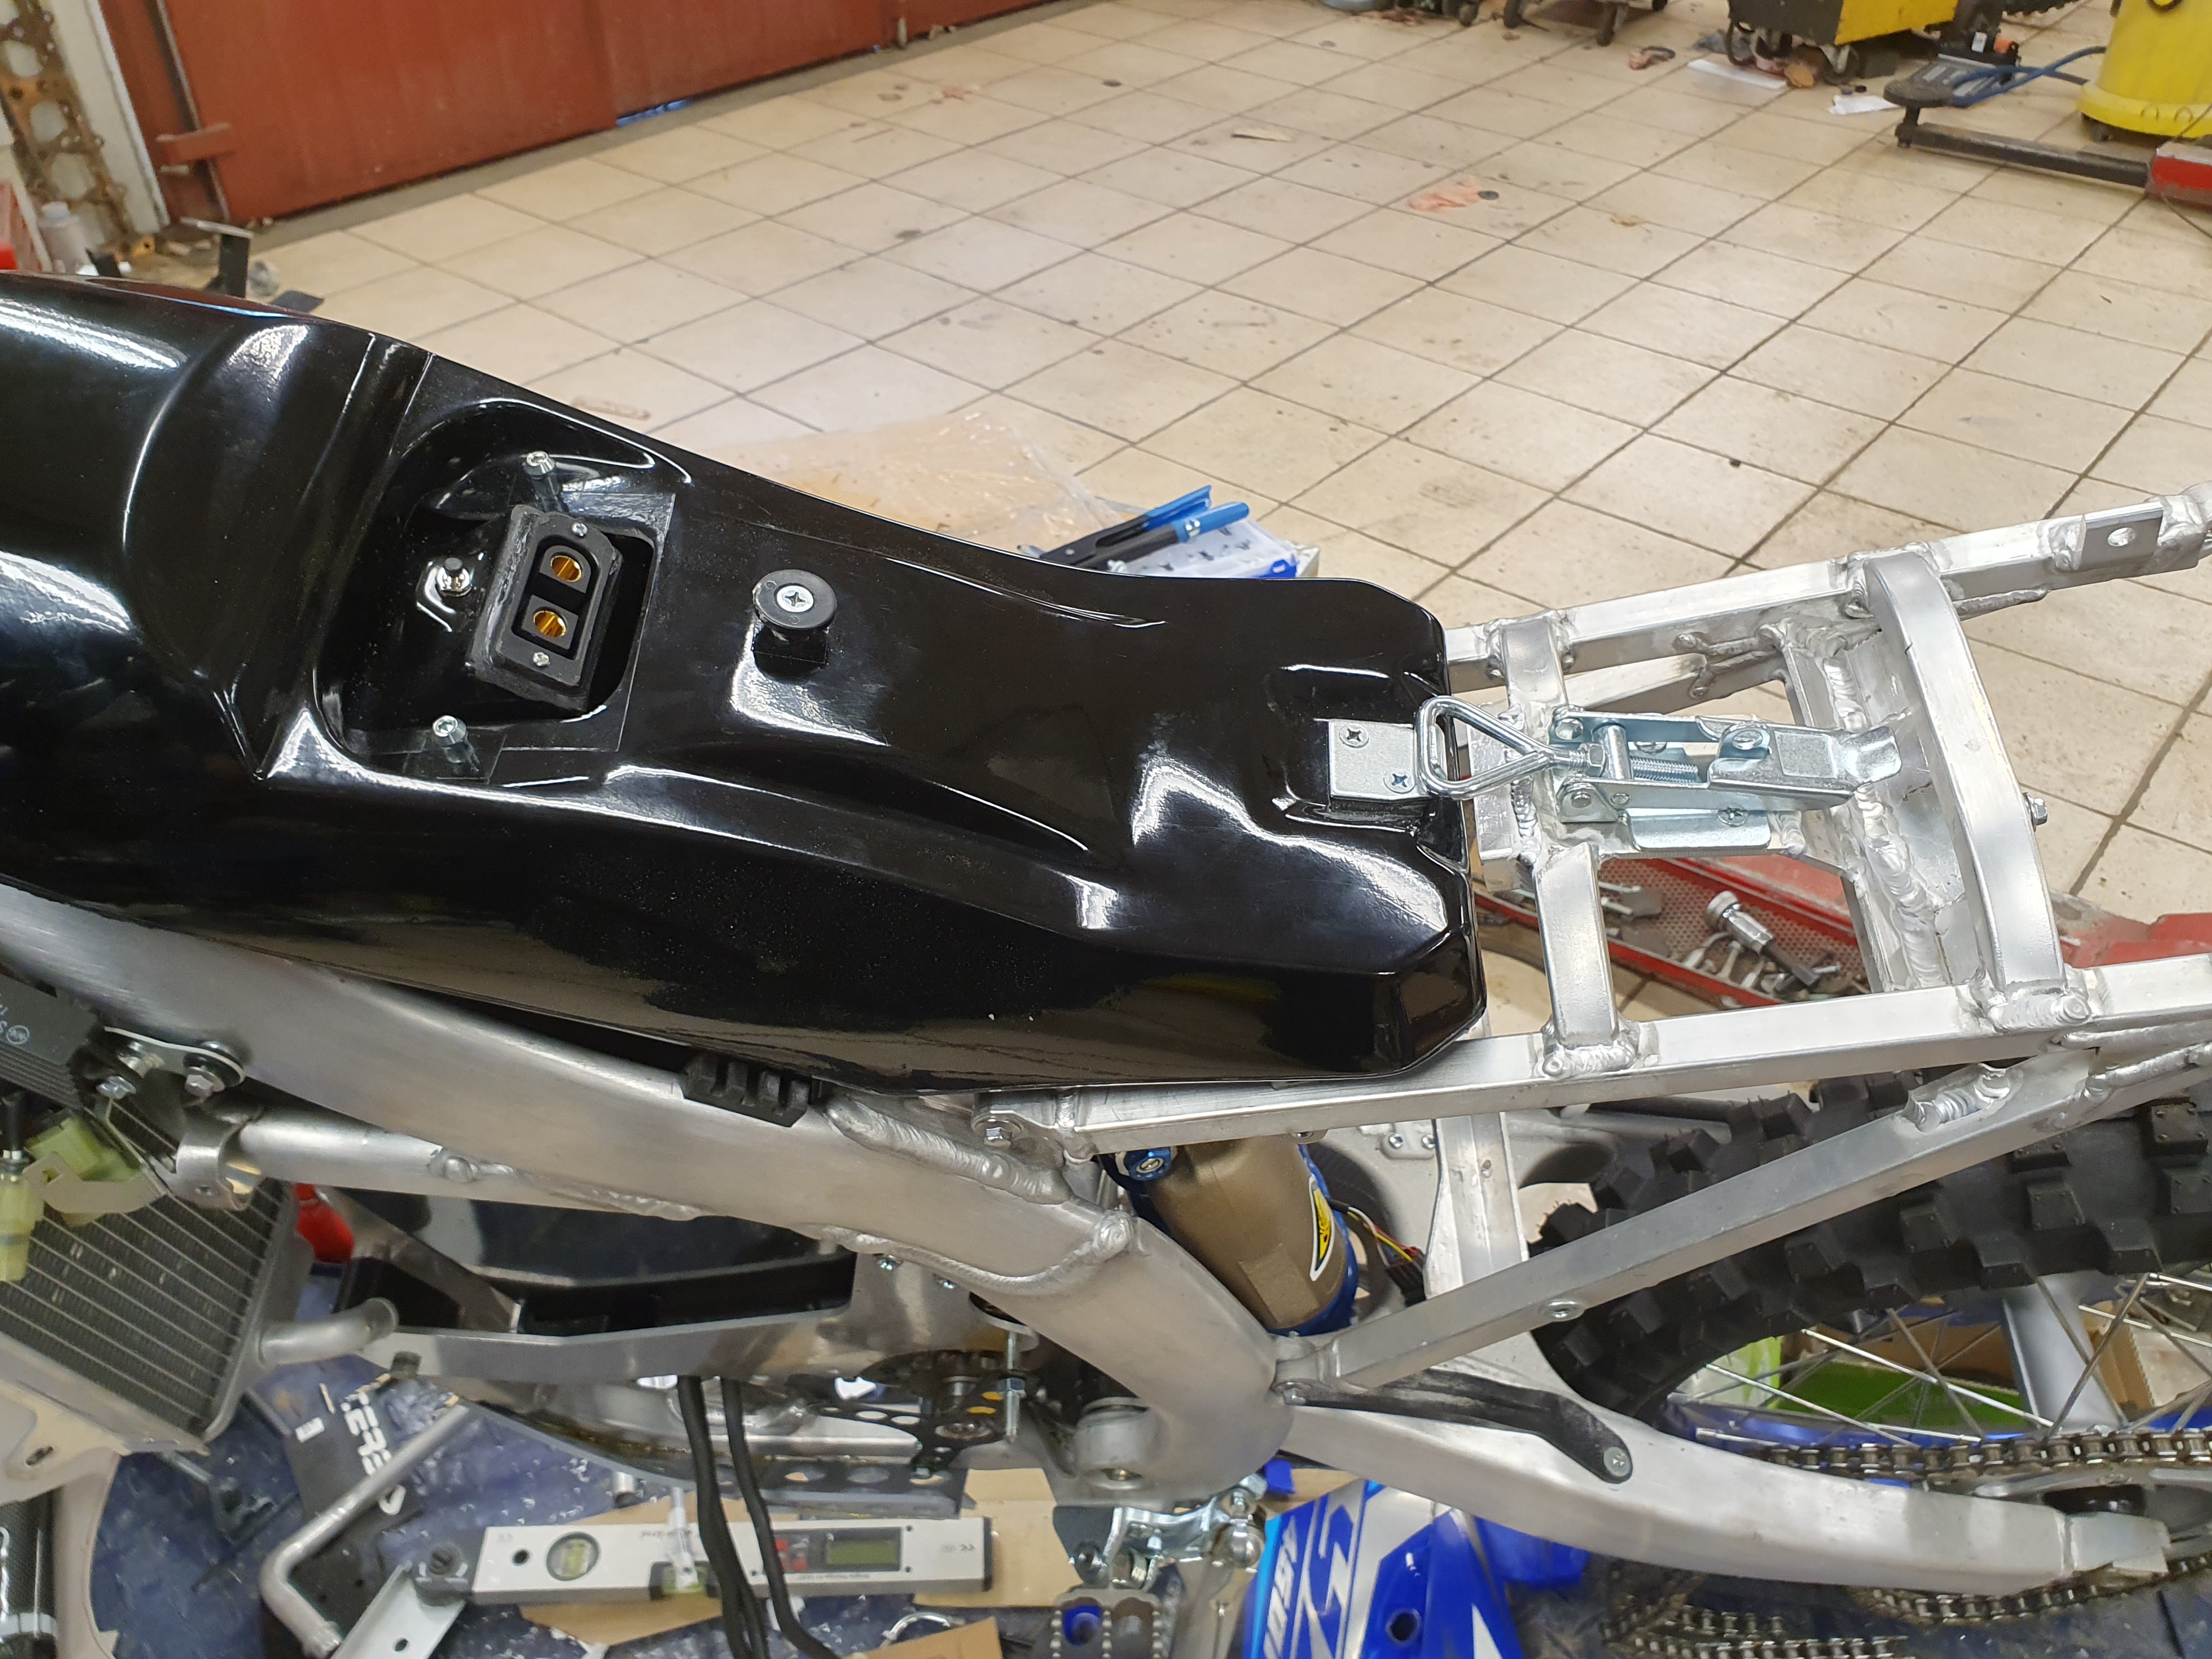
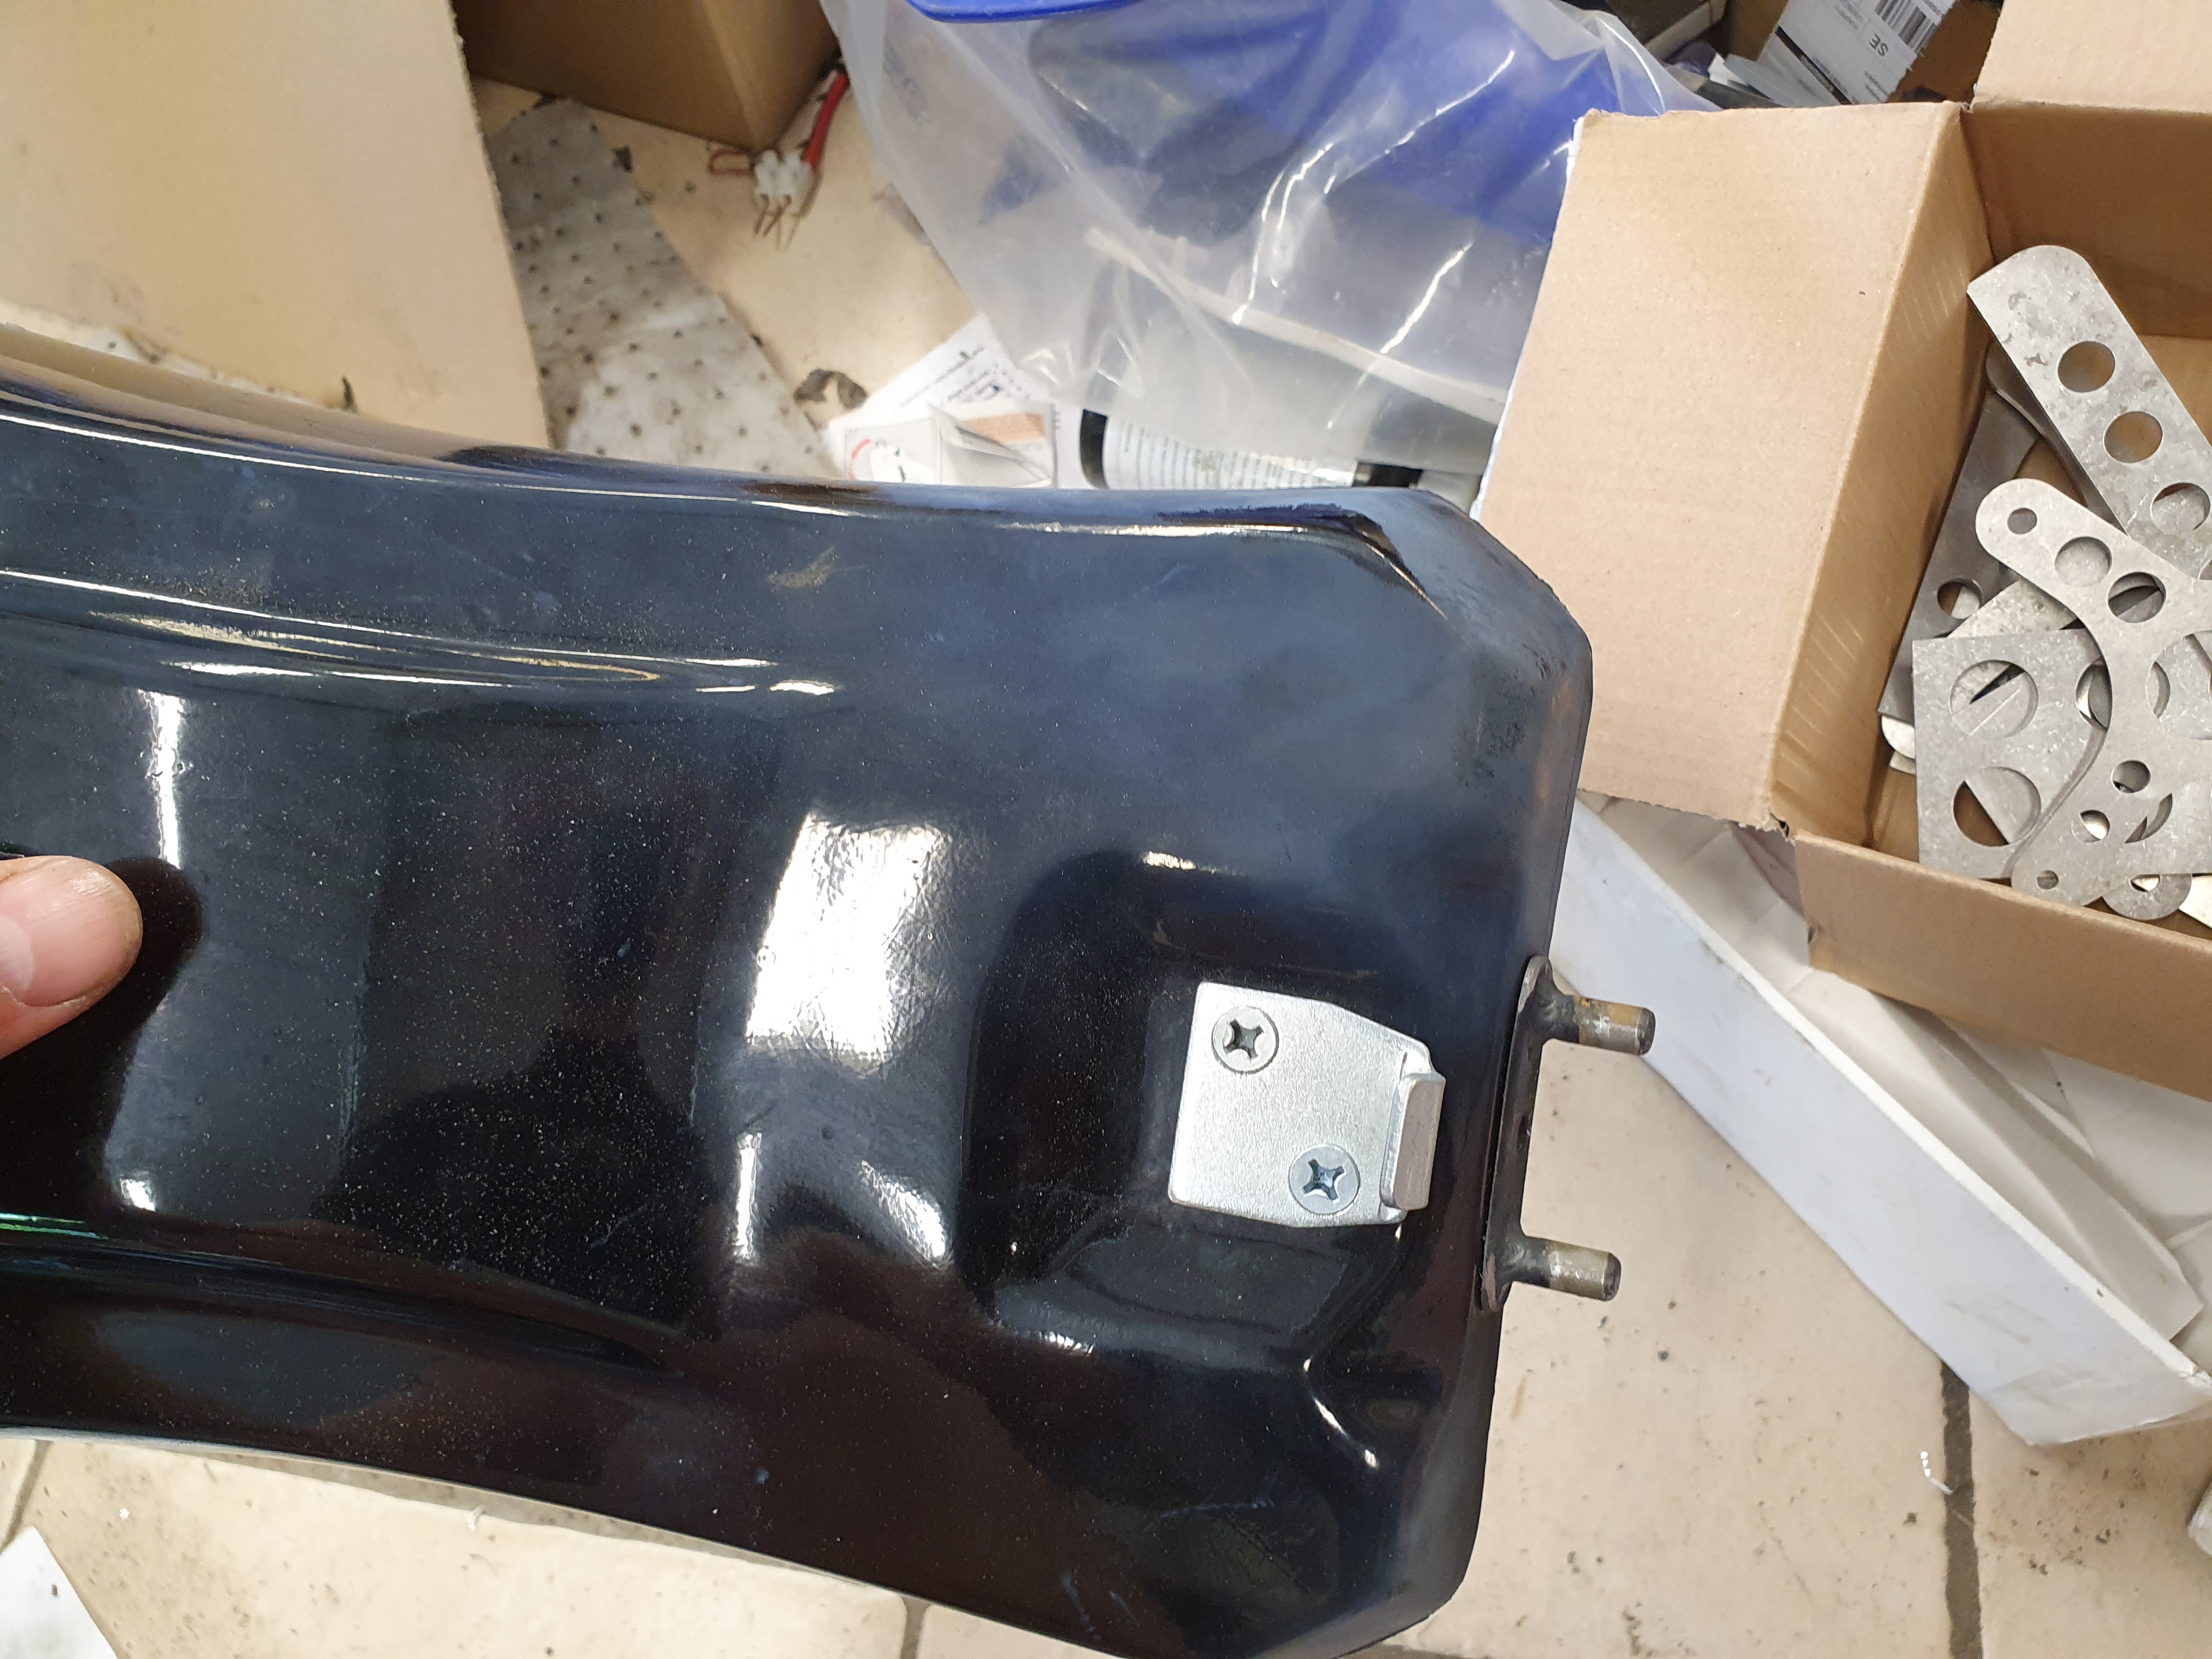
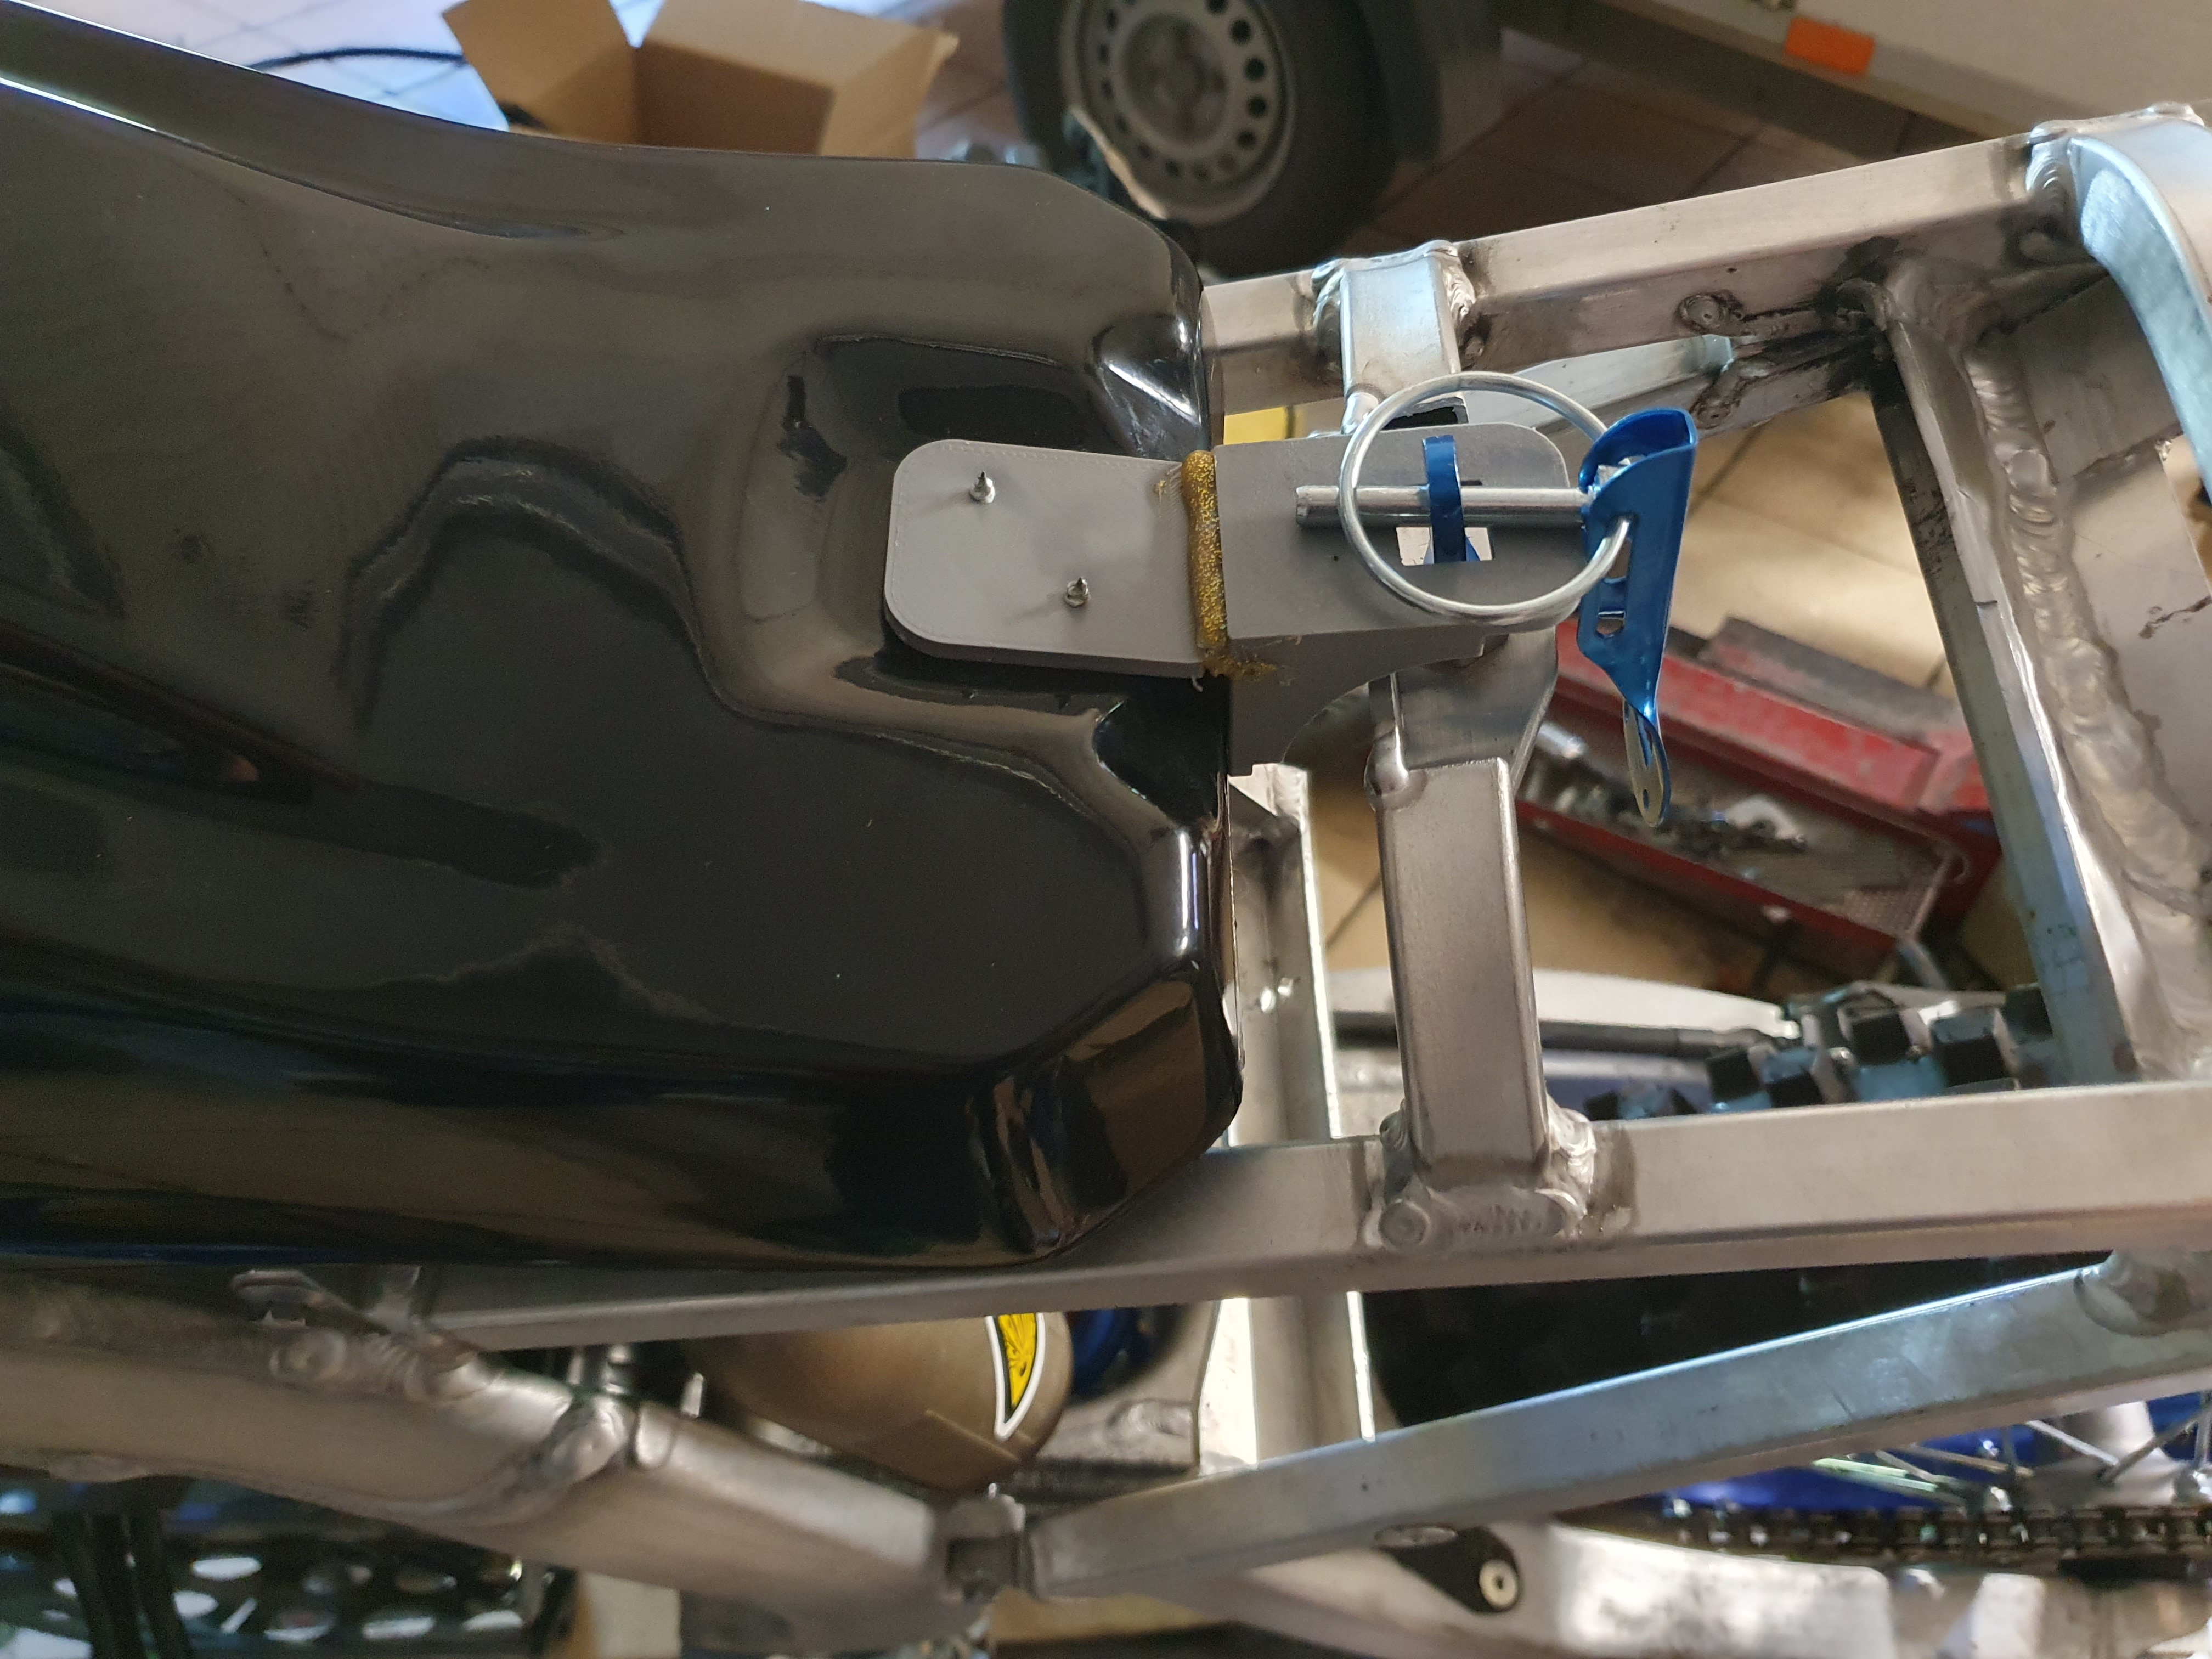
Then I have played a lot with the rear mounting:

SR7QmpW.jpg


I want it to be simple and quick to remove, a problem here is that it doesn't pull down.
I think I will make a similar slide in solution that I have in the front.
It will probably mean that it will be a little tricky to get on and off though :confused:
 
This isn't the update I thought I would be making..
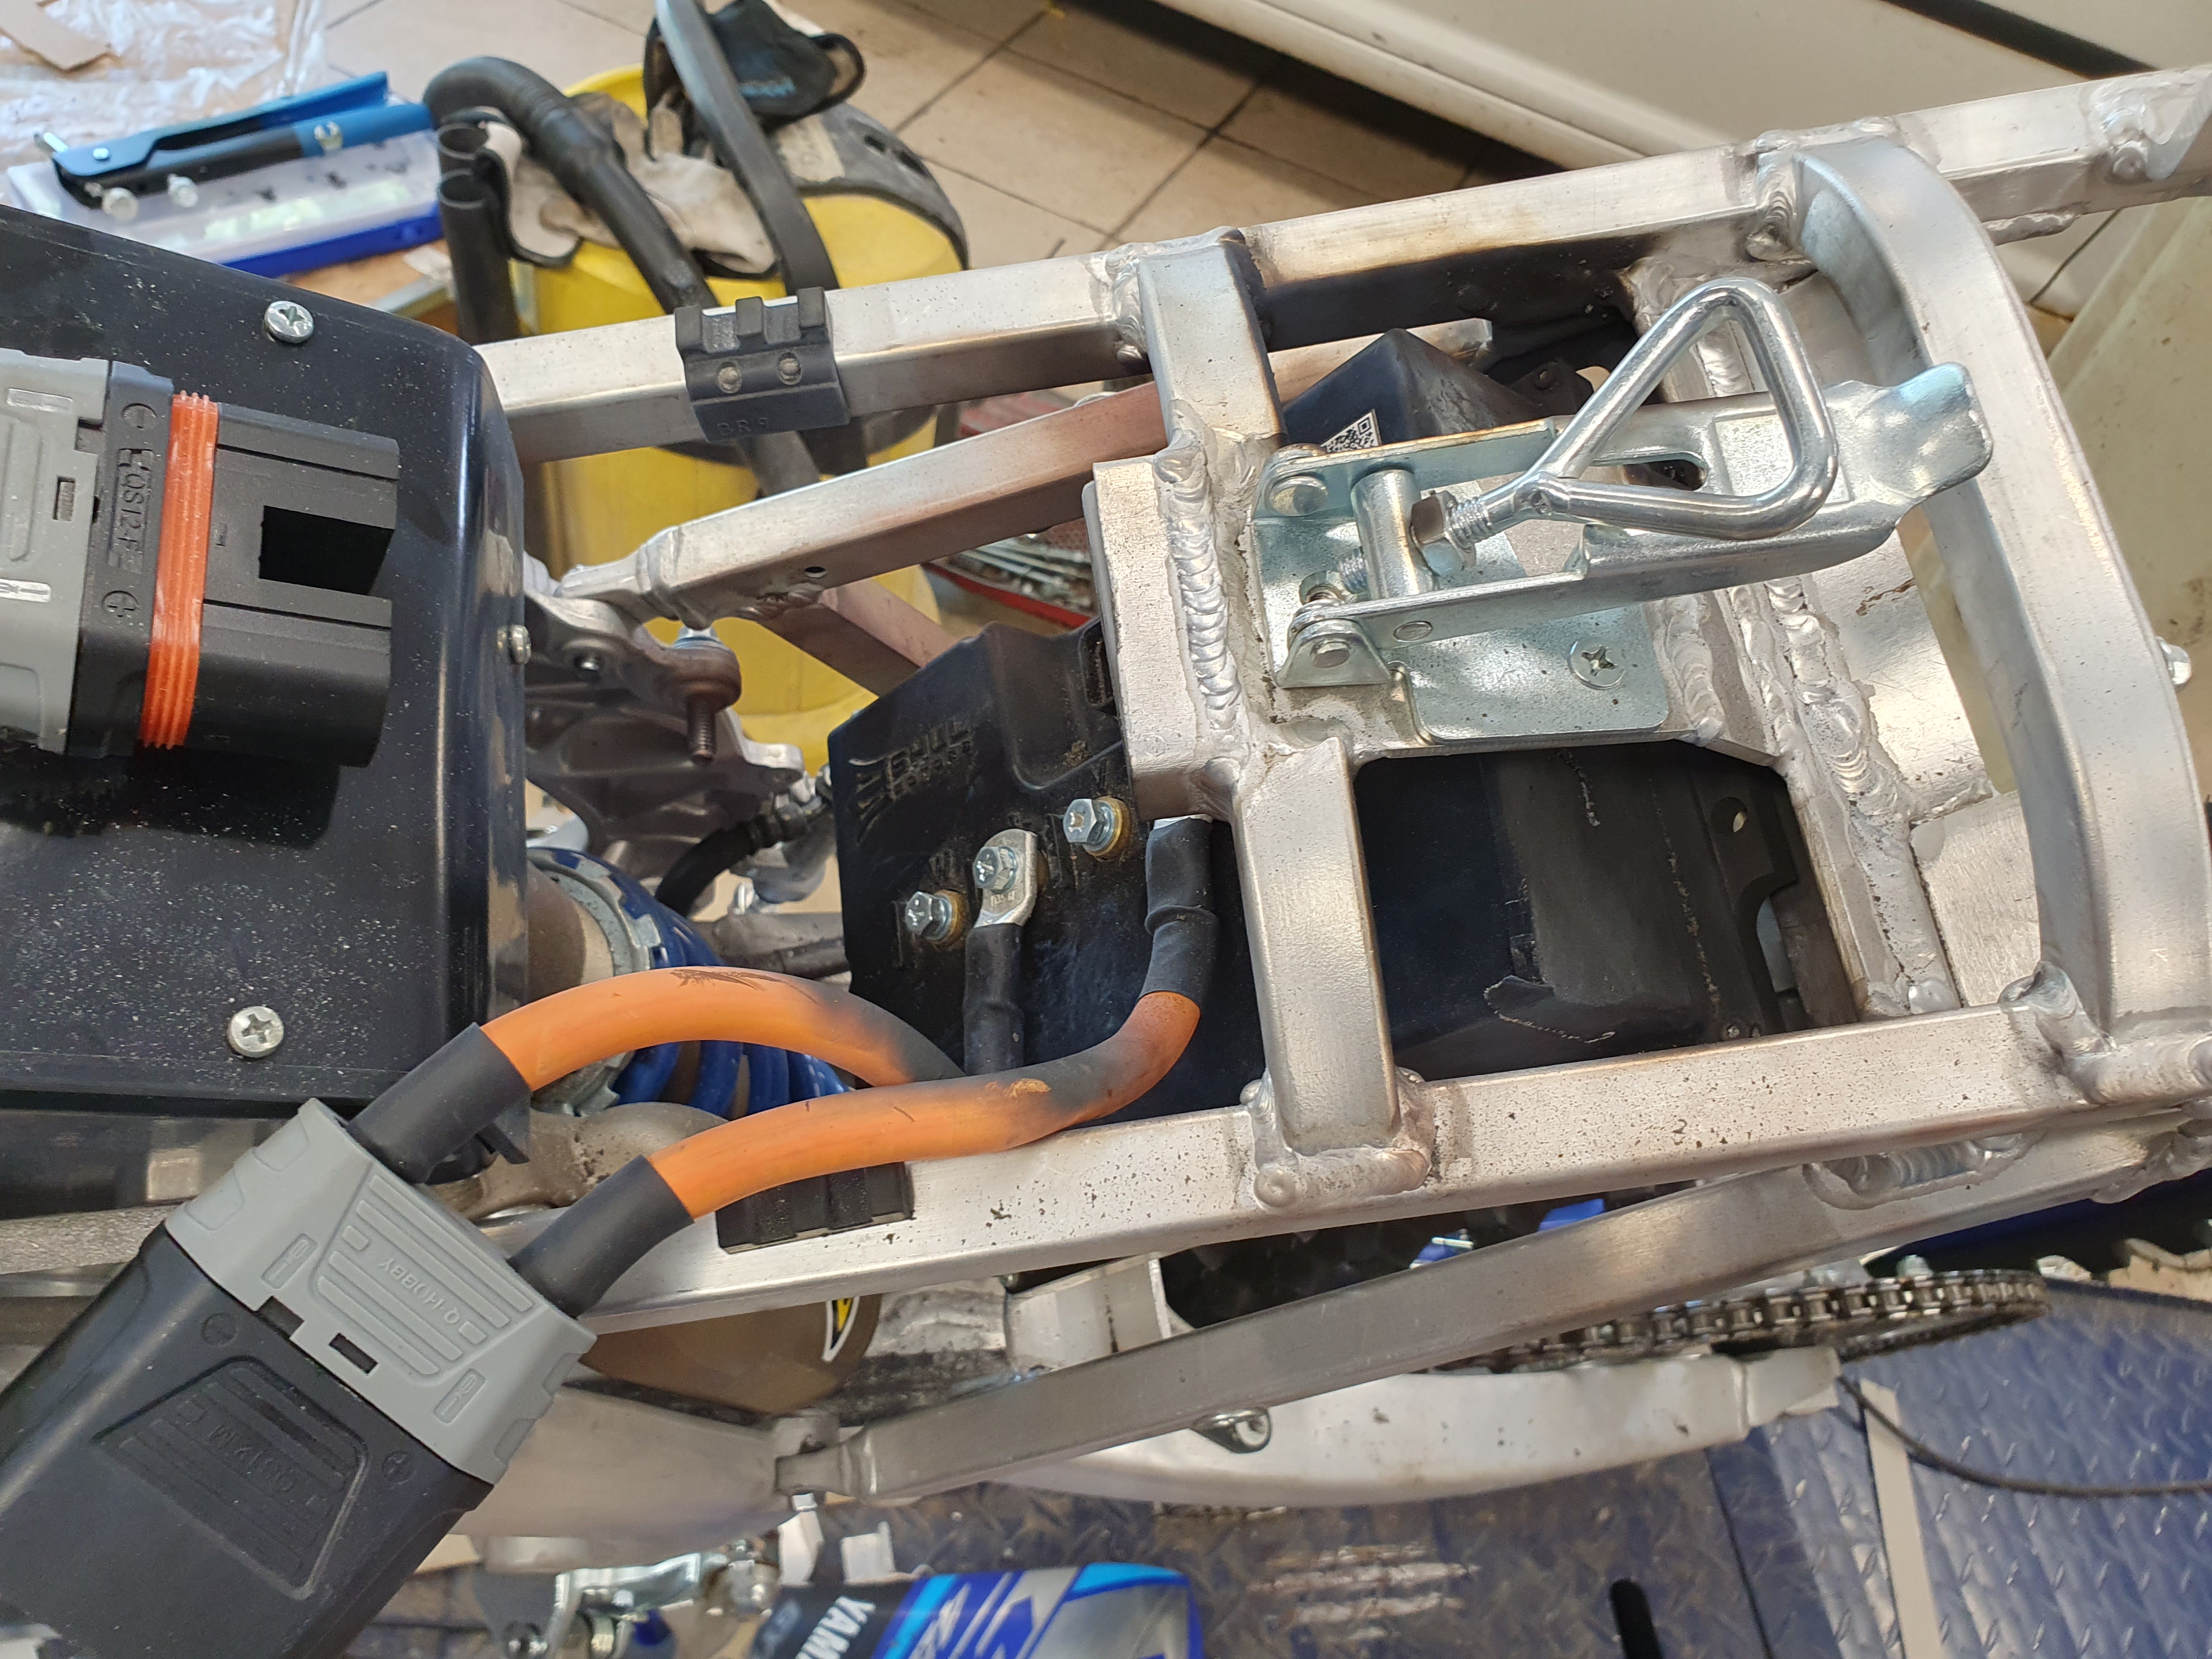
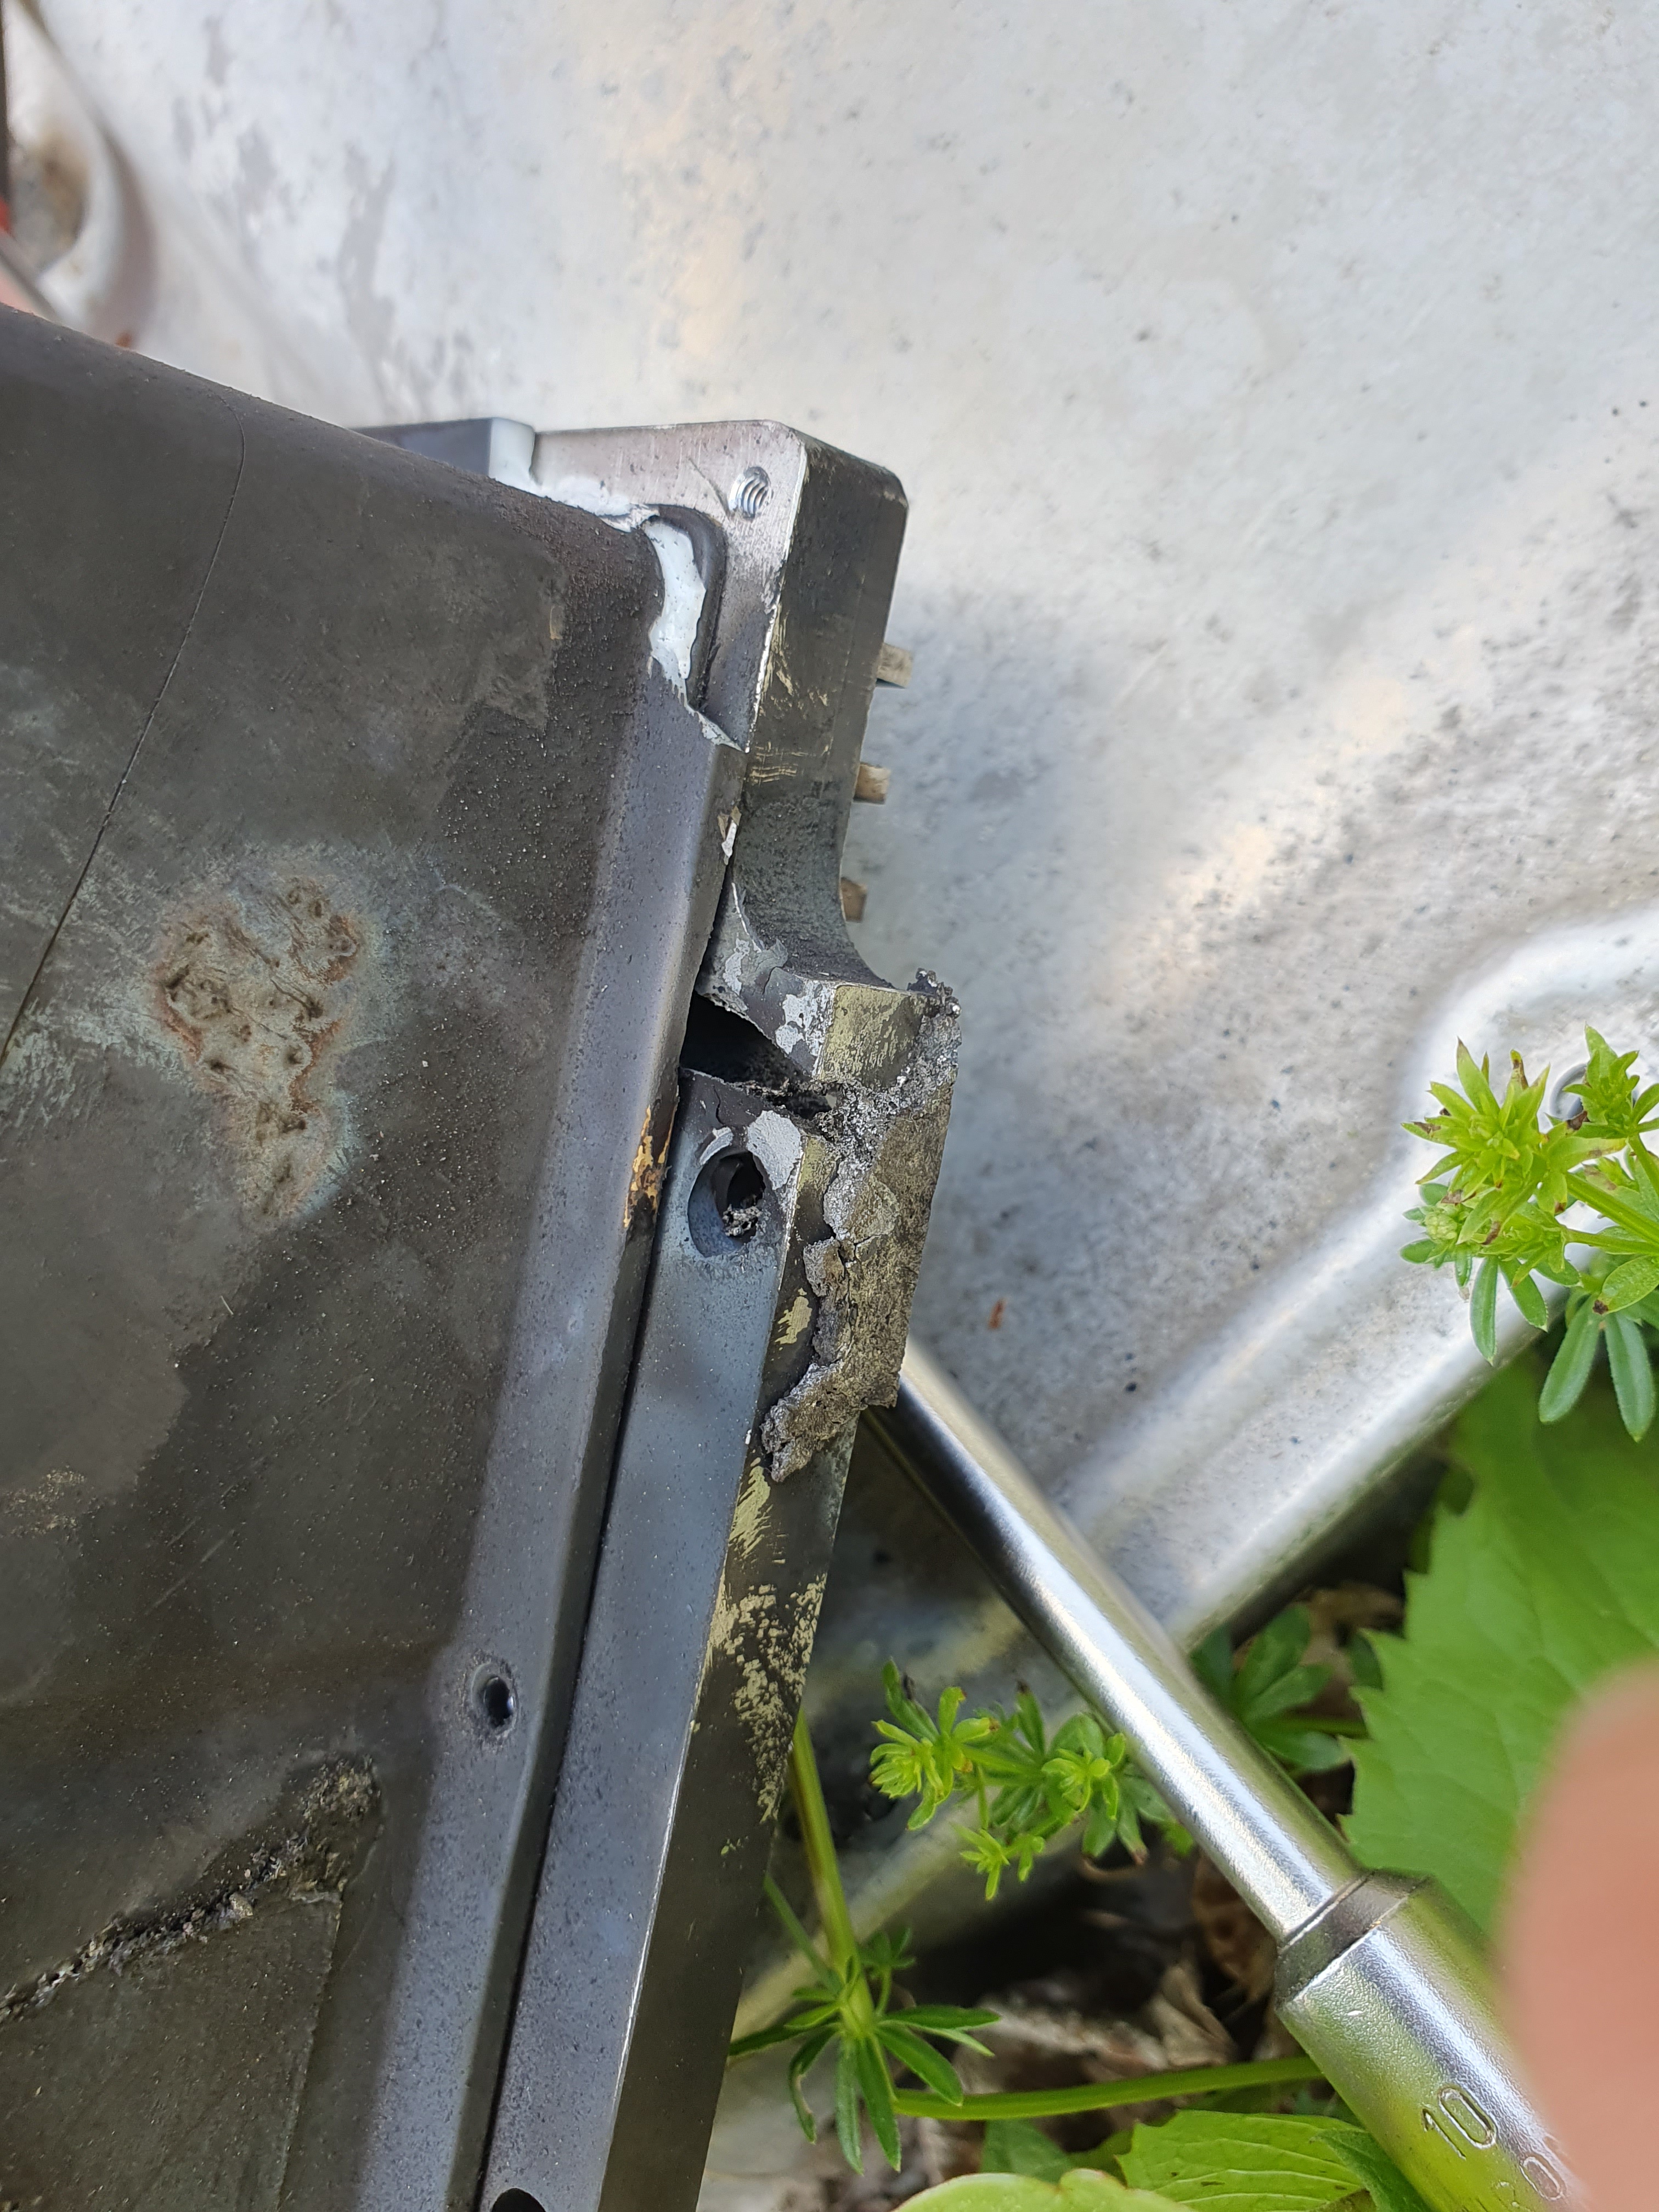
I was working on the locking mechanism for the battery cover when suddenly the controller started burning and spewing molten aluminum all around :oop:
I got the cover off and unplugged it. It had already started slowing down by then:

4ORjx5G.jpg


BCOvvpr.jpg


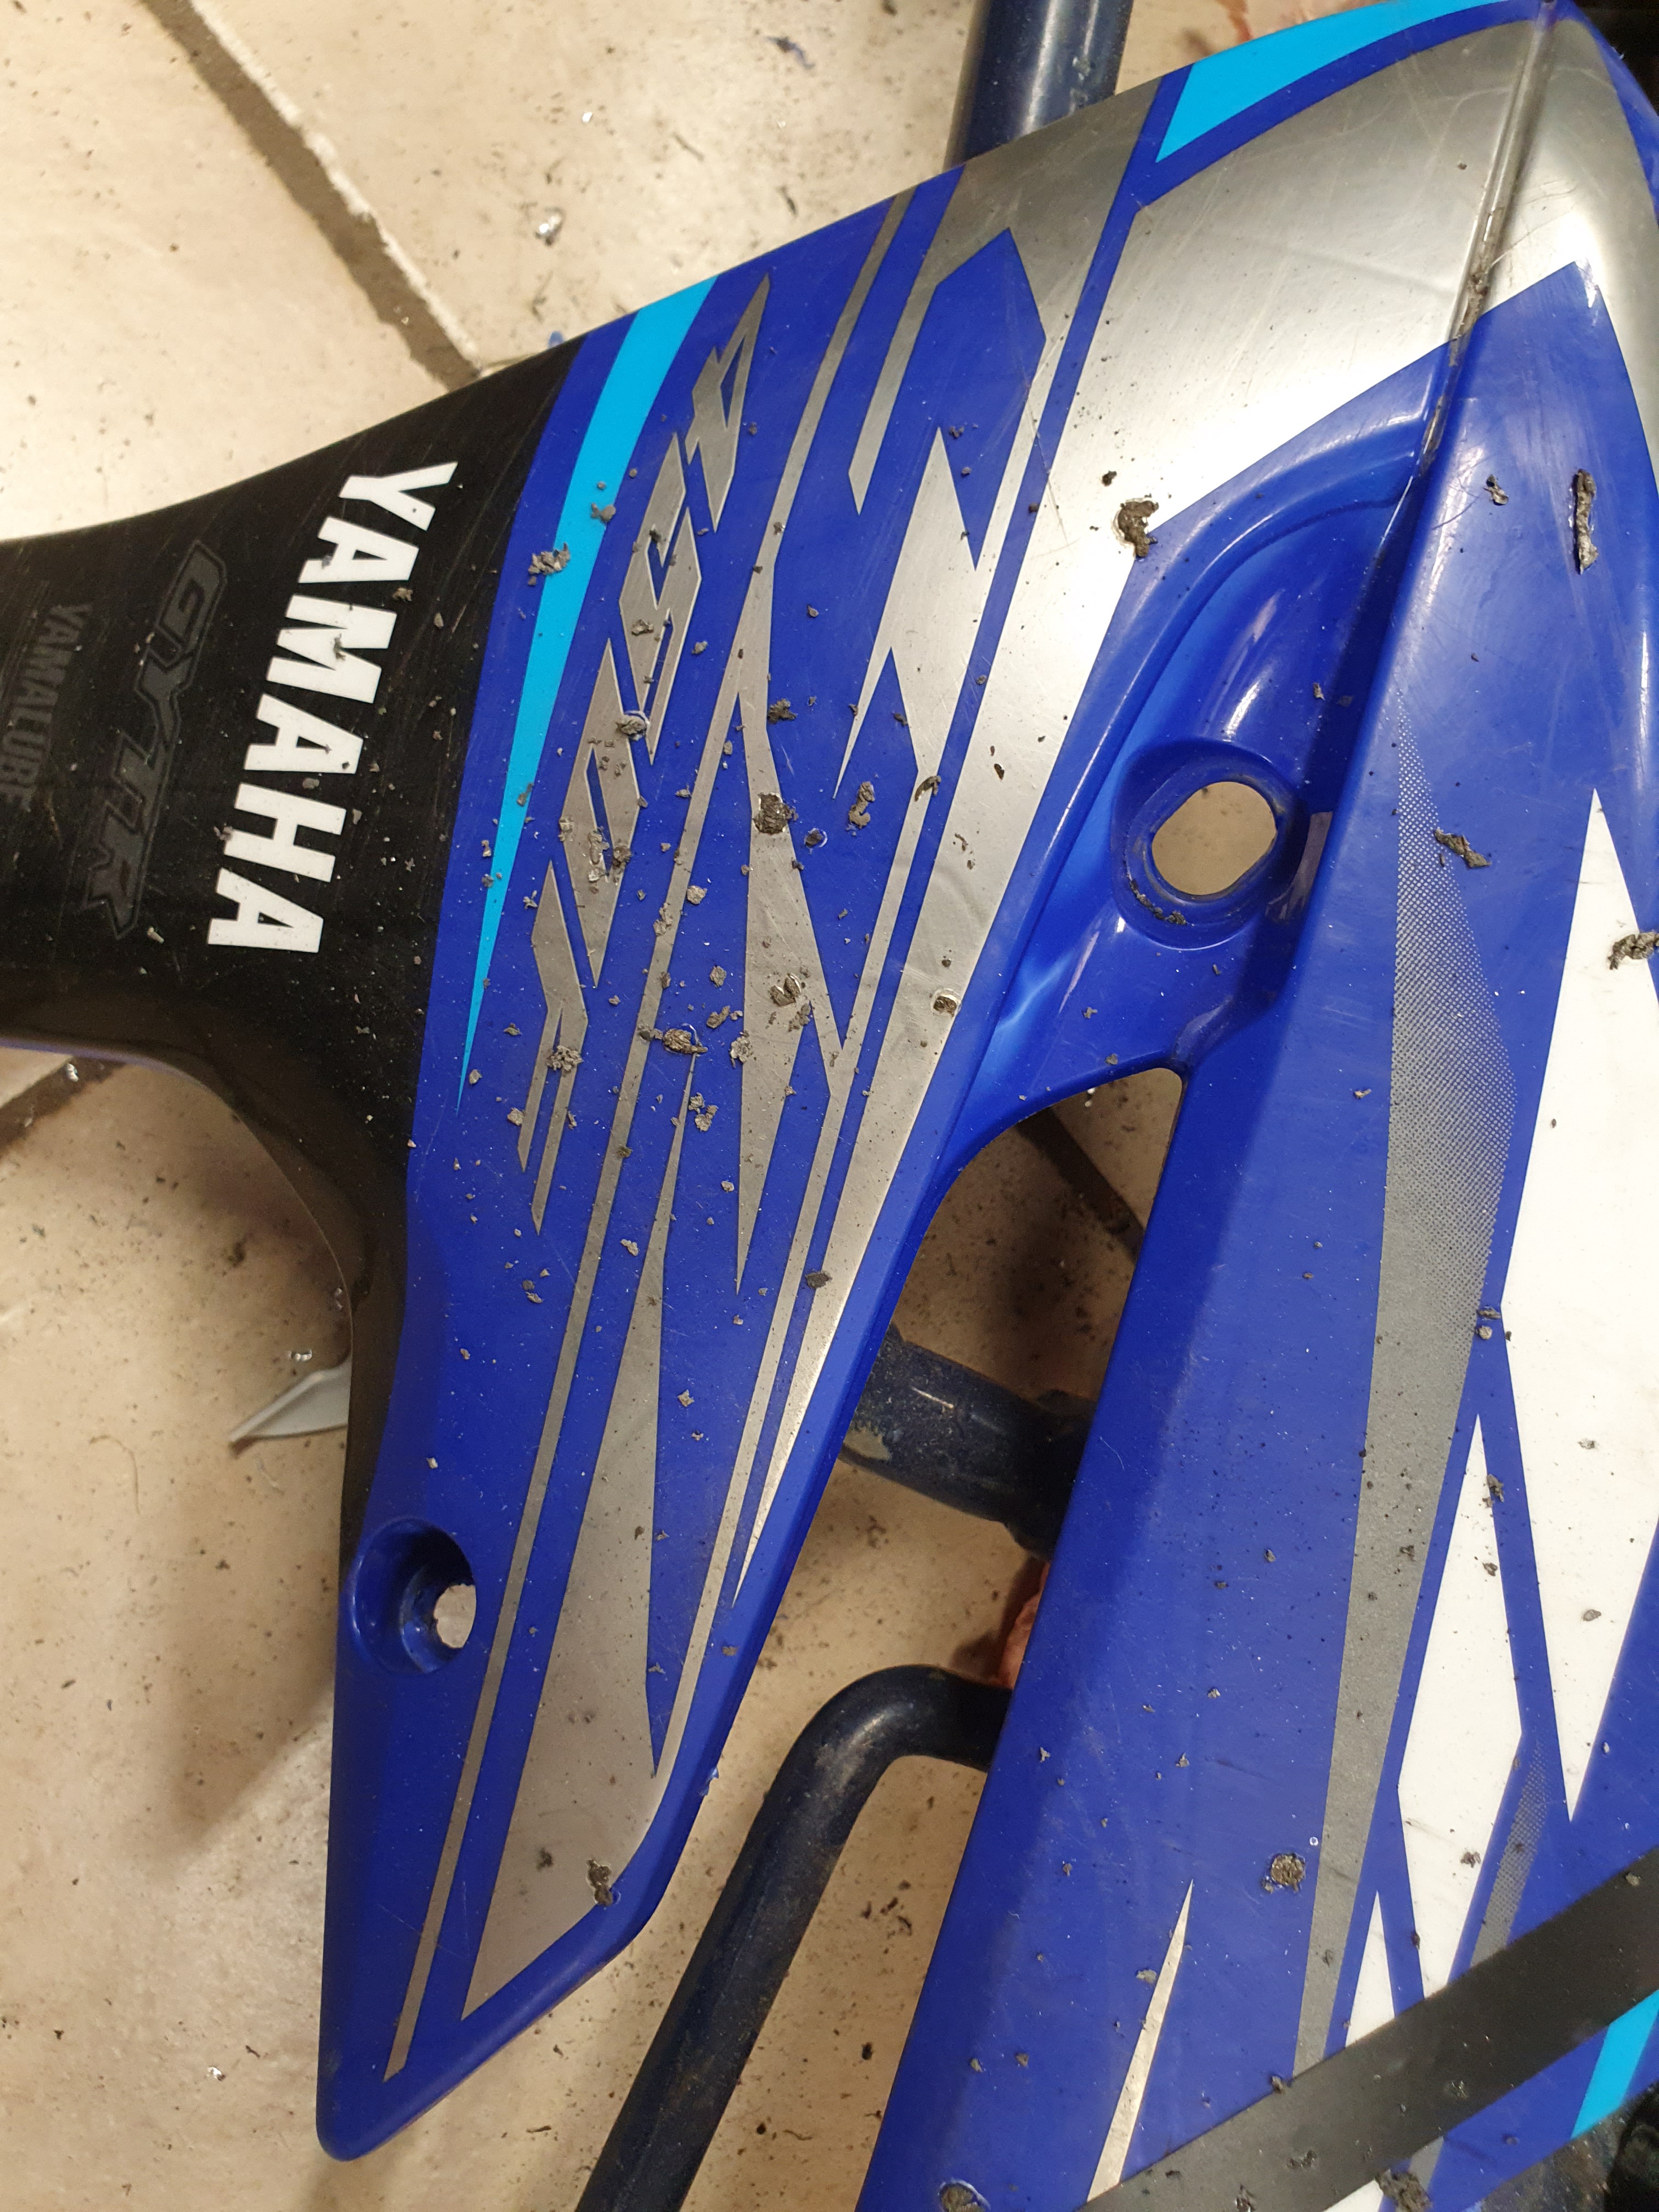
Here you can see a little of the discoloration from the smoke.

3Kk0V7H.jpg


KwKMPzX.jpg


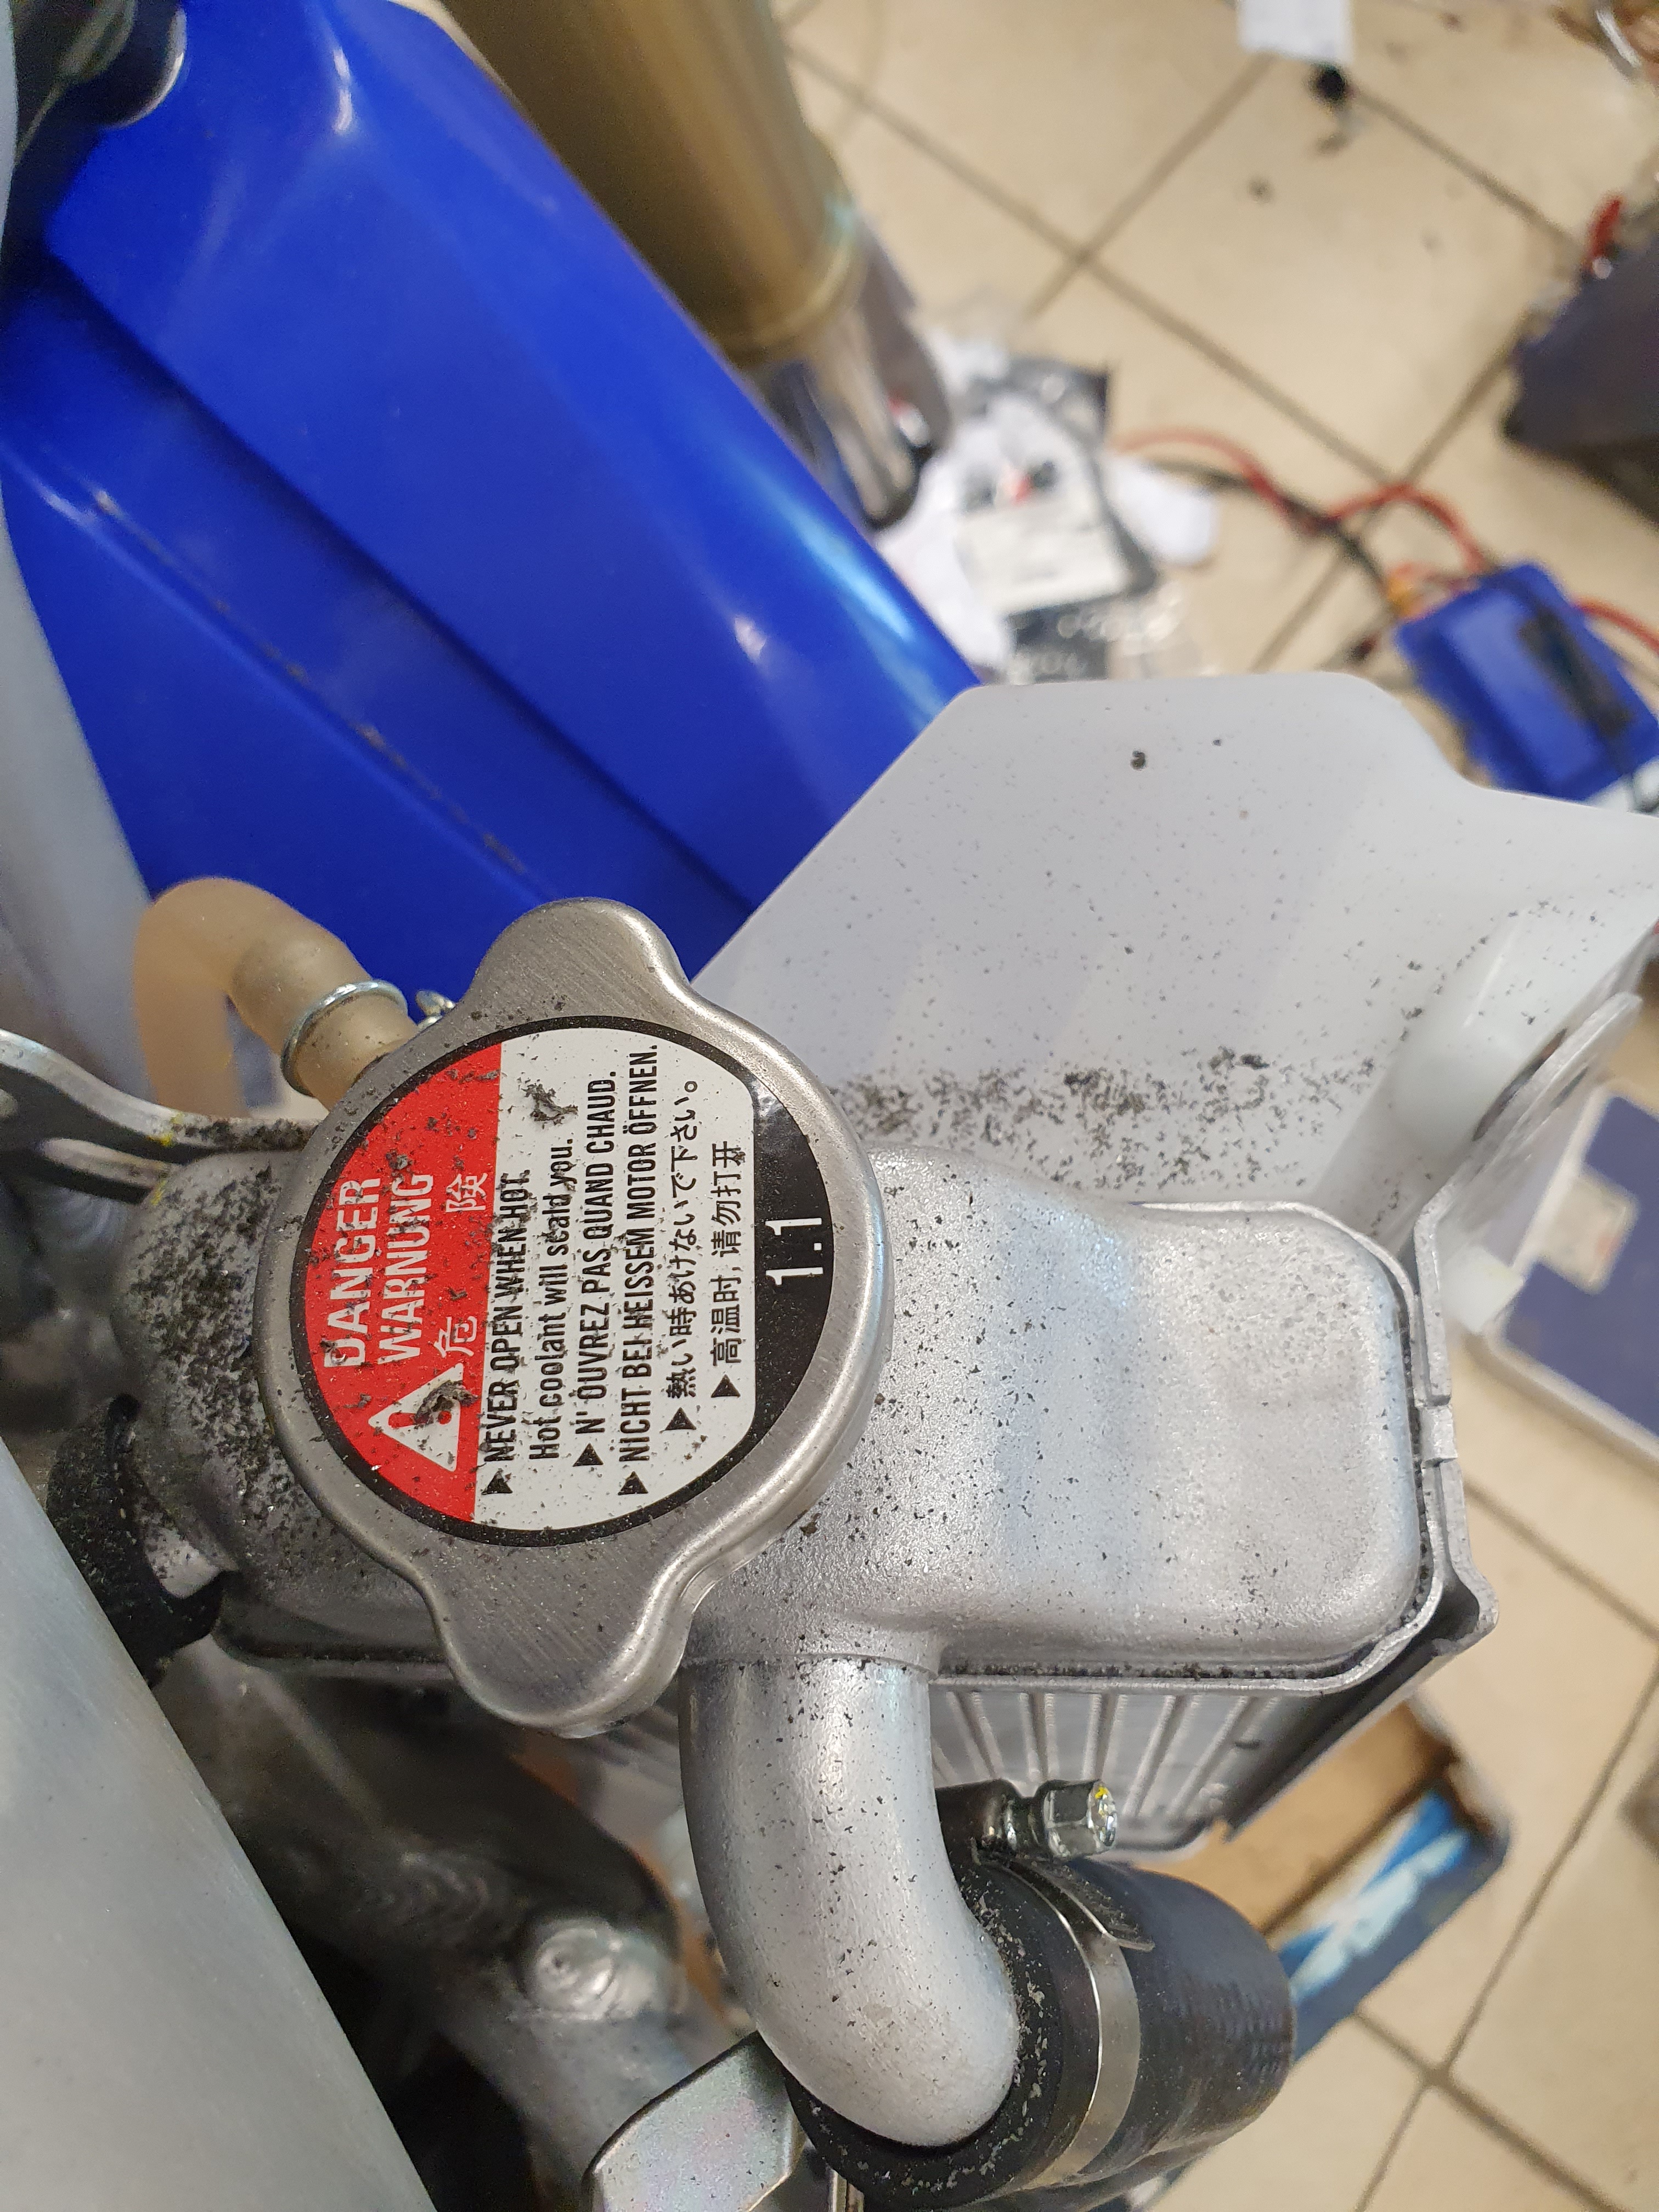
This alu dust seems to get everywhere, here you can see it on the radiator and pieces melted in to some plastics.

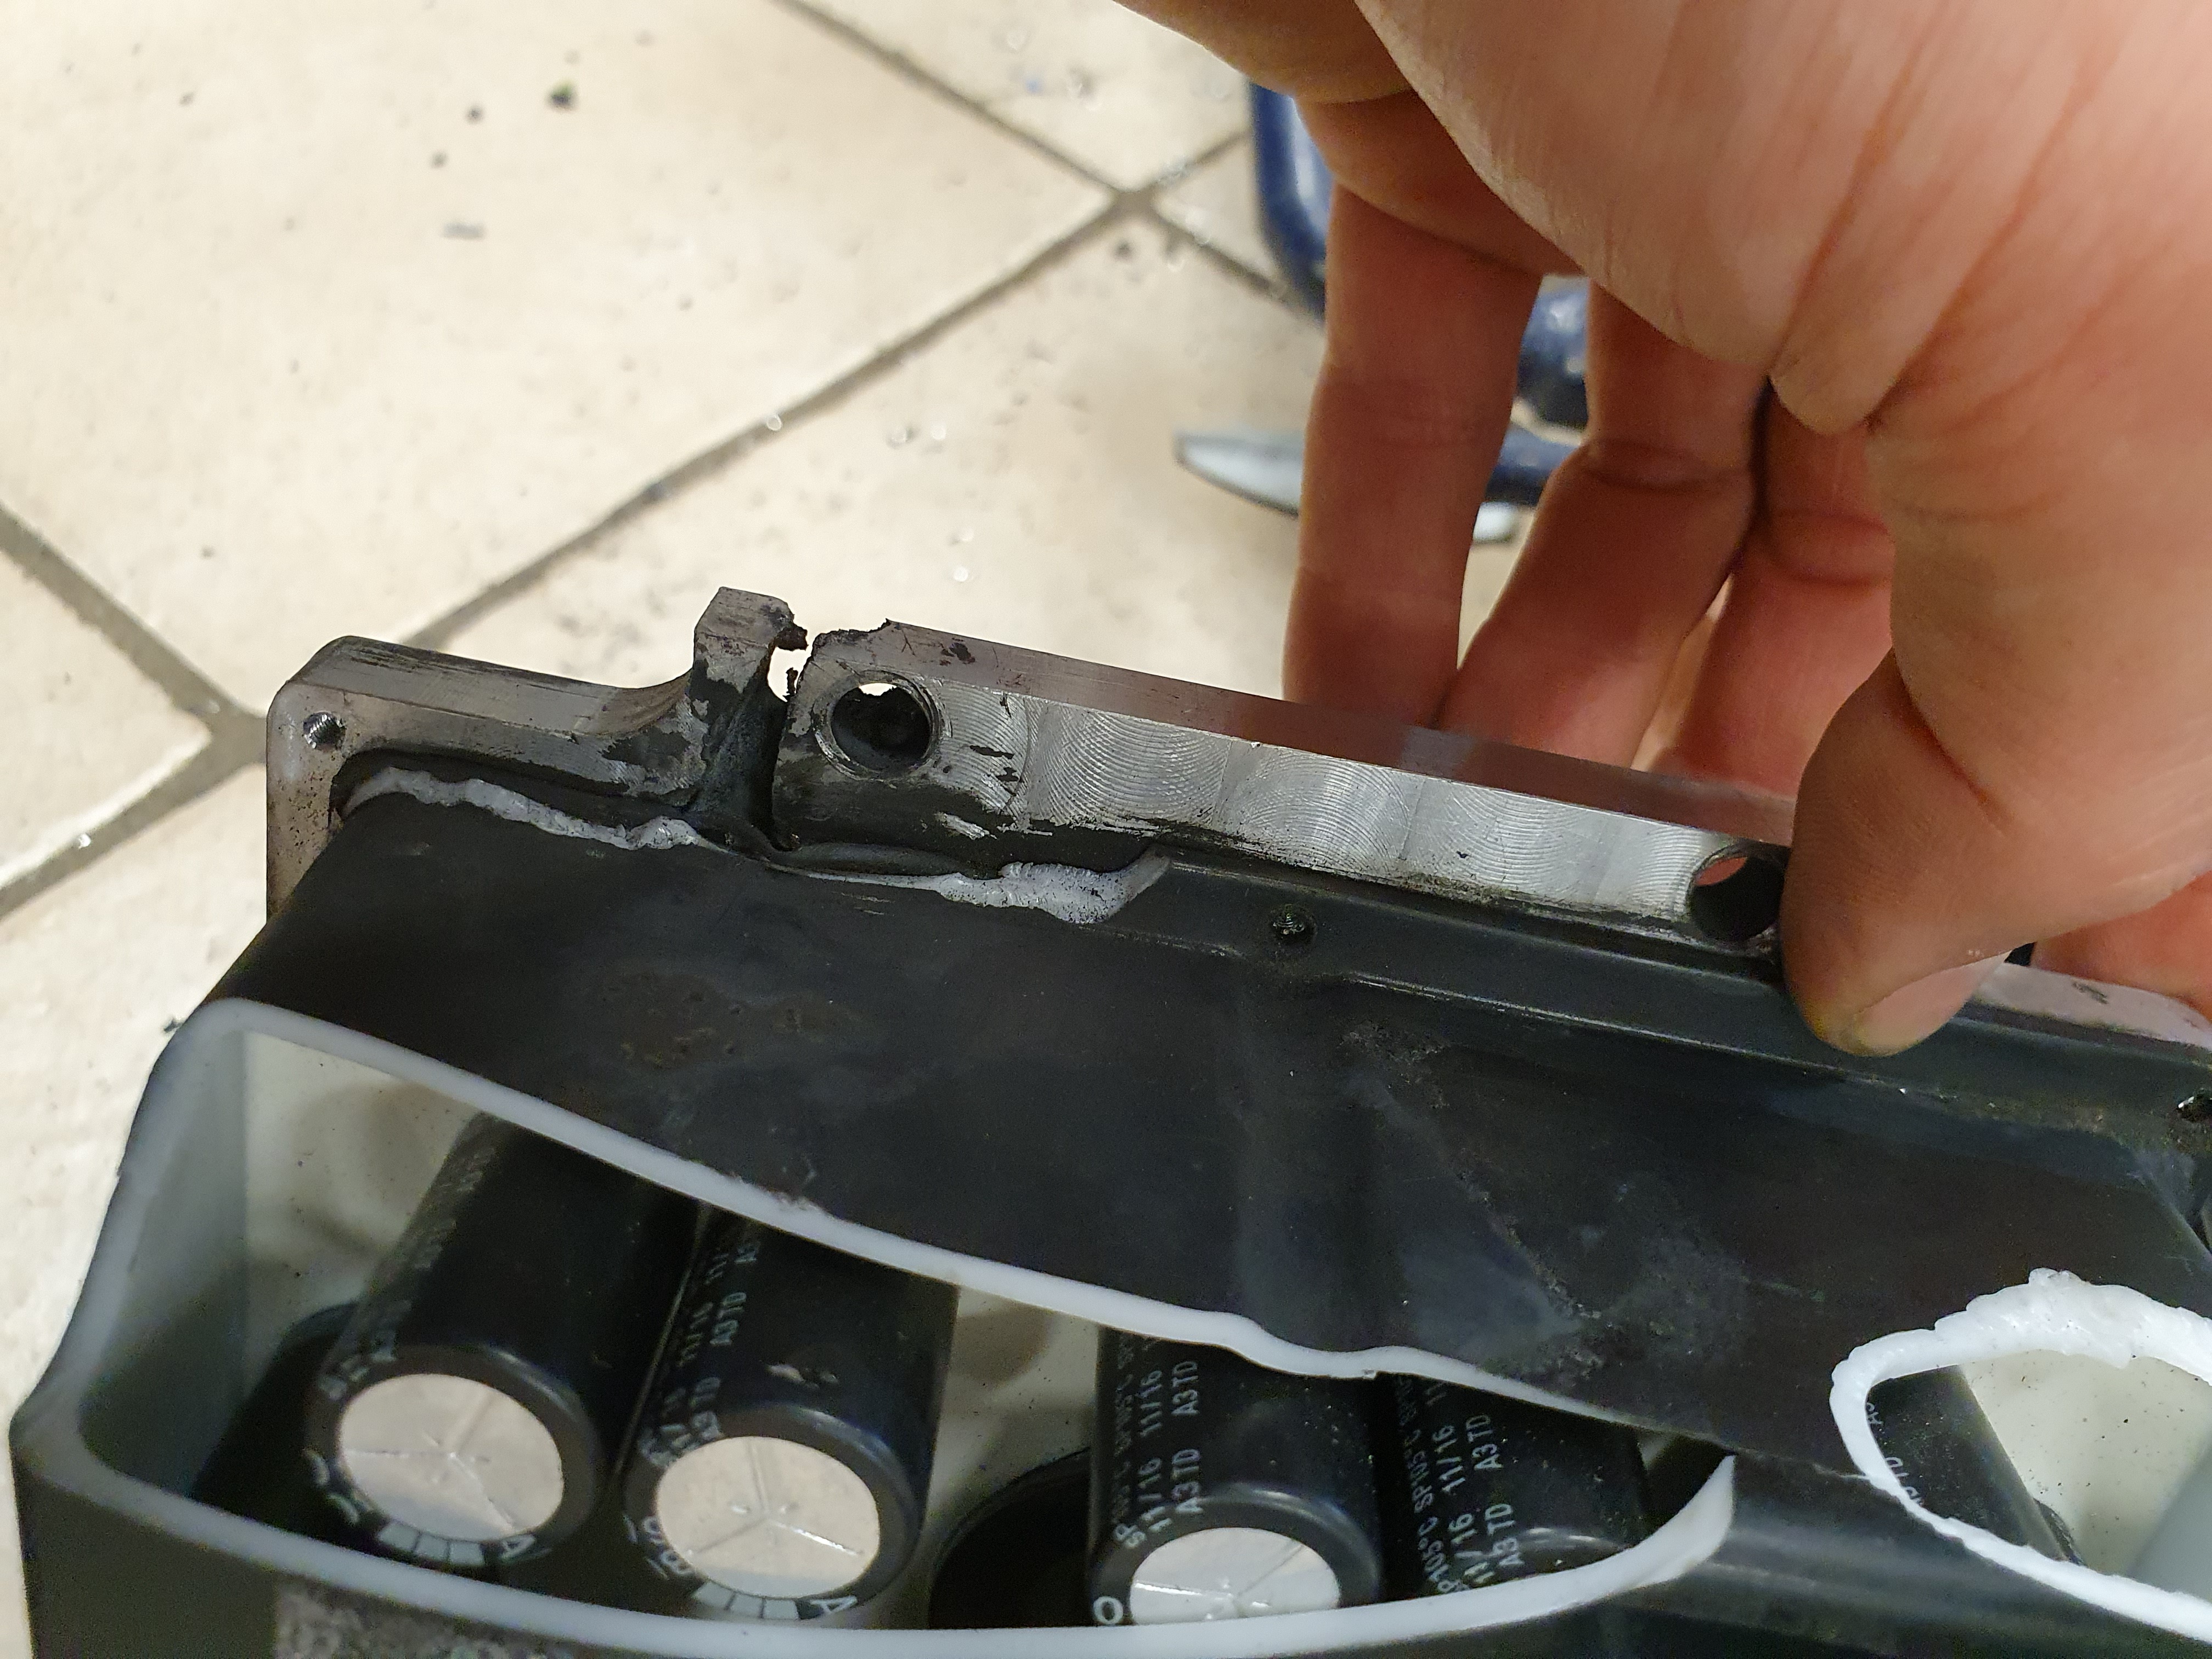
Here is the controller itself:

9OYfhWS.jpg


lsoOpSq.jpg


The caps looks fine, and there is no signs of black smoke in there.
But as you can see there is like a channel where the alu has melted and blown away🫣

This is the old controller from 2023 that I had on the other bike that lost a phase from time to time.
Nothing shorted then, so I didn't think it was dangerous to use.
I am just using it as a mock up, but I had connected the b+ and b-, and it was like that for a while before it happened.
 
Some sort of sudden short in the power stage, I dont know what exactly.
Something loose inside of the controller maybe, or possibly a failed mosfet?
I think it is more likely that it was something in the manufacturing than a component, as it was loosing a phase sporadically before this happened. It wasn't shorting then, just became inactive without showing an error.
I think Hackey said it wasn't a problem in the power stage back then, I kind of think he was wrong:rolleyes:

Now there is a short between B-, B+ and the U phase. I'm pretty sure the problem was the U phase before this too.
 
You were lucky then that this was all the "fire" damage. Could have been much worse if you weren't there to catch it.
 
Yes, and it makes me question the decision not to use a contactor on this bike..
I suppose I should make sure to turn off the bms every time I put the bike in the garage :rolleyes:
 
I try to remember to turn mine off. Would perhaps be easier with a CAN line to BMS and a dedicated kill button that would send a "FET off" command.

Too bad about the controller, but good that not much else on the bike got damaged. If you didn't manage to stop it, could be a very premature end to the project...
 
I had the exact same thing with my 3shul CL1000 controller. It broke down out of nowhere while driving on the motocross track, and then I immediately switched it off. Later I wanted to see if I could start seeing something in the log, so I turned it on via a contactor etc with the idea of connecting to my phone and then the controller caught fire with the same result as you. Very dangerous and I was also very shocked at the time. Fortunately, I was able to save the dirt bike by throwing a whole heap of sand on it.
 
Sounds like a probable design issue; something too close to the mounting plate or a PCB routing / etching issue, or insulation flaw between FETs and heatsinks, etc.

It'd be interesting to see a careful step by step "autopsy" of both of those controllers to see where the initial fault occured, and if it's in the same place, what the manufacturer would do about it when notified.
 
The controller was broken already, (and replaced on warranty) so that wasn't much of a loss. And it still works as mockup..
The worst wasn't the fire, but the spray of molten metal.
I didn't realize that until after, but it has rained down on the floor and stuff rather far from the bike. But then it had cooled off enough to not burn in to stuff.
That was not the case closer to the controller. I am glad that I didn't get any in my eyes or face. I got a little on an arm and a little more on a leg that burned trough the trousers.

Mikemx, how did your controller brake while riding? Did it just turn off, run rough or something else?
Is the damage similar to mine, or did the caps etc burn?
The cl1000 and cl1400 are different designs, so I suppose it isn't the same fault :unsure:

Could absolutely be interesting to take it apart to investigate furter, the problem is that it is potted.
The plastic housing is fragile, I think it is 3d printed..
So that should be possible to get off in pieces, but then it is still the potting to handle.

I think it can be a manufacturing error, as the mounting doesn't seem great..
 
I have unfortunately experienced many problems with my 3shul controllers, all of them the CL1000. The version 3 (or 4) and also the 4.1 (the current one).
One time the controller failed because my BMS was not heavy enough, so my BMS stopped working and as a result the 3shul got a higher current spike which caused the mosfets to die. (There is apparently no protection built in for this? I do use fuses, contactors etc myself).

After installing a much heavier version BMS (I don't use bypass), my warranty 3shul recently failed again. I think certain components got too hot? (I mounted a fan under the controller). The electric motor started stuttering and I knew right away it was a controller problem and I immediately turned it off. Waited a while and put it back on the ignition and then white smoke came out of the controller and it was done.

If the controller works, it is a fine controller and responds nicely to throttle response etc. However, to use this dirt bike the same as a real dirt bike on a motocross track, it seems that this 3shul is not suitable enough for this. Maybe a Fardriver is a better option?

Sorry by the way for the off topic. I always follow your projects with great interest, especially since I also used a Yamaha yz450F 2022 as a base. Keep up the good work!
 
One time the controller failed because my BMS was not heavy enough, so my BMS stopped working and as a result the 3shul got a higher current spike which caused the mosfets to die. (There is apparently no protection built in for this? I do use fuses, contactors etc myself).
This is a problem for all controllers I am aware of so far, based on posts here and elsewhere detailing or mentioning this specific scenario killing or damaging their controller.
For this reason, I try to warn people that want to use regen braking (etc) especially on downhills, that the risk exists.
Note that if you're using a separate-port BMS, rather than common-port, it shouldn't cause the issue because the FETs, even when turned off, act as diodes and still conduct back into the pack, unless it takes more time for the diodes to turn on than the FETs or other parts on your controller's battery bus to blow up. :/

If you're using a contactor, it's complete disconnection still creates the risk of damage.
 
Mikemx, I don't think it is off topic really, it is interesting to hear other experiences and it would be very interesting with a build thread of that bike ;)

I have had the bms cutting once or twice on my current controller without problem.
But then it has been at low speed and low power when the battery was critically low, and some mismatch in the settings that made the bms cut before the controller.

I suppose in your case it was at high speed? I think that if it is at overspeed with field weakening the controller is pretty much done.

What is your overtemp settings? I think Hackey set something like 65degrees on Rivvis controller, and he had big problems with overheating.
Mine is set higher, I think 80degrees. But I dont think I get much more than 50degrees or so when riding.
Well, in a way it is off topic as all the experience is from the yz250f.
This became a bit of a crossover as the same controller has actually broken on both bikes :rolleyes:
 
Re-design of the locking mechanism for the battery cover:

DwlSID0.jpg


I didn't find a good way to get the old design to pull down, so I tried using guides to get it in position.
But it got too fiddly to get bot front and rear guides in, I think this design will be better.
It should also be lighter :)

I have sent the files and asked if I could get them cut before the holidays, no reply so far..
 
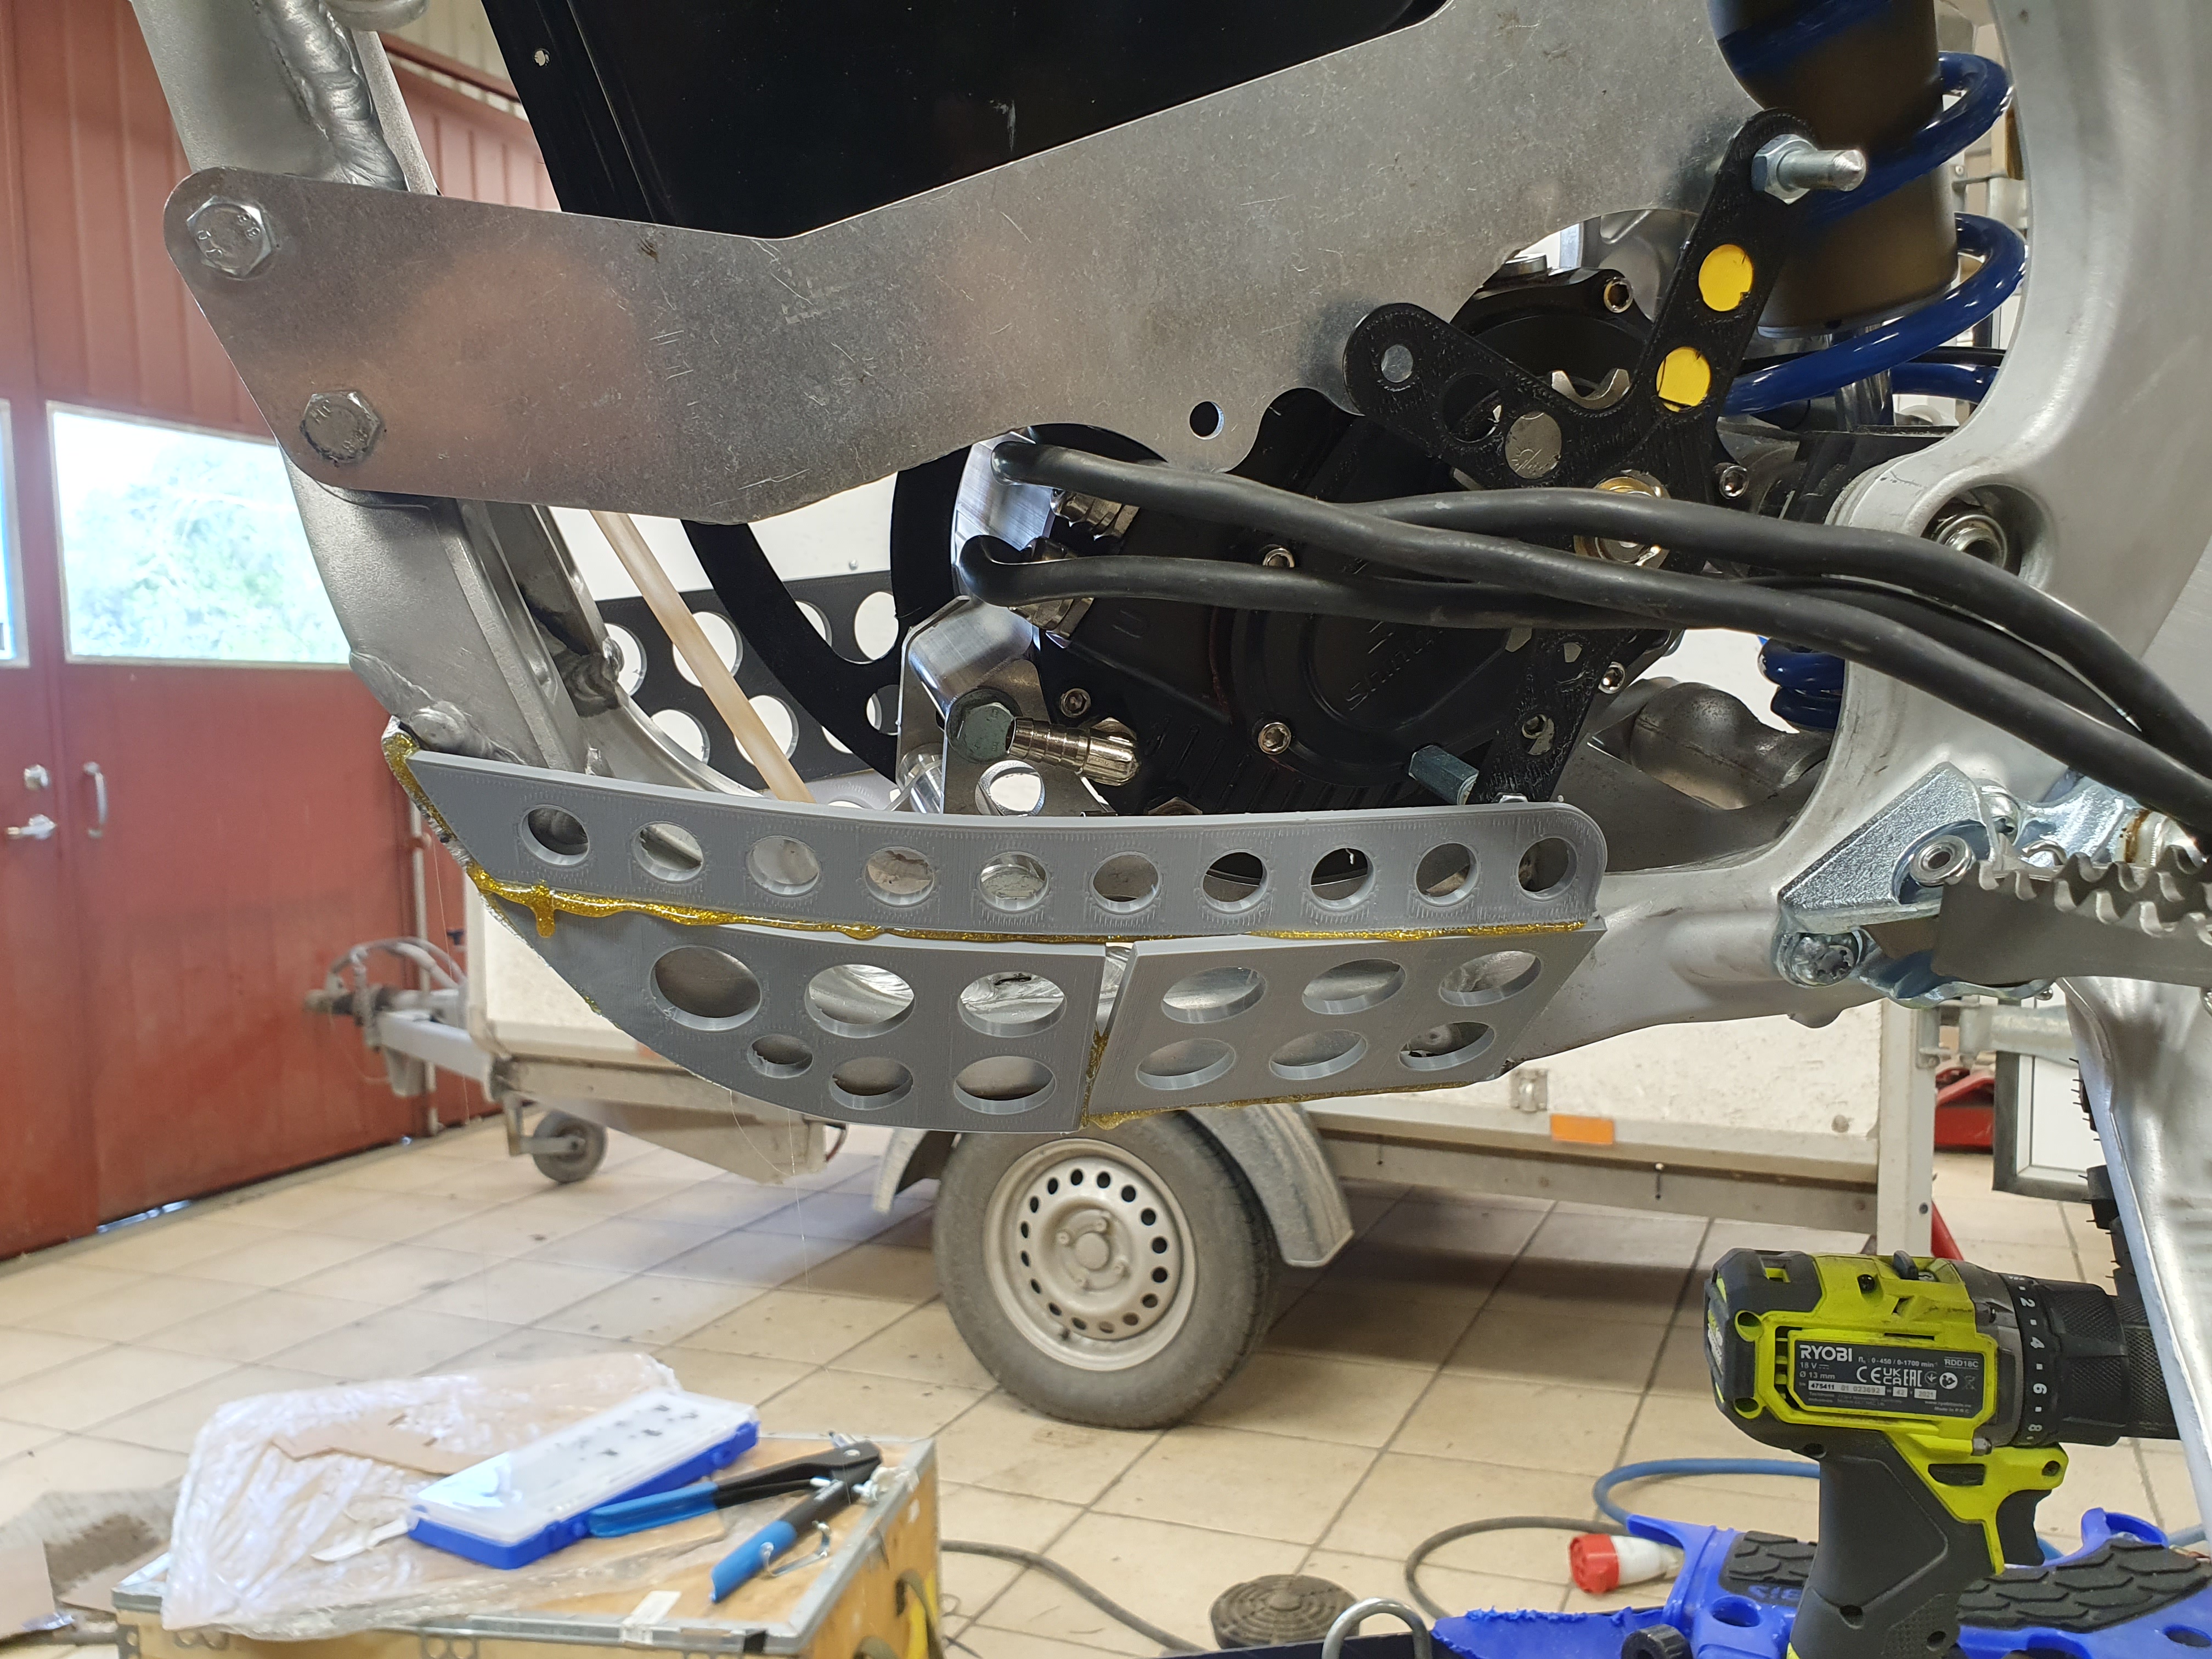
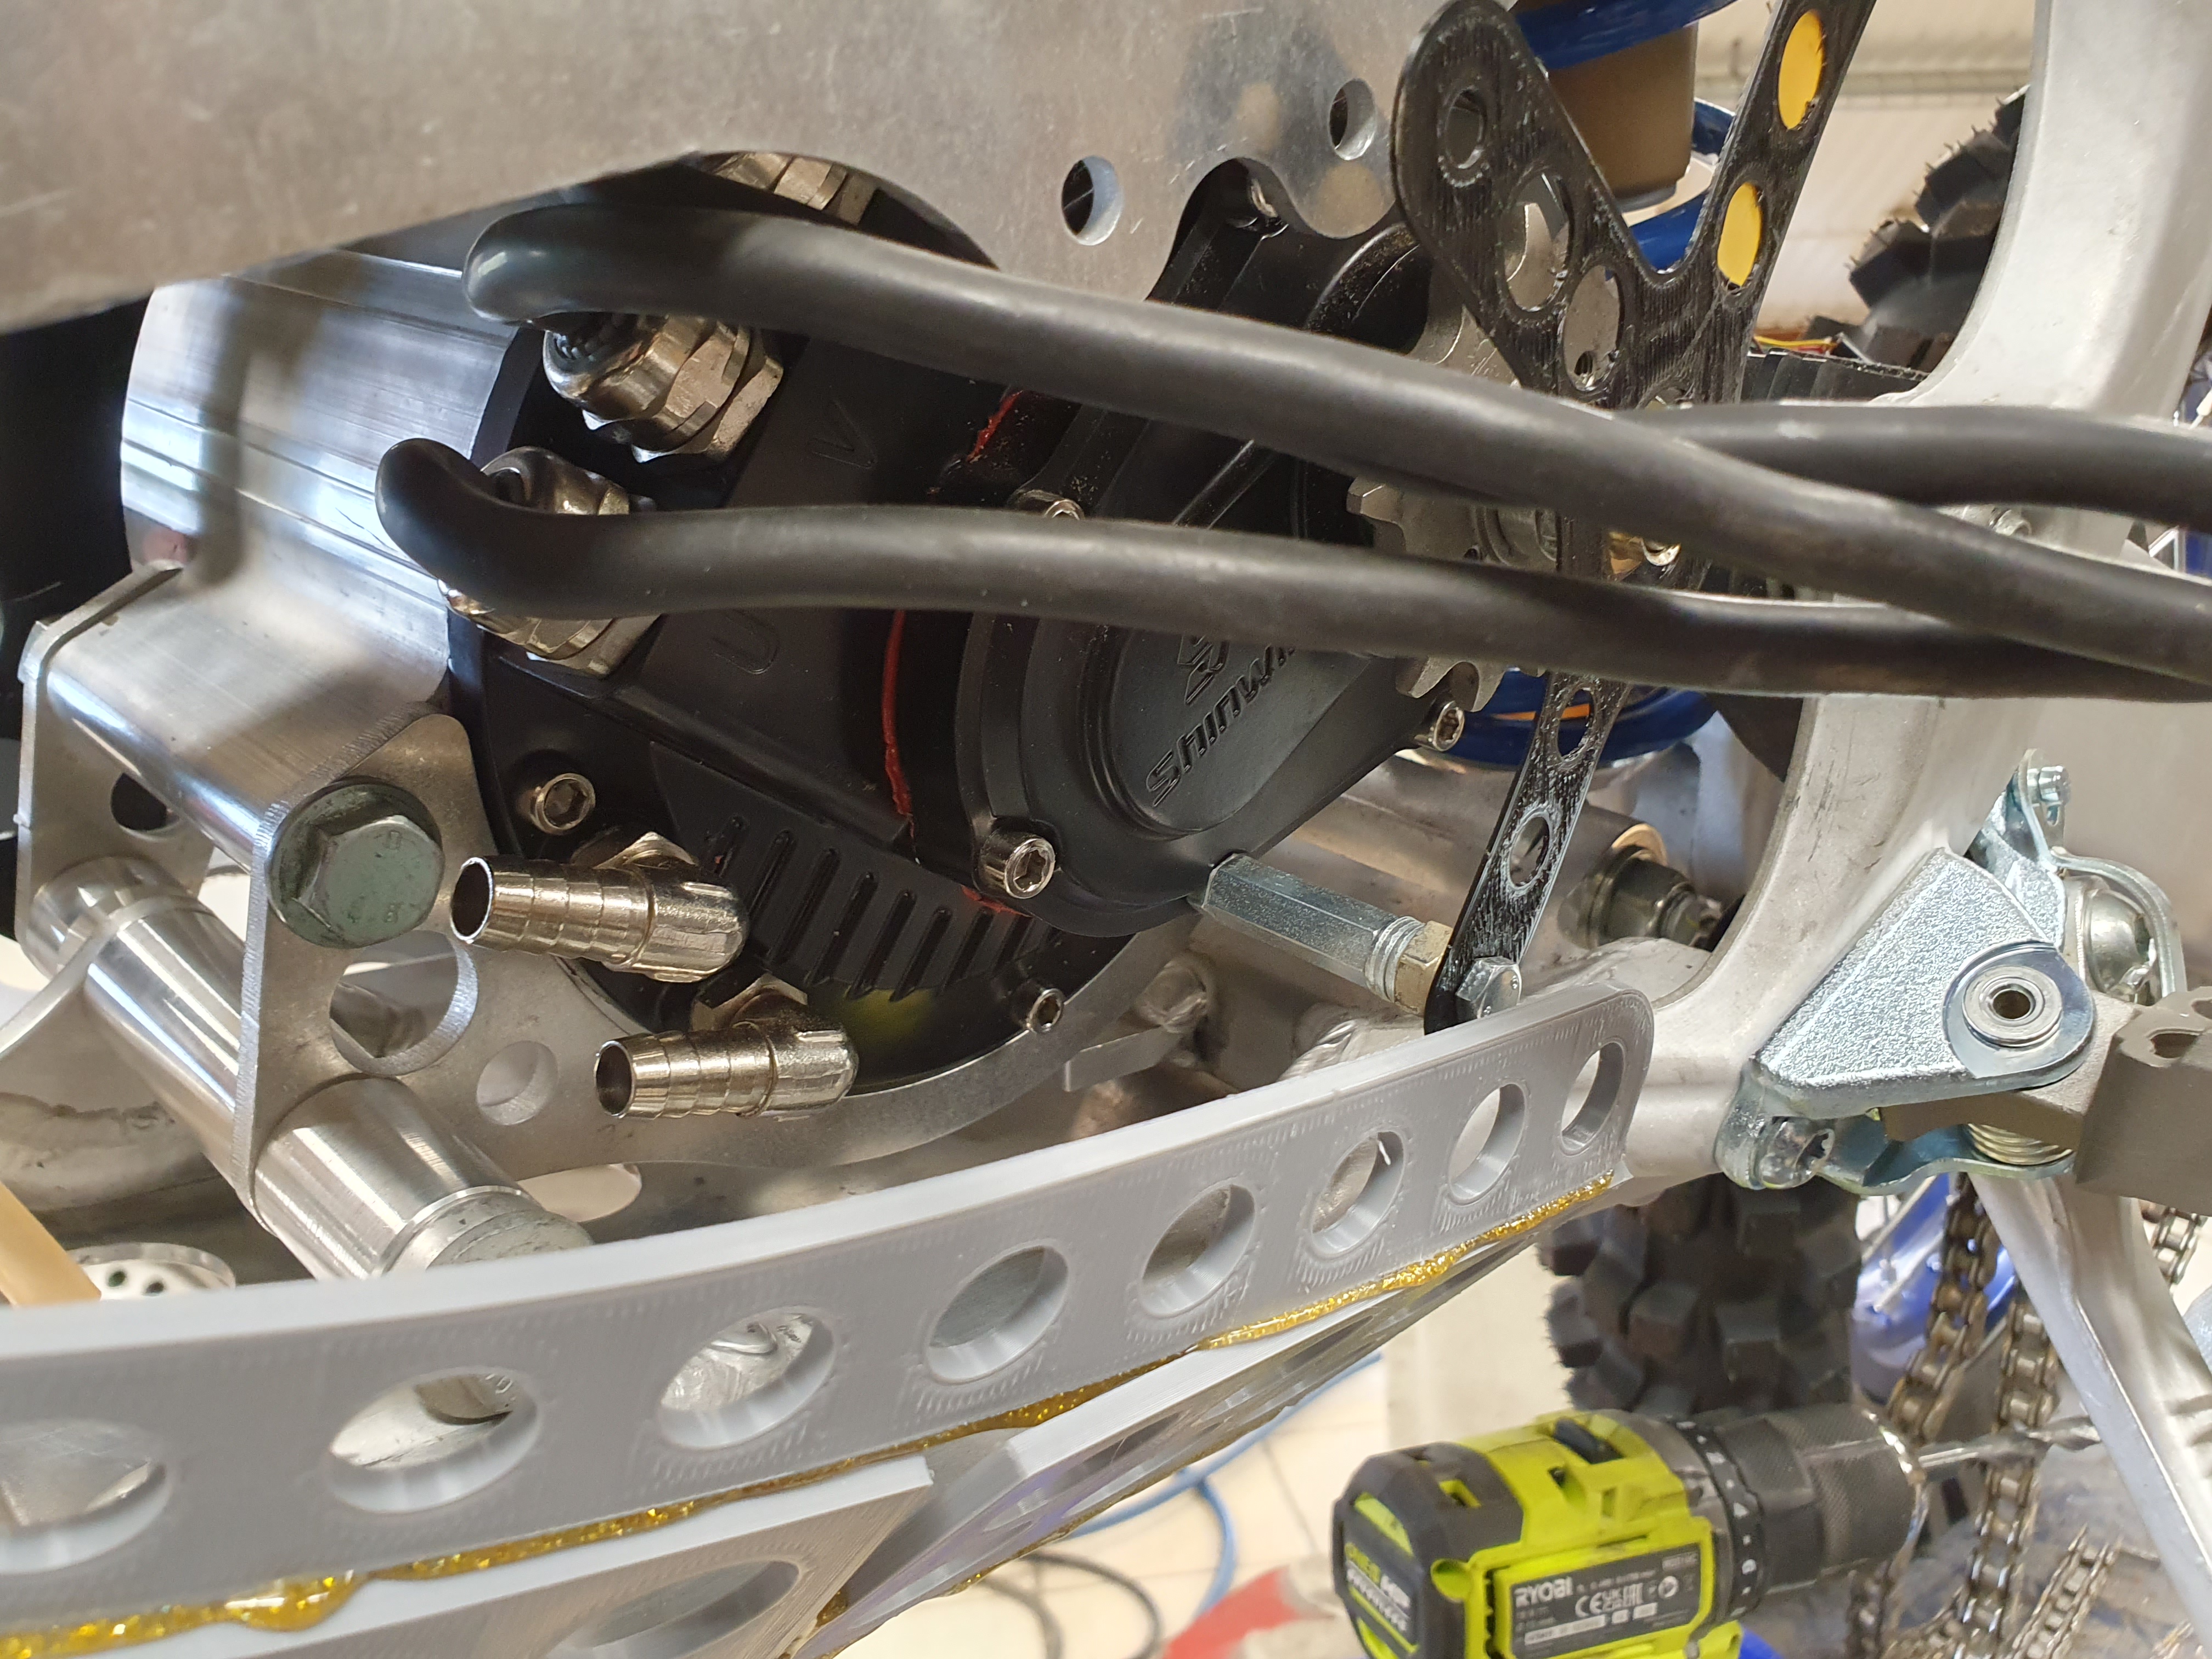
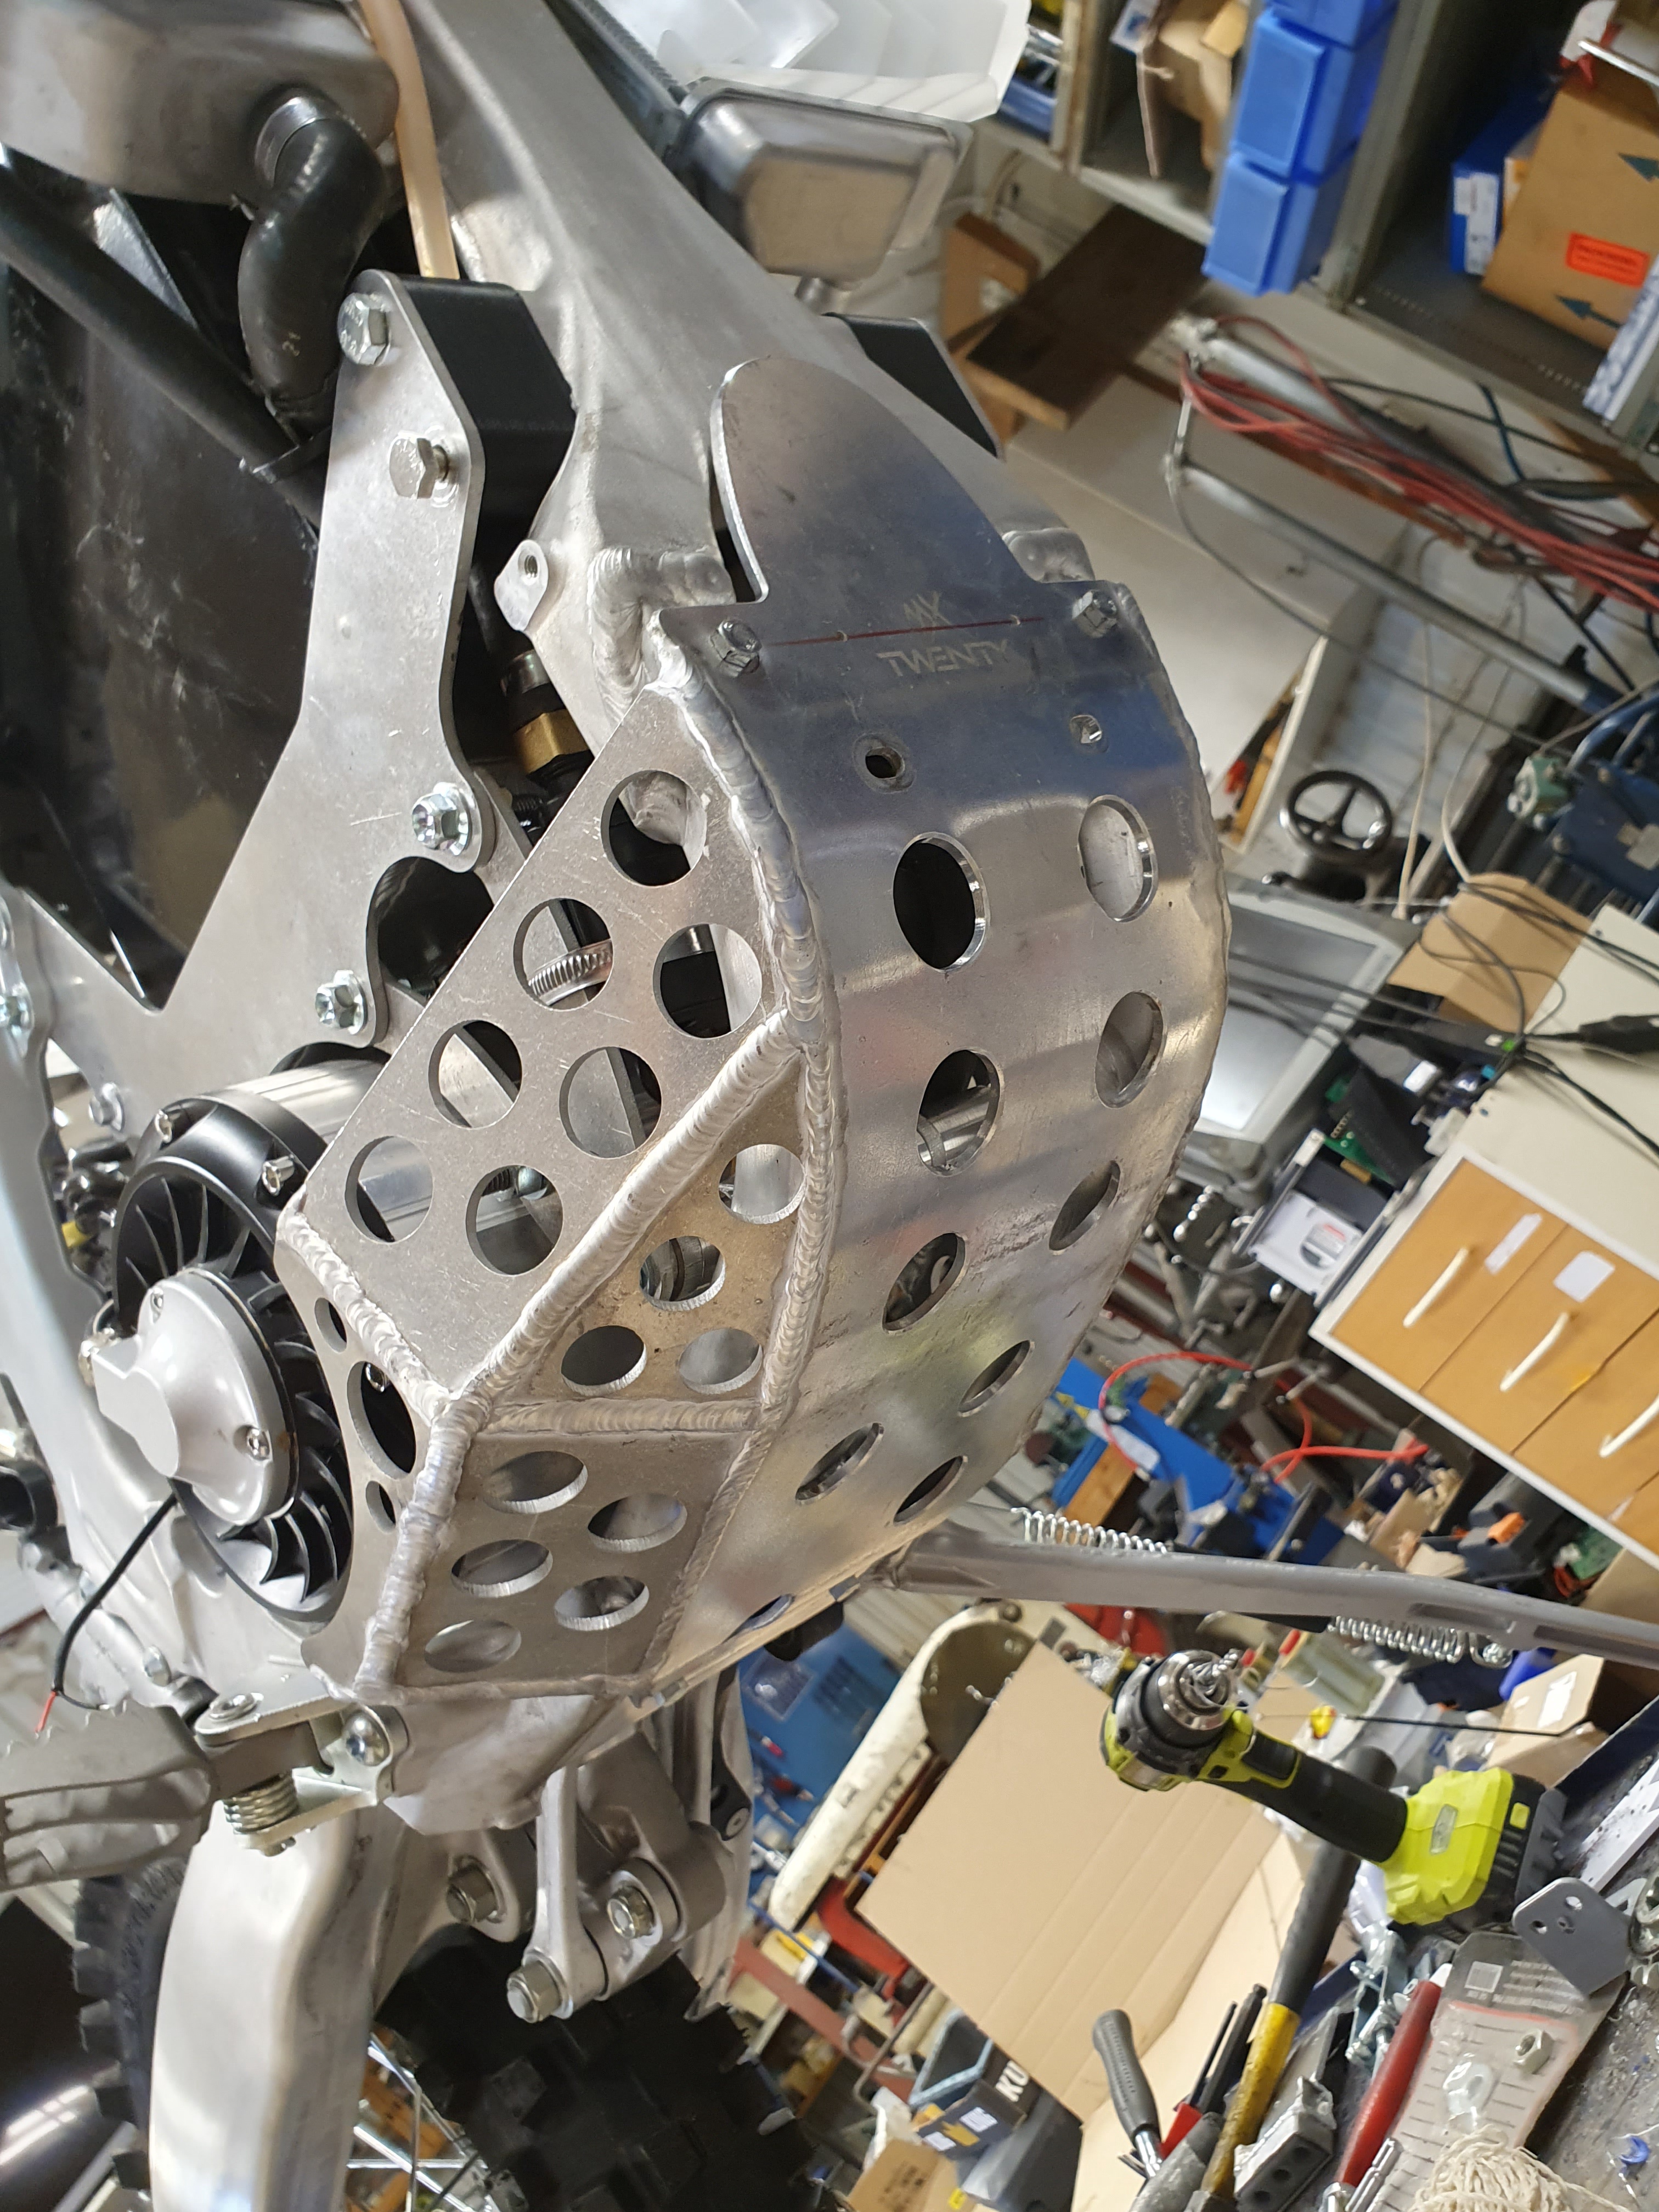
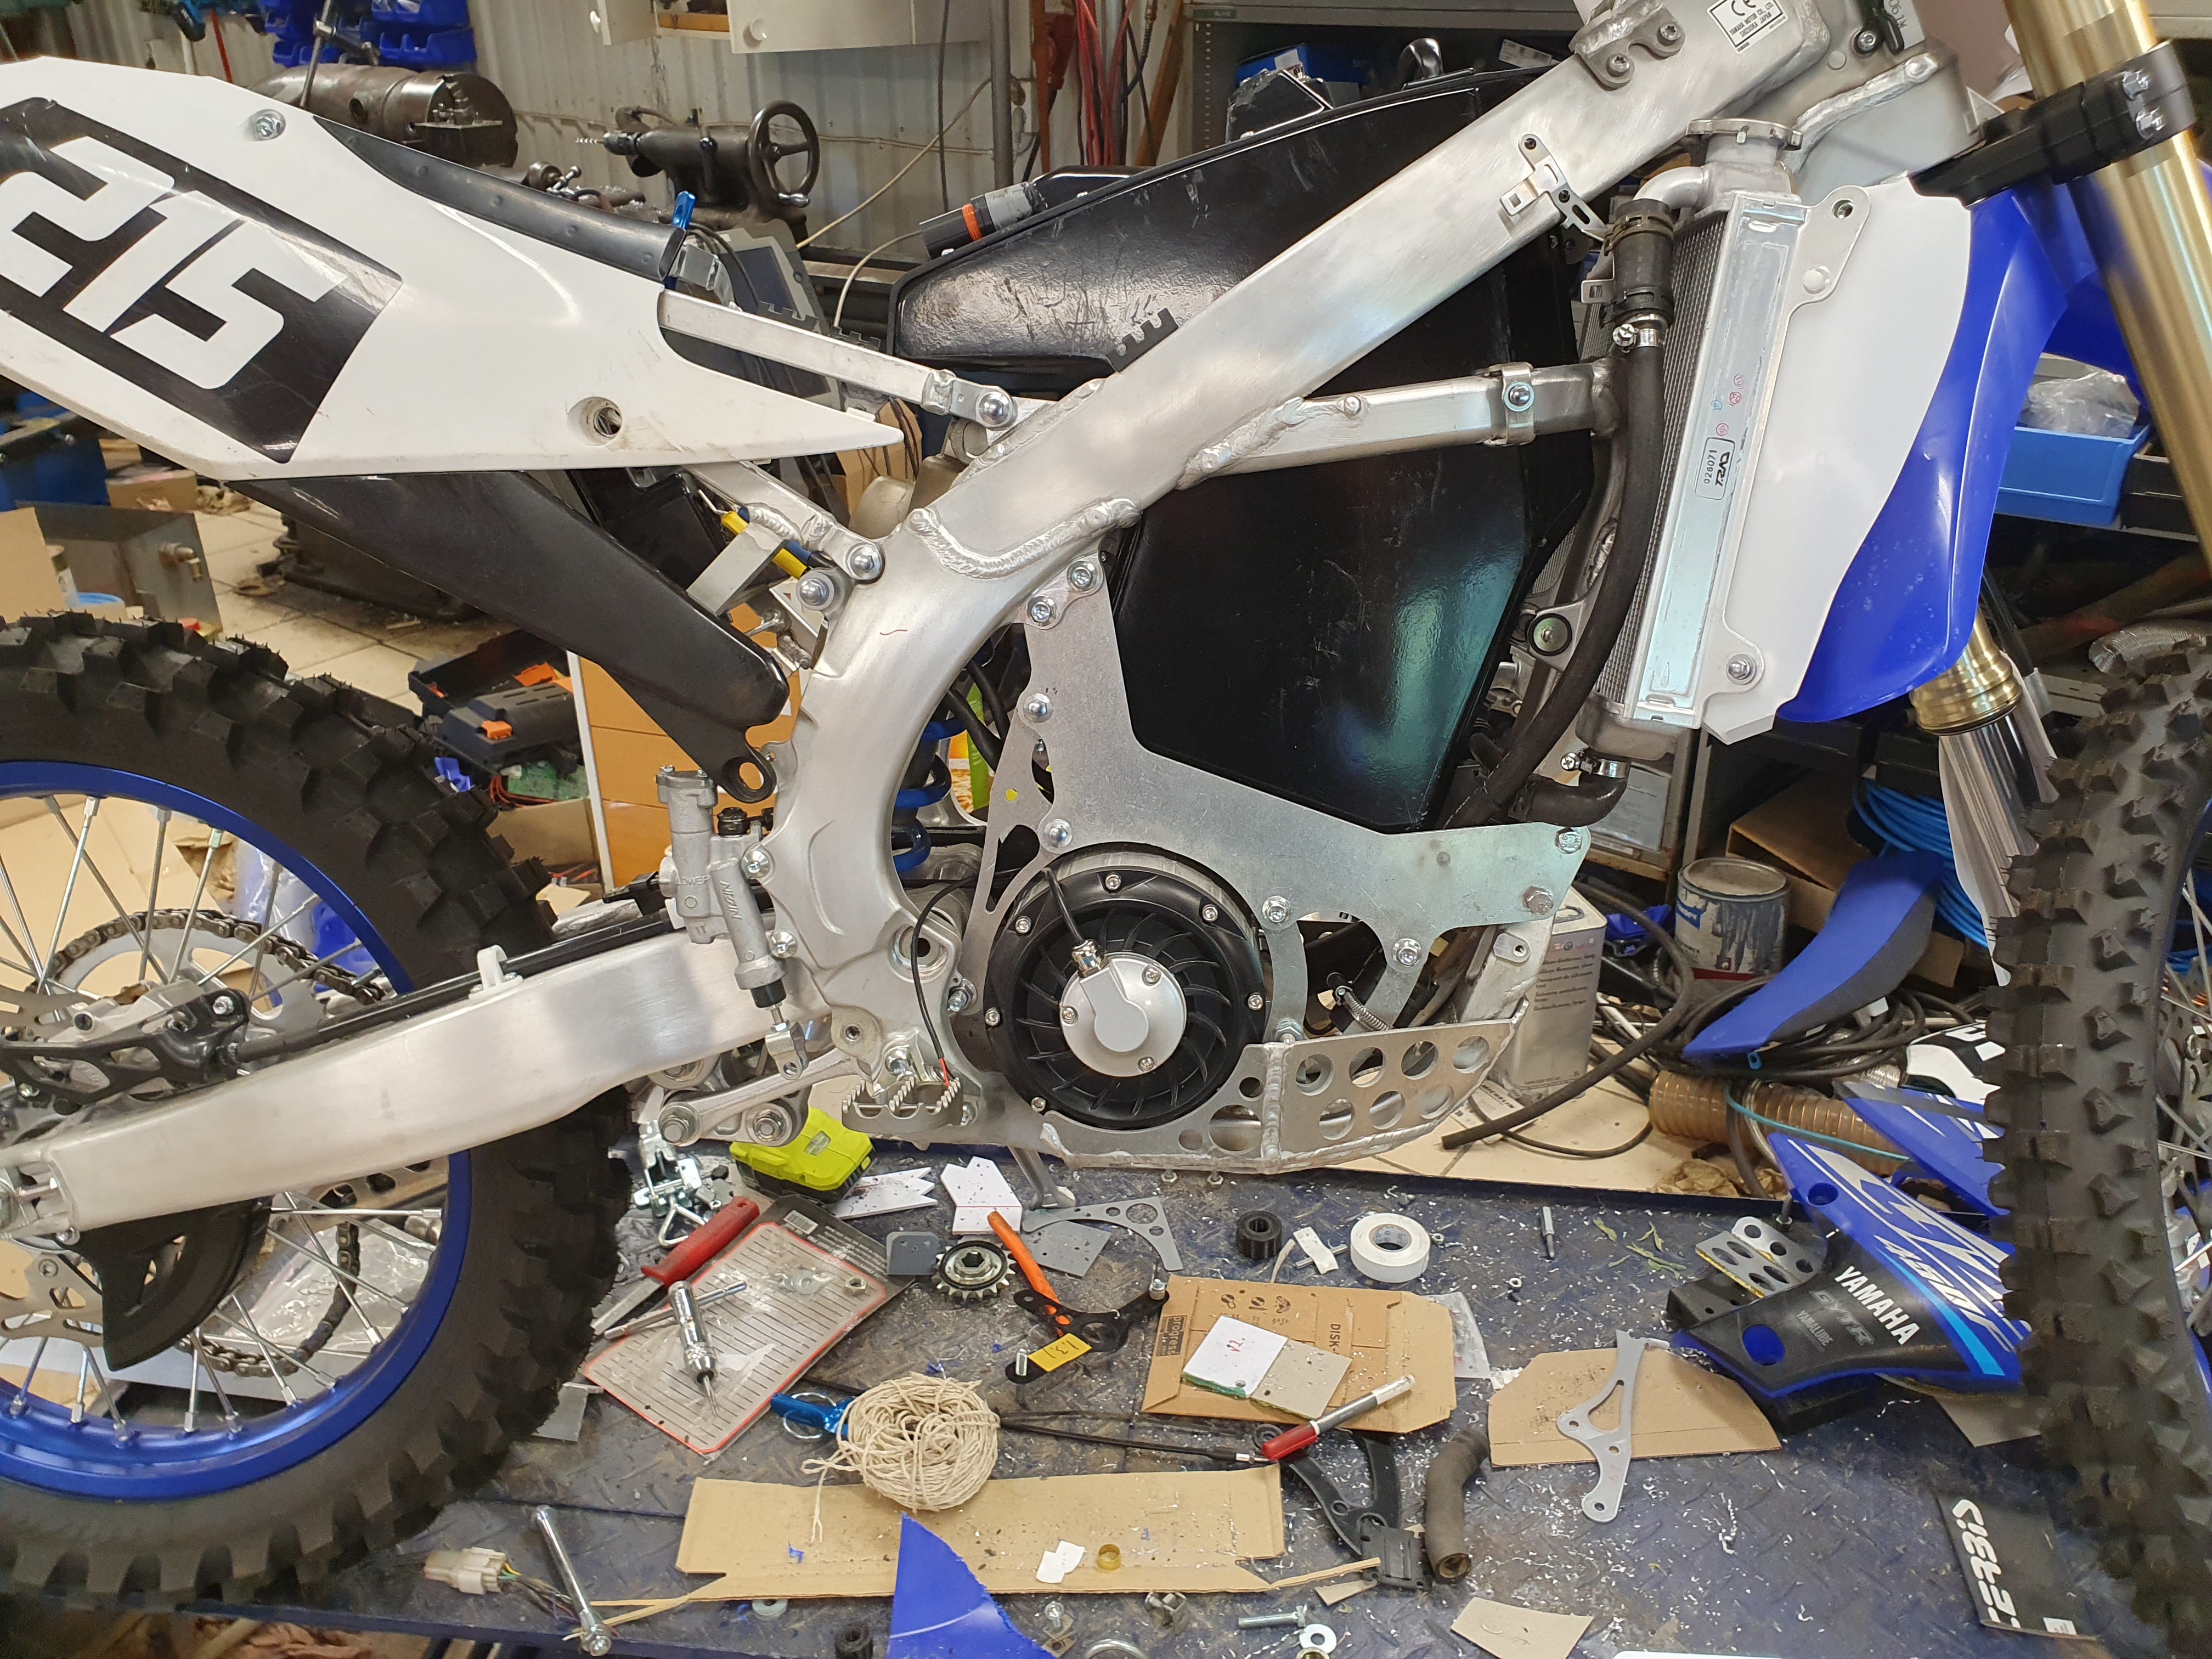
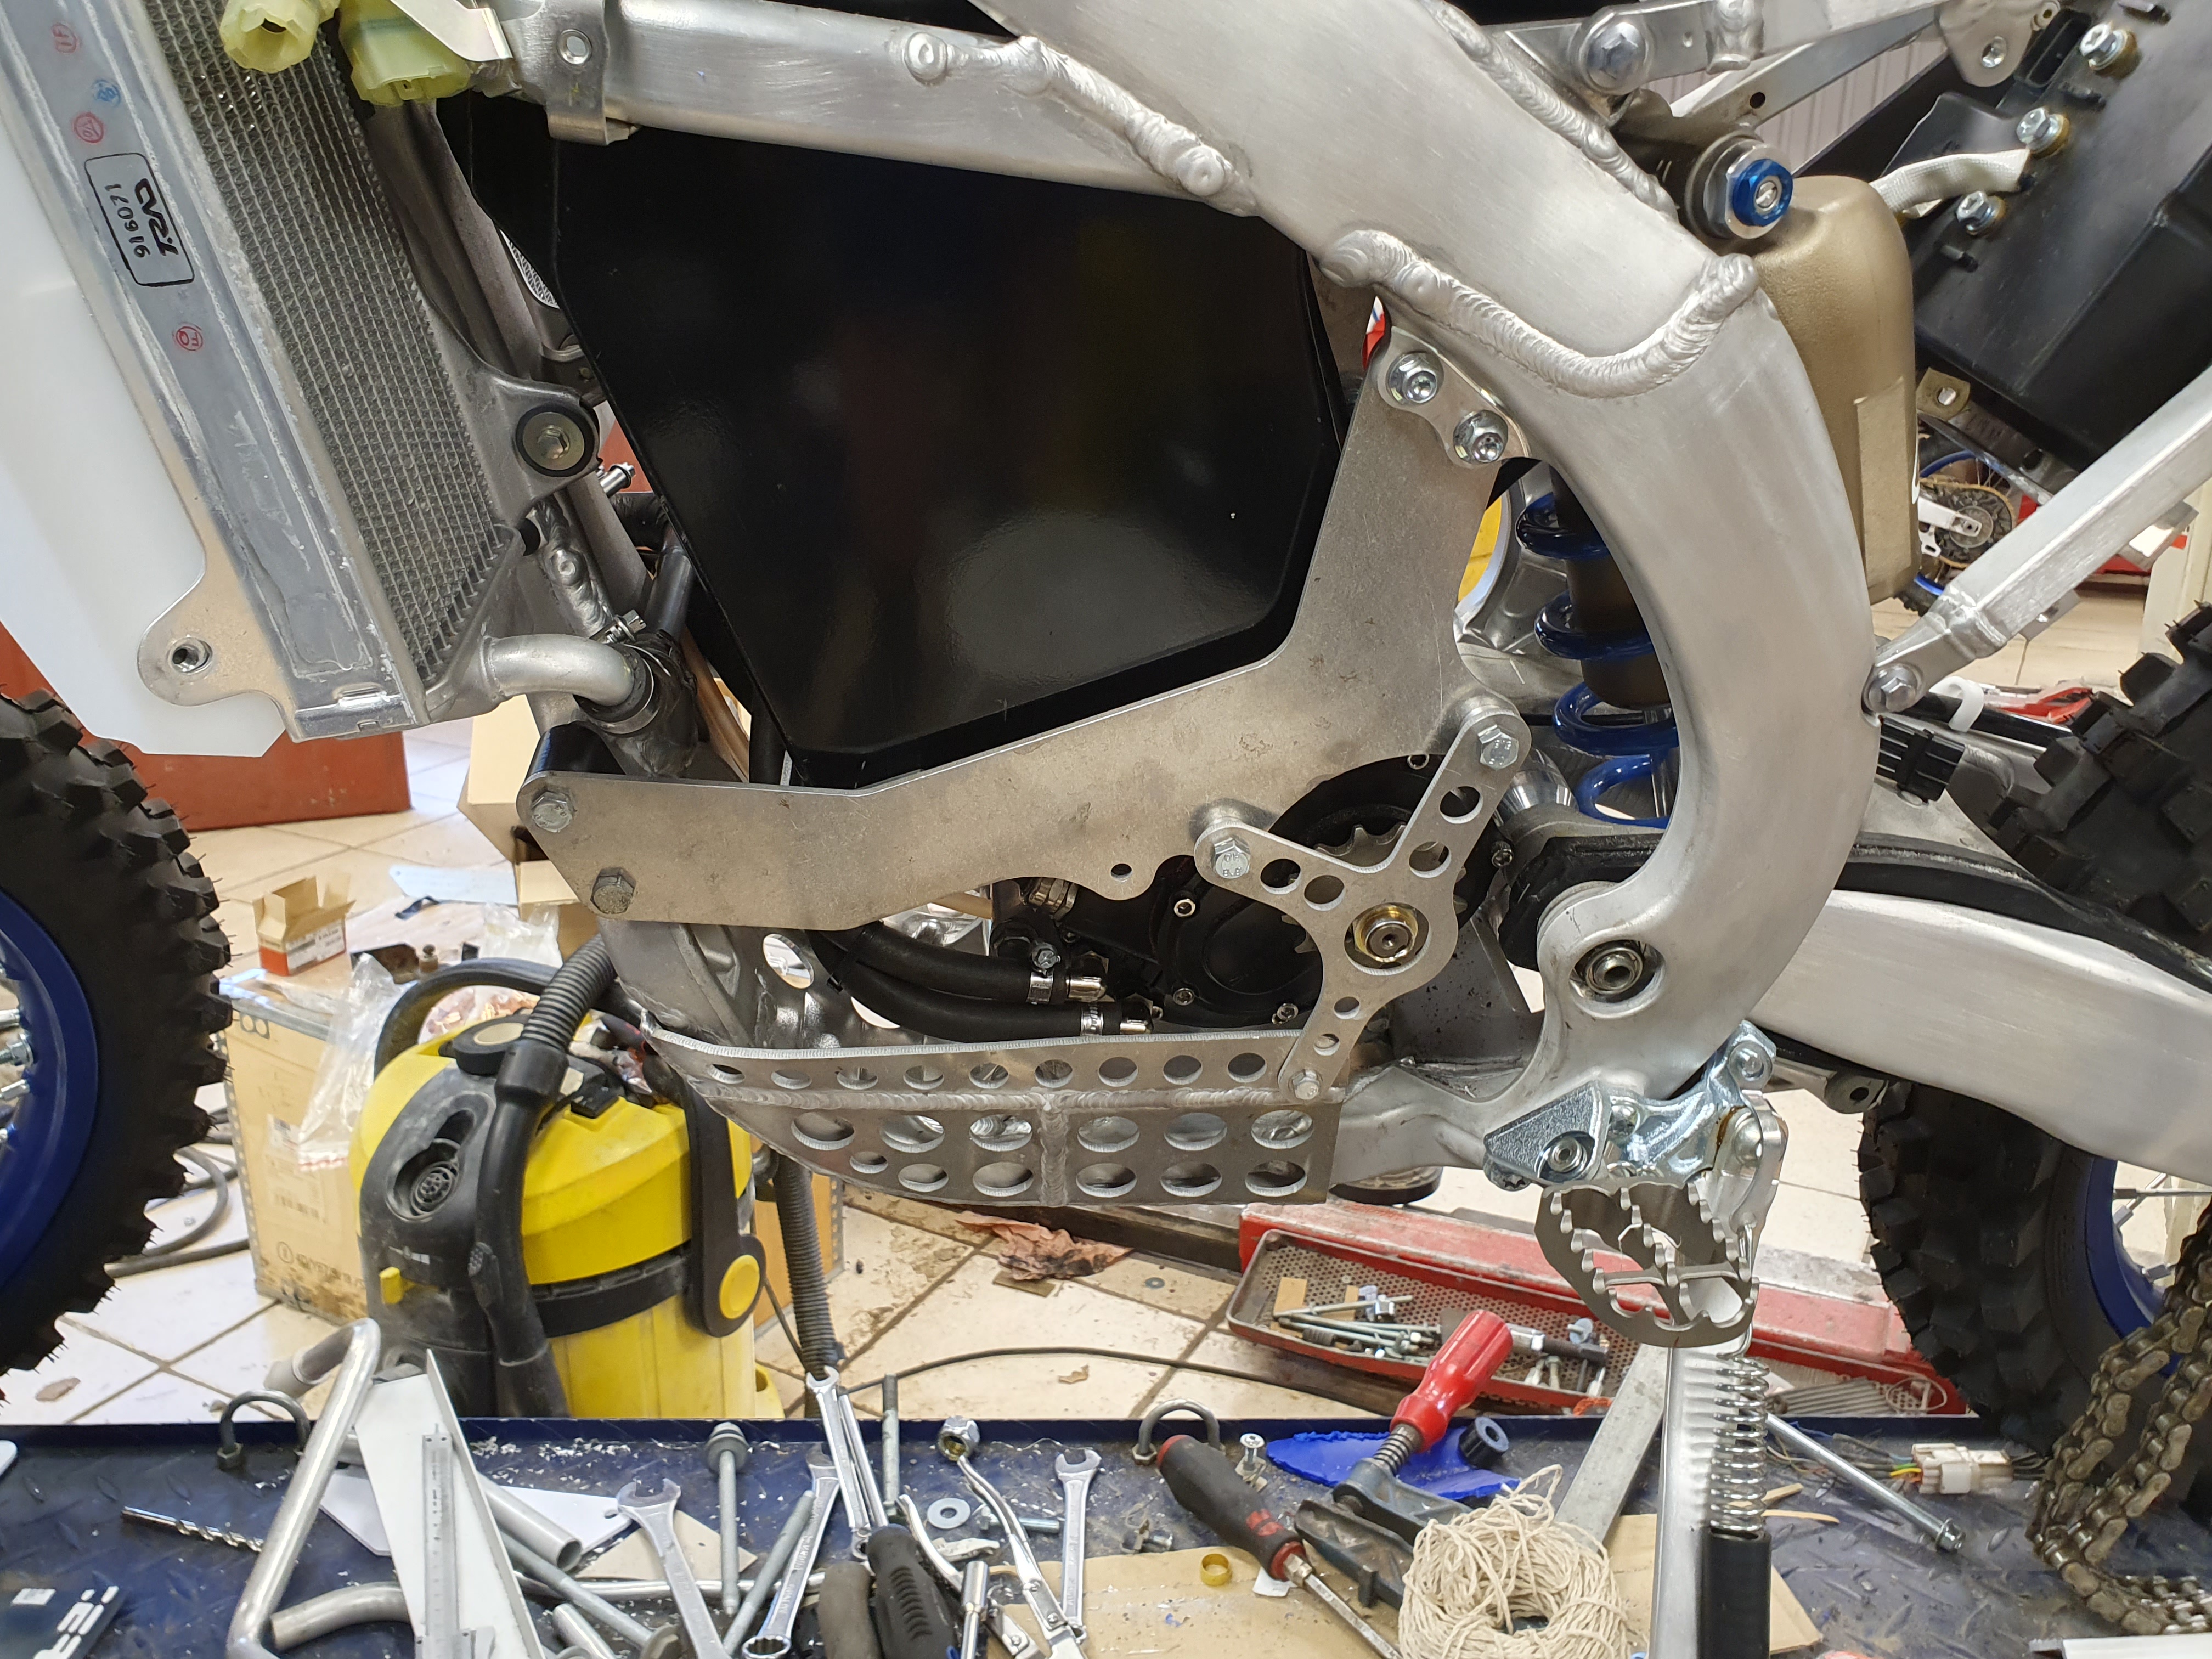
Something has happened lately at least, finished the skid plate:

4UaeAfq.jpg


6c5bjyJ.jpg


I think it looks really nice, but it was some work to get it there :)

QfTtLd2.jpg


It doesn't look as good from this side, I guess I will see how it looks when everything is in place.

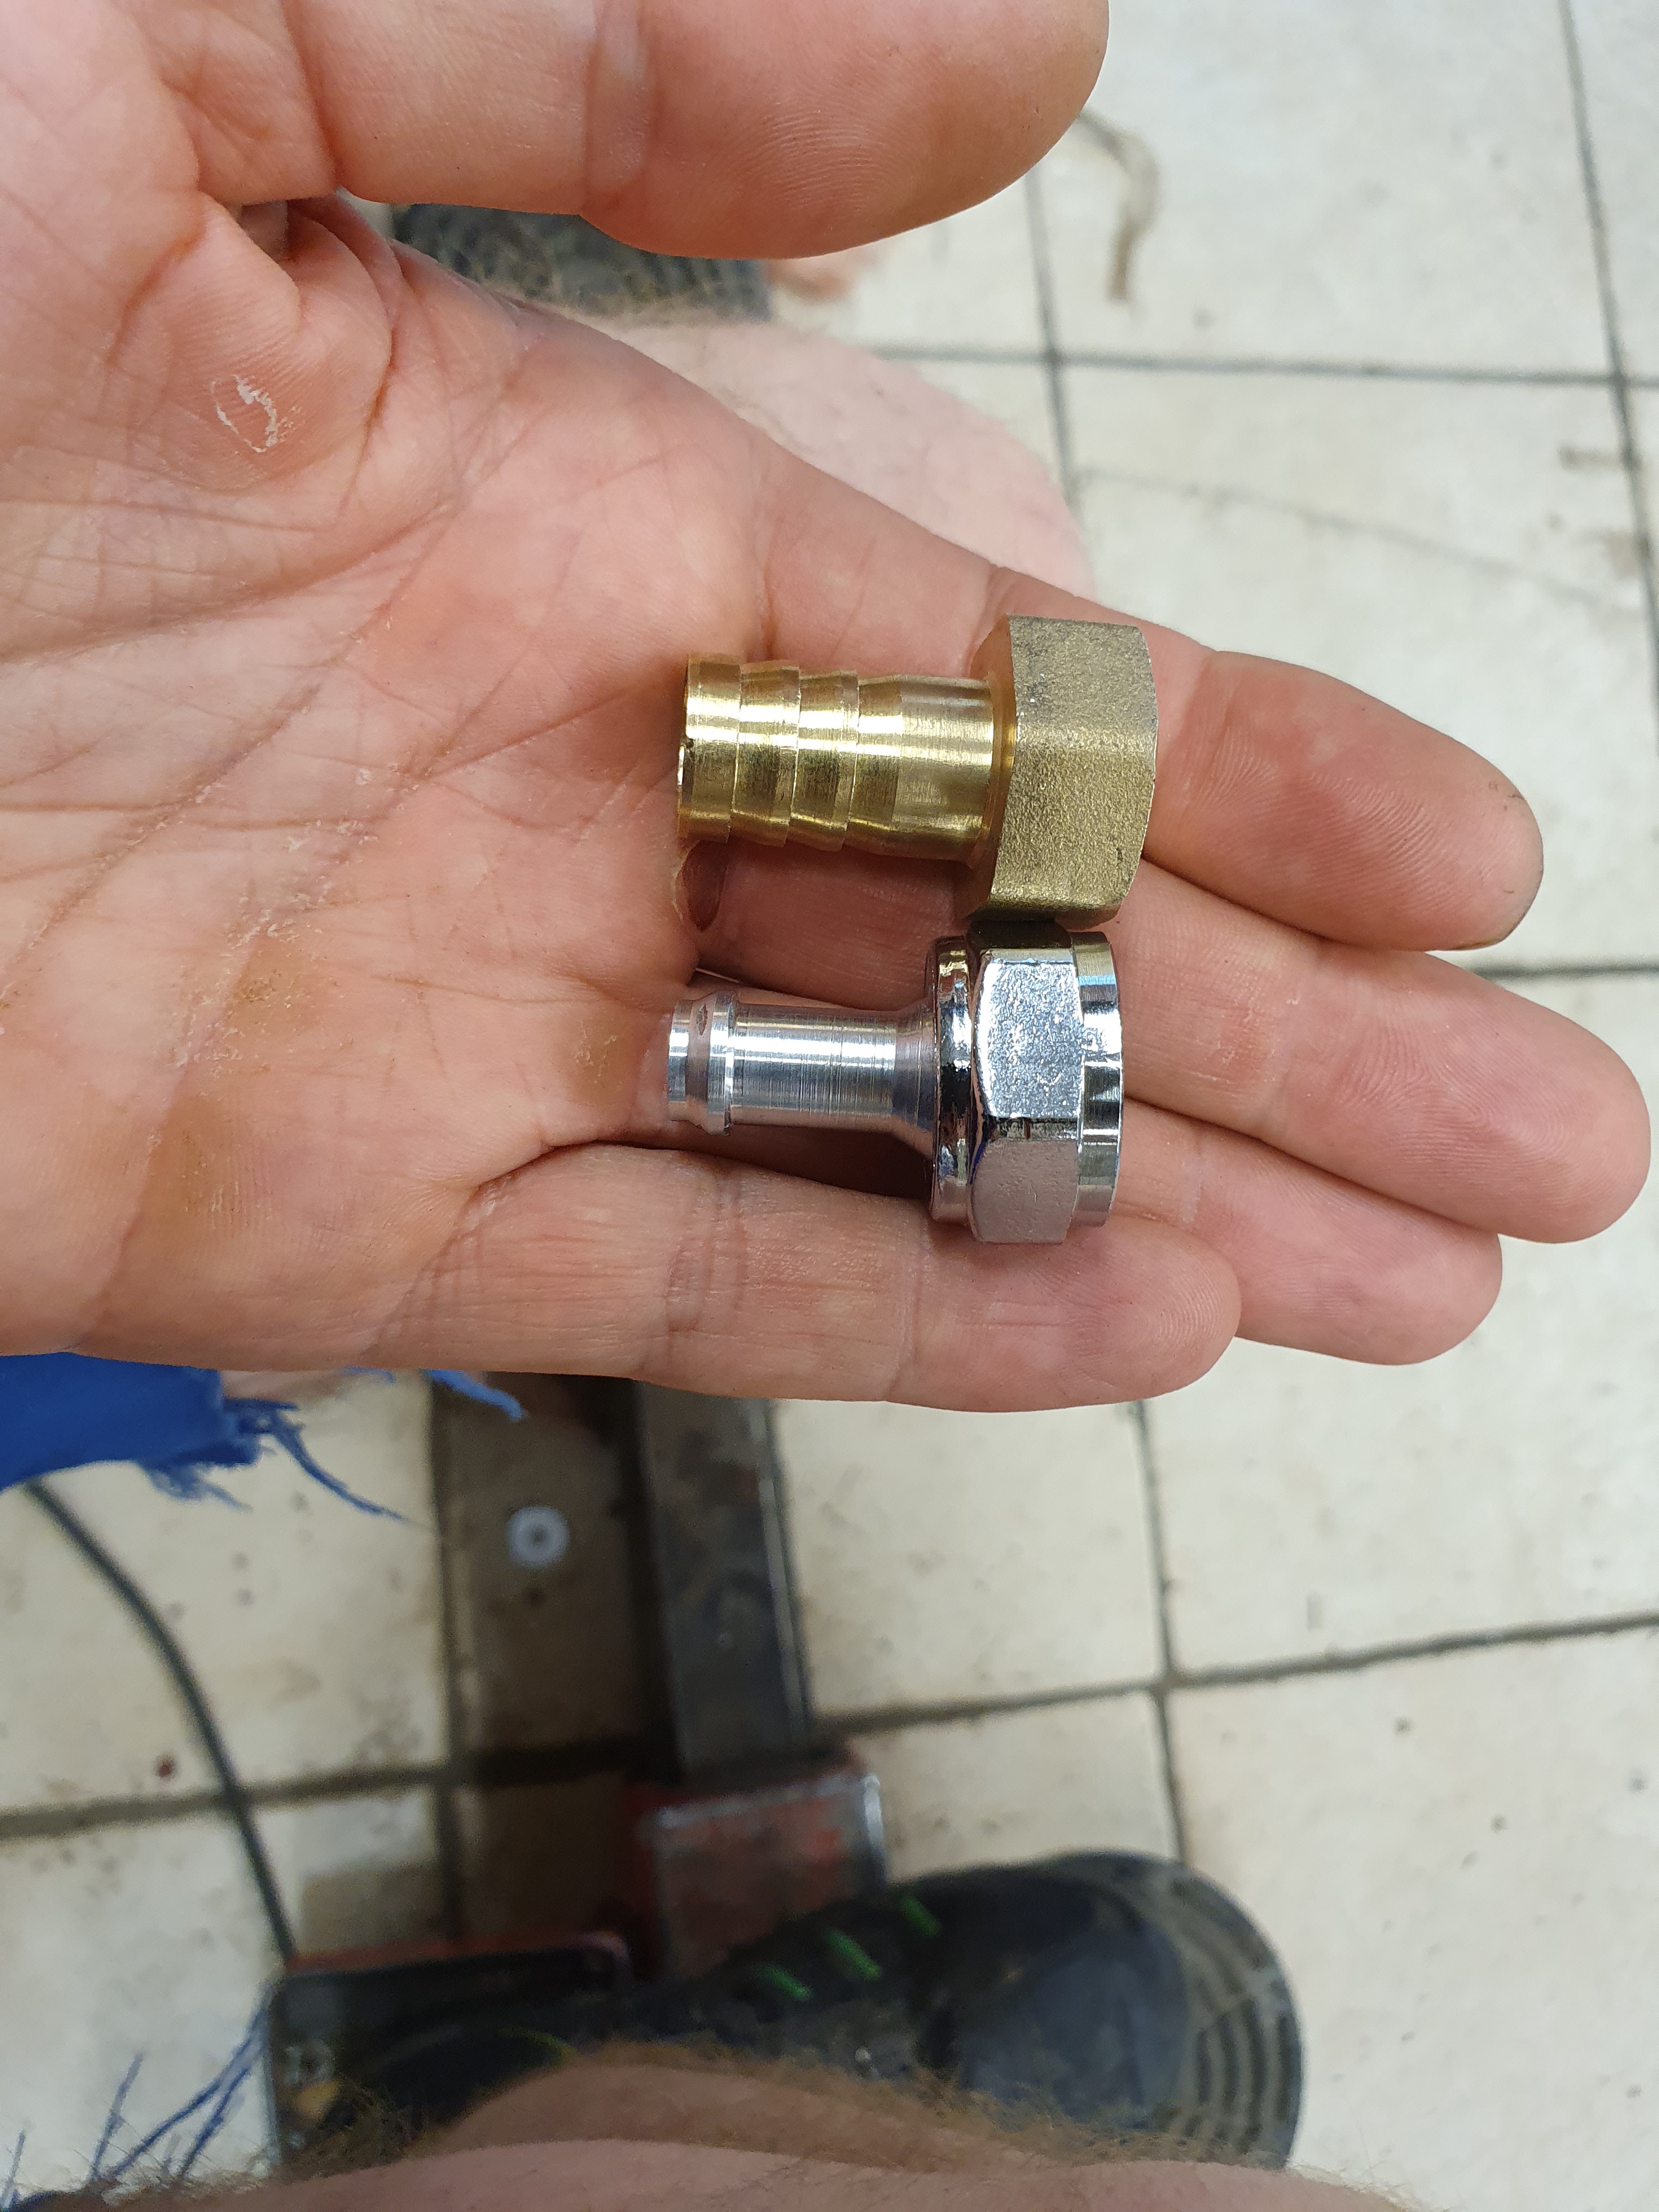
I have also built the cooling system, it sure is a mix of sizes..
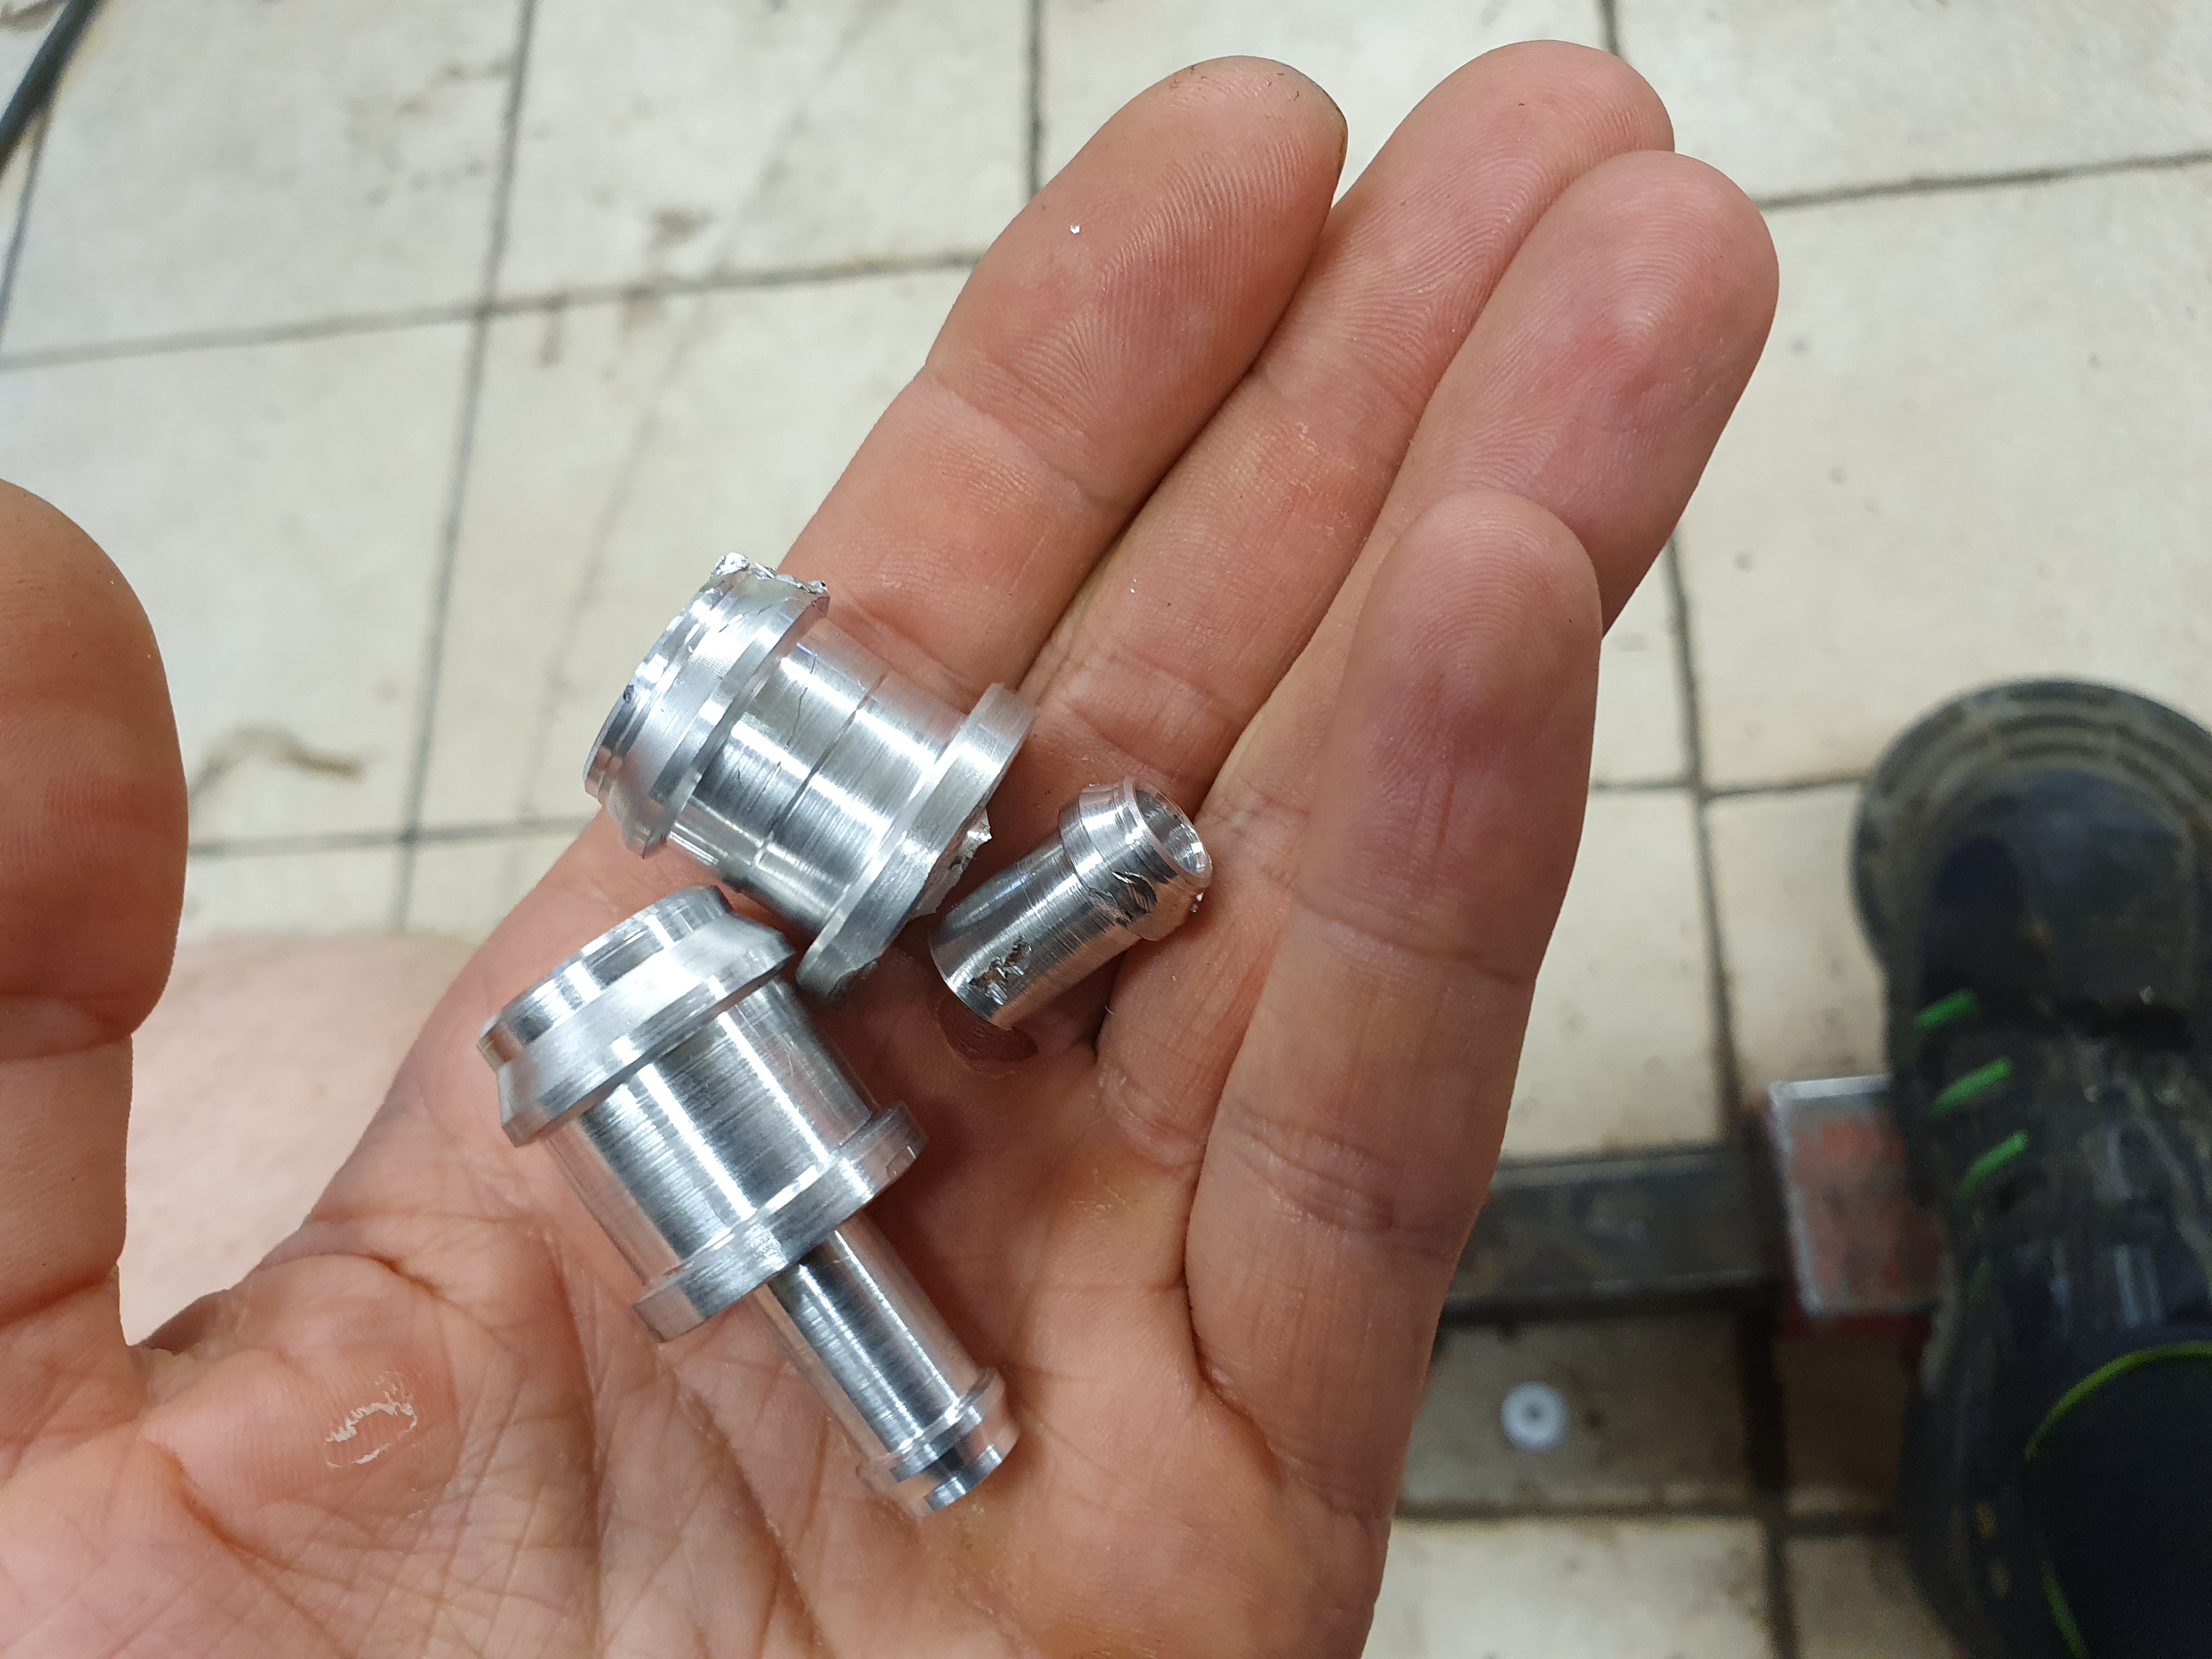
I had do make some adapters:

dYmiqQr.jpg


First I made one, and then when making the final touches it got stuck and broke 😡
After I sulked for a while, I of course had to make a new one :rolleyes:
7s0H2Qj.jpg


I also made a new connection for the water pump, the brass one was included.
 
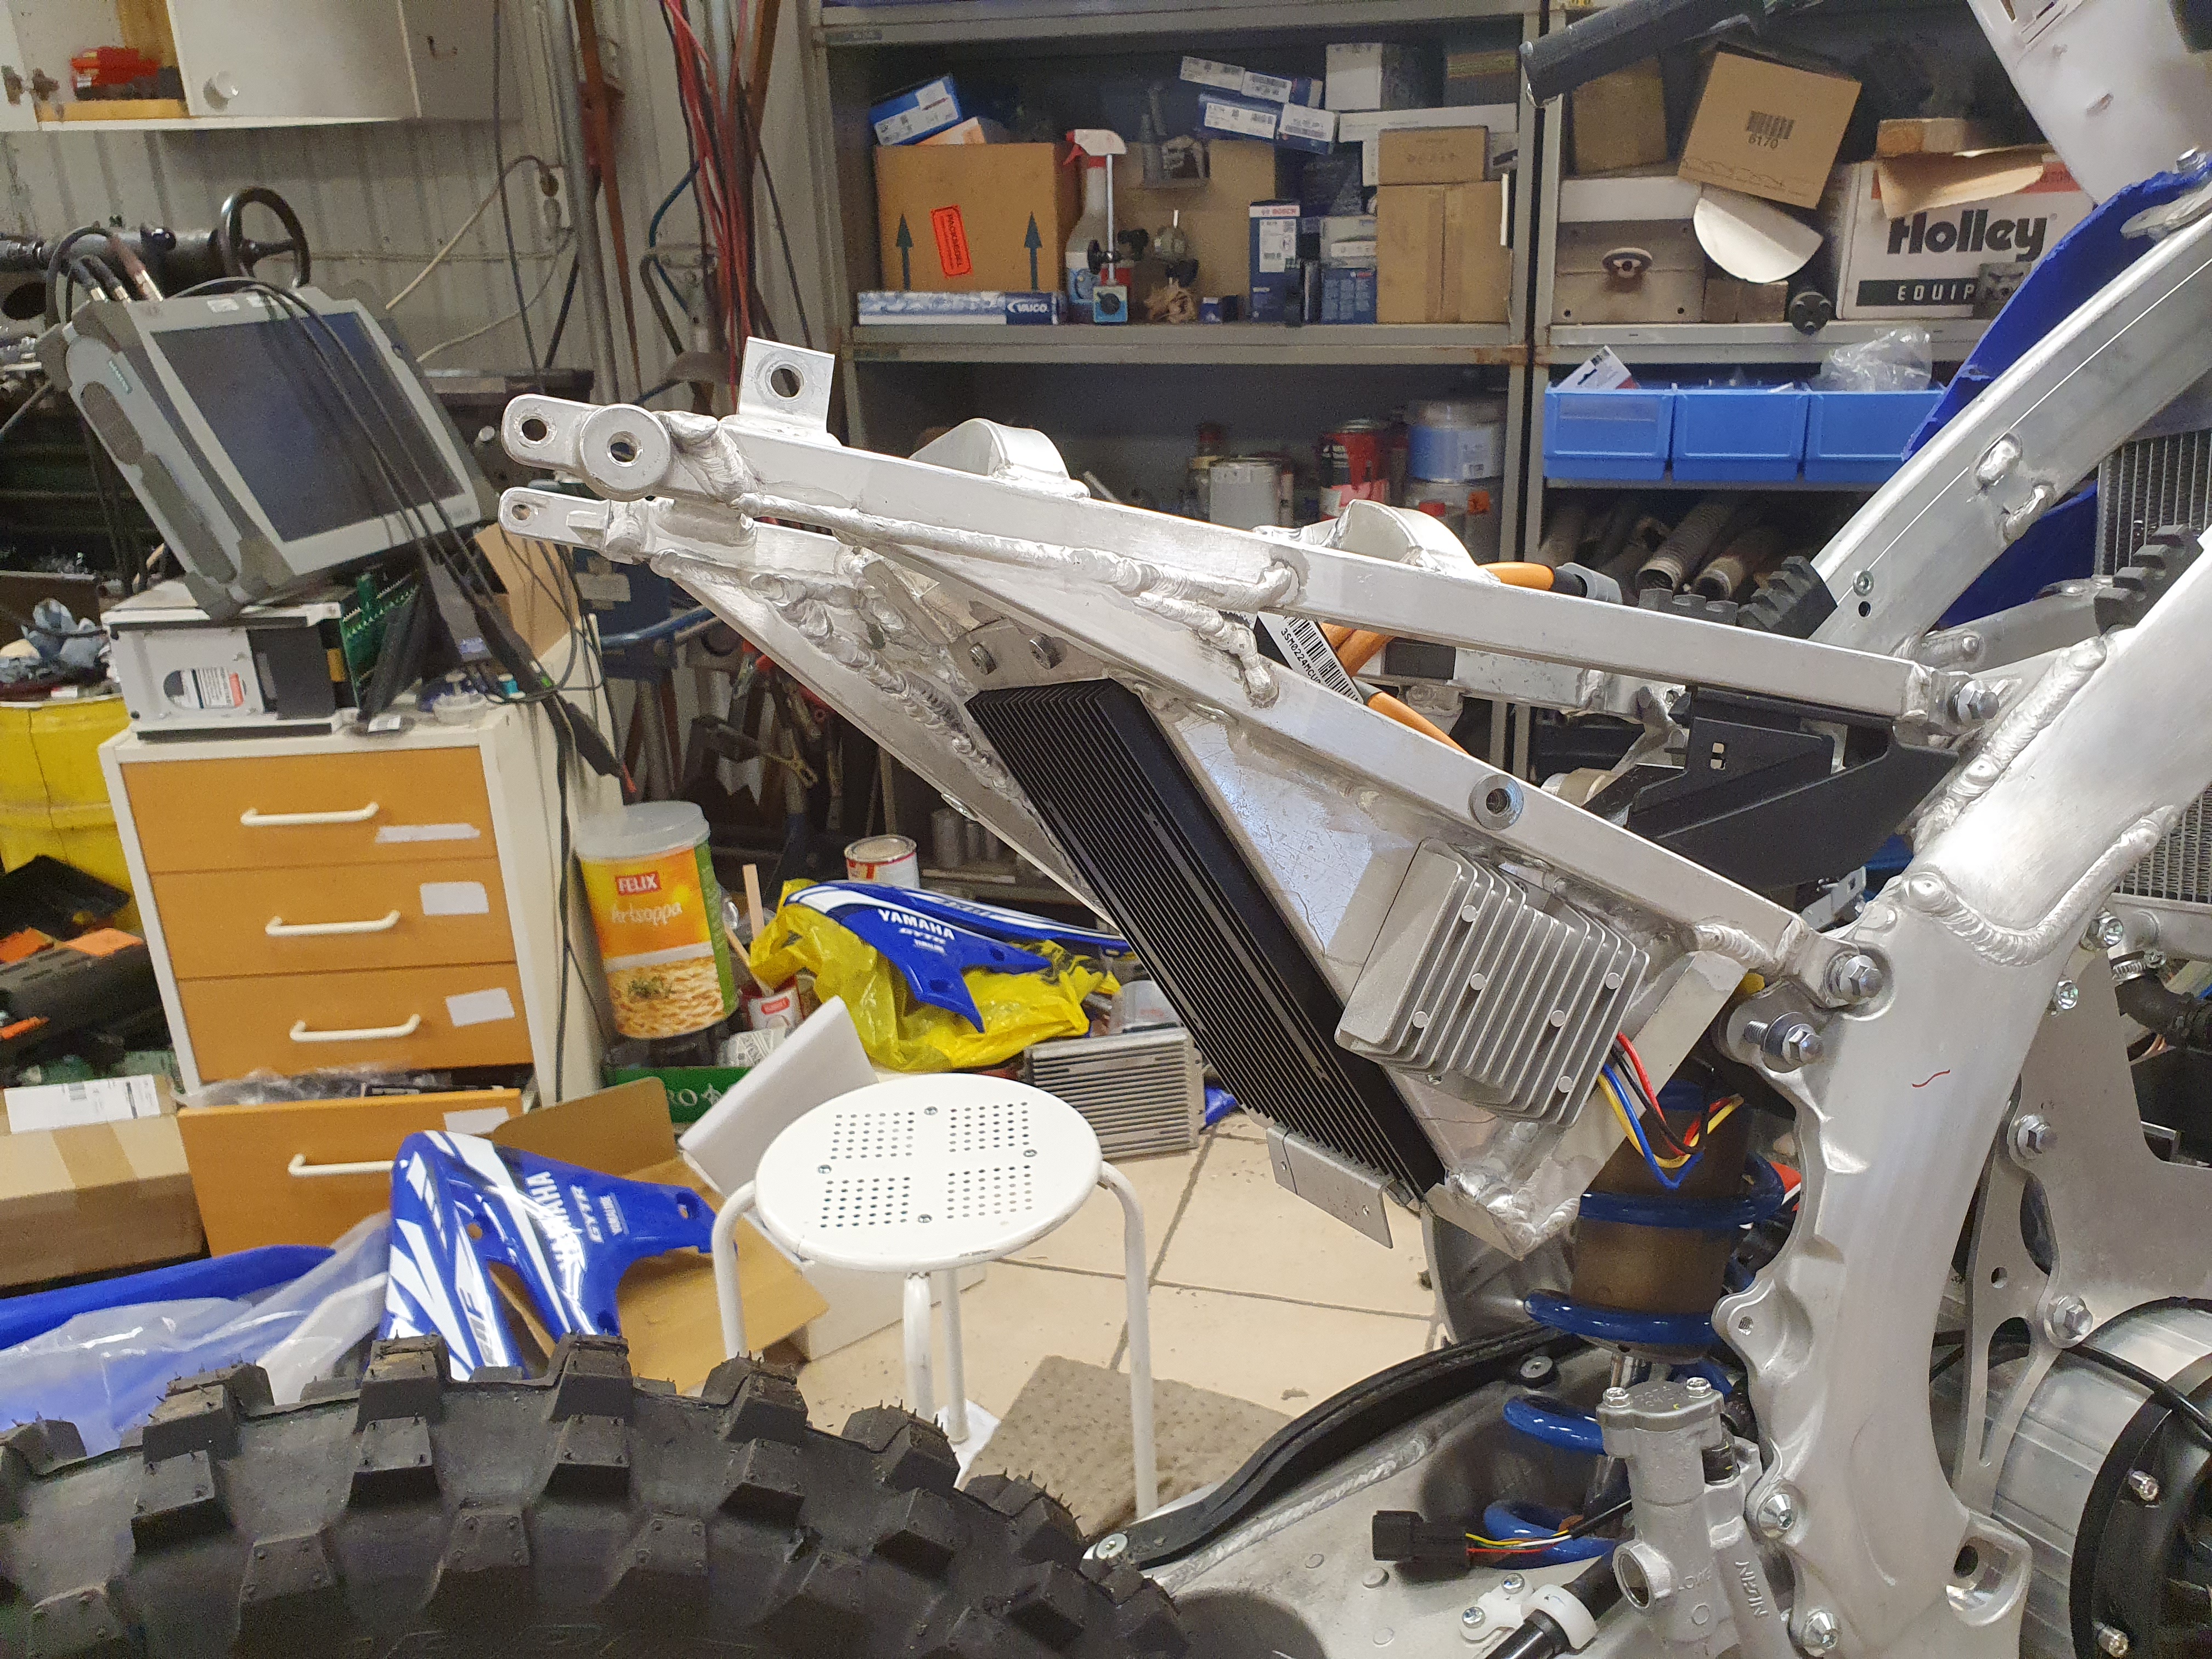
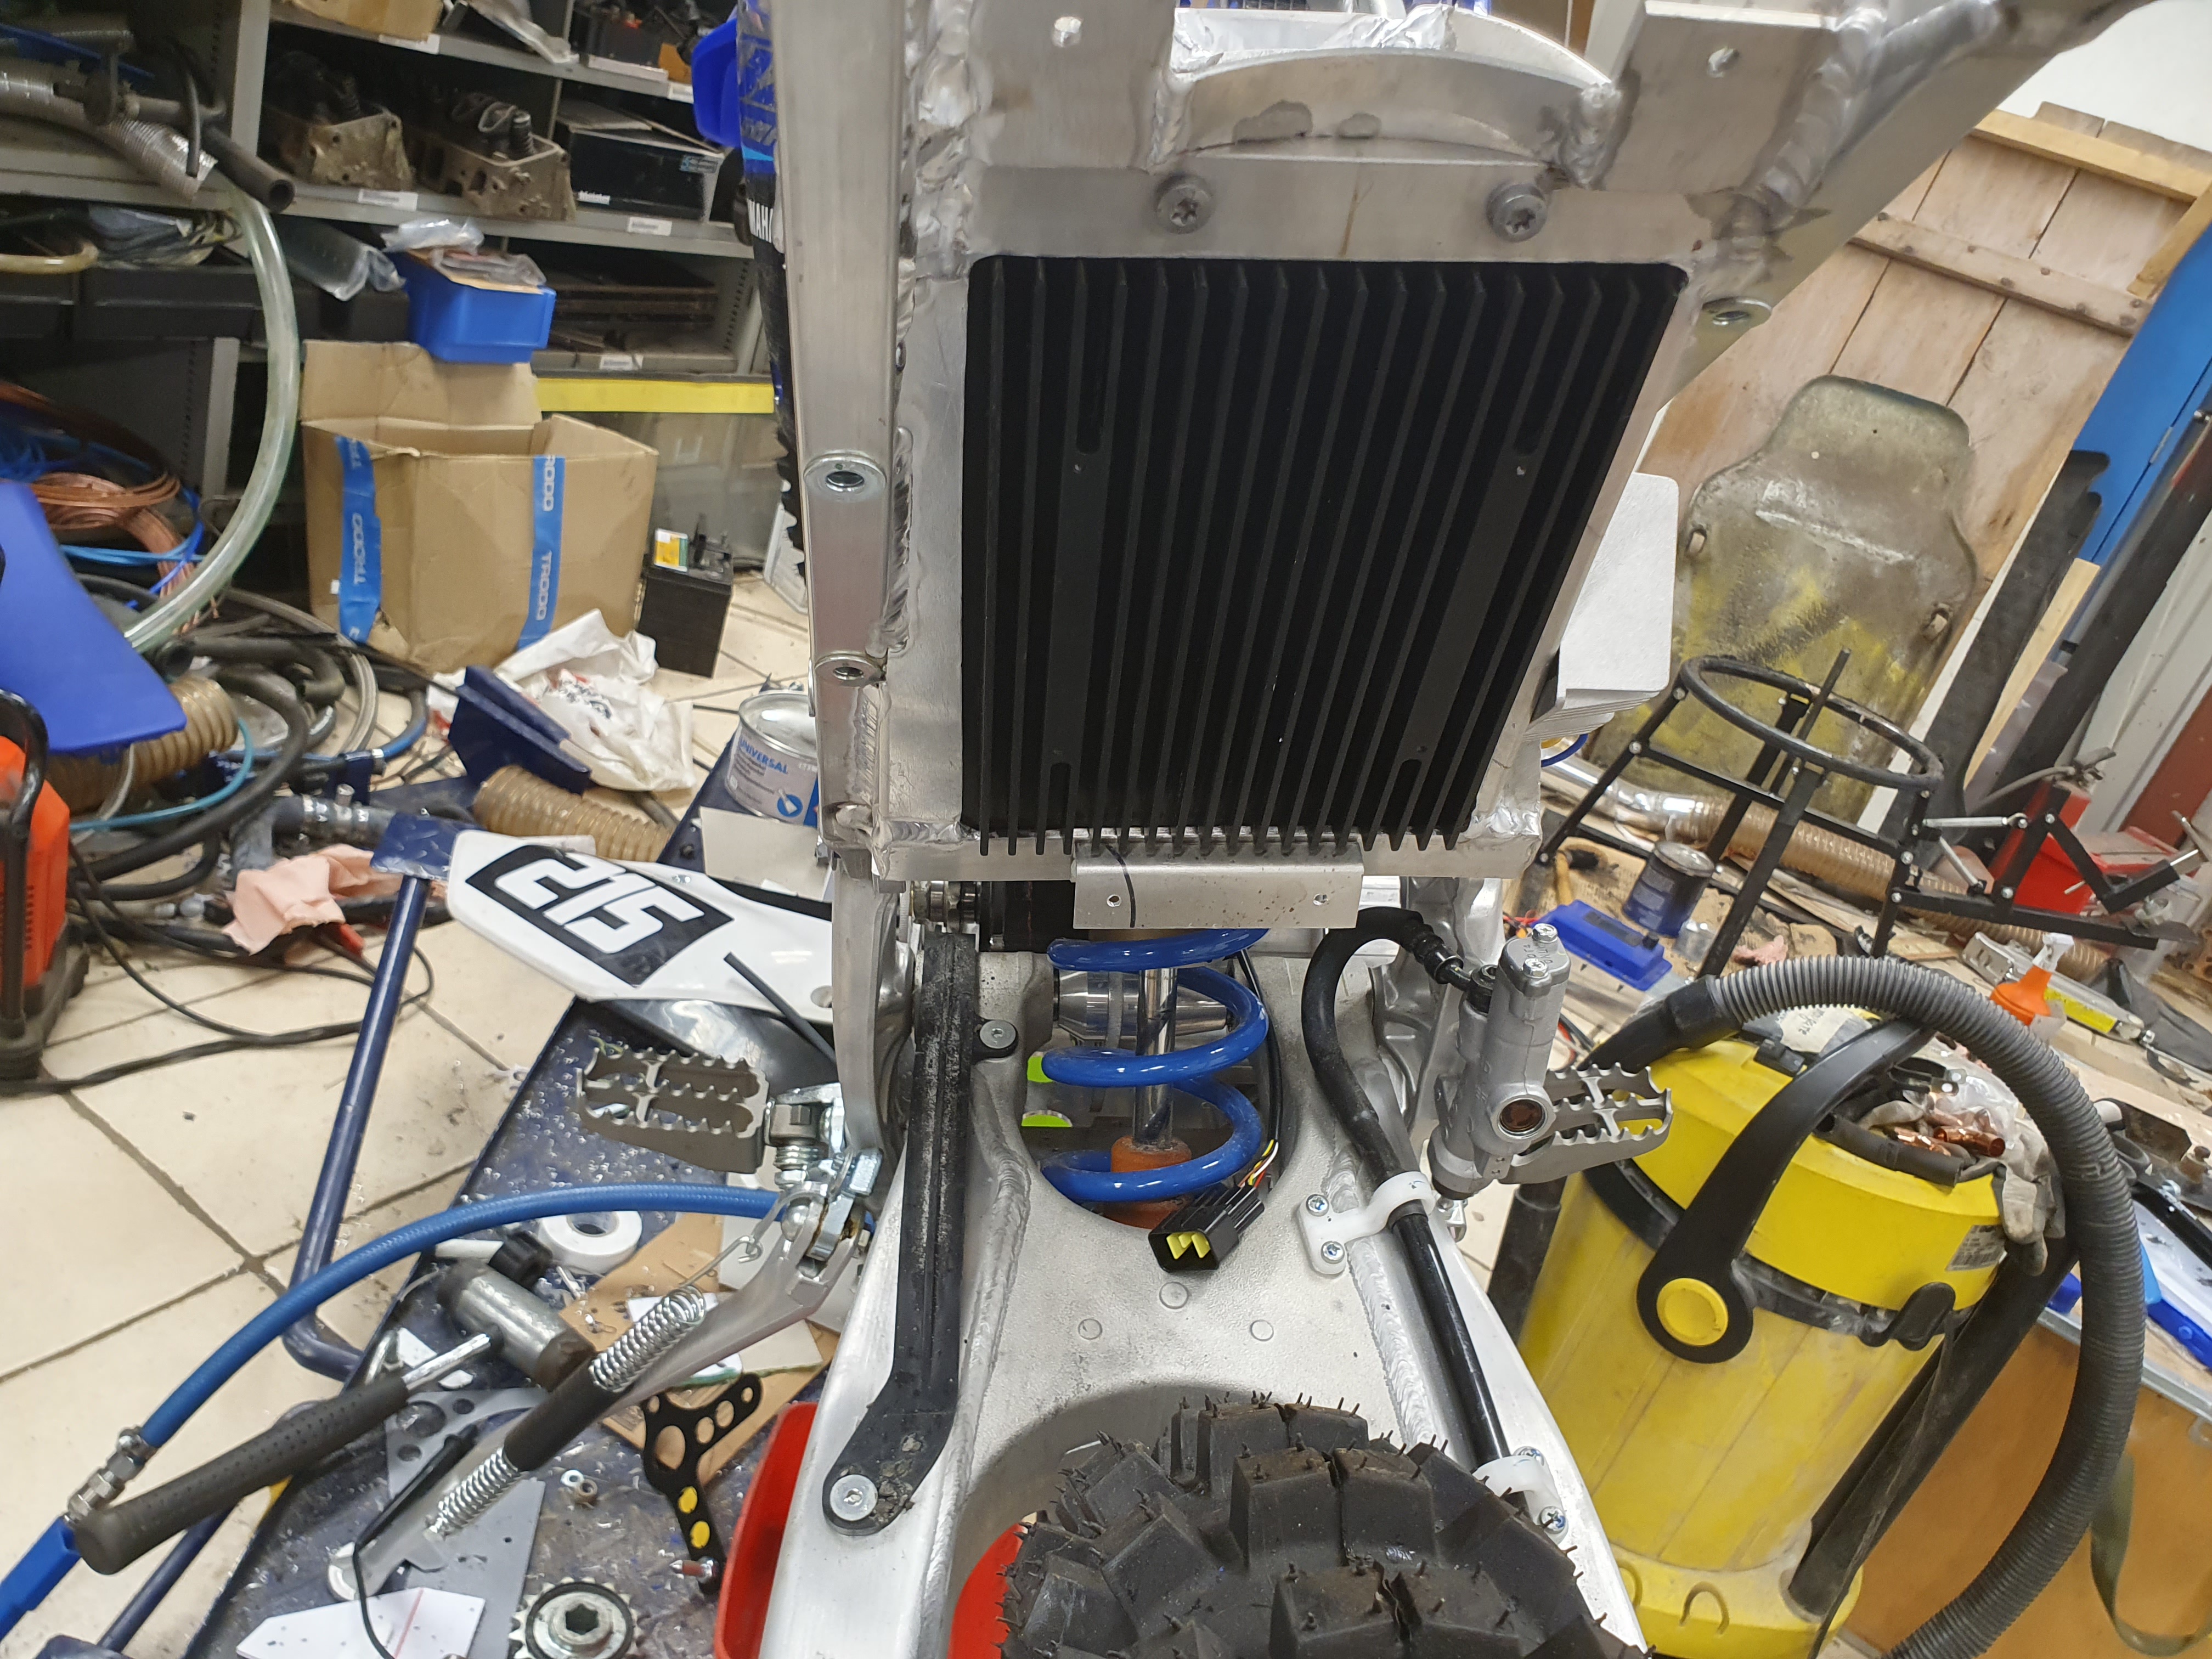
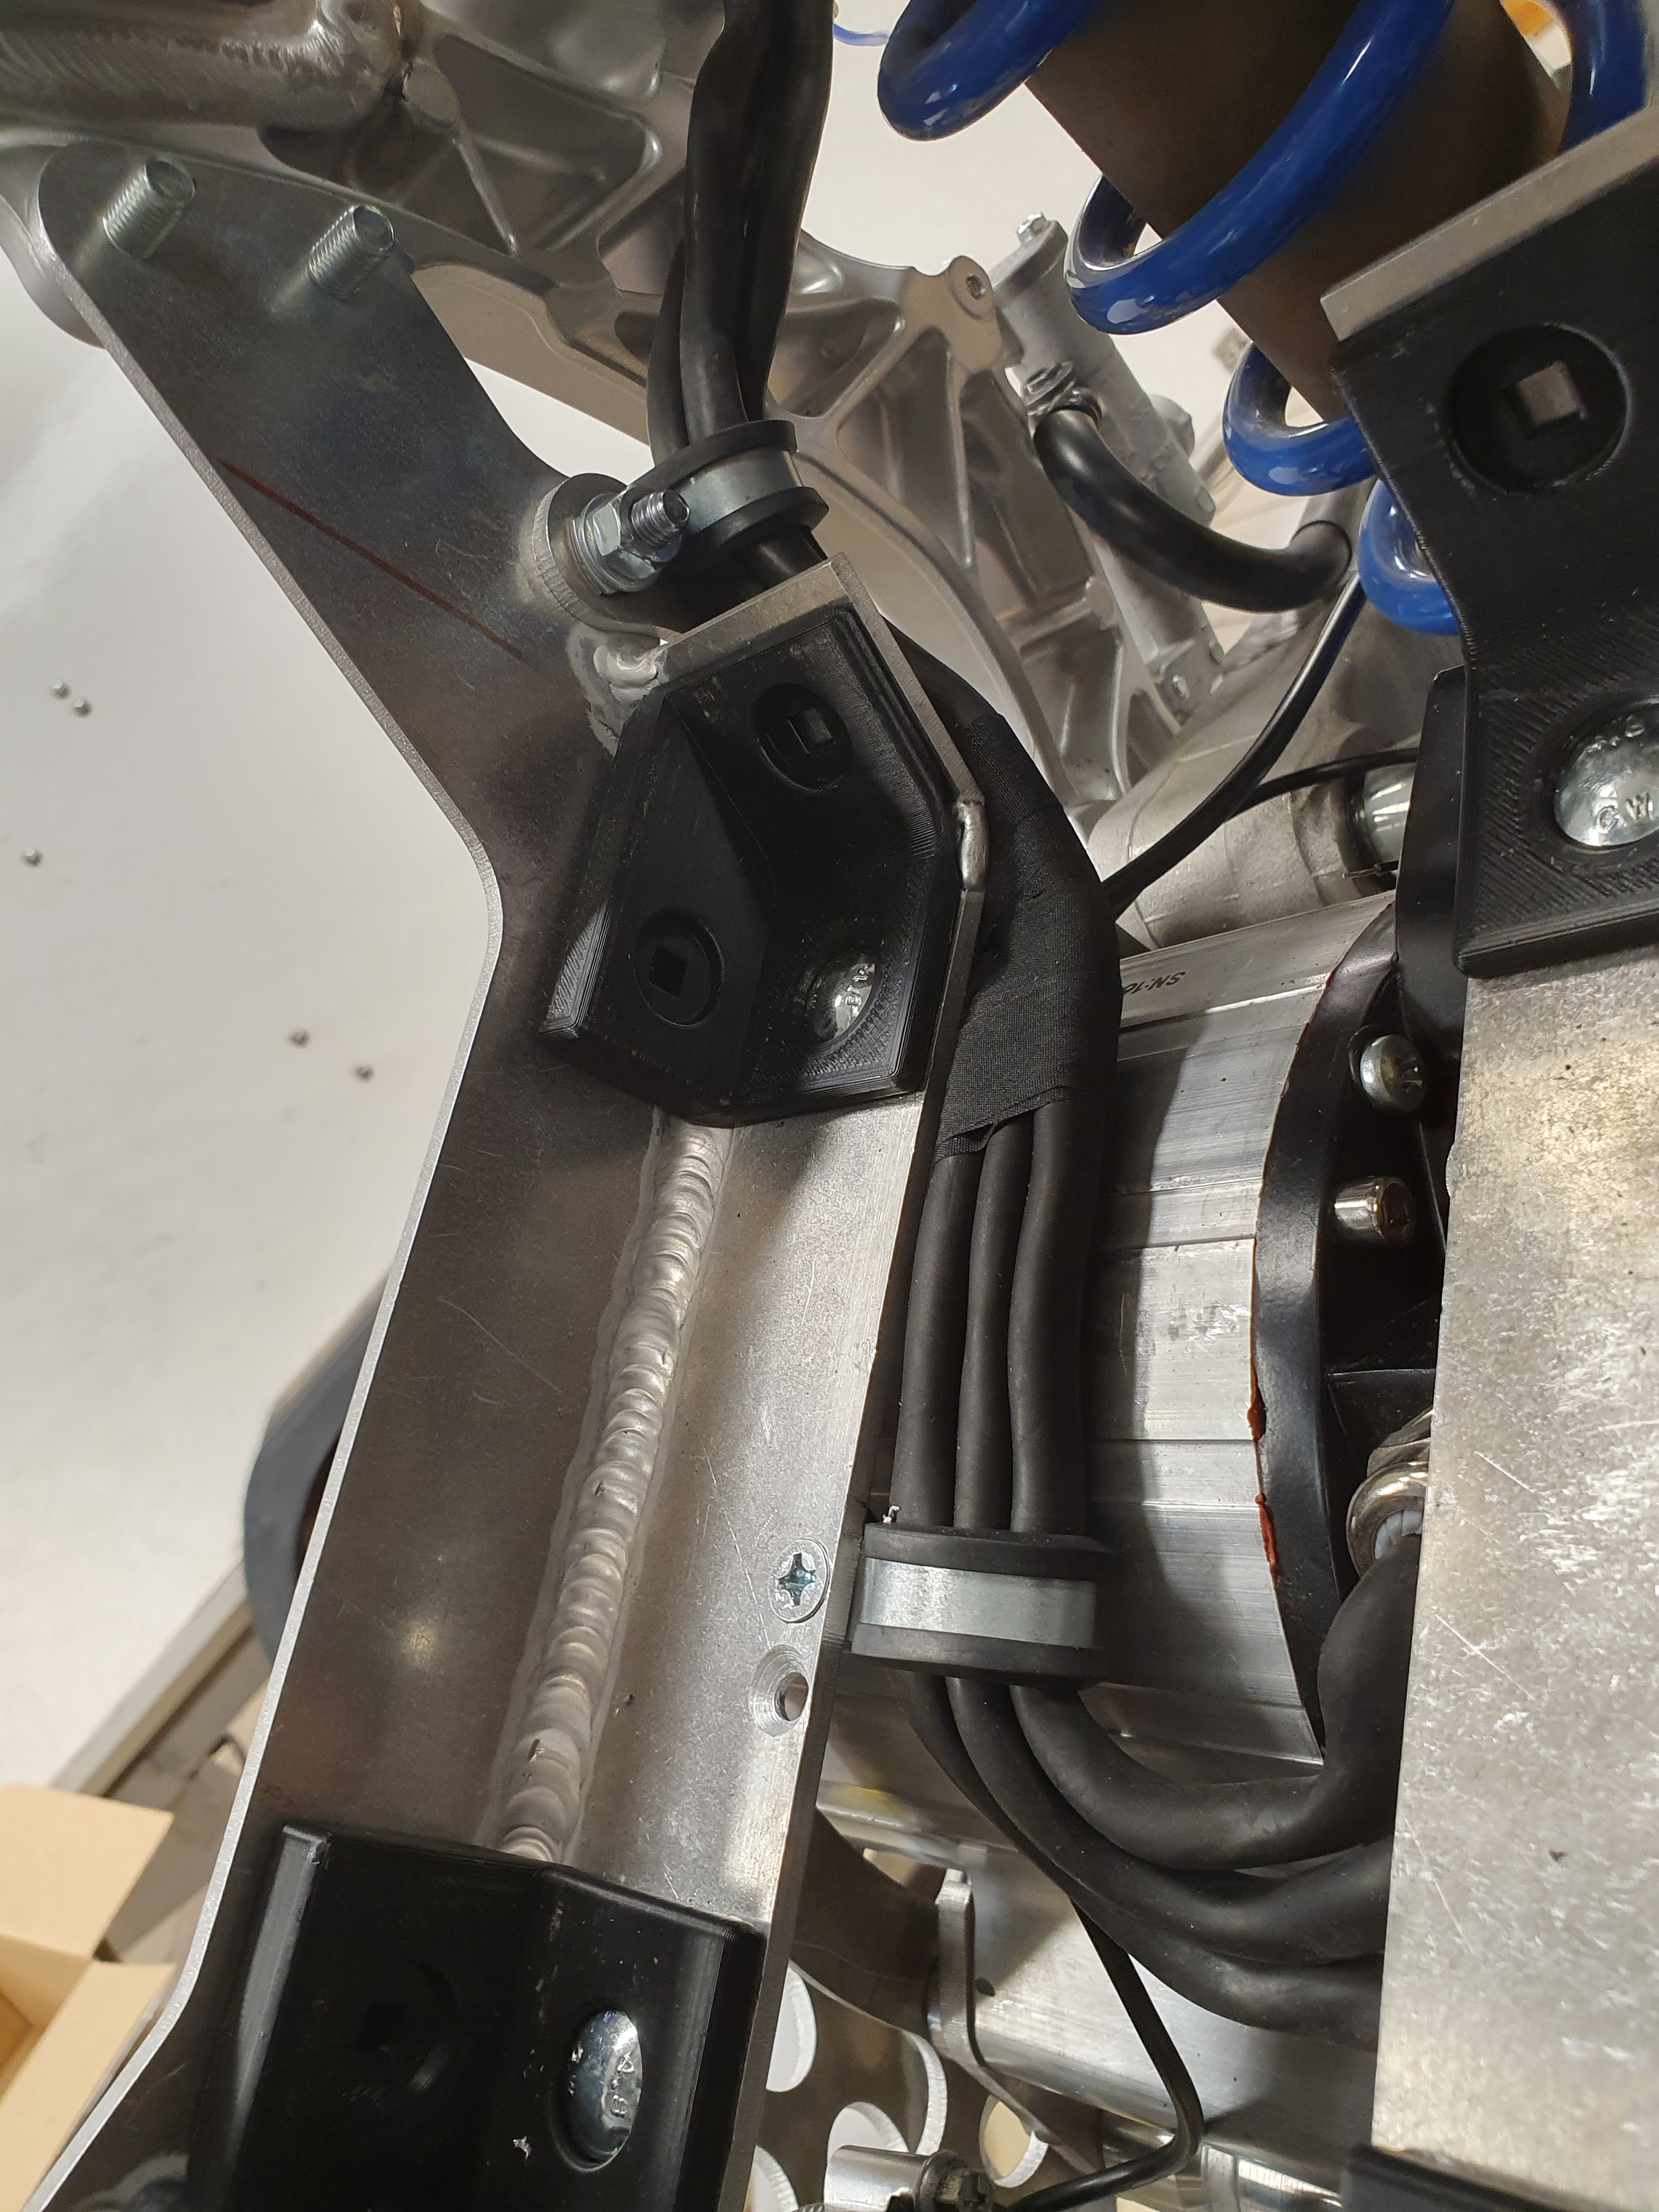
I think I am finished welding the rear frame around the controller etc.

LAQymgB.jpg


58XpMfp.jpg


Placing the phase wires:

gUrXg3G.jpg


I hope they don't get too hot 😬

Of course they are a little bit too short, so I have to extend them.
Designed a junction box:

IqdwyP9.jpg


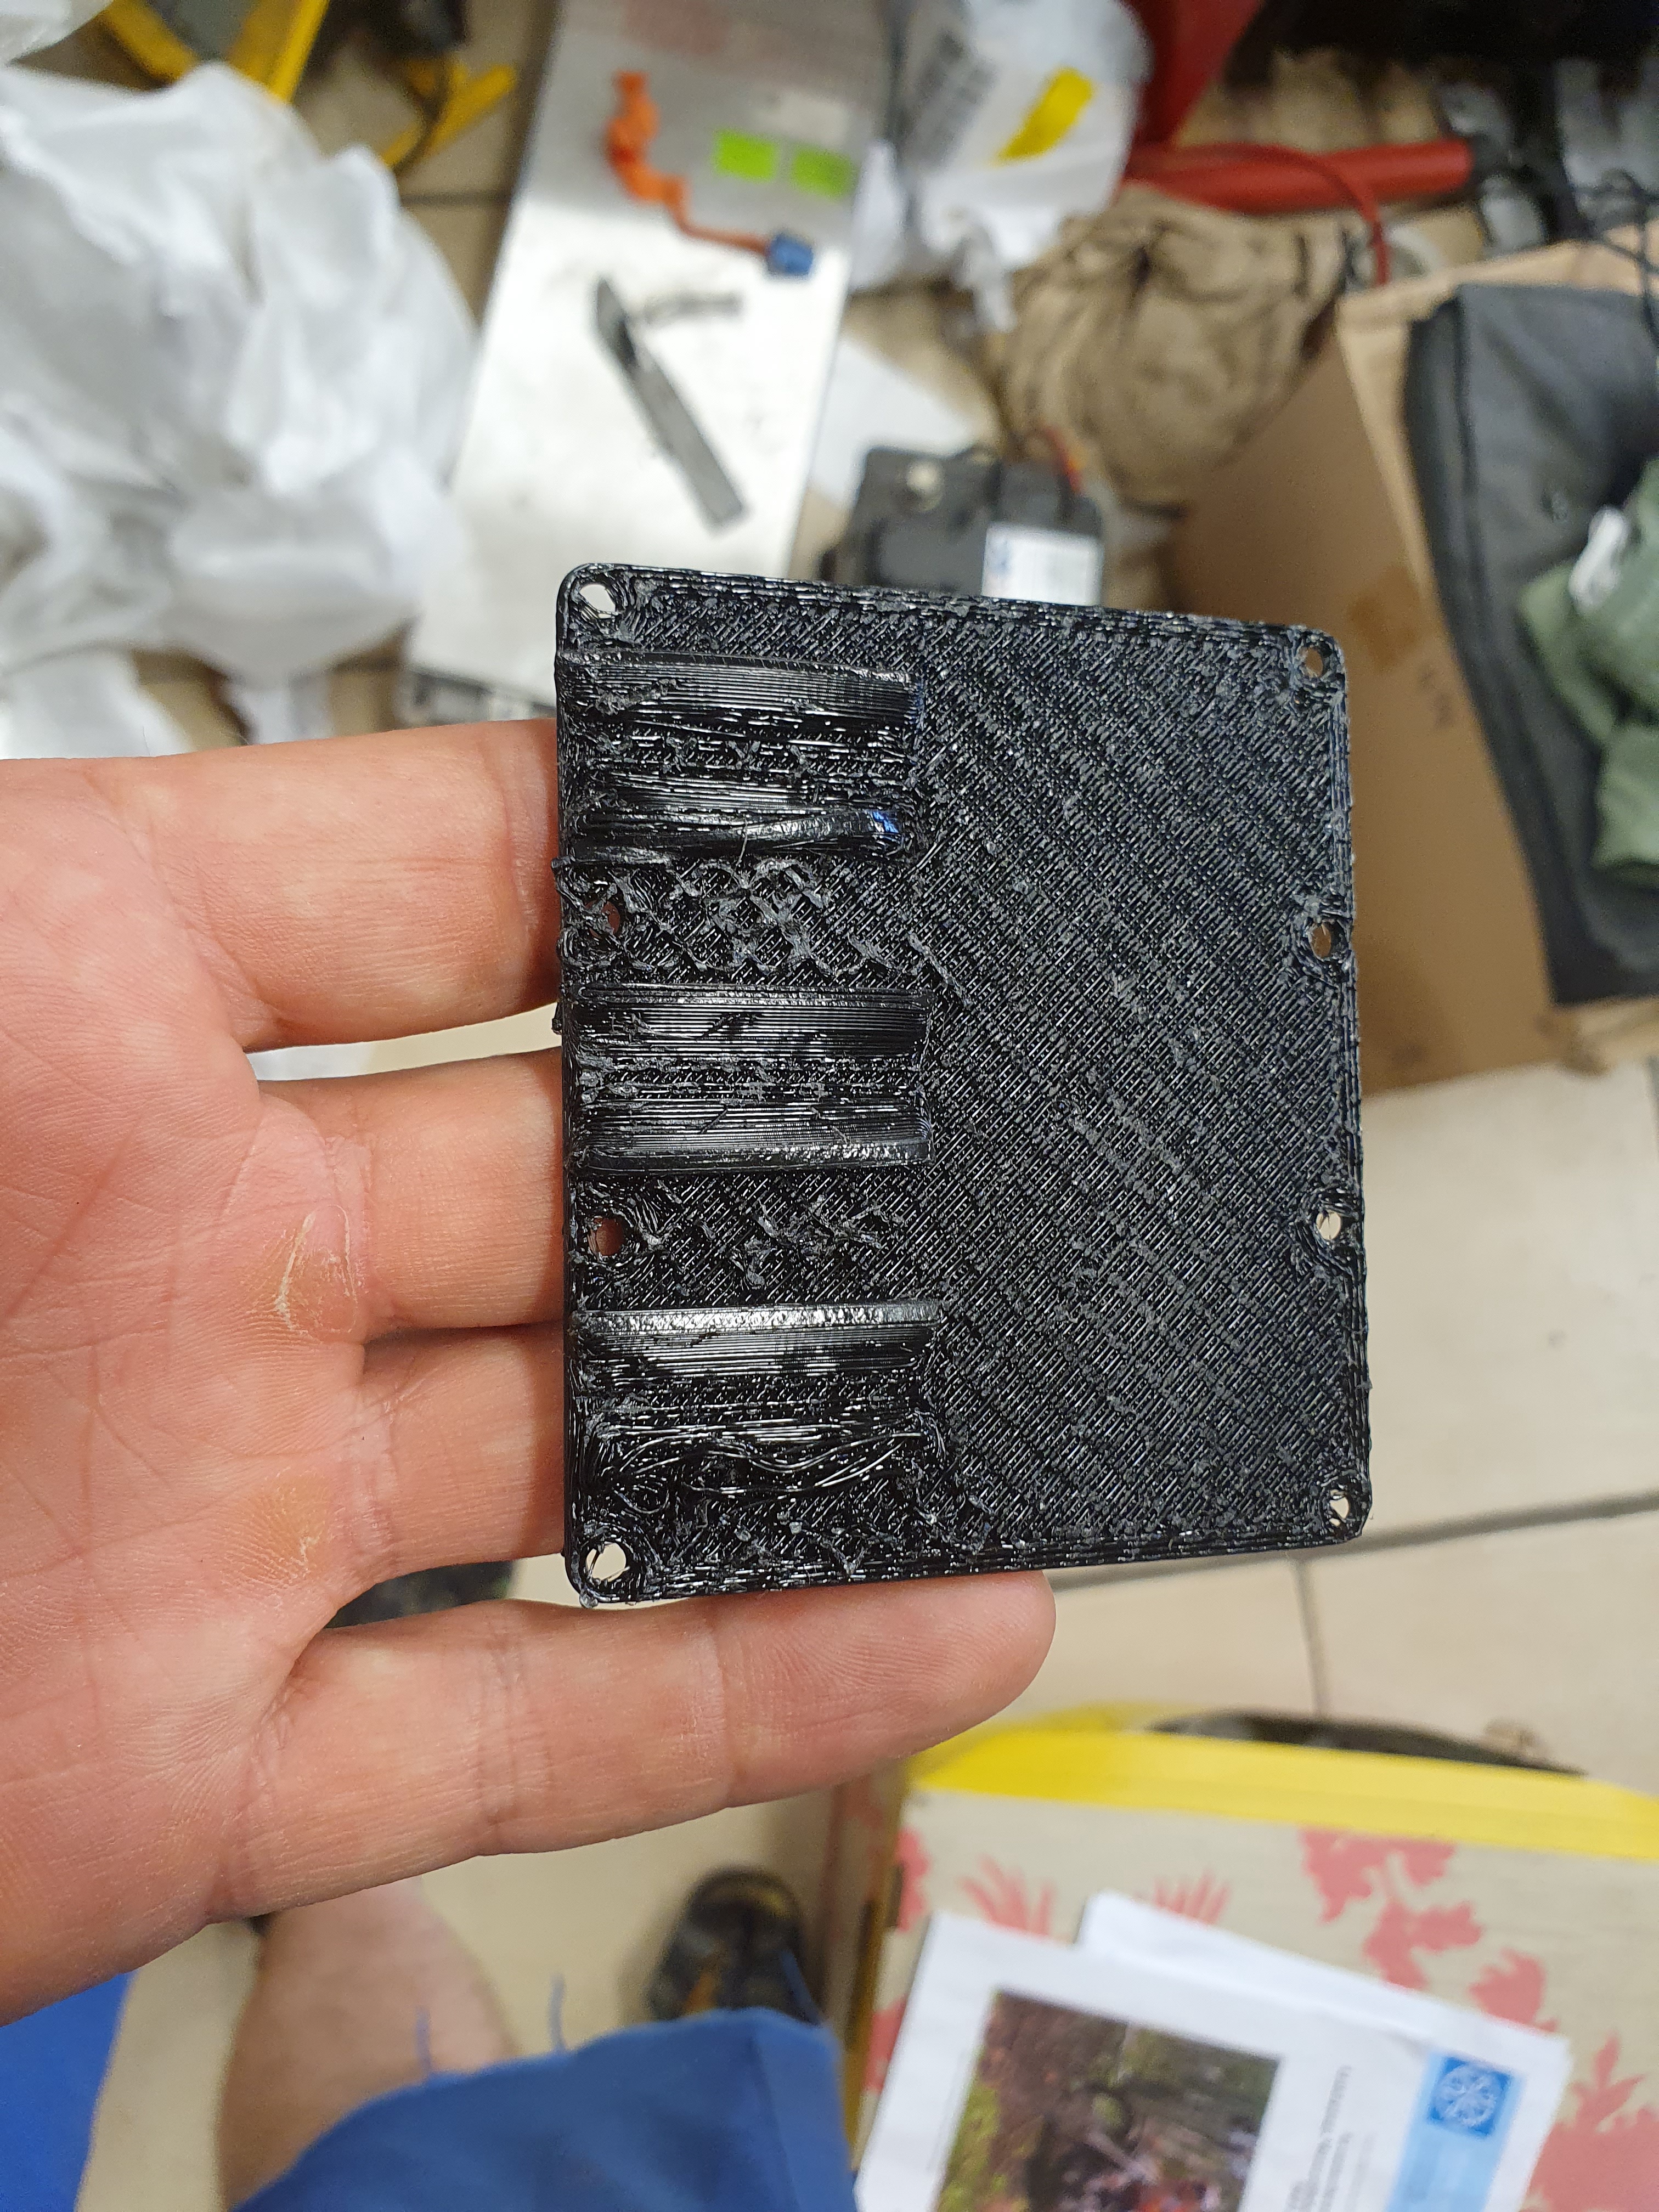
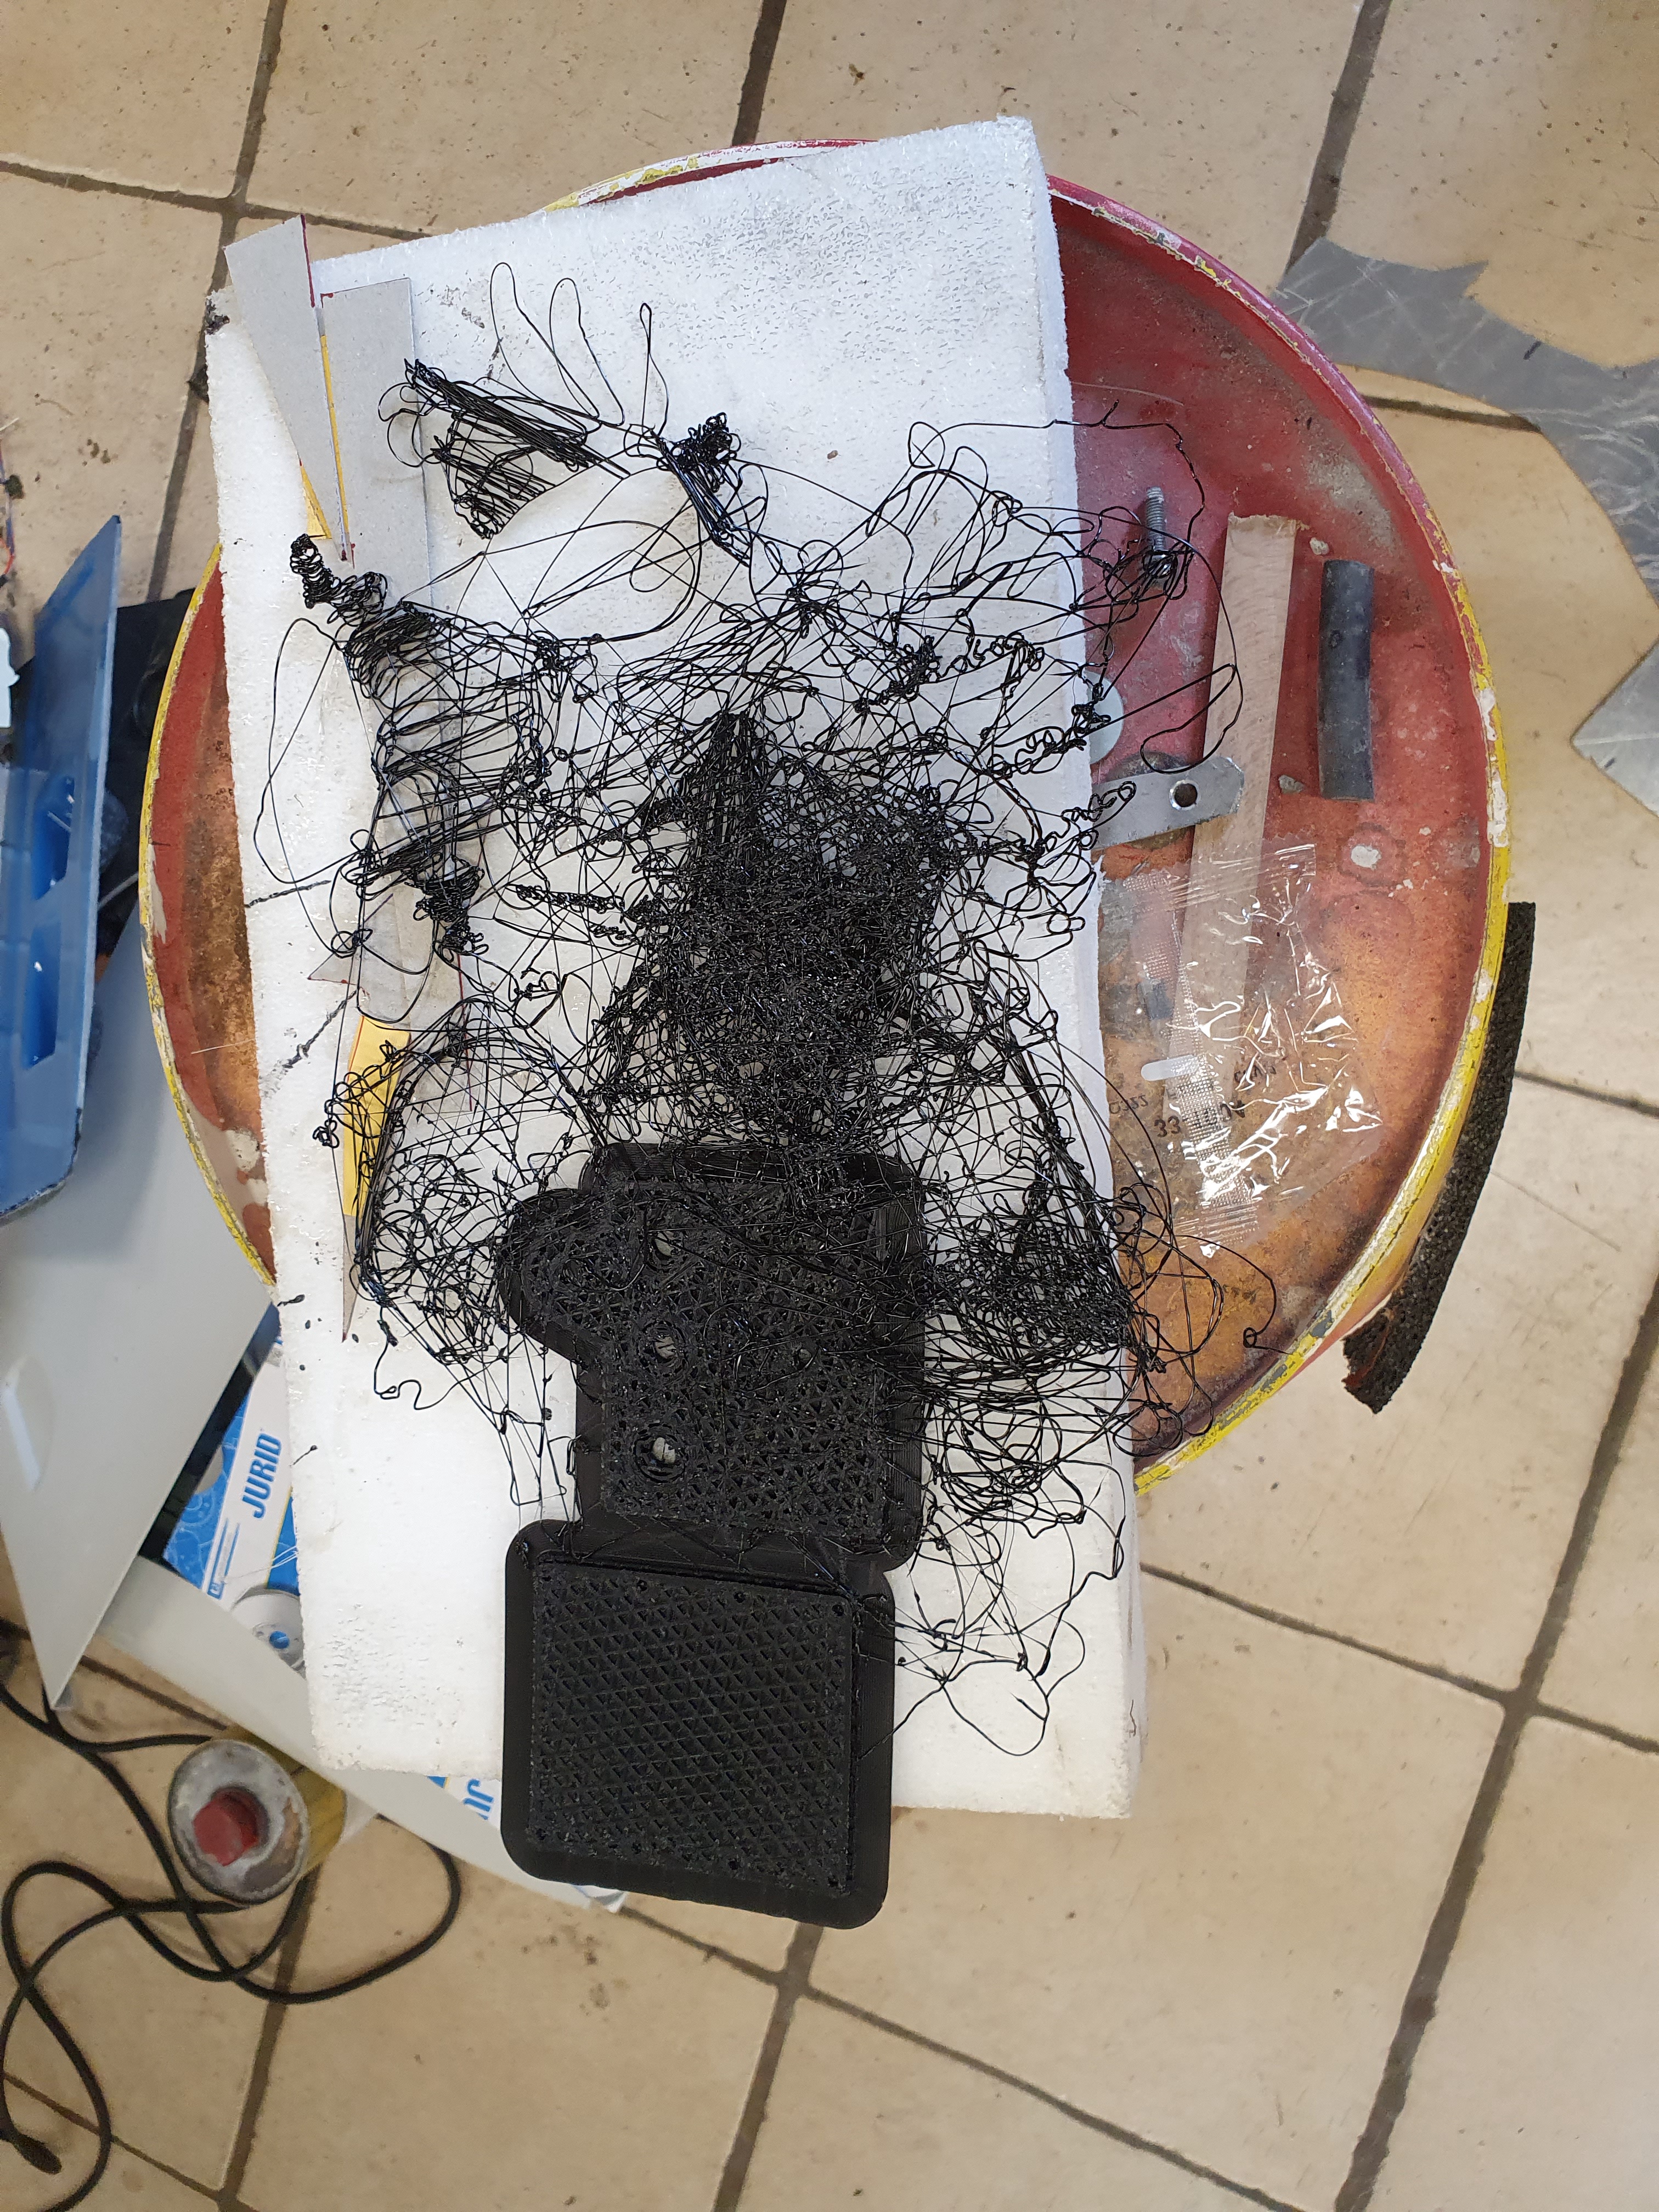
And did some tries to print it in abs:

nZsLOZc.jpg


Gave up and did it in PETG instead..
The bottom part turned out alright, but I think I over-complicated the lid a little:

6tpmtJd.jpg


I will make a flat one instead..

s53rqLq.jpg


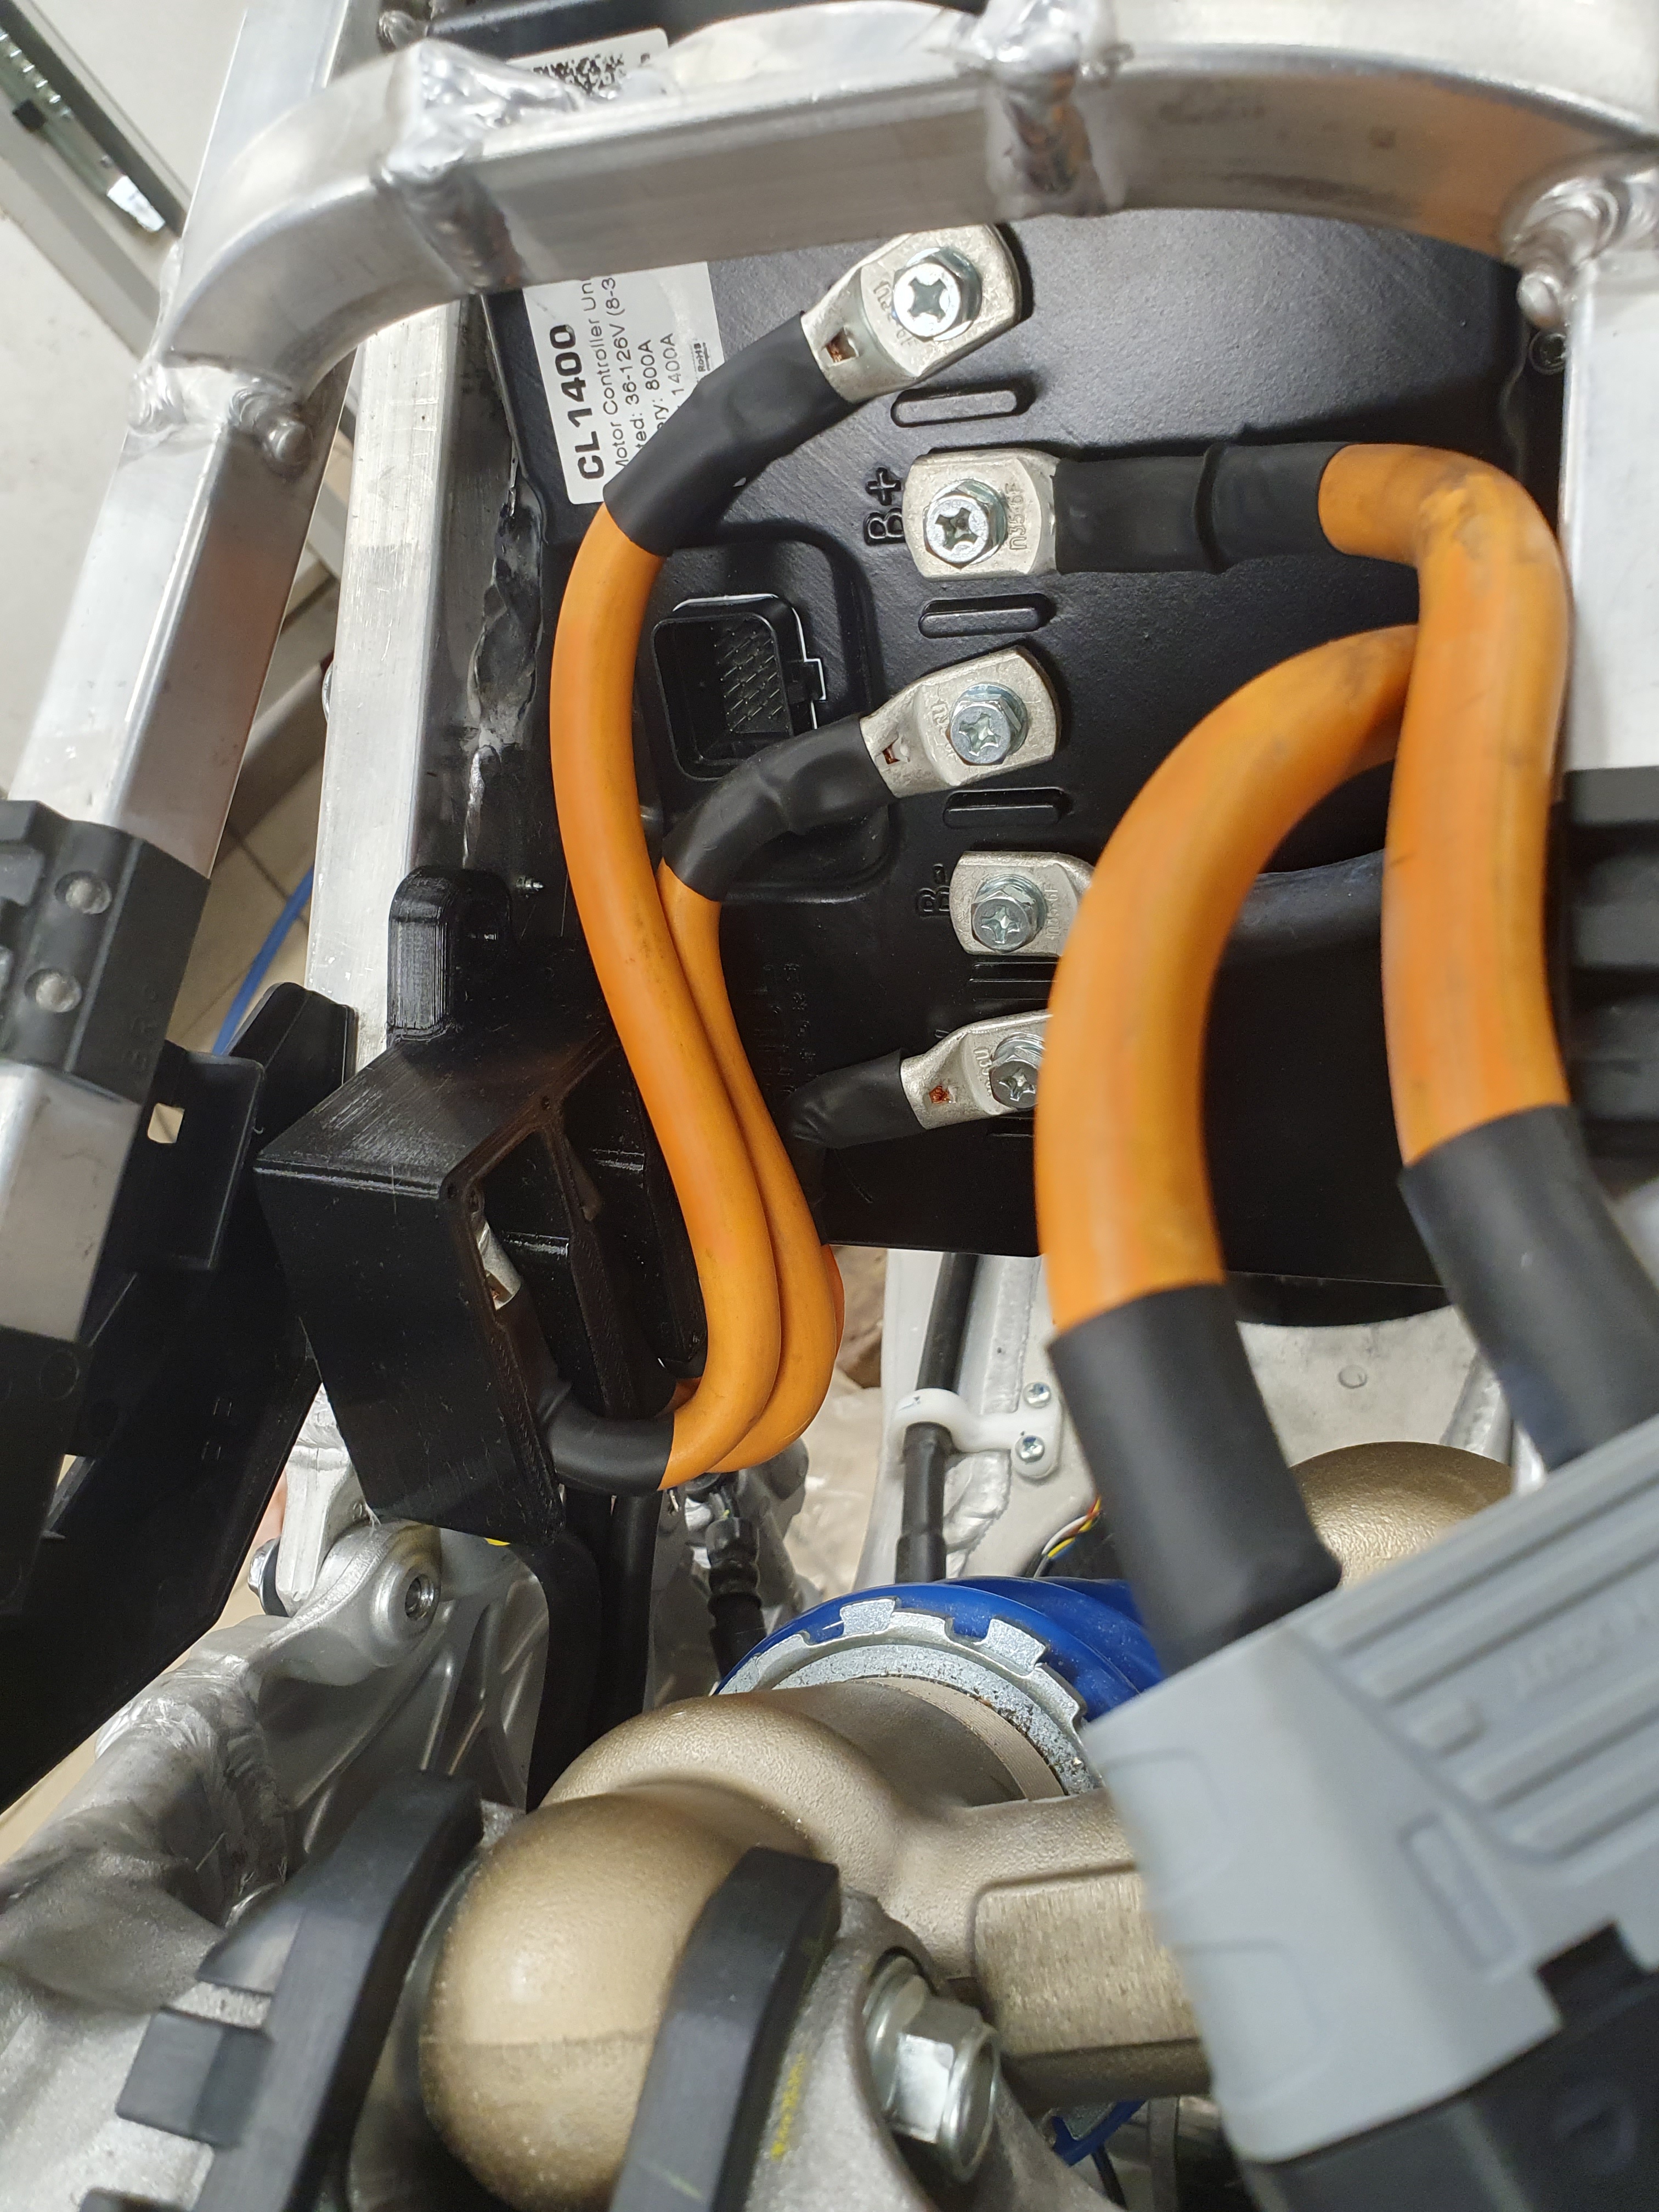
Not sure if I will keep the controller this way or flip it so I get the connector on the other side.
I will get the wires a little distance from the phase wires in that case, but I will have to run the wiring on that side anyway.
 
I have shown this before, but it might be a good idea to do it again.

2e4PnDN.jpg


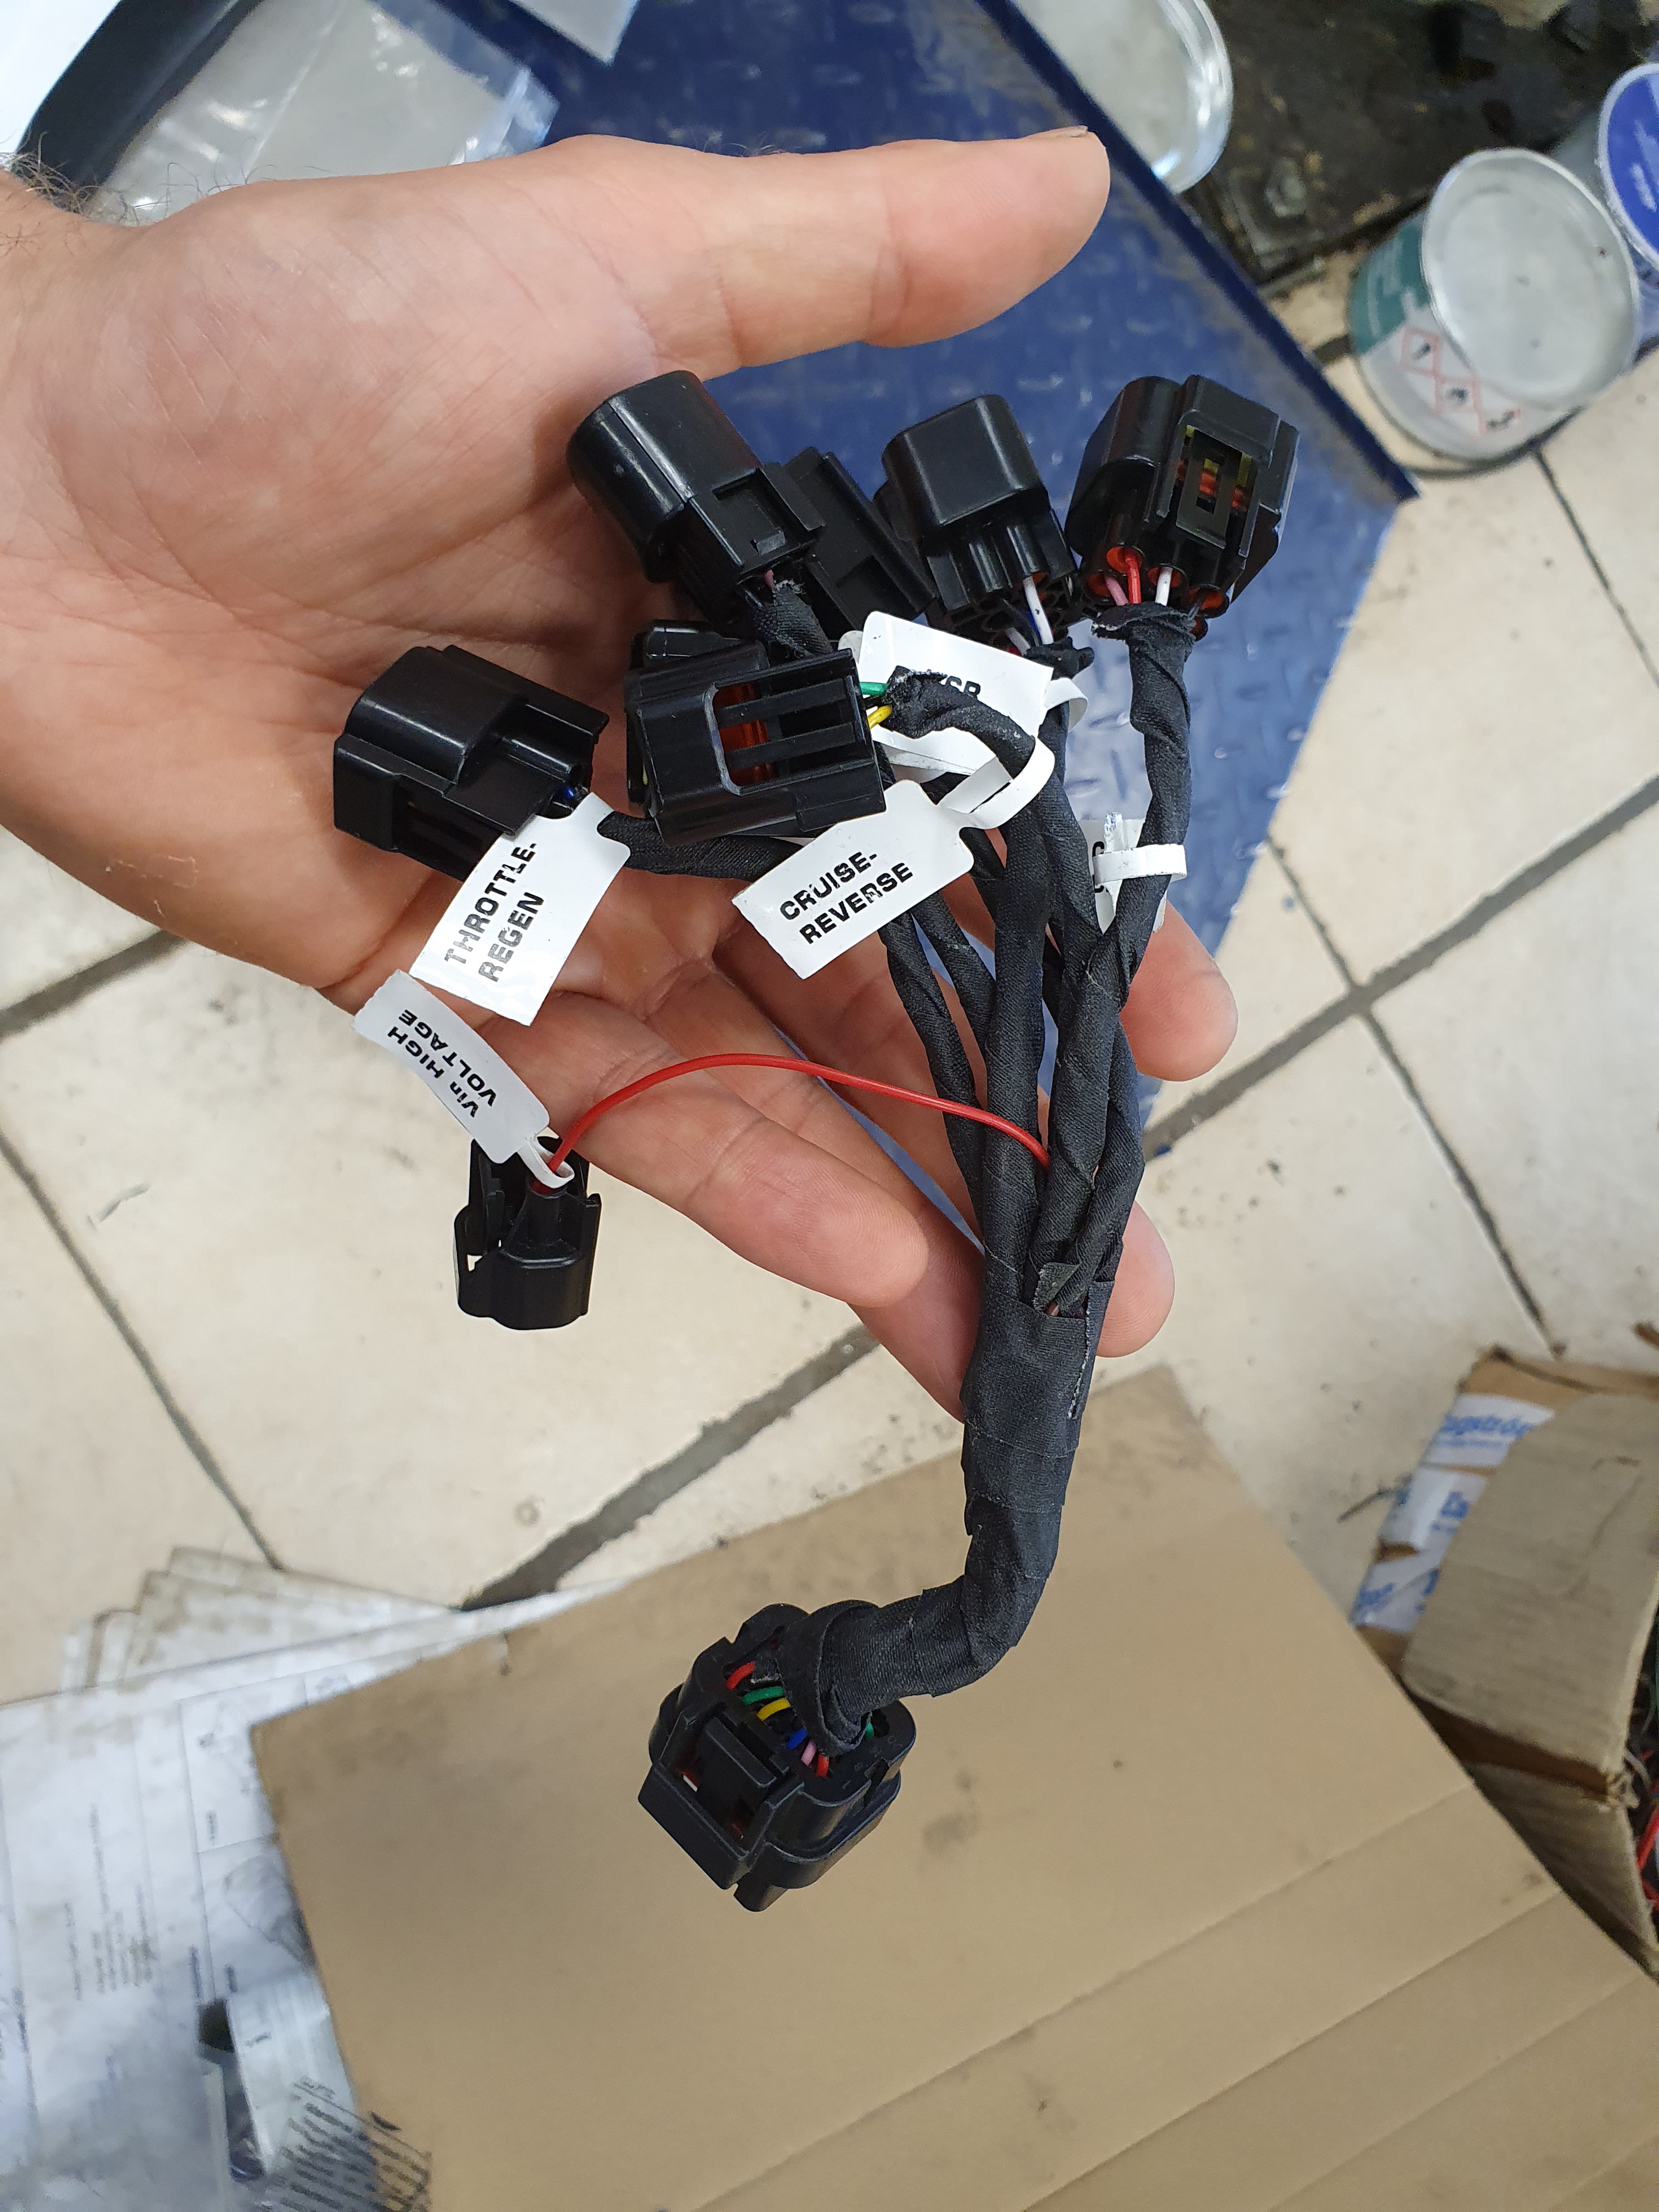
These wiring's that you get with a 3shul controller might look ok at first glance.
It is pretty easy to see the missing seals in the connectors for the wires when you start doing your wiring:

2ckrn9f.jpg


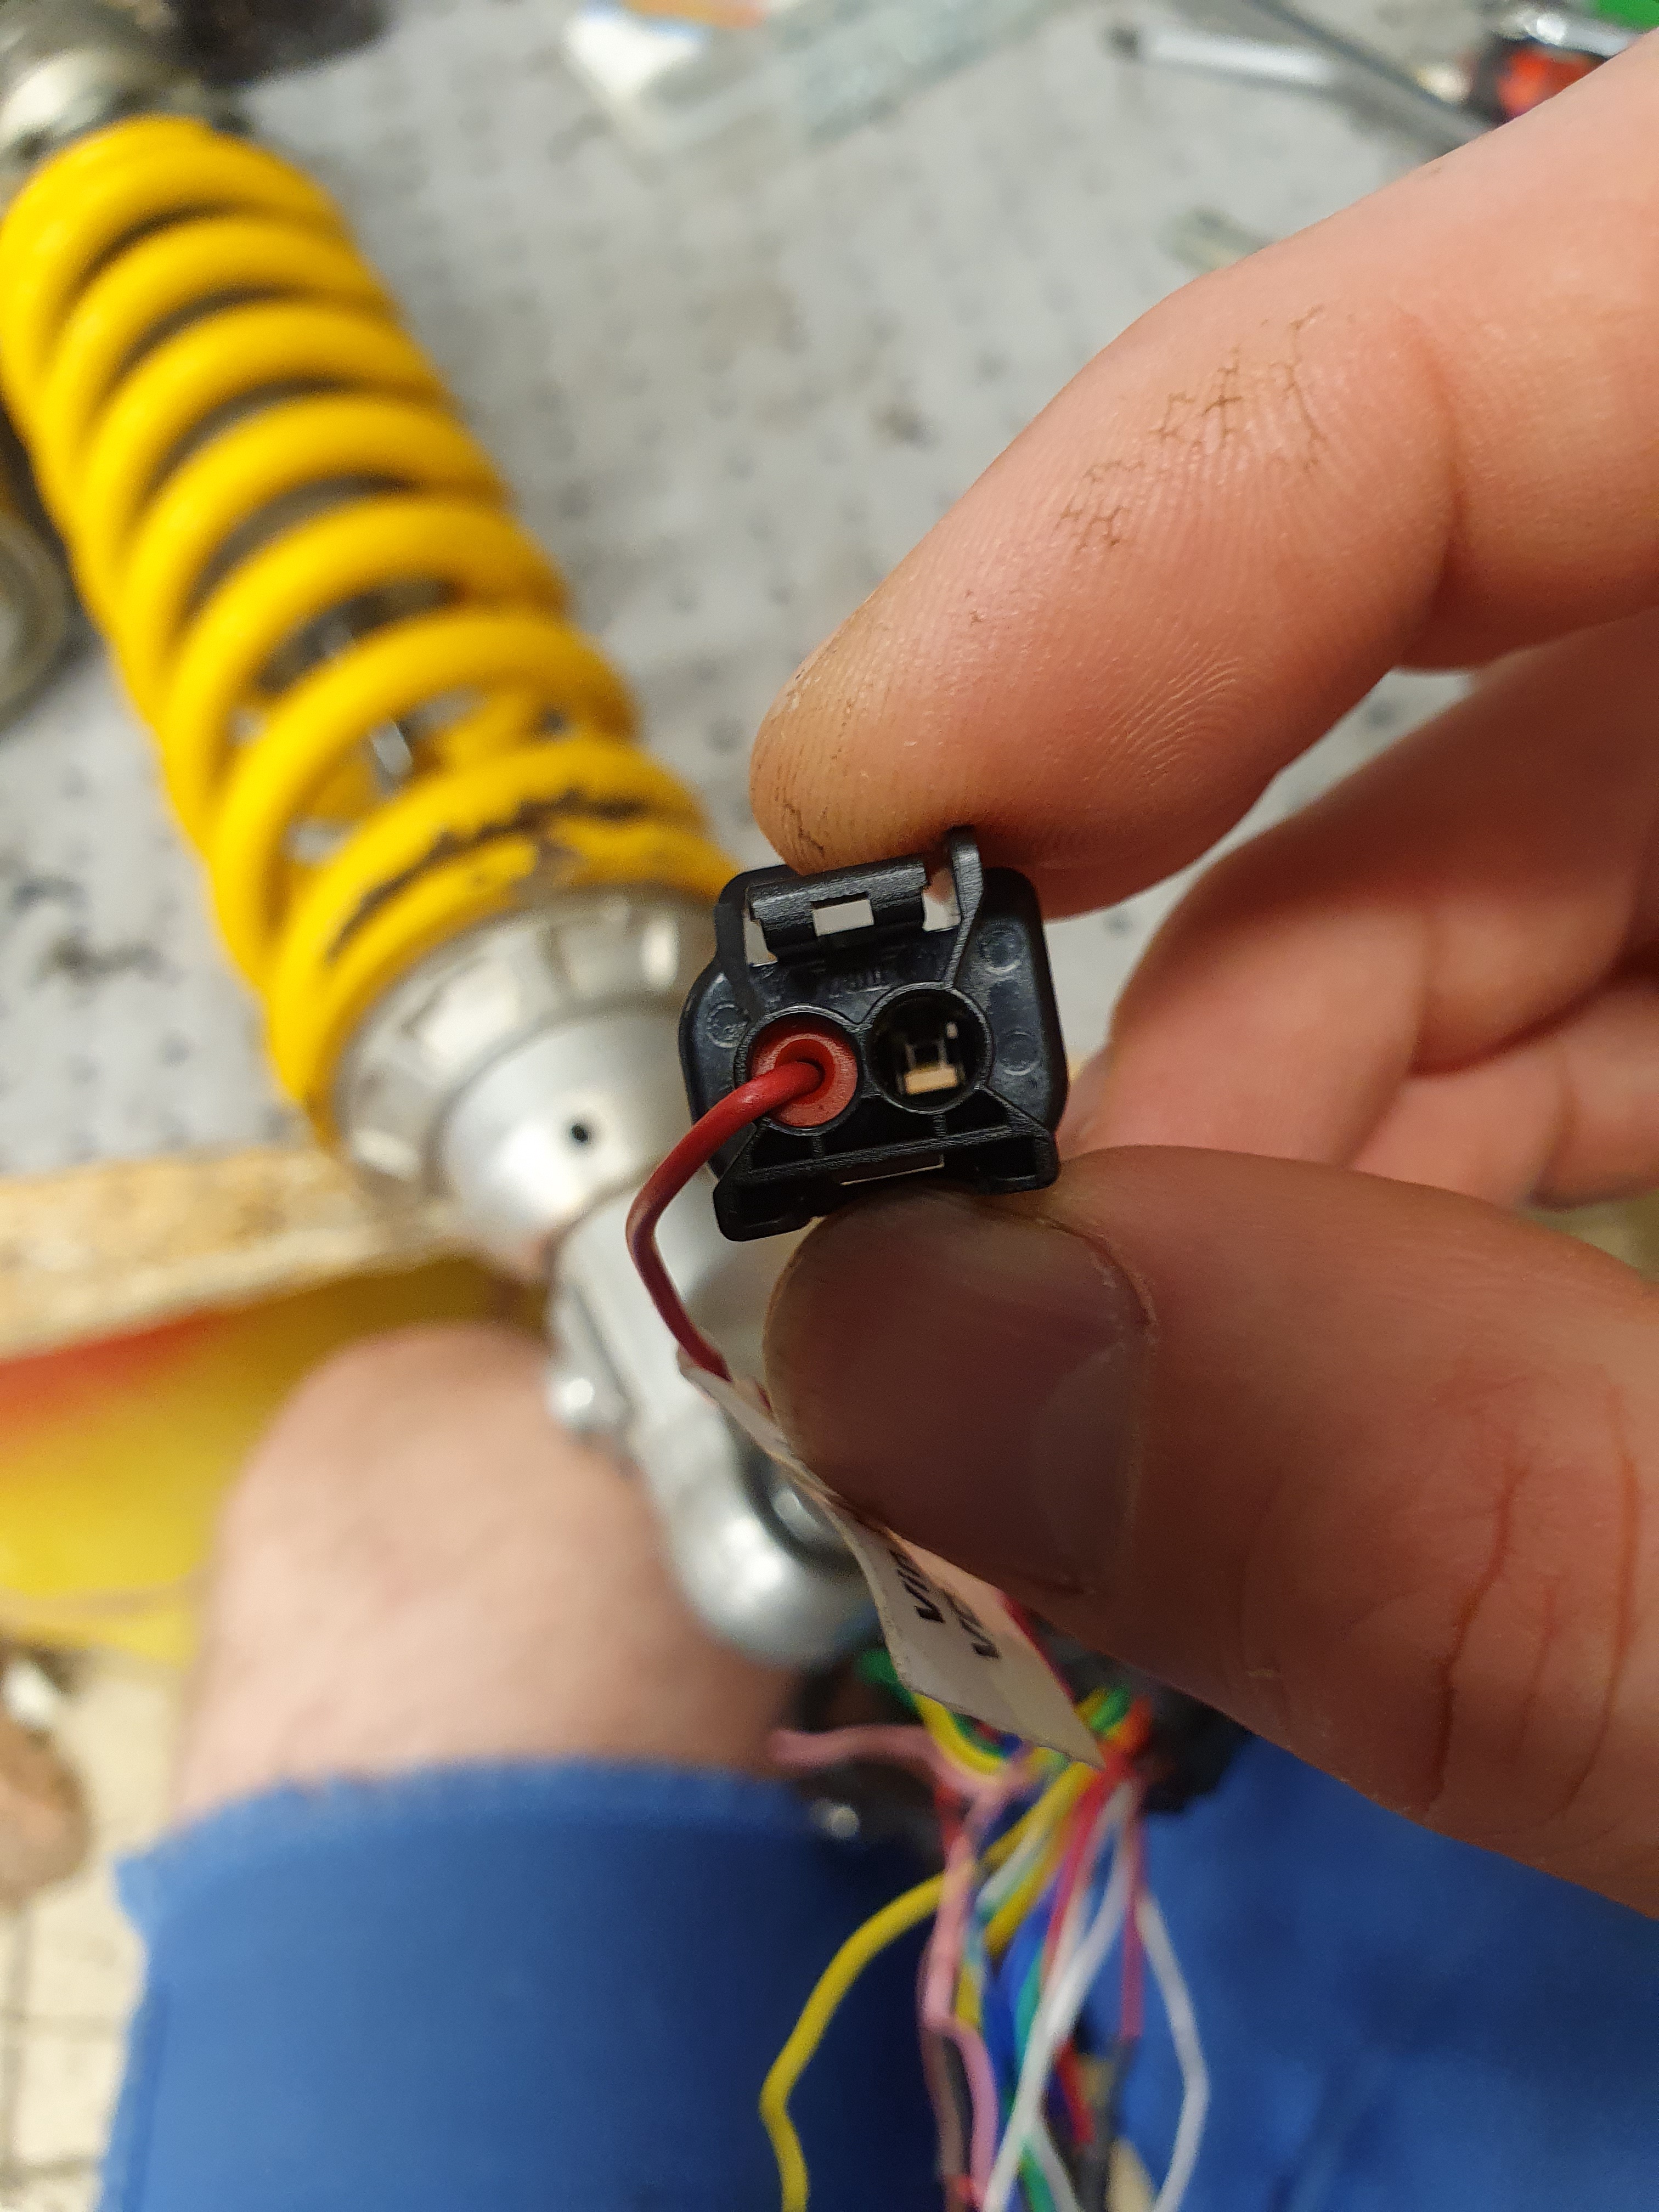
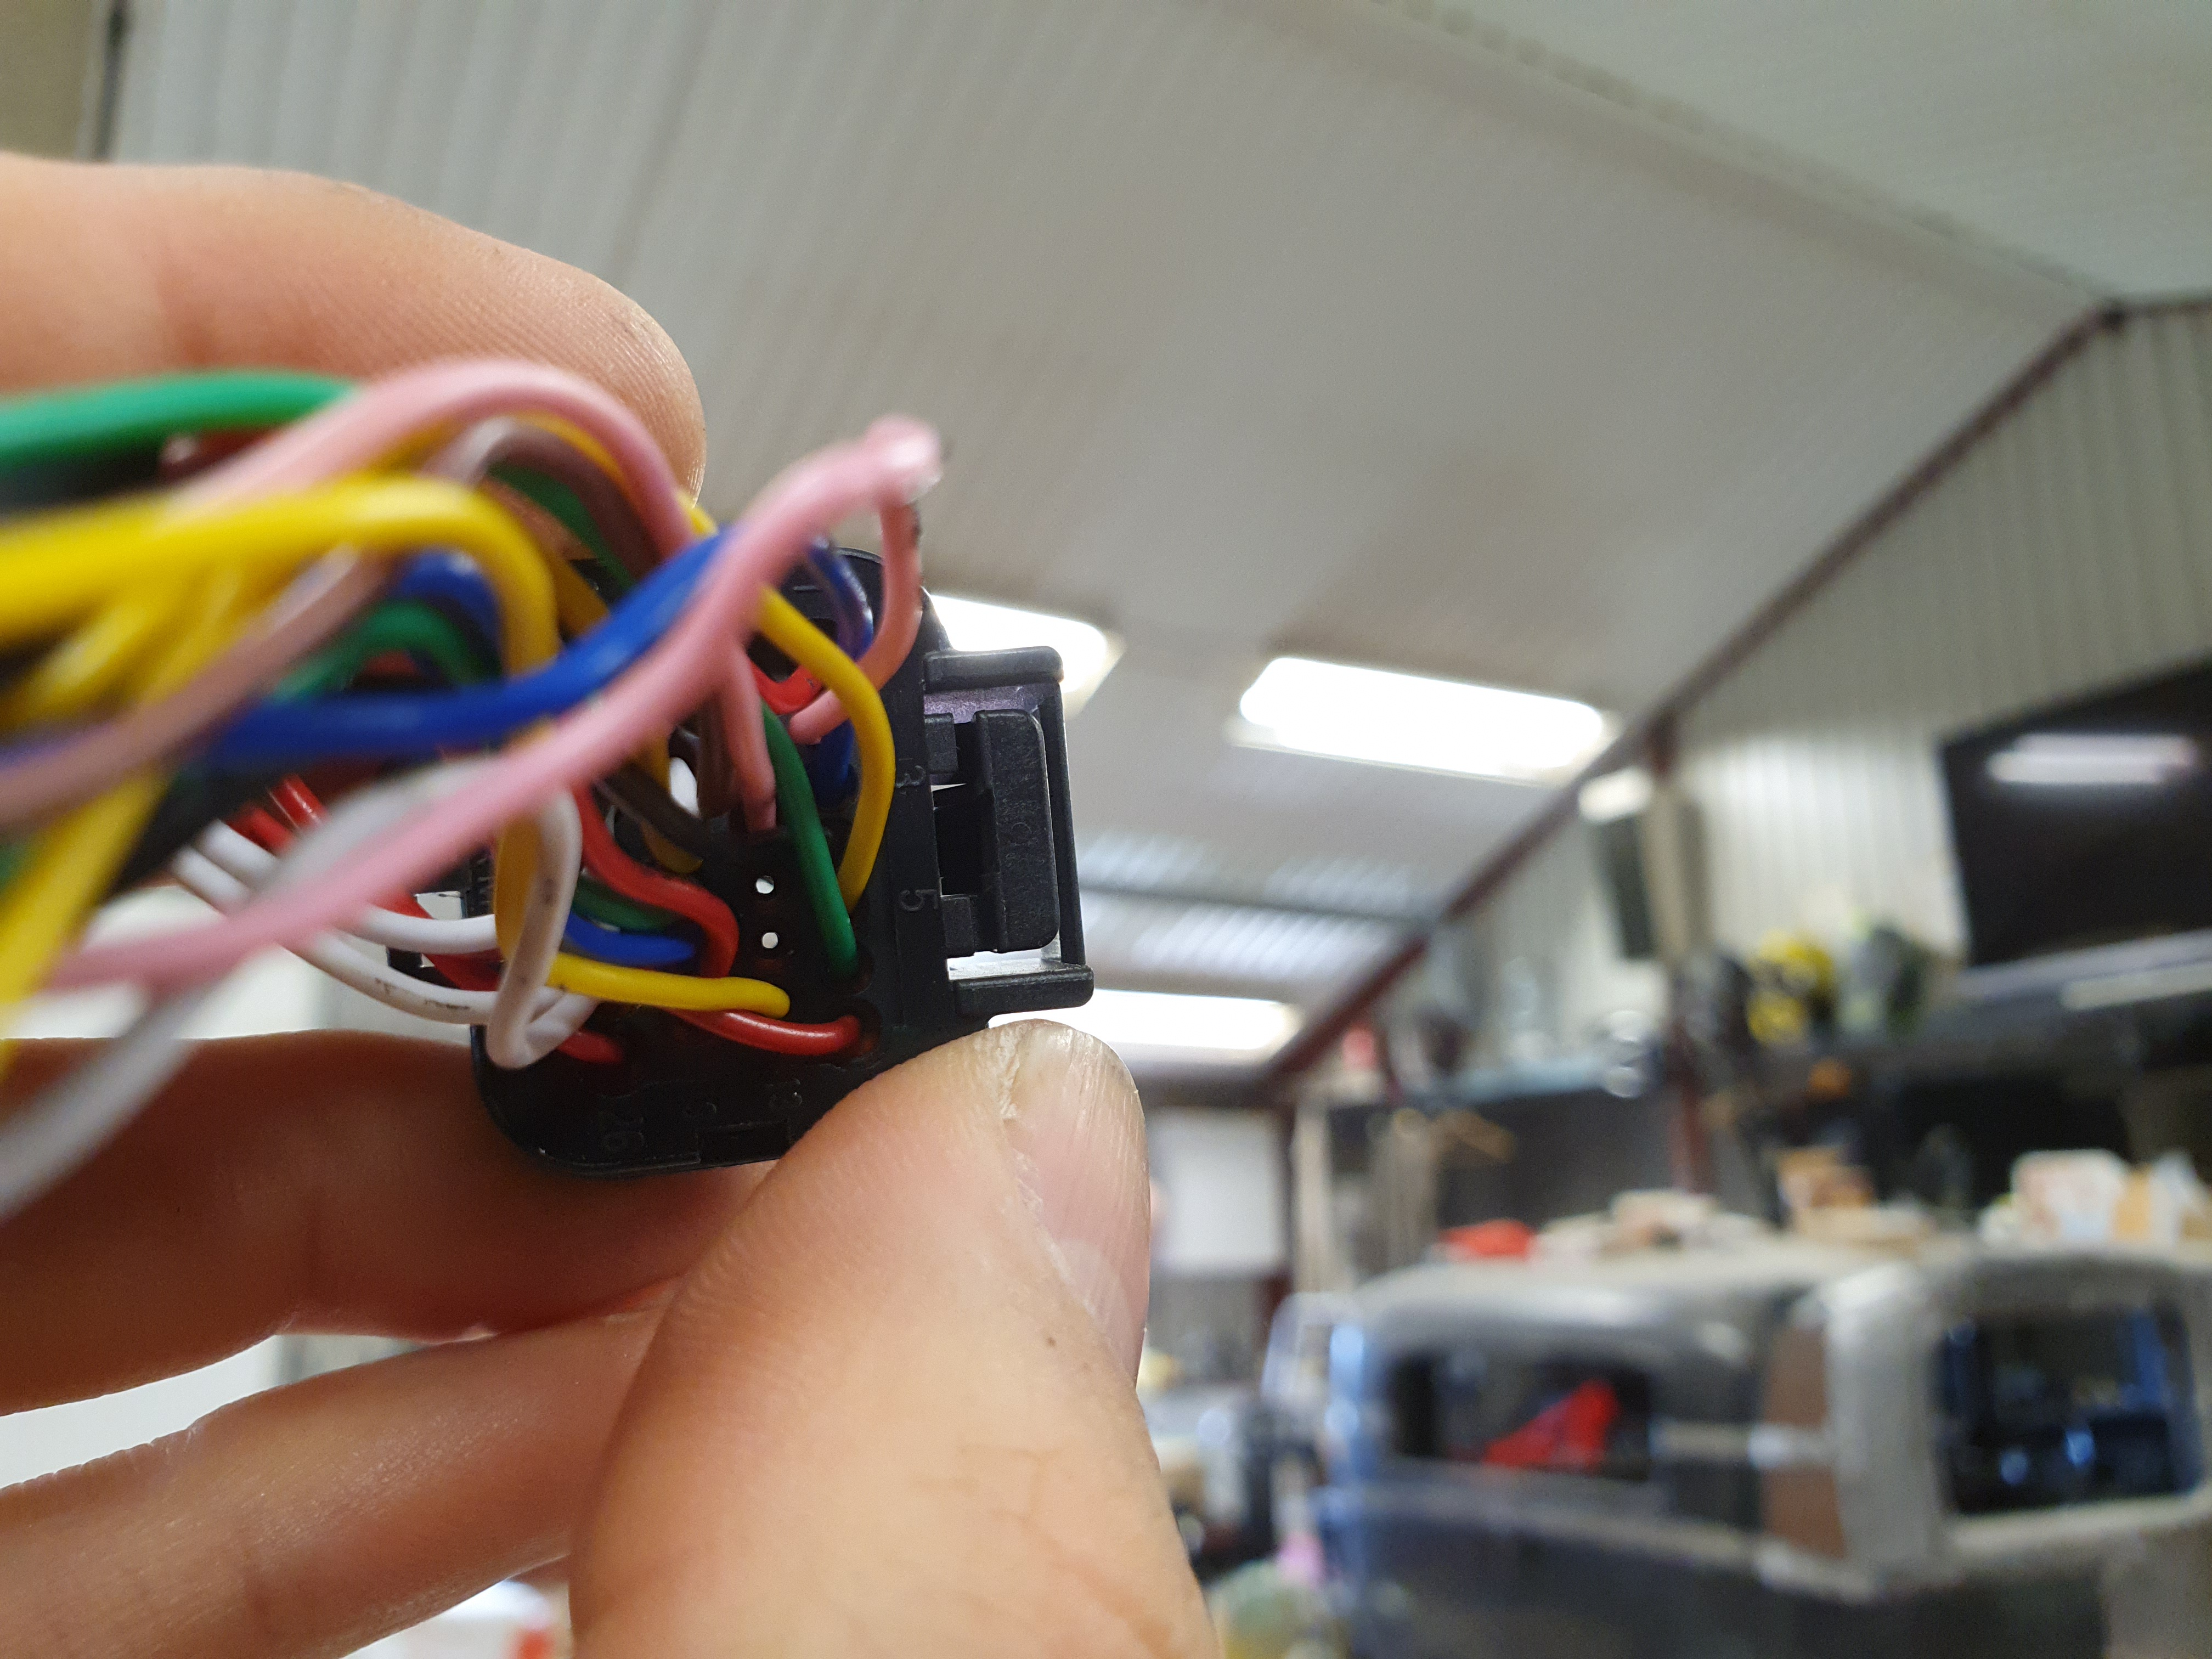
But something that is harder to see, and more serious is the connector on the controller:

bGeZJrT.jpg


There are 2 unused pins in the connector, and as you can see there is nothing that seals these holes.
 
Makes it seem pointless to have used sealed connectors at all then, since environmental intrusion can now freely happen via those holes.

Even if the rest of the connector is sealed, pin by pin, on both the cable side and controller side, so that intrusion can't go past the one with the unsealed pin, then it could still at minimum corrode / etc the contact on the other side of the unsealed pin.

If this was only on connectors that mate within the cable passage, and not at the device itself, *and* the other side of that same connector it mates with has no contact in that spot either, *and* the individual contact areas are all sealed away from each other too, then it doesn't matter much if they sealed those holes or not.

But any other situation seems like it could cause a problem at some point.
 
I think you are supposed to use plugs to plug the pin seals you aren't using. In the past I've used just whatever I had laying around that was the right size or just squirt some silicone in.
 
For the connectors on the wiring there is plugs without holes to use for the unused pins. On the connector for the controller the rubber seal are in the connector, so you just have to put some small plugs in the holes. I think I used pieces of 3D printer filament last time.
Not a big problem if you notice in time.. When they include a finished wiring I think many people will assume it is finished and run it as it is.
It is very small holes, so you might be alright I suppose :rolleyes:

But how 3shul can ignore such a small but important thing is beyond me..
And it is not just a mistake on my wiring, or a small batch. It was exactly the same on the first controller I bought 2 years ago.
 
Back
Top