Fizzit's RC freeride build log - now with videos

Thud said:
The cheapest vxb bearings are still better than the stock ones. Really!

Seriously, if your getting that short a life there is something going on.

What is your technique for driving in the new bearings?.
You should use a driver that will rest on the outer race (like a socket) refrain from getting pressure on the inner race.
Put your bearings in the freezer for an hour before installation......ideally you would heat the alumni bearing tube & they would drop right in....but with a glued stator & windings, I'll refrain from telling you to throw it in the oven at 300f :wink:

Always something.
Keep going....you are almost there.

With the most recent bearing, I carefully tapped it in with a rubber mallet and a socket on the outer race. I will freeze the new bearing and replace it using a socket as well. One thing I notice is that the magnet can has some forward/backward "play", as in, you can slide it back and forth within the bearings. Could that be a factor?
 
After replacing the shaft bearing a few times and engaging in a long, informational discussion with Thud over private messages, I have deduced that the motor shaft is bent. It's not visible to the naked eye, but a quick test on a dial indicator reveals that the shaft has 6 or 7 mils of runout at the very end. I guess that's enough to destroy some bearings! Next time I forcefully remove the roll pin, I'll support the shaft better so it won't get bent... :oops:

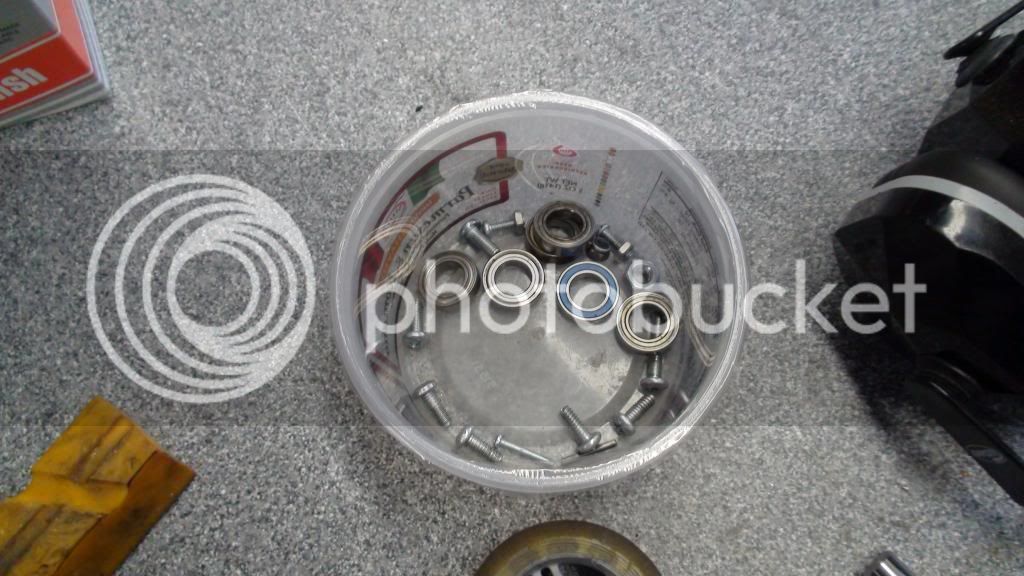
Here is the bucket of bearings that I destroyed... 2 stainless steel and 1 ceramic/steel from VXB. Plus the two that I'm replacing that are from the other end of the motor.
DSC00457_zps2387756e.jpg


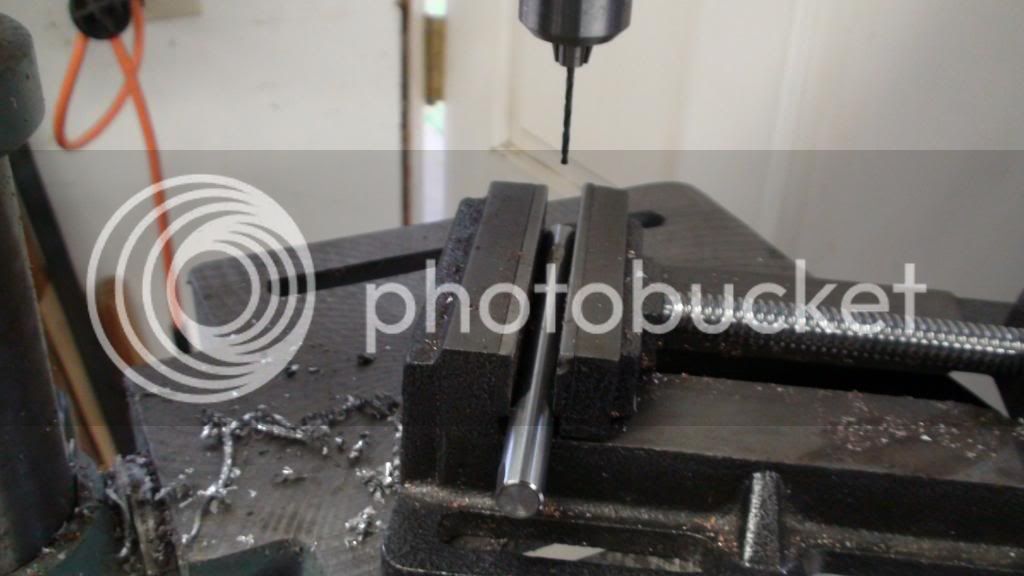
Here is a 12mm shaft that I ordered from VXB. It turned out to be made out of hardened 52100 (tool steel), so I was unable to machine it to allow the roll pin that I use to hold the belt sprocket onto the motor. Luckily, Thud has some extra 12mm rod and is very kindly sending me some.
DSC00456_zpsefbf666d.jpg


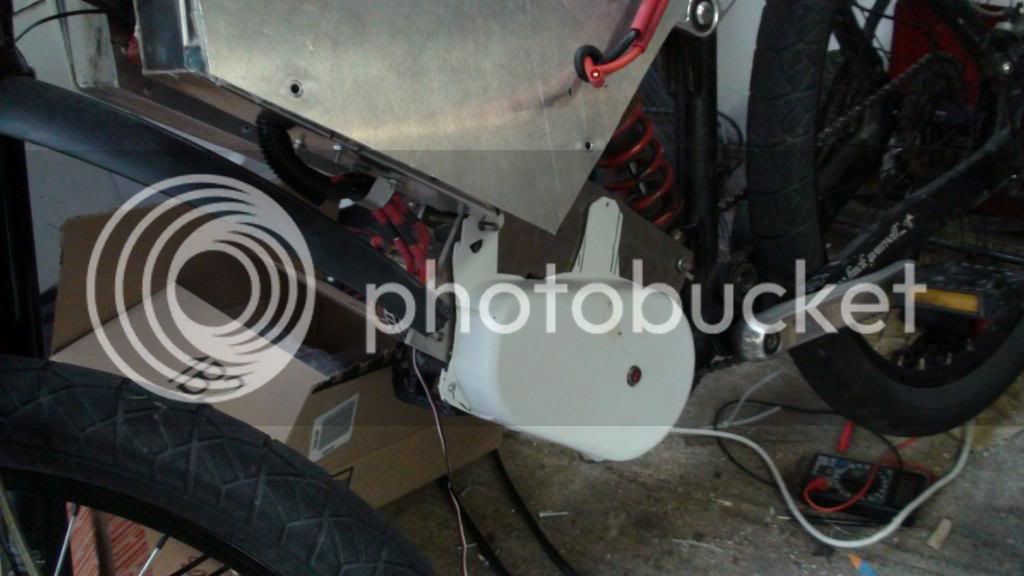
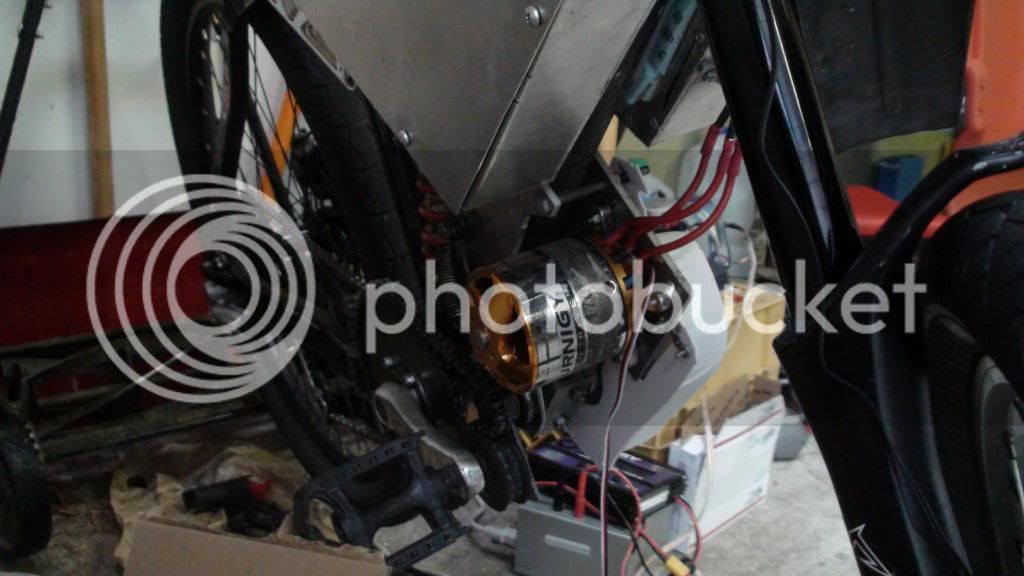
Here's a belt shield that I vacuum formed from HDPE, with some advice from the internet and tips from Amberwolf and Dauntless on the forum. It's very ugly, but hopefully it will blend in more with some black and silver paint.
DSC00454_zps0963d246.jpg

DSC00455_zps4a41b72d.jpg


Previously in this thread, I posted a picture of a bike that my friend had gotten for free from Raleigh. He has no experience with working on bicycles or motorized vehicles, so I gave him some advice on how to put it together. Since then, he designed a mount for the 9 continents hub motor that he got, and he learned to weld and welded it up this week!

BAC47BA4-1569888_zpsbe569e00.jpg


That is a front fork mounted in the bike triangle, since it's a front hub. There are plates welded to the fork that allow it to be rigidly clamped to the aluminum bike frame. I think it is a pretty cool design and I'm excited to see it working. I'll post a video here once it's running.
 
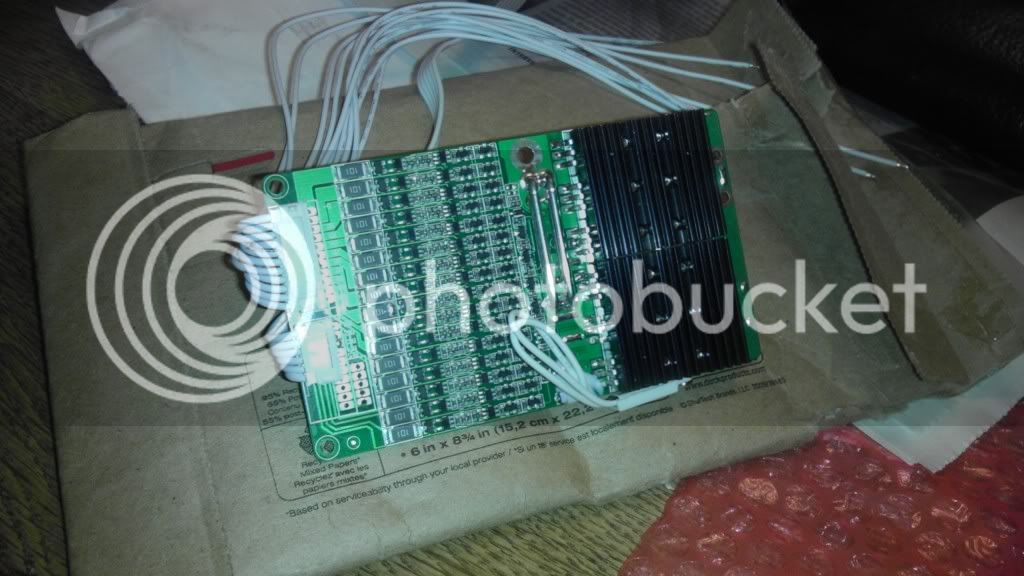
Well, I have been at college for the last month so I haven't been able to ride my bike or work on it at all. I hope to bring it over there soon, but first I need to make some updates to ensure that it's safe and reliable and ready for harsh weather conditions. I arrived home last night and was excited to see a new package from Portland on my desk, a 16S Bestekpower D167A BMS that I purchased from dnmun.

IMAG0844_zpsc2cecf91.jpg


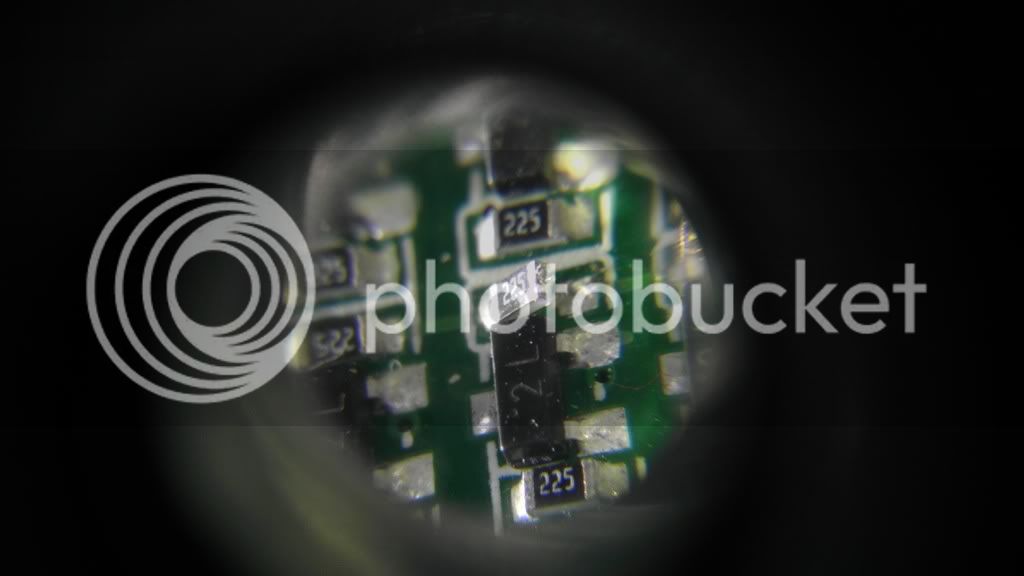
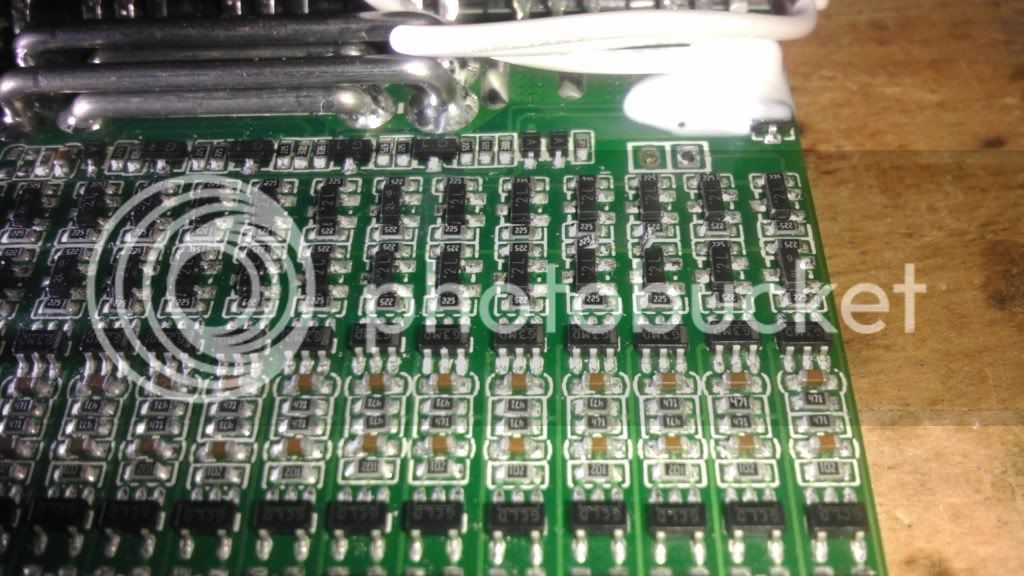
Since it is a 16S model and I am still running 12S, I have to modify it to work with my battery pack. This involved following dnmun's instructions to de-solder the resistor that carries the HVC signal to channels 13-16 on the board.

IMAG0854_zps78ee587e.jpg


IMAG0855_zps35930cc1.jpg


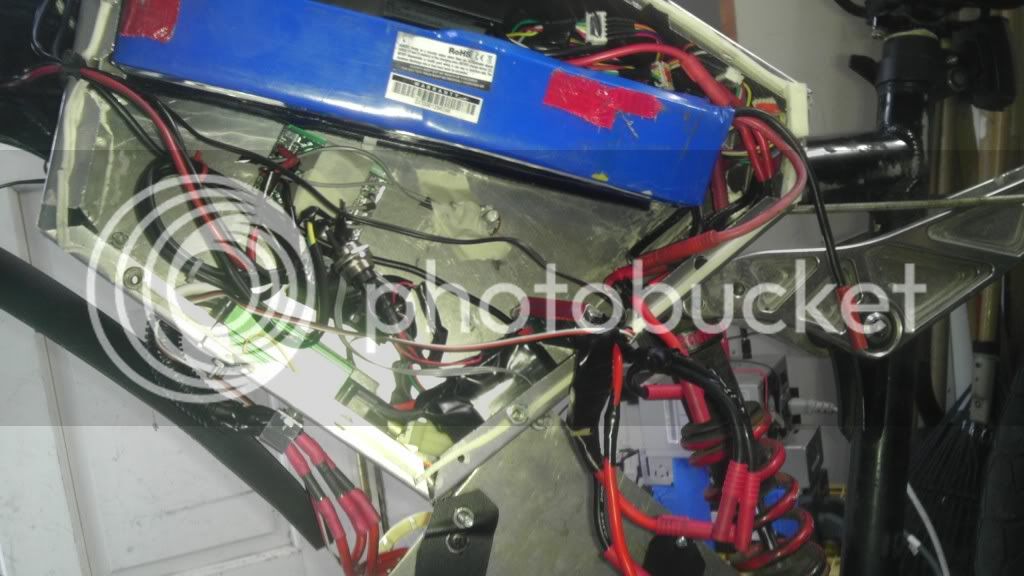
Now I just have to figure out how to mount it in my battery box and wire it up. I think that I will probably re-do a lot of the wiring since it is a rat's nest right now, and I want to switch to using a pre-charge switch and contactor instead of using bullet plugs to turn the bike on. Here's what the inside of the battery box looks like right now.

IMAG0845_zps5c9eef32.jpg


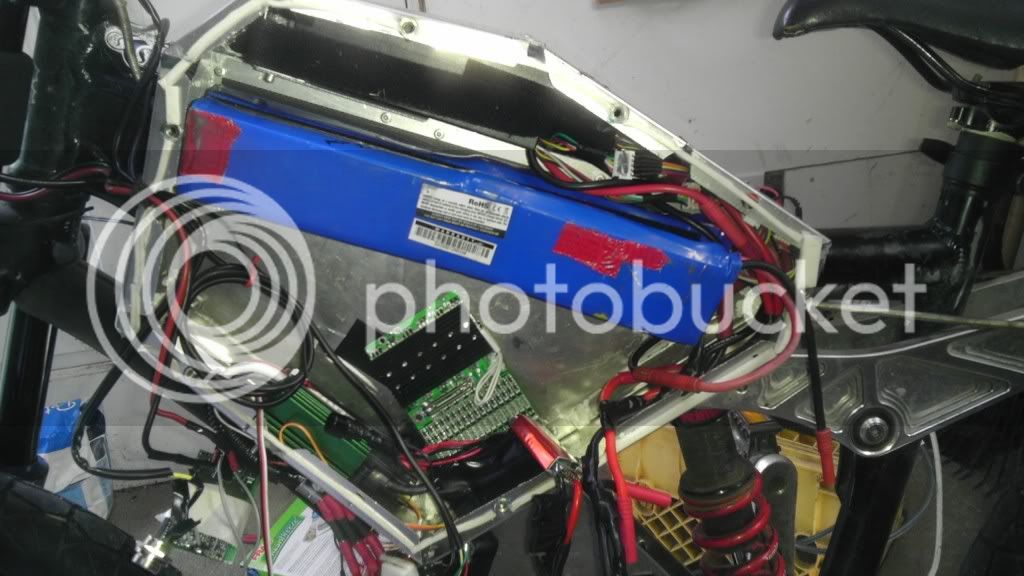
Here it is with the BMS sitting in there.

IMAG0847_zps9faae7b6.jpg


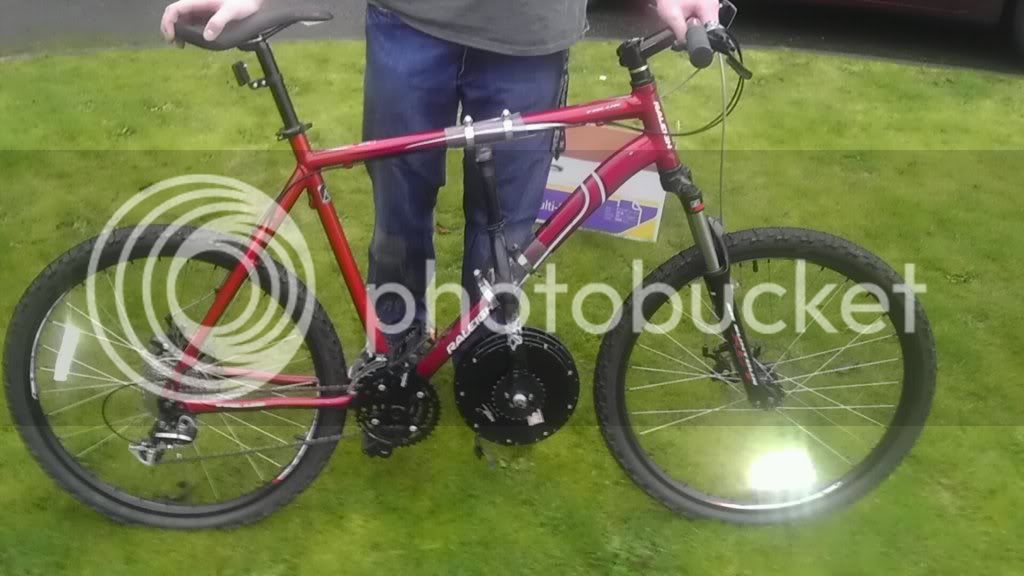
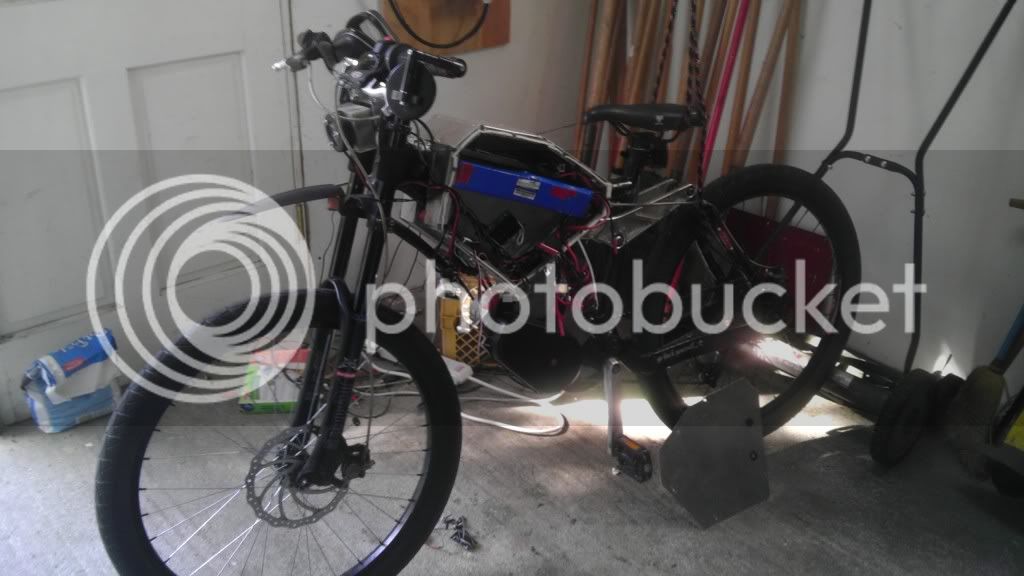
Here's my bike as it sits right now.

IMAG0849_zps70faebdd.jpg


Progress will be slow since I can't go home very often, but I hope to have it ready to come to school with me in January. :D
 
no metal! keep that thing away from any conductors. if the sense wires short out then the entire battery will melt down as it over heats.

be very careful of the wiring and put chafing shields on them where they run by metal of the box or frame and put some insulating foam on the backside of the BMS. i shoulda included some in the shipment.
 
Don't worry, that was just for scale - the BMS isn't hooked up to anything yet. I will be putting it into a ventilated enclosure within the main box once I get it installed. I've been using rubber grommets for all the parts where the wires go through the metal box and that's worked pretty well so far.
 
Back
Top