
nicobie
100 MW
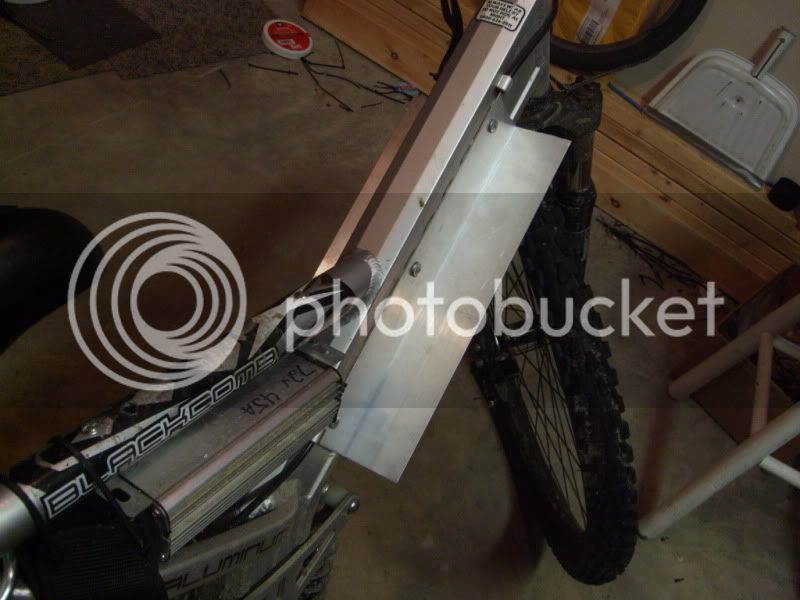
Nice boxes ebent.
It looks like you have a bit of woodworking blood in you.
It looks like you have a bit of woodworking blood in you.
ebent said:nicobie
However my knowledge on electric stinks.
")


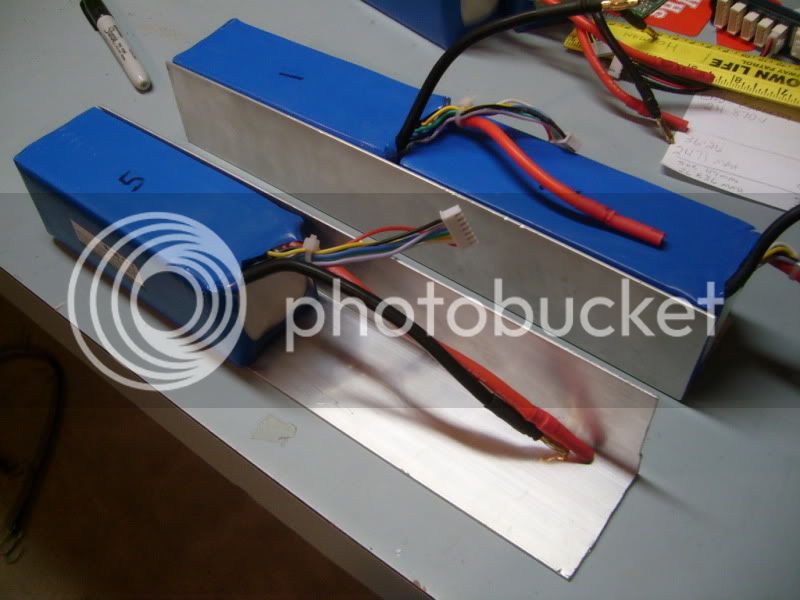
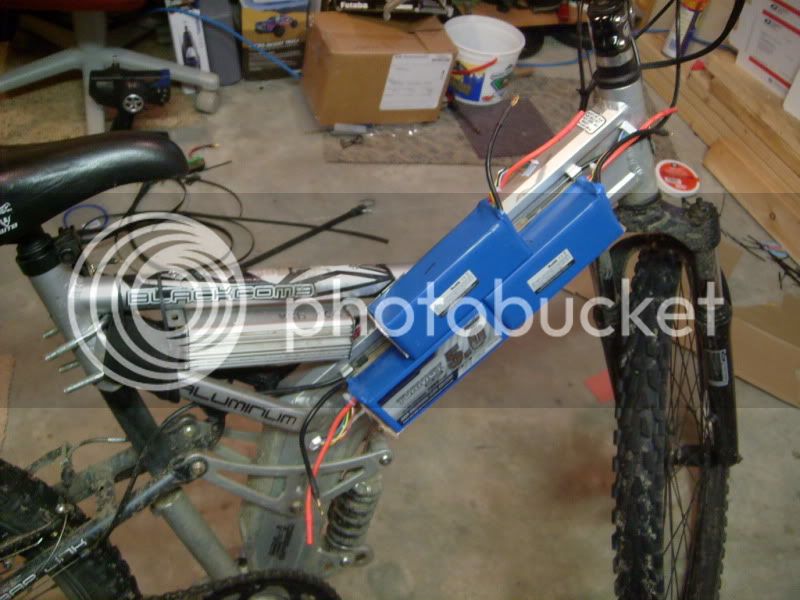
Actually it's a LiFePO4 battery from ebikes.ca. That's the BMS sitting at the back of the pack.docnjoj said:That box is inspirational Zoot. Those Nicads can get pretty hot in heavy use, so the airspace is a great idea. Now U need to cut NASA flush air scoops in and out. Then Rocket assist, of course.
More my speed is the tupperware below your post. I may put my Ping halves in those kind of Poly boxes and mount them under my seat where the Fatpacks live.
otherDoc


Just make sure you have plenty of clearance inside so your lipos don't rub. They sit fairly flush and neat on the outside but can protrude about 5mm or so into the inside of the box which is eats about 10mm into your box space once you account for both sides. I made a rivetted together box for my first lipo enclosure and put silicon over them and a layer of thick vinyl and they still deformed little indentations into my lipo packs.GCinDC said:Pop rivets: Great idea! Hadn't thought of that. Time to get a new tool...
GCinDC said:My biggest challenge so far is finding a way to secure the DB25 (as it's mate needs to stand off a couple inches)

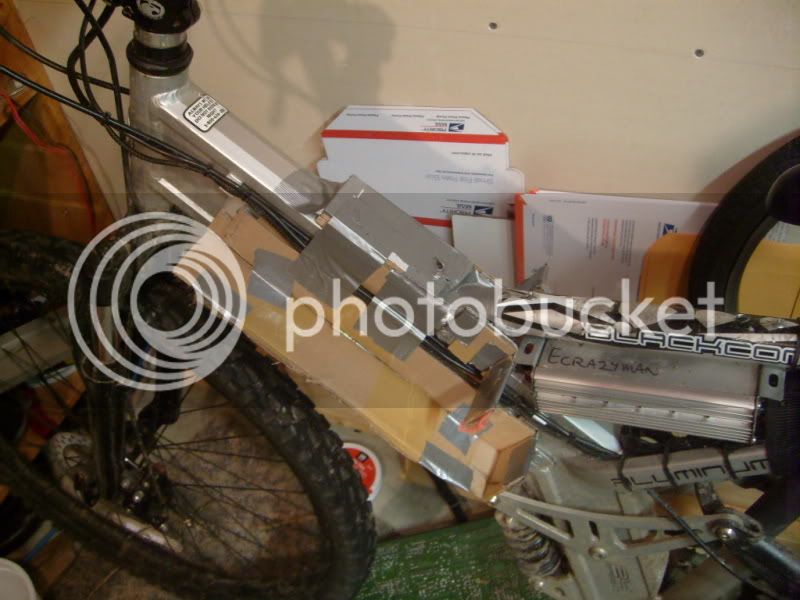
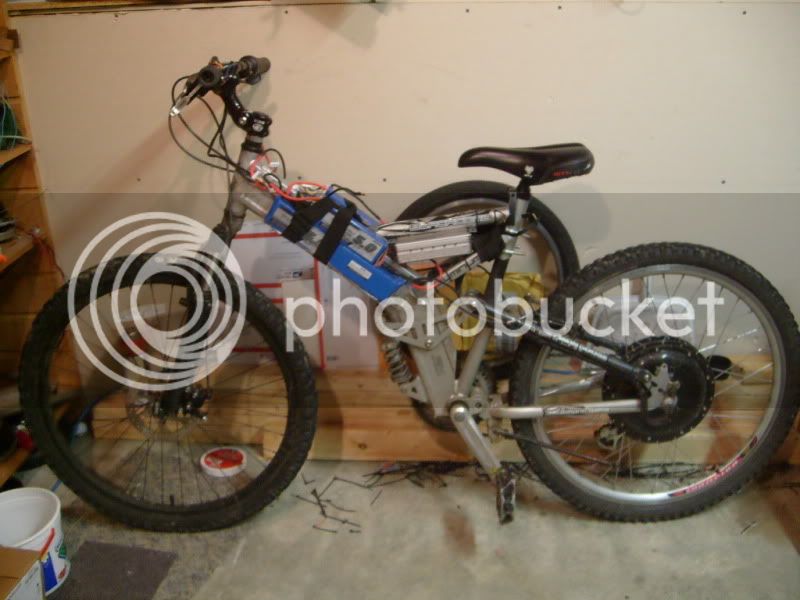
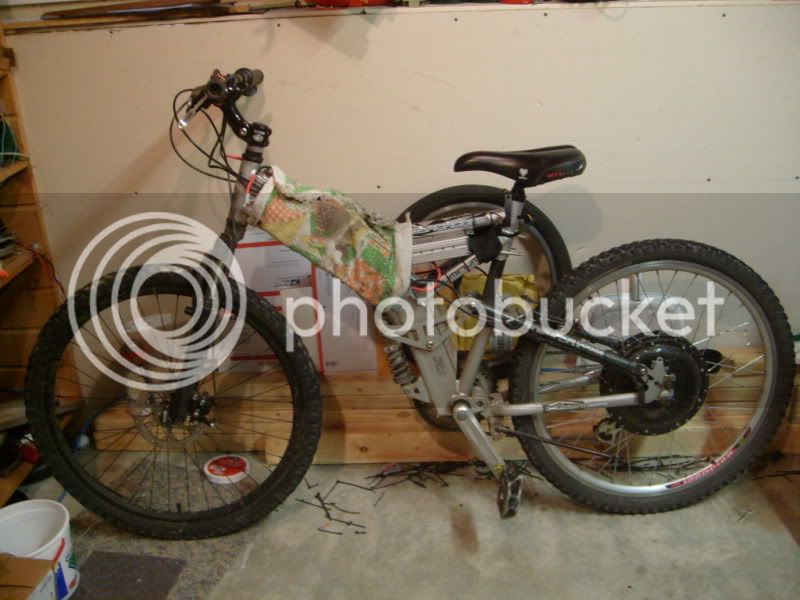

Metallover said:I need to find something to replace that towl with. Anyone know of some material to fit over that? I would like something blck, waterproof, and durable ideally.
GCinDC said:Very nice, Metalover!
I just got a yard (x 54") of Nylon Cordura at a local fabric store. Quick web search for same stuff. The back is slick, like plastic (and sticky back velcro loves it), and the front is backpack or duffle bag material.
Mark_A_W said:Umm...black duct tape?
