The charge mode of Adaptto controllers is a very nice feature because it makes it possible to use one charger (PSU + coil) for many vehicles with different battery configurations.
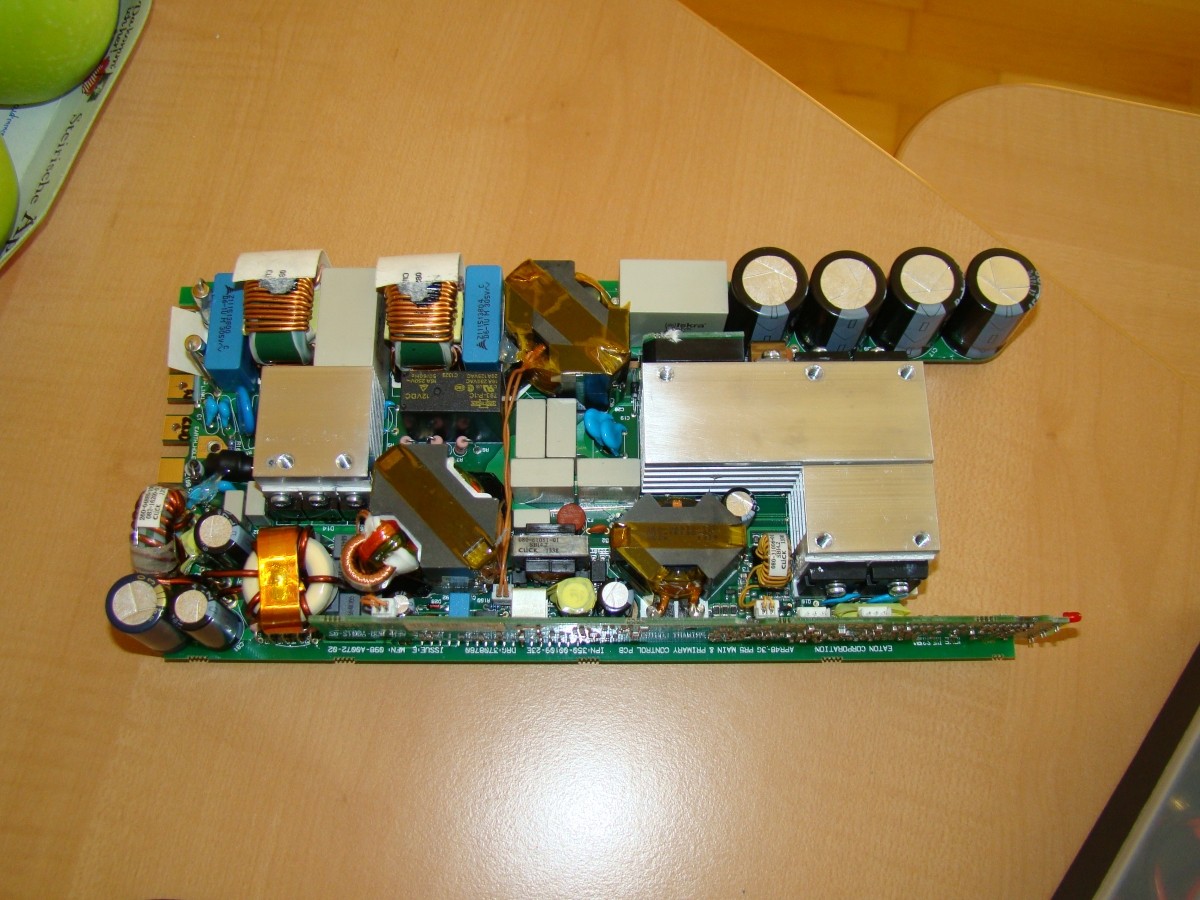
I decided to use the Eaton APR-48-3G server PSU. Like the name says it has 48v nominal so it should be possible to charge any battery that has above 48V when empty up to 100V. It has a maximum continuous output power of 1800W and it features CC/CV limiting what would mean it also could be used for bulk charging (up to set voltage, maximum is about 58V i believe).
We could place the coil either in the vehicle or at the charger side, but if its placed at vehicle side, its necessary to unplug it everytime when riding - otherwise the controller could get damaged.
This is prone to errors and more cost intensive (we would need to buy a ciol for every single vehicle), so the only wise decision was to put the coil together with the charger into a case - of course as small as possible to keep it transport friendly")
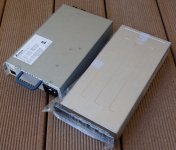
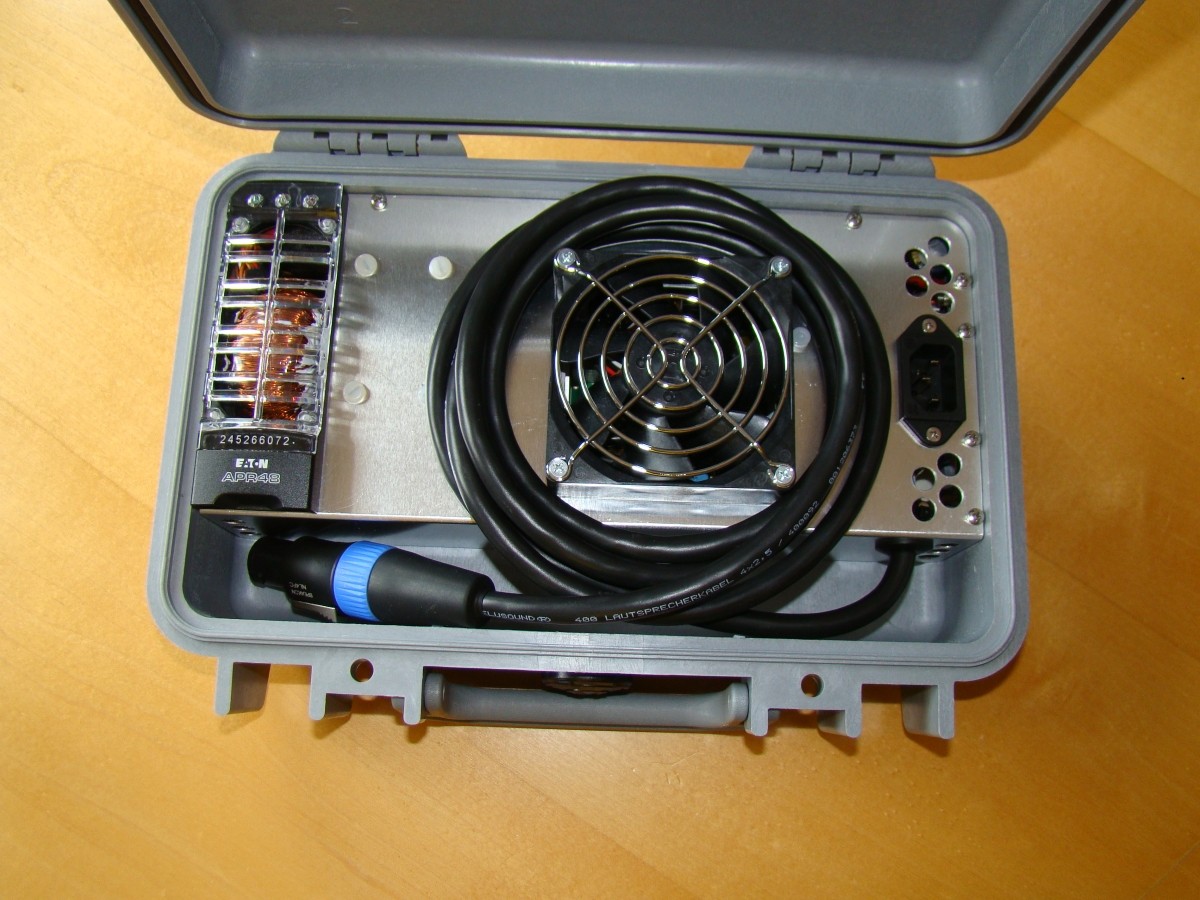
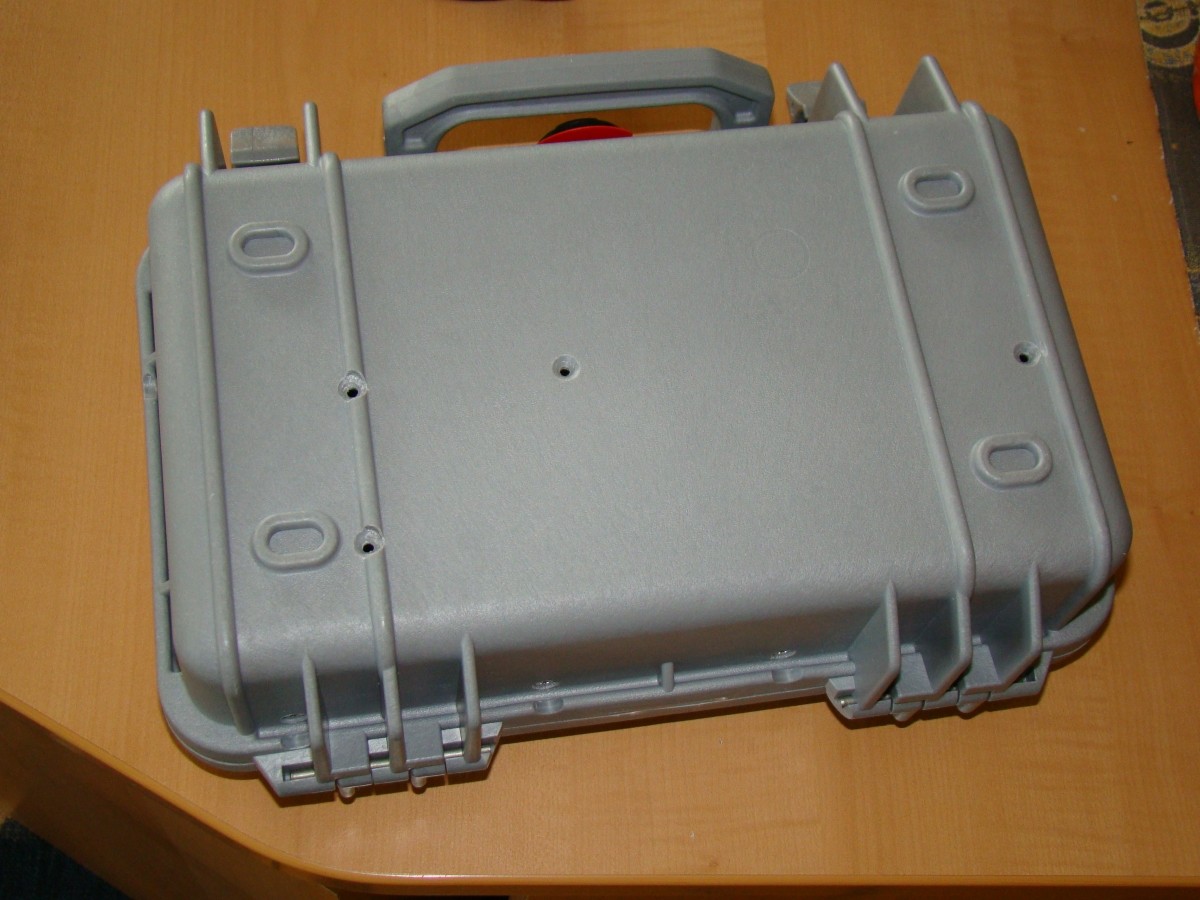
After disassembling the Eaton PSU and some measurements i decided to use Peli 1170 case as it has the closest dimensions.
I have shot many pics during the conversion so you can see what parts you need and what work exacty i have done on the psu and the case.
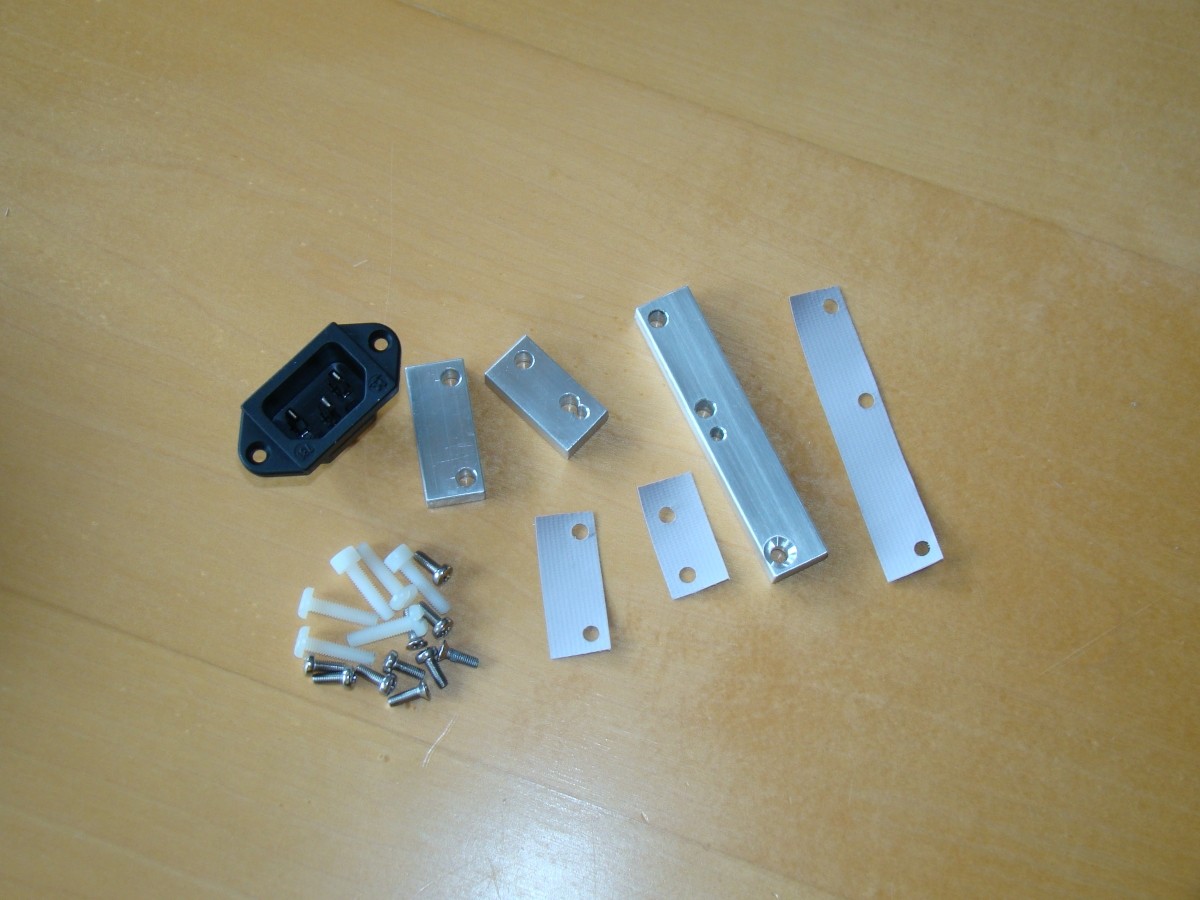
parts list:
- Peli 1170 case
- Eaton PSU
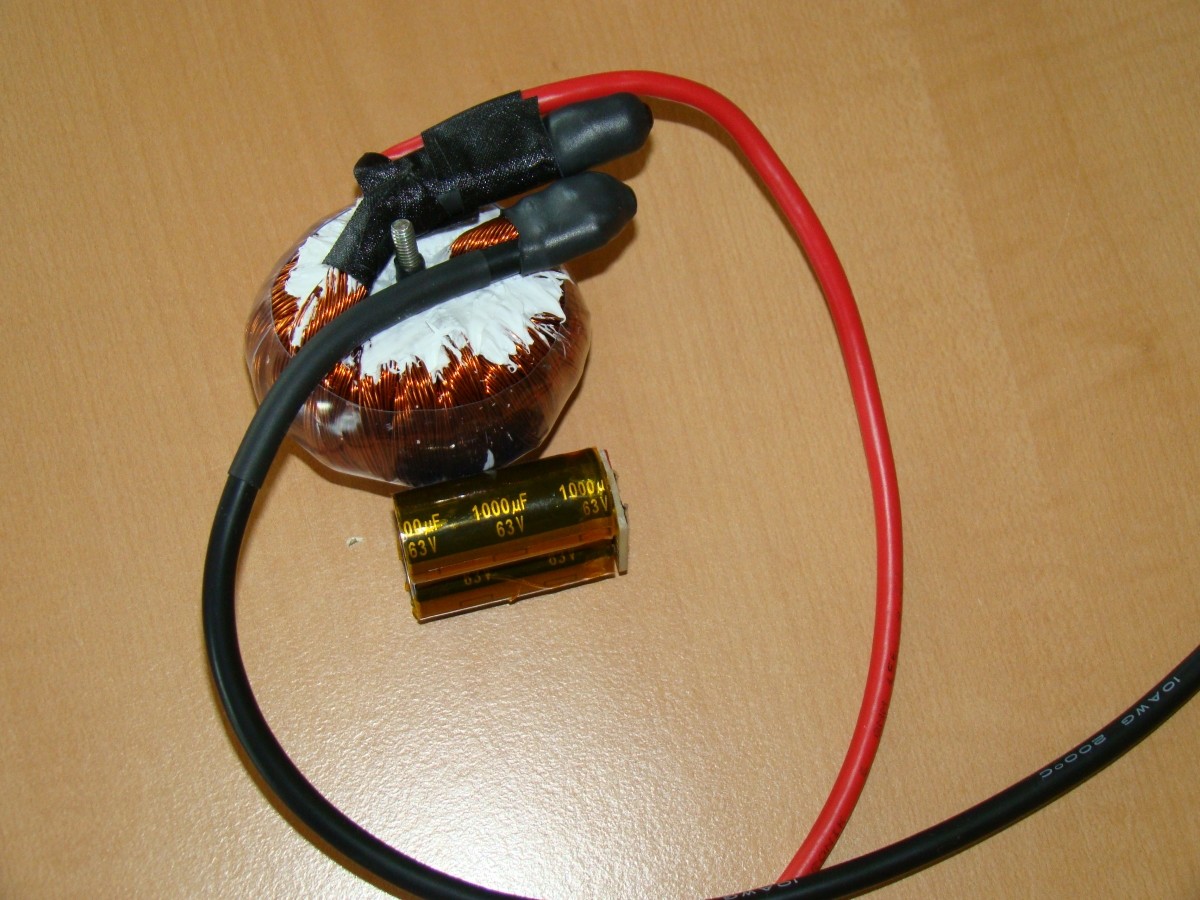
- small Adaptto coil
- 3 pcs 63V 1000µF capacitors with maximum 16x31.5mm, i used Panasonic EEUFC1J102U
- 80mm industrial fan (no pulse tachomoter like PC fan have), i used Panasonic ASFN80391
- 4 x 2,5mm² wire (mine is about 1,6m long), i used Helukabel 400092, + rubber bushing
- protective grille for the fan
- power connector IEC
- small connectors for LED connection (6-pole total)
- 6 x 6mm Alu profile (should be strong)
- 8 x 12mm Alu profile
- >270 x >170 x 1.5mm Alu sheet
- lots of M3 x 10mm screws
- 6pcs M4 x 20 plastic screws
- long M4 screw + insulated washer for fixing the coil
- epoxy for metal
i think its complete
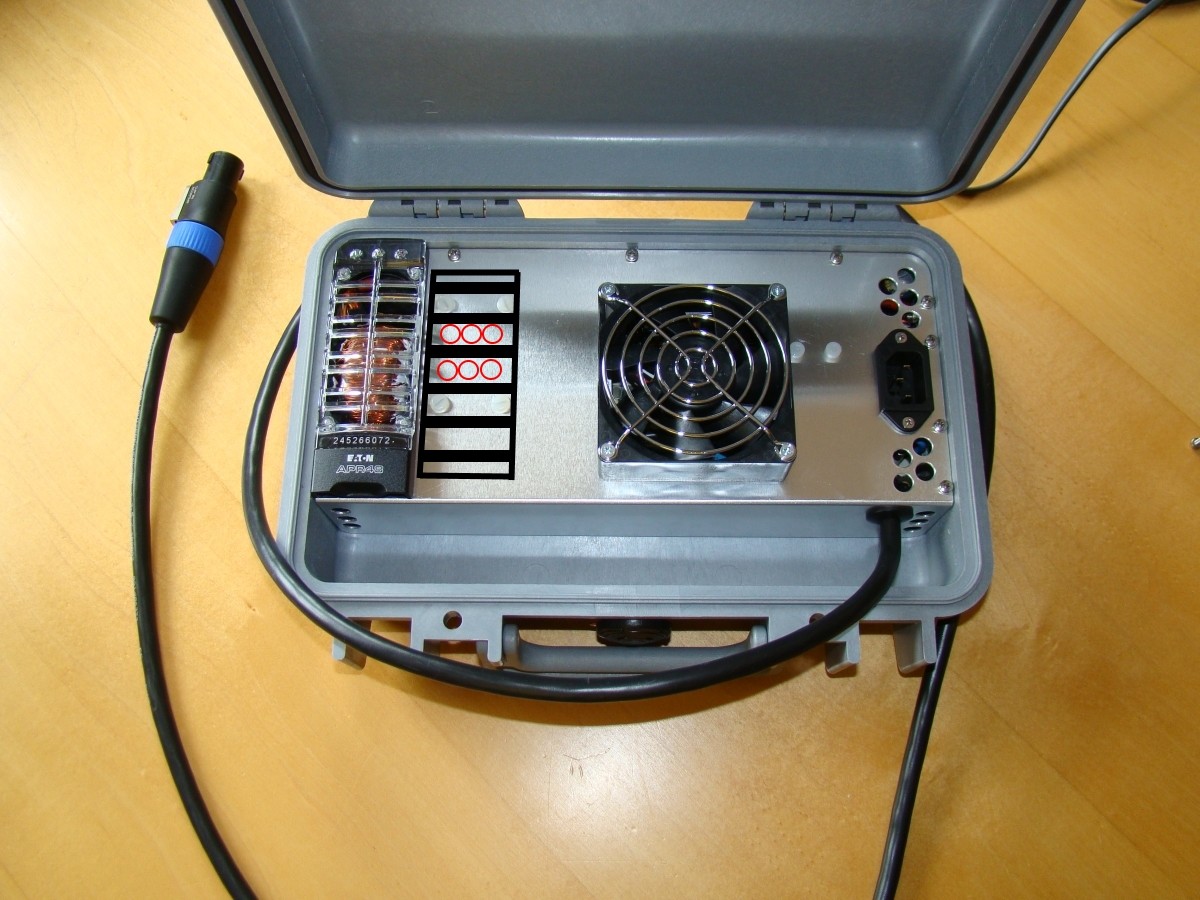
thats how it looks:
Now lets start.
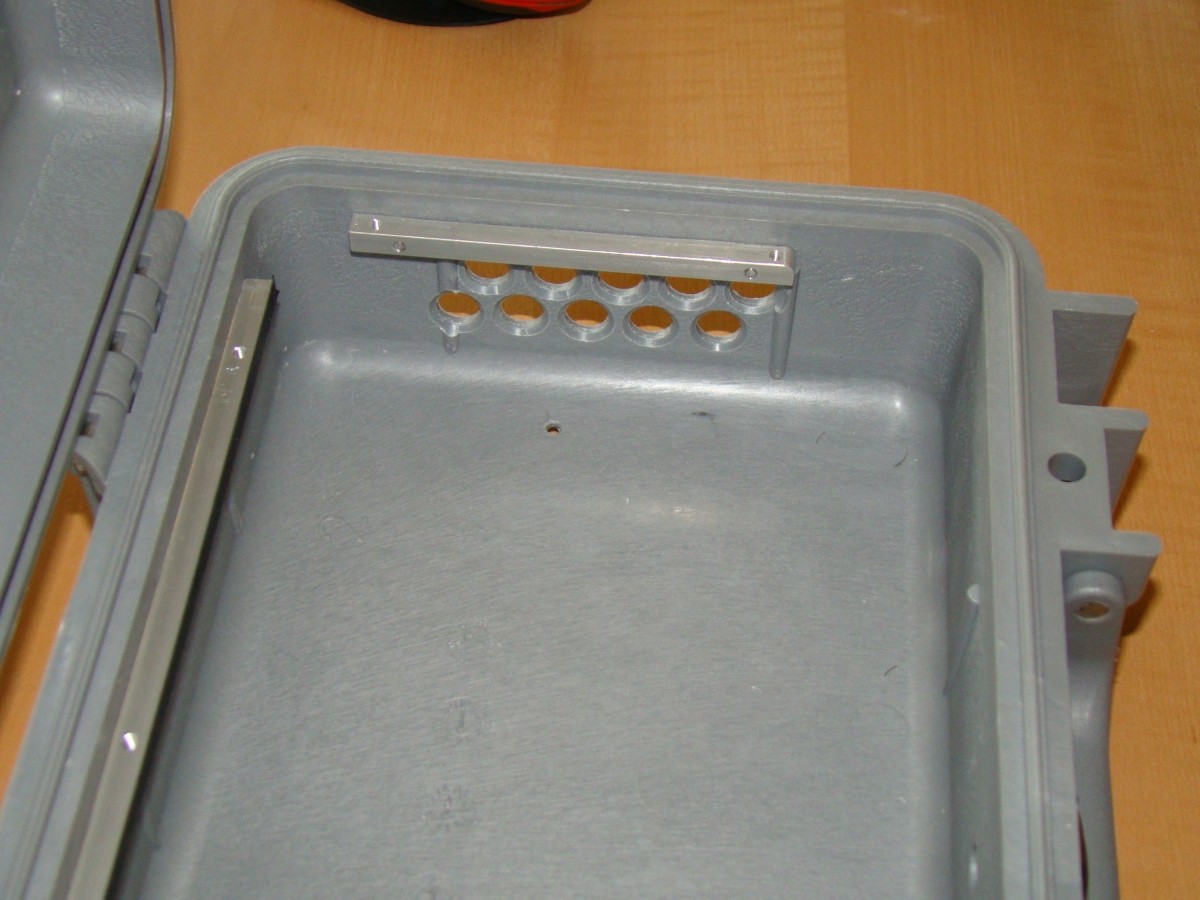
sharped M3 bolts to copy bolt position to peli case bottom:
mount the 6x6 Alu profile to the sides (exactly onto the prejecting parts), drill holes for air outlet etc:

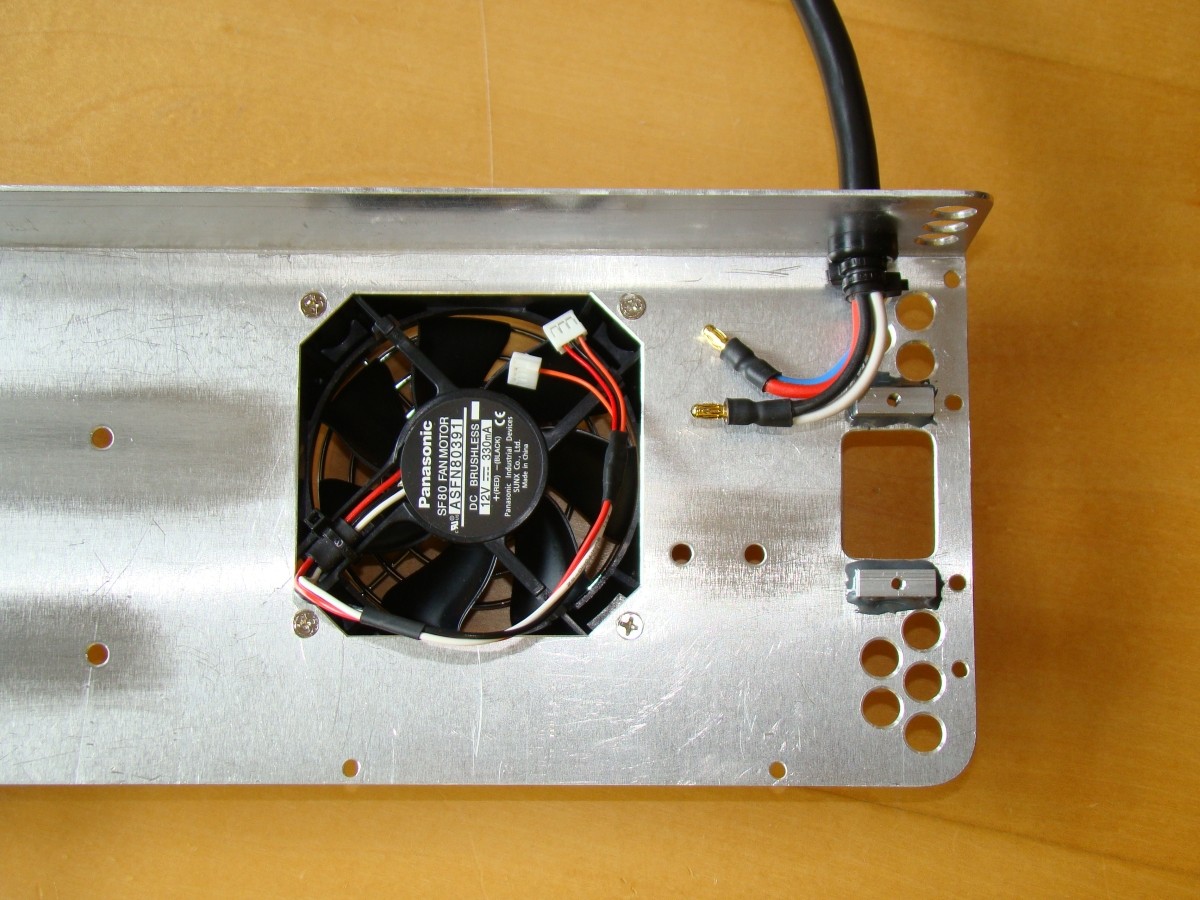
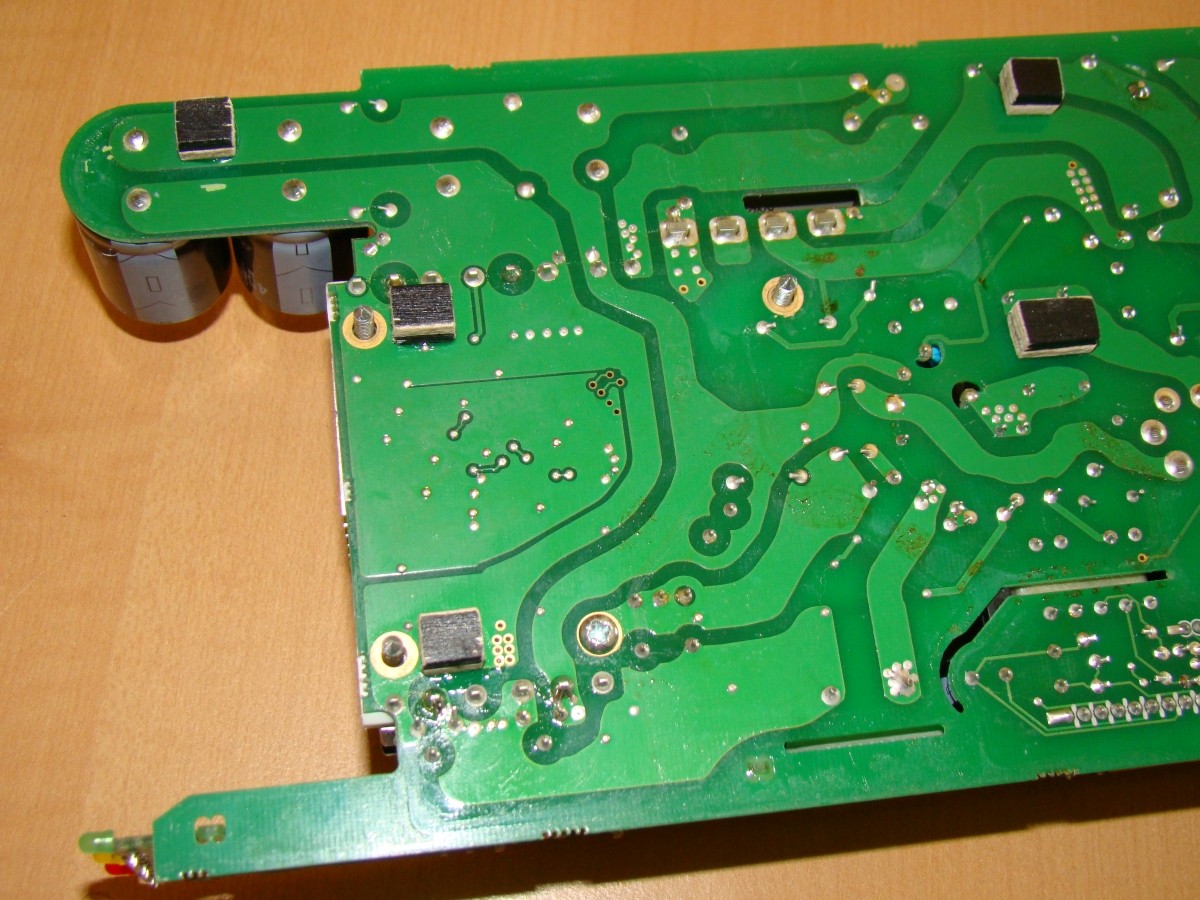
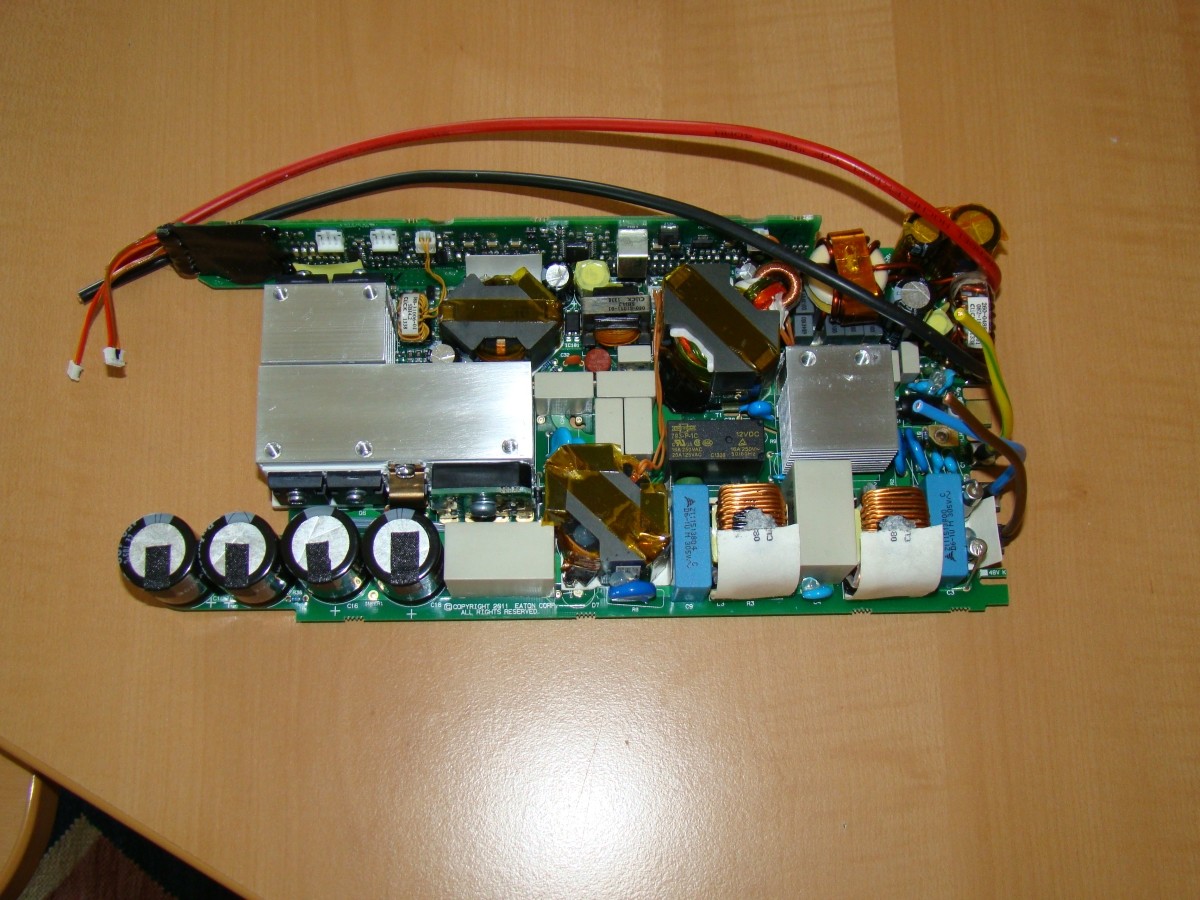
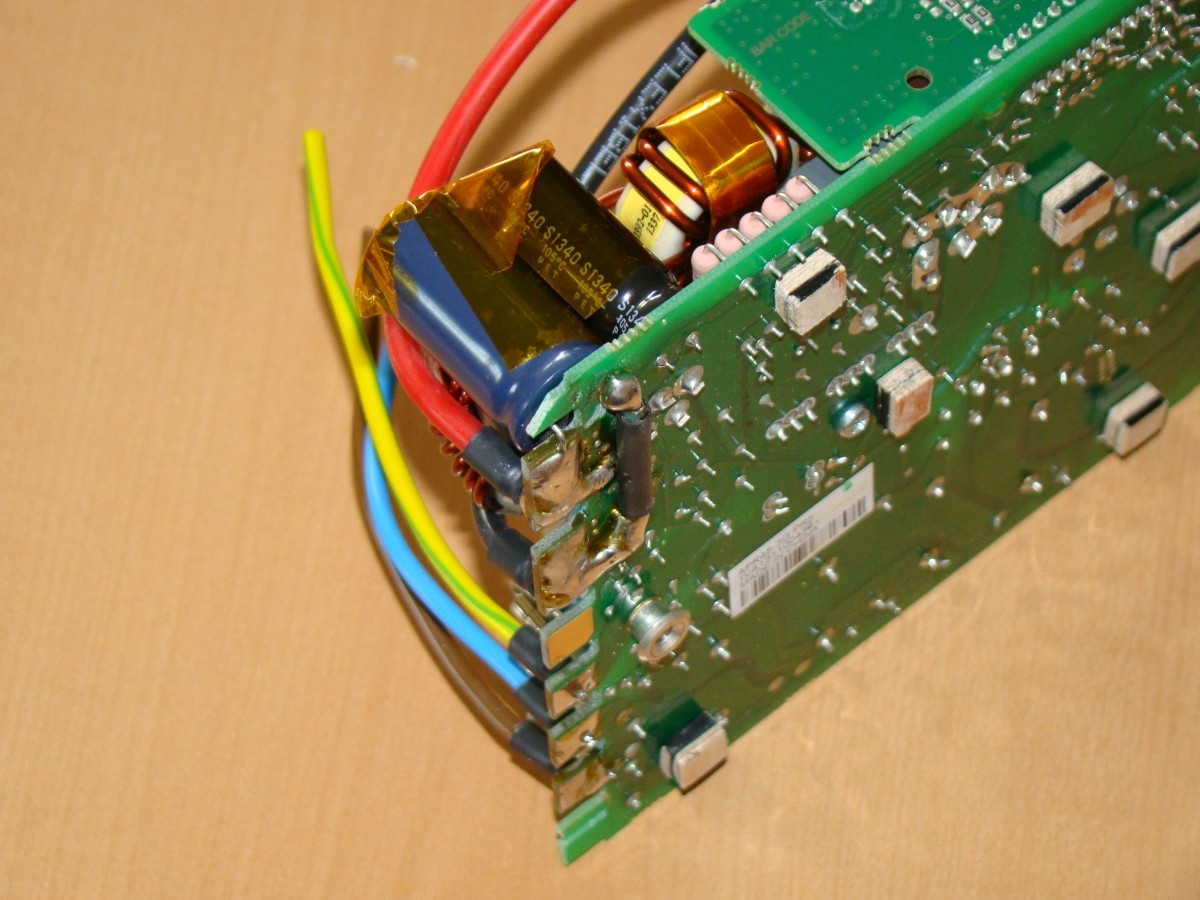
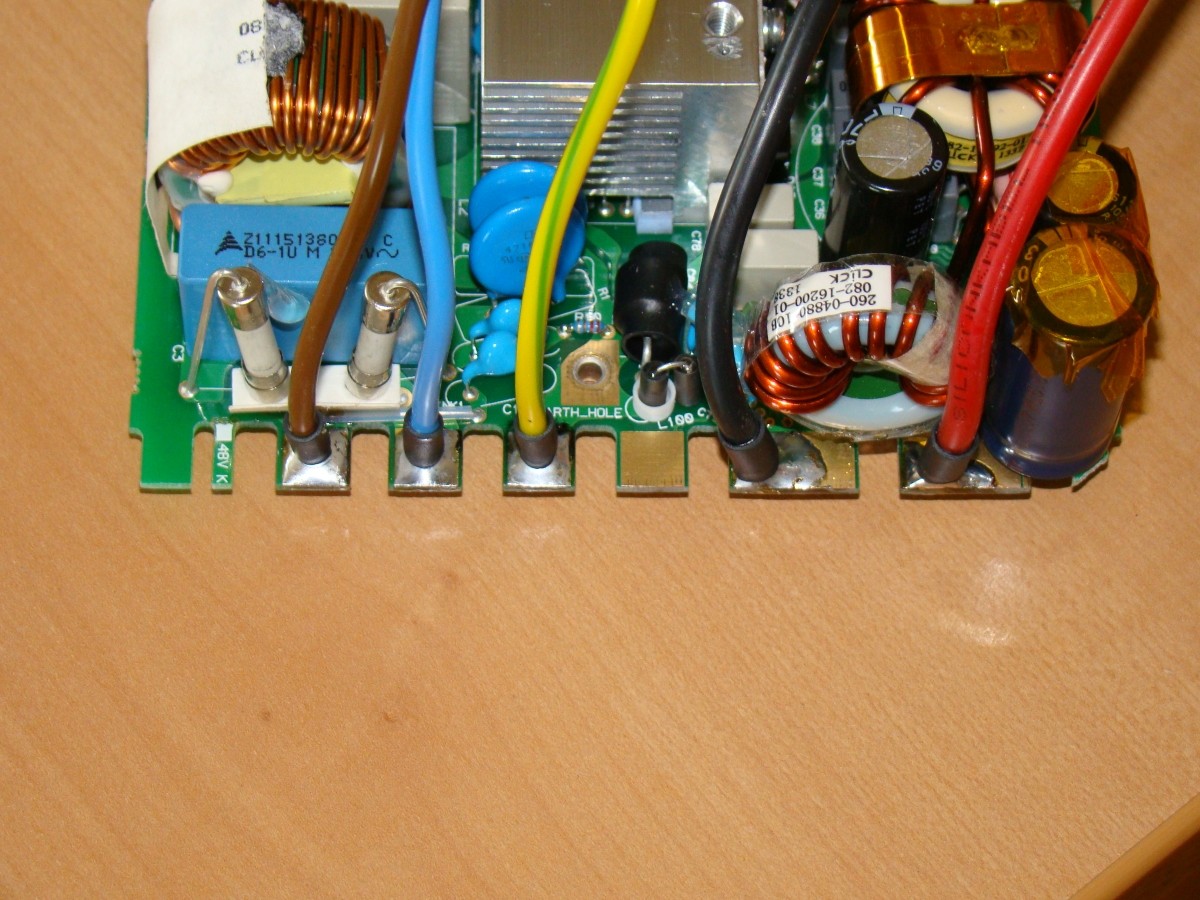
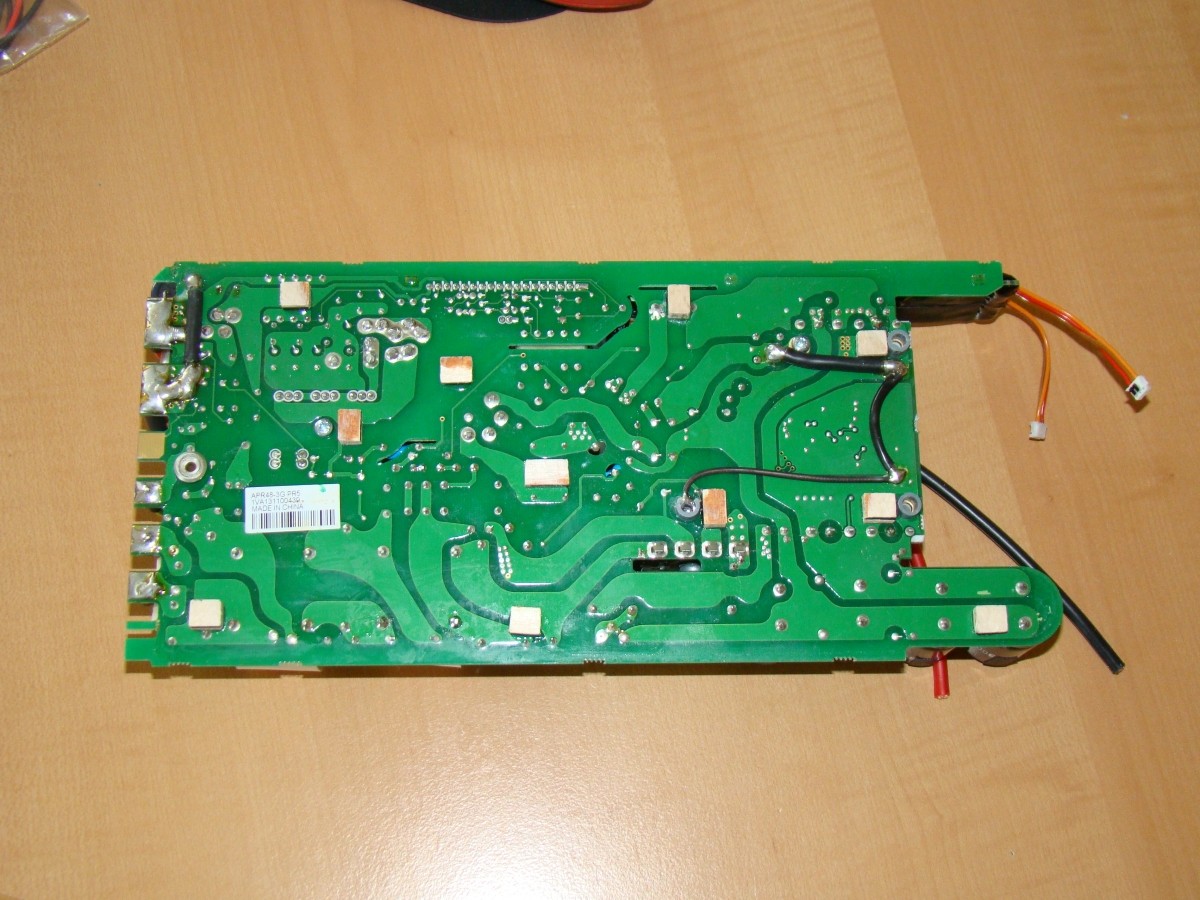
work on the Eaton PSU:
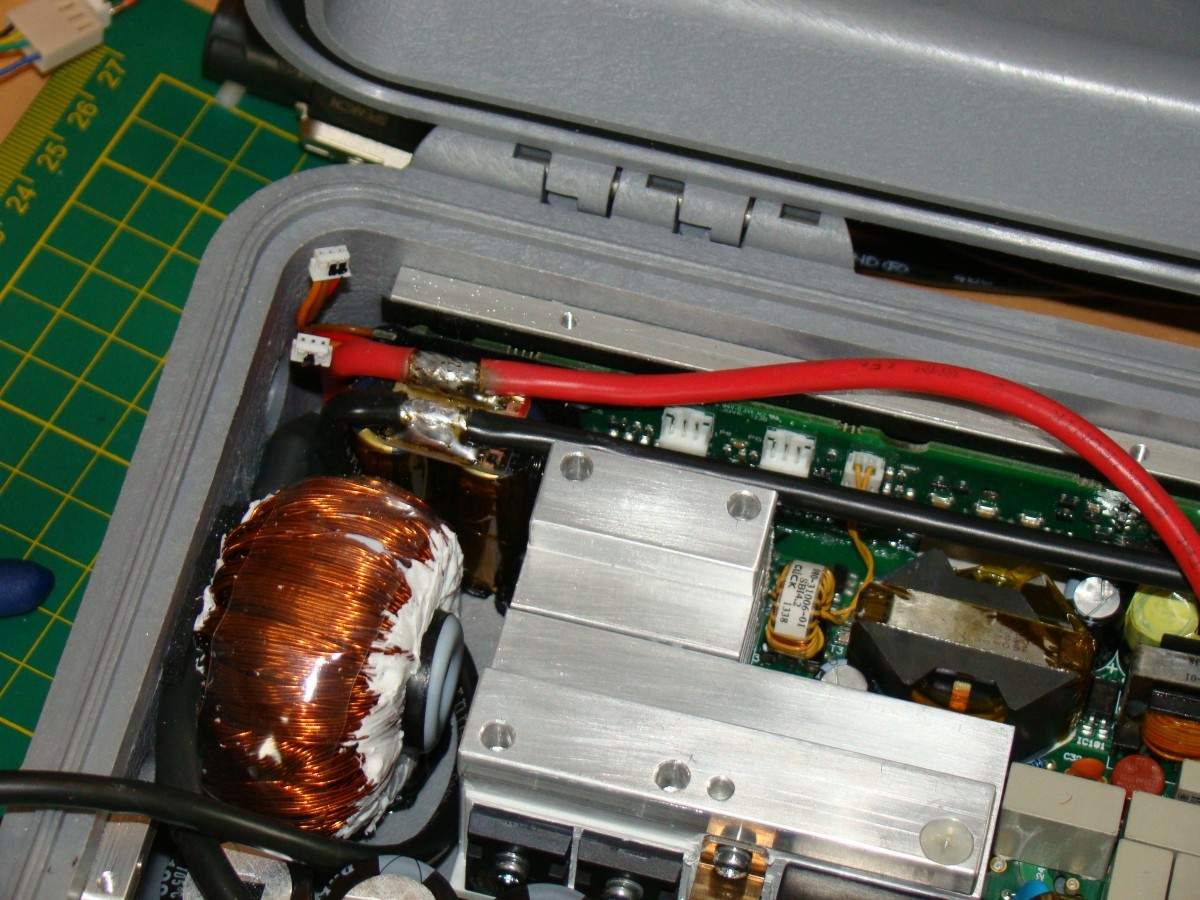
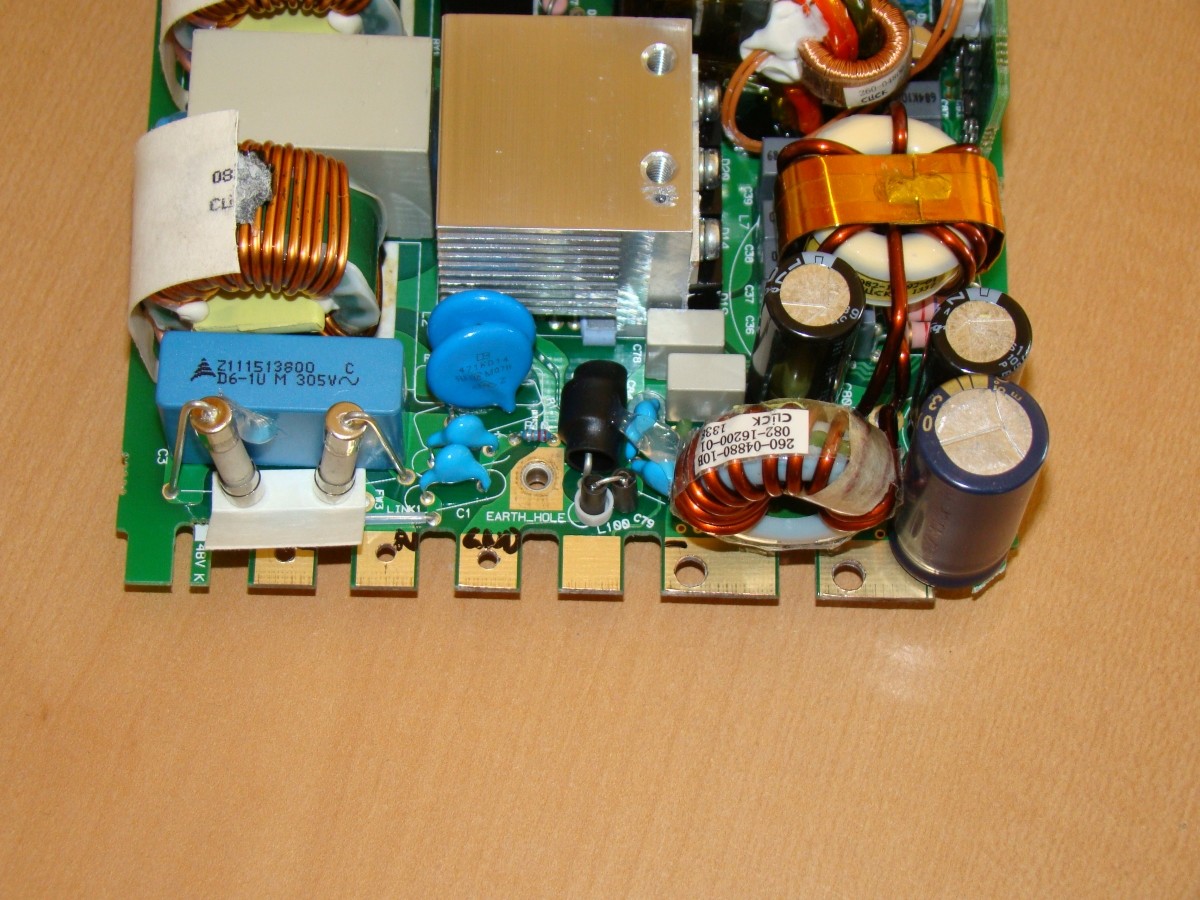
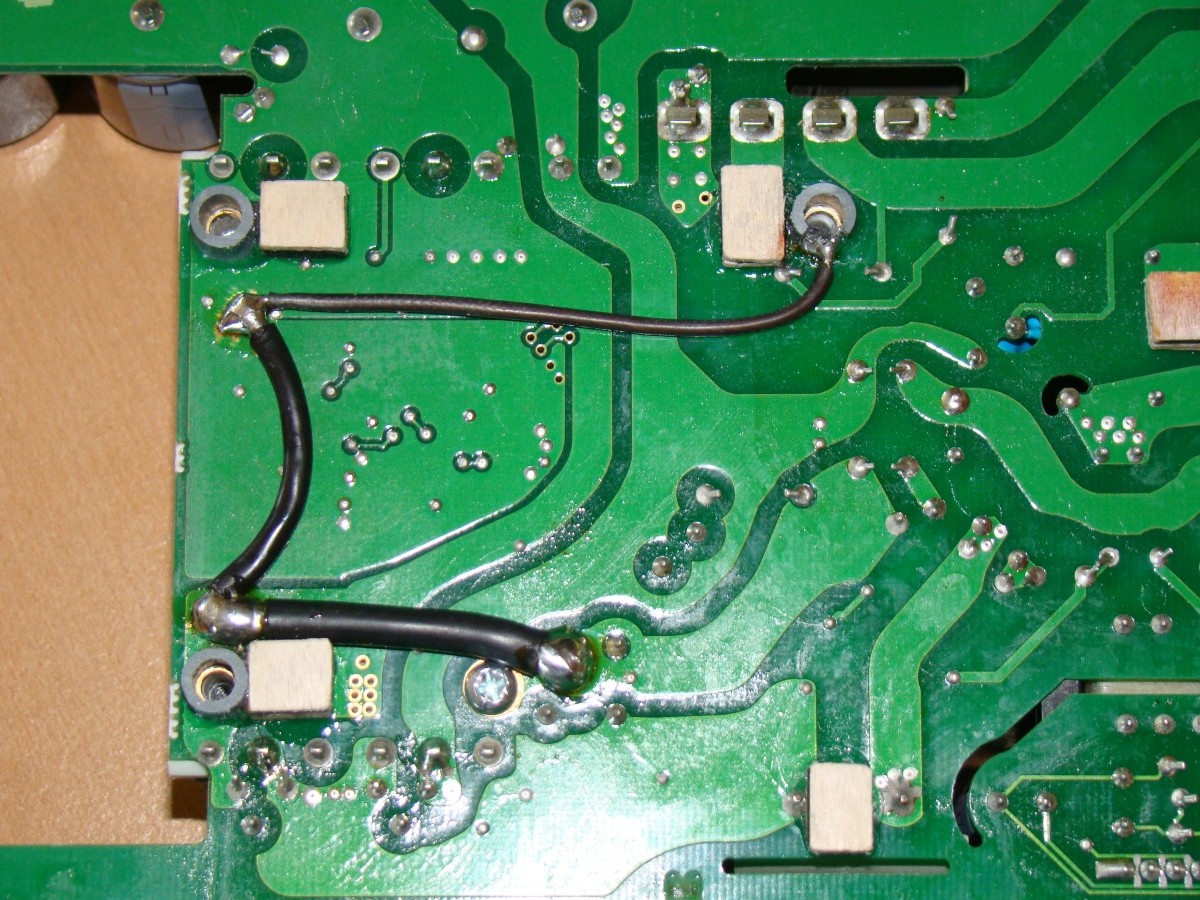
adding wires and one capacitor, small wood plates sticked to bottom as spacers, shorted the board a few mm at output side (to have more space left for the coil) and drilled holes for the wires,
drilled holes to the heatsink and cut M4 into, remove the LED's and add a connector,..
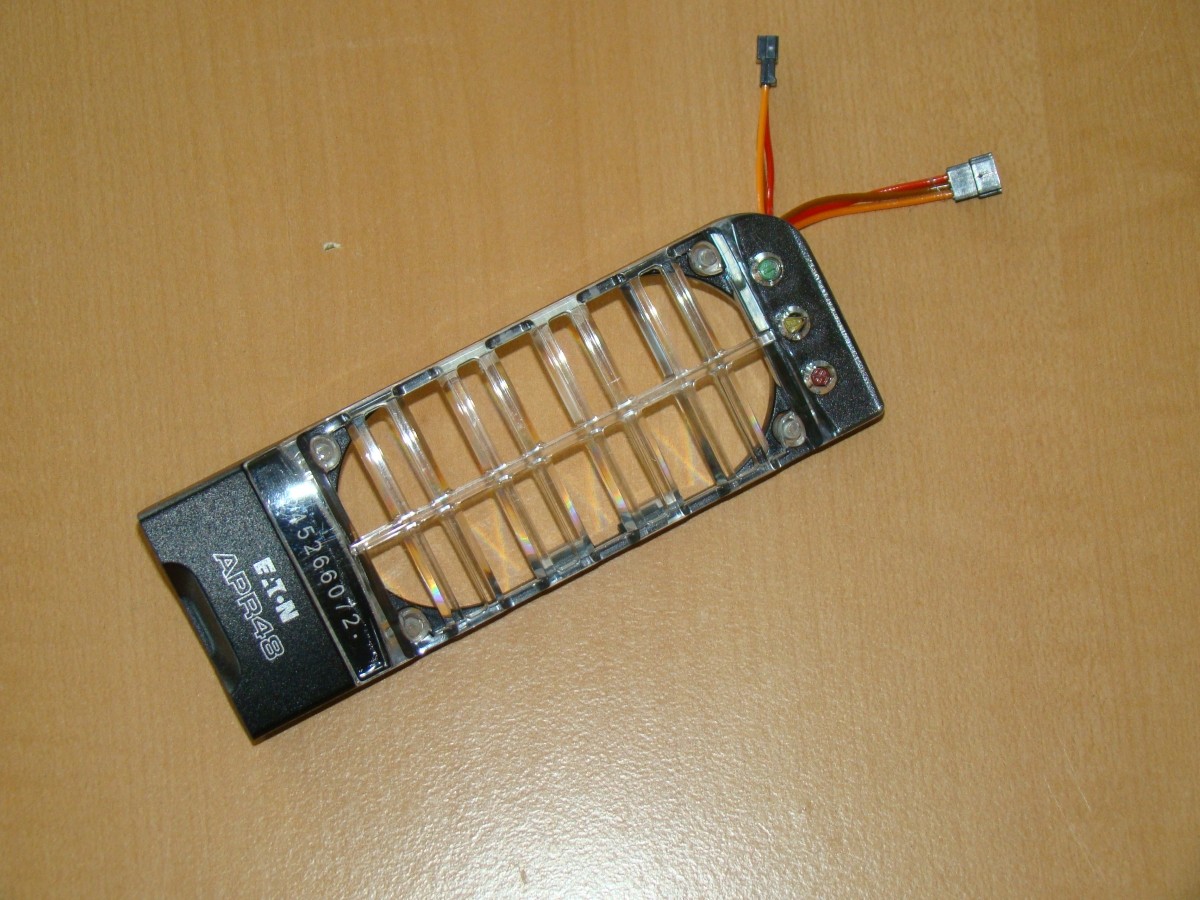
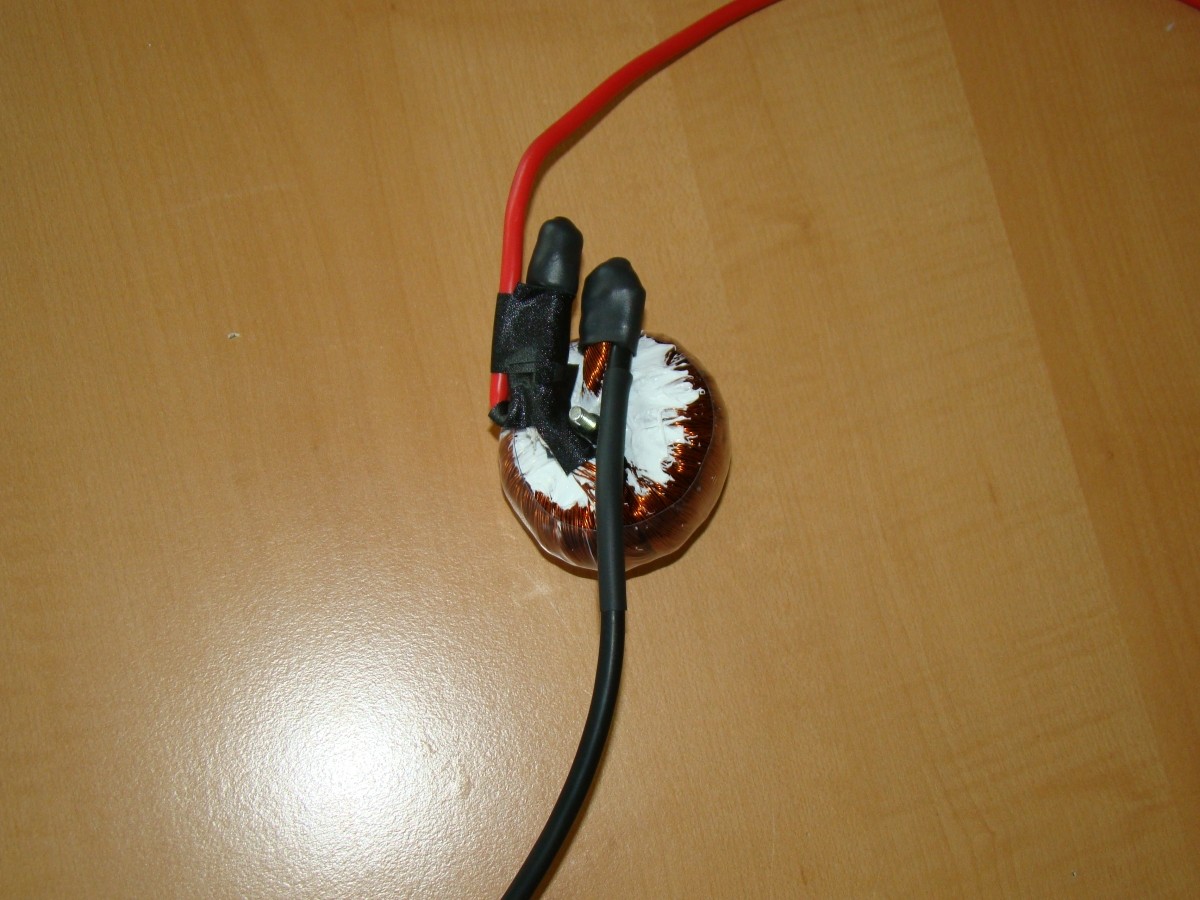
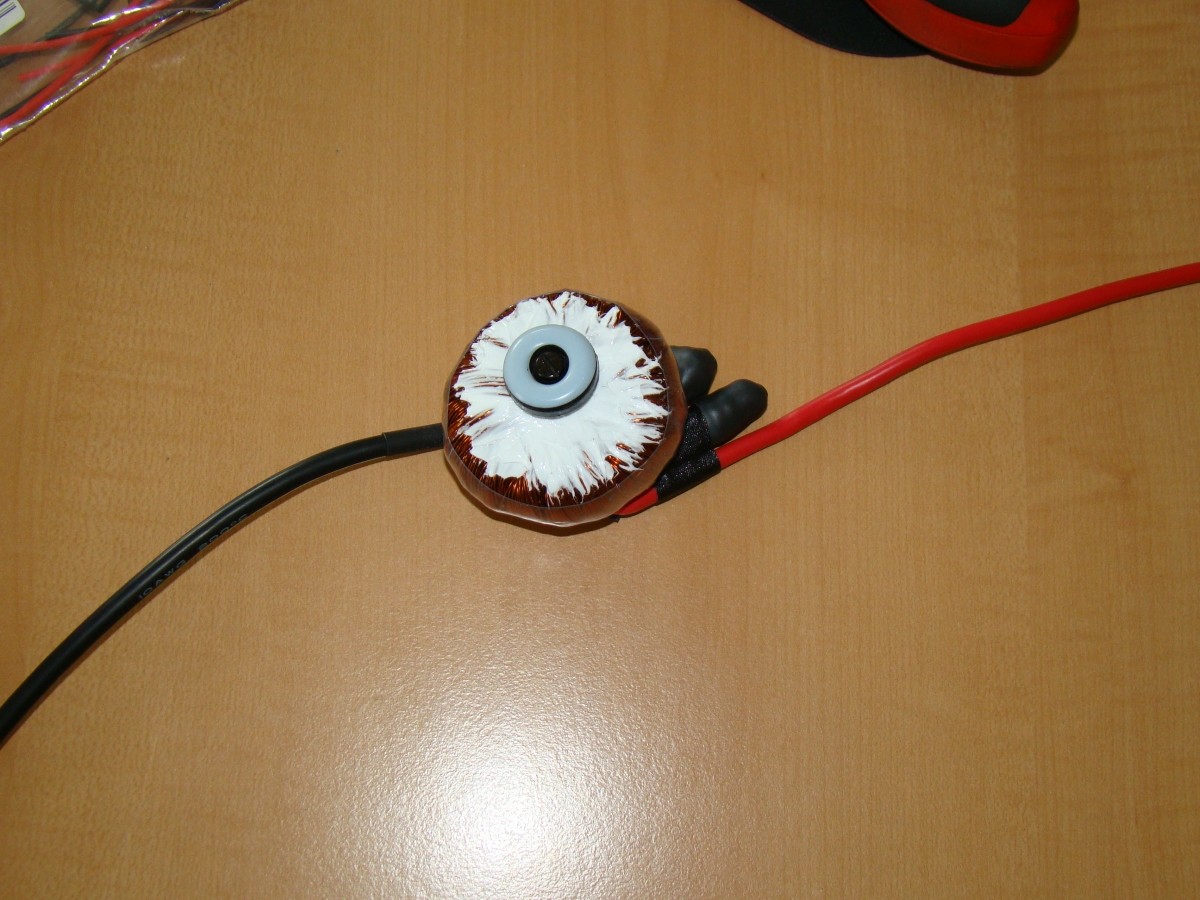
next the work on the coil:
pull out one wire from the middle and make it look like below. i believe one half turn less will not be a problem
I decided to use the Eaton APR-48-3G server PSU. Like the name says it has 48v nominal so it should be possible to charge any battery that has above 48V when empty up to 100V. It has a maximum continuous output power of 1800W and it features CC/CV limiting what would mean it also could be used for bulk charging (up to set voltage, maximum is about 58V i believe).
We could place the coil either in the vehicle or at the charger side, but if its placed at vehicle side, its necessary to unplug it everytime when riding - otherwise the controller could get damaged.
This is prone to errors and more cost intensive (we would need to buy a ciol for every single vehicle), so the only wise decision was to put the coil together with the charger into a case - of course as small as possible to keep it transport friendly
After disassembling the Eaton PSU and some measurements i decided to use Peli 1170 case as it has the closest dimensions.
I have shot many pics during the conversion so you can see what parts you need and what work exacty i have done on the psu and the case.
parts list:
- Peli 1170 case
- Eaton PSU
- small Adaptto coil
- 3 pcs 63V 1000µF capacitors with maximum 16x31.5mm, i used Panasonic EEUFC1J102U
- 80mm industrial fan (no pulse tachomoter like PC fan have), i used Panasonic ASFN80391
- 4 x 2,5mm² wire (mine is about 1,6m long), i used Helukabel 400092, + rubber bushing
- protective grille for the fan
- power connector IEC
- small connectors for LED connection (6-pole total)
- 6 x 6mm Alu profile (should be strong)
- 8 x 12mm Alu profile
- >270 x >170 x 1.5mm Alu sheet
- lots of M3 x 10mm screws
- 6pcs M4 x 20 plastic screws
- long M4 screw + insulated washer for fixing the coil
- epoxy for metal
i think its complete
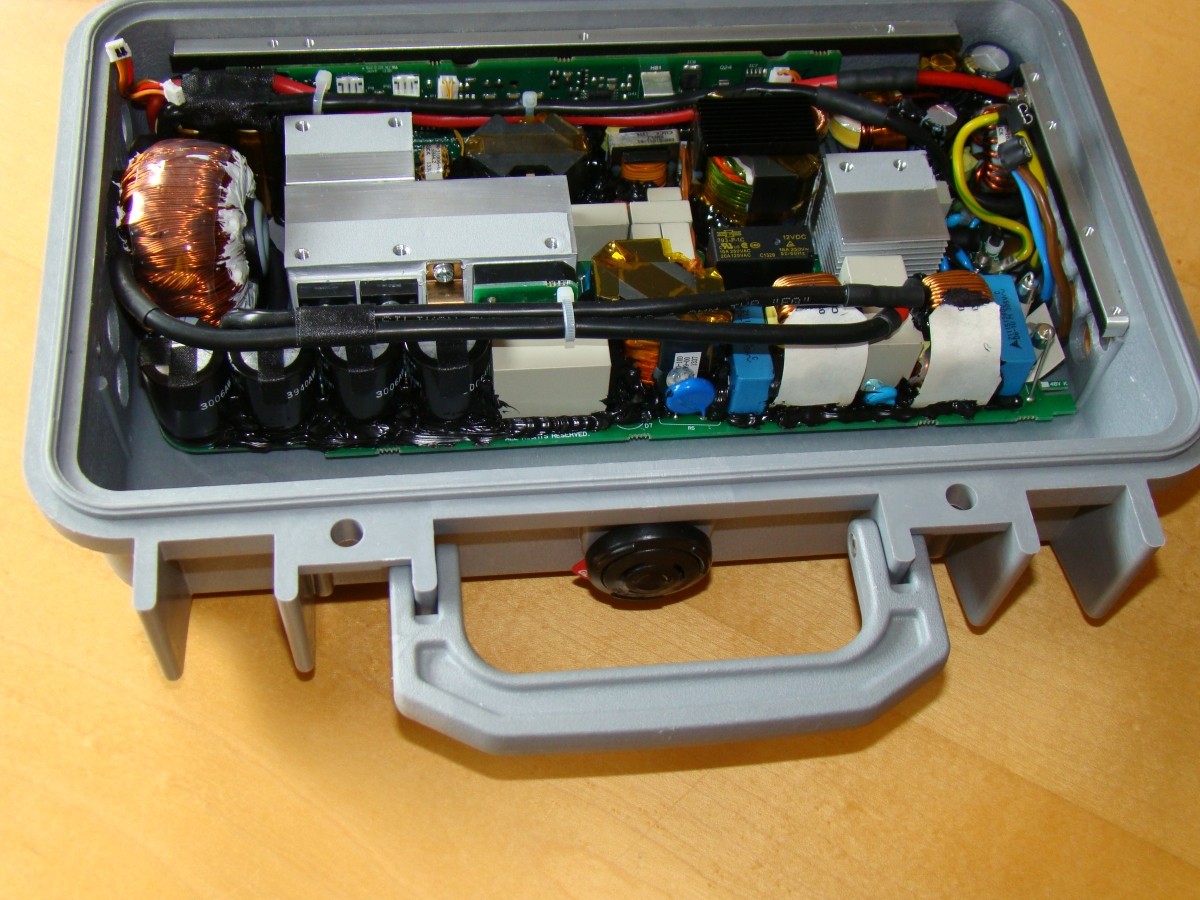
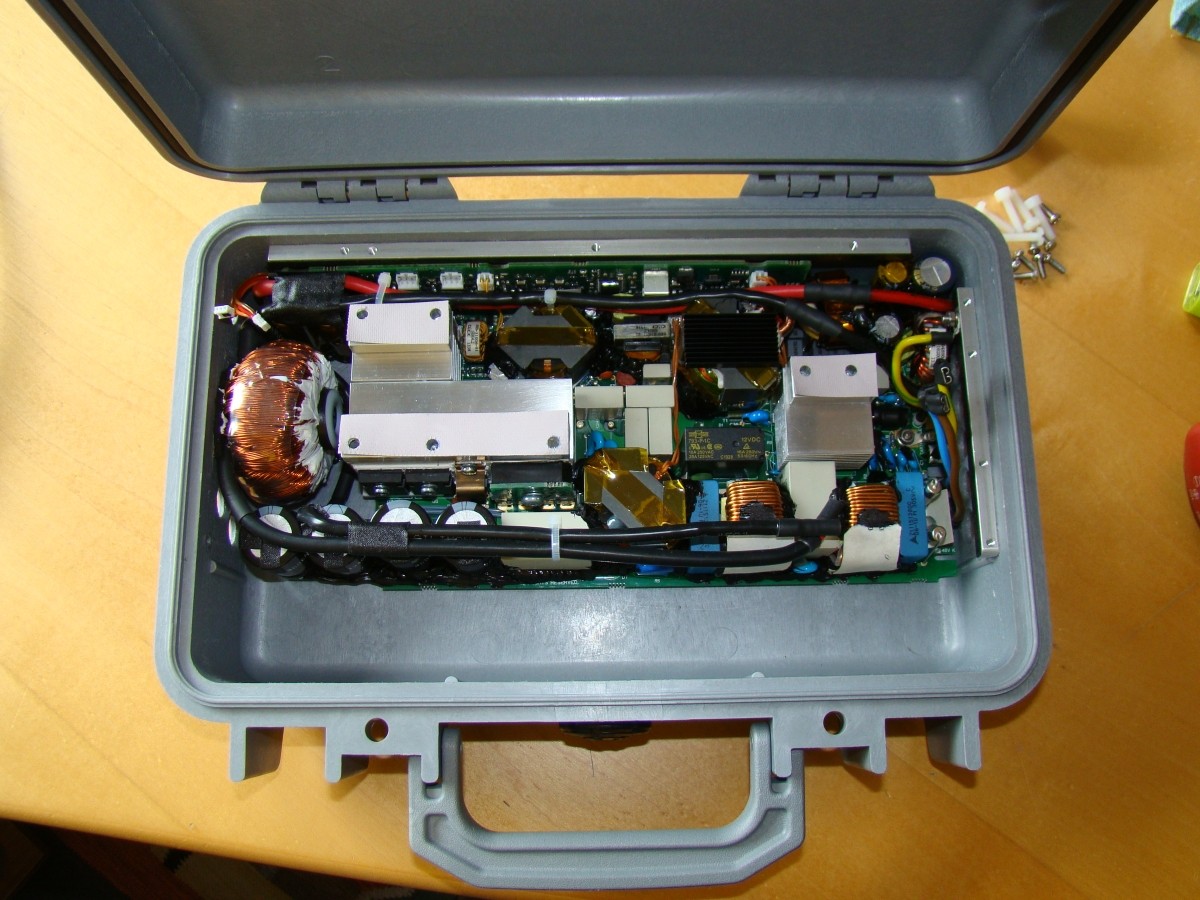
thats how it looks:
Now lets start.
sharped M3 bolts to copy bolt position to peli case bottom:
mount the 6x6 Alu profile to the sides (exactly onto the prejecting parts), drill holes for air outlet etc:
work on the Eaton PSU:
adding wires and one capacitor, small wood plates sticked to bottom as spacers, shorted the board a few mm at output side (to have more space left for the coil) and drilled holes for the wires,
drilled holes to the heatsink and cut M4 into, remove the LED's and add a connector,..
next the work on the coil:
pull out one wire from the middle and make it look like below. i believe one half turn less will not be a problem