Trouble Shooting 2-2 error code

Joined
Jan 31, 2021
Messages
15
I'm getting a 2-2 error code on my Kelly Controller when I add my head lights to the accessory wire. The motor works correctly when the lights are not added in. The lights work correctly when they are added in, but the motor stops due to the fault.

The manual describes the 2-2 error code as an Internal Volts Fault. It tells me to:
1. Measure that B+ & PWR are correct when measured to B- or RTN.
2. There may be excessive load on the +5V supply Kelly KLS-H Sinusoidal Brushless Permanent Magnet Motor Controller User’s Manual V 1.2 29 caused by too low a value of Regen or throttle potentiometers or incorrect wiring.
3. Controller is damaged. Contact Kelly about a warranty repair.
4. If this error code occurs, the relay function on plin9 will be deactivated.

My guess is option number 2, since it only happens when I add in the light. But, I don't fully understand what it's talking about. Can you all help me understand what the problem could be, give me ideas for trouble shooting, and/or just throw anything at me that might help?
 
That’s what doesn’t make sense to me. The light is on the 12v accessory line.
Also, this is on my e moto build that Im making. I got a notification that the message was moved from the e-moto builds forum. I just wanted to make sure that everyone knew it wasn’t a pre-existing/finished moto. I’m building it, which I’m sure is why I’m getting the fault…I just don’t know how to trouble shoot this one further beyond what I’ve already done…
 
What voltage is the light intended to run on?
How much current (amps) does the light take?

The 12v in the controller is usually used to run the gate drivers that turn the FETs on and off to run the motor, *and* to run the 5v regulator that then runs the MCU, halls, throttle, etc.

If the current draw on that line is too high, it won't be able to do the job it's meant for, and if it's high enough it can damage it. It is not intended to run lights or other accessories, only controller-critical items. .


Normally lighting is run from a separate DC-DC powered directly off your traction battery. That DC-DC has to be able to supply *at least* as much current as all the things it has to power; I recommend getting one that can handle more than twice the amps all those things will take, total, since many of these are rated higher than they're actually capable of.

If this is the same project as your first thread here, you already needed such a DC-DC for your contactor. If you didn't get one then, you'd still need it to run the contactor, or you'd have had to lose the contactor and just be turning things on and off directly.... If you did get one, then you should be able to use it for the lights, if it has the current capability. If not, you'll need a bigger one or a separate one for the lights.


Hopefully this helps; I tried to help with your previous problem but you never replied.
 
Last edited:
What voltage is the light intended to run on?
How much current (amps) does the light take?

The 12v in the controller is usually used to run the gate drivers that turn the FETs on and off to run the motor, *and* to run the 5v regulator that then runs the MCU, halls, throttle, etc.

If the current draw on that line is too high, it won't be able to do the job it's meant for, and if it's high enough it can damage it. It is not intended to run lights or other accessories, only controller-critical items. .


Normally lighting is run from a separate DC-DC powered directly off your traction battery. That DC-DC has to be able to supply *at least* as much current as all the things it has to power; I recommend getting one that can handle more than twice the amps all those things will take, total, since many of these are rated higher than they're actually capable of.

If this is the same project as your first thread here, you already needed such a DC-DC for your contactor. If you didn't get one then, you'd still need it to run the contactor, or you'd have had to lose the contactor and just be turning things on and off directly.... If you did get one, then you should be able to use it for the lights, if it has the current capability. If not, you'll need a bigger one or a separate one for the lights.


Hopefully this helps; I tried to help with your previous problem but you never replied.
Thanks. I’ll dissect this response tomorrow. I think you may have nailed it. I did end up getting a different contactor from the previous response and got much further (thanks!)….then I took about a…errr…3 year break from it? Oi!

Anyway, thanks for your help! I’ll see what comes of it tomorrow!
 
What voltage is the light intended to run on?
How much current (amps) does the light take?
What voltage is the light intended to run on? 12v
How much current (amps) does the light take? 1.9amps (23watts/12v, right? this is the light: Amazon.com )

Will this work for the precharger relay (link below): If so, can you help me see the correct wiring with your previous schematic drawing (I've attached it here).


Attachments

  • For the correct way.wiring.jpg
    For the correct way.wiring.jpg
    39.9 KB · Views: 5
What voltage is the light intended to run on? 12v
How much current (amps) does the light take? 1.9amps (23watts/12v, right? this is the light: Amazon.com )
Ok, well, if your'e still using the same controller as before, it only has 40mA, or 0.040A, available on it's 12v line.

So it cannot run the lights and controller, etc. You'll need a completley separate power supply (DC-DC) that takes your battery voltage and converts it to 12v**** for the lights.

****If the lights are intended for cars, motorcycles, etc., they are actually "automotive 12v" which is really about 13.6-14.4v, so make sure your DC-DC outputs that much, or the lights won't be as bright as they should be.


Also note that light says it has a blue halo. In some places, blue lights are illegal except on emergency vehicles, so you may want to check your local laws about that, or just leave the halo disconnected and unused. The item also has some bad reviews that indicate you're likely to have to take it apart to either rewire it or to physically modify it so that it works as it should.


Will this work for the precharger relay (link below): If so, can you help me see the correct wiring with your previous schematic drawing (I've attached it here).

I don't know what the "precharger relay" is intended to do in your circuit. Your diagram appears to completely parallel it with the contactor, so it would electrically be doing the same job, AFAICS. If you intend it to do something different, you'll need to describe in detail the specifics of that, wire by wire and step by step of the process it uses to precharge the controller.

Normally all a precharge system does is put a resistor in series with one of hte battery lines to the controller long enough for the capacitors in the controller to mostly charge up, to reduce current surge into them and prevent arcing of contacts for the main contactor. Often this resistor is placed across the contactor's main contacts, and then when the contactor closes, it shorts across the resistor to allow full main current to be able to flow to the controller.

Some people use a relay or contactor to connect the resistor to the controller (or contactor), and use the keyswitch to turn on the relay/contactor. Some just put it into one of the positions of a multi-position keyswitch (off, start, accessory, on, etc) so when the keyswitch is turned on to the first position, it connects battery positive to the controller thru the precharge resistor. Turning the keyswitch to the next position then turns on the main contactor. Some people just use the old Start button on the handlebars of some motorcycles to do precharge, and *then* turn the keyswitch on after the time they've chosen to wait for precharge to happen.


Note that I also don't see a way for the main contactor to be turned on. It's coil wires go to the box marked Precharger, but without knowing what is going on inside that box, they just "go nowhere". What specifically turns the main contactor on?

If it's coil wires are paralleled with the precharger contactor's coils, the PC can't do it's job because the main contactor has already turned on before it can start doing it.

Without a separate circuit to turn the contactor on, it's either not going to turn on at all, or it's only going to turn on at the same time as the PC (see above).


Regarding the main contactor:

If your controller is still the same one,
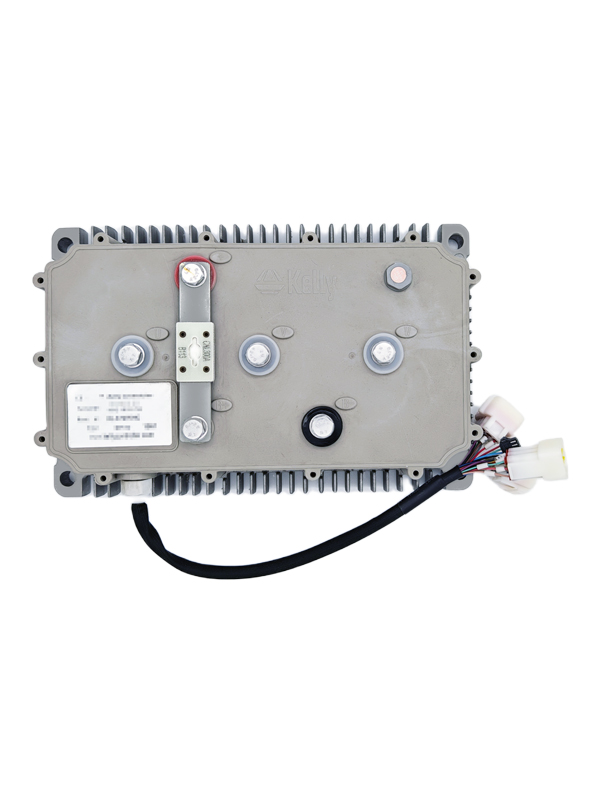
it can only supply 40mA from the 12v line.
The contactor spec sheet says
Coil Current (nominal at 20°C, 12vdc) 461mA 250mA 122mA
which is a few to several times the current the controller has available on that 12v line, so you'll need to use the external DC-DC to drive the coil.


If the contactor you linked above is intended to be the main contactor, it won't be able to handle the full current your controller may draw, it's only rated for about half of that, AFAICS.


I probably left out details or info; apologies as I was being distracted by JellybeanThePerfectlyNormalSchmoo.
 
These are the specs listed there for the item:

Item title:
DC-DC 84V 72V 60V 48V Step-Down to 12V 20A 240W high-Power Converter Step-Down Device Suitable for Various Battery Packs (36V-96V) of Golf carts and RVs Silver

Version:
Size:96V-36V TO 12V 20A

1701051059149.png 1701051087622.png 1701051207018.png

  • DC-DC Power Converter Input Voltage:DC36V-96V;Output Voltage:DC 12V Output Current:20A max;Output Power:240W max
  • Included wiring harness and docking connector for hassle-free installation and easy future replacement
  • Note the wiring: The lock wire (yellow wire) is connected to the lock switch. If you do not have a lock switch, combine the positive input red wire(yellow wire) together and connect it to the positive input
  • With 10A External fuse, internal short circuit protection, over voltage protection, thermal load protection The wires of the converter are made of copper wire, which is not easy to break, has better stability, and has a longer service life
  • Ideal for golf carts, mini bikes and scooters, scooters, bicycles, vacuum lights, electric snail horns, electric cars and boats and other 12V devic
Since it says it uses a 10A external fuse, it means that it's not intended to actually supply 20A, only 10A, which is not uncommon for the cheap DC-DC converters or other products (getting only half the capability). As long as everything you are connecting to it doesn't use more than 10A continously (even if it momentarily takes up to 20A total now and then), it should work. I expect that as the current (load) goes up, it will dim the lights (voltage will drop), based on the reviews.

So as long as your traction battery is always within the voltage range of this controller (36v to 96v), it will power it up. Then you will get 12v with up to probably 10A available.

Since it's only 12v it wont' light your lights up as bright as they would be with the correct 13.6v (assuming your lights are actual DOT motorcycle or automotive lights, and not just plain true 12v lights). One review says they got 12.9v out of it, which is better than just 12v for this purpose, but not quite as good as 13.6-14.4v (which is what a system like this normally sees).


The wiring states that the red wire and black wires are the actual battery inputs. Presumably this means the thicker pair without the fuse (since it says the fuse is on the output). The yellow wire is used to turn the unit on by connecting it to battery positive. So you can either always wire the red and black to battery and use the yellow with your keyswitch or other switch to turn it on, or you can connect the red and yellow together, and either always have it powered on or always switch it on and power it from the same switch.

The yellow wire is there so you don't have to precharge the unit itself (like you do the controller) by leaving it always powered from the battery (except when you disconnect the battery from your system). It's not likely to have big enough caps to *require* precharge if you always switch the whole unit, but it's harder on your switch if you do that, so the switch might need replacement at some point.
 
Okay, I have the dc-dc converter, I no longer am using the precharger I bought….just the precharger resister on my contactor….but I’m now confused on where to tie in the dc-dc converter into the standard wiring diagram. I have an idea, but any chance you could throw it onto the schematic like you did previously with other stuff? @amberwolf
 
Back
Top