Funny, I was loading a model into my MakerBot for a print, logged onto ES to kill some time, and here it is, this thread is top of the active topics.
nechaus said:
I have 2x2m of carbon fiber, what a great idea to give it strength, I was horrible with making things out of carbon fiber..
but now i could just cover the plastic with carbon fiber sheeting.. resin it up
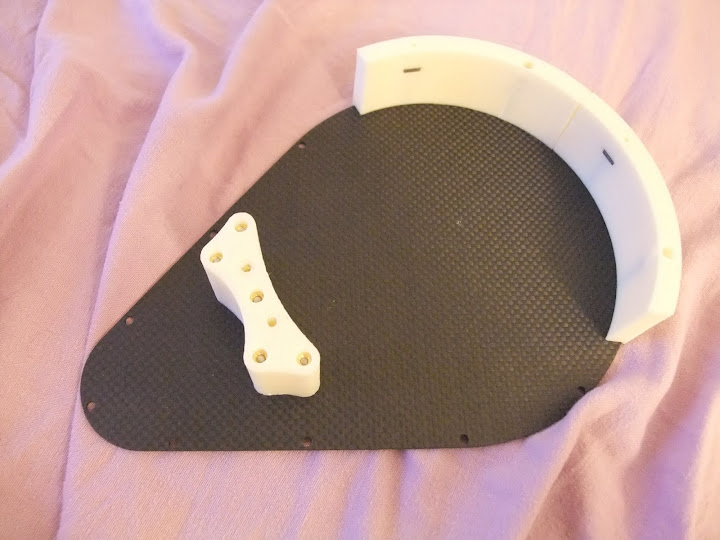
The parts I'm printing go alongside some CNC'd flat carbon fiber shapes, I'm using for a belt drive enclosure. I'll post pix when I get a chance. But it's such a great combo. CF for flat, rigid covers & bling, ABS for complex shapes. Bolts hold it all together.
Kin said:
How hard is it actually to set up your styles? I can make my shapes and everything in autodesk Inventor (student ed), export at Step, but then presumably there needs to be some setup to get it to print.
I use the free CAD software available from eMachineShop.com. It's pretty decent 2.5D CAD software, but of course it's designed around subtractive processes like milling instead of additive - 3D printing/FDM. What's cool about using the eMachineShop CAD is that if I intend to have the part CNC'd in metal, I can design and print with this CAD, print a prototype on the M'Bot, test fit/double check, and if it's perfect, order the part from eMachineShop right through the application.
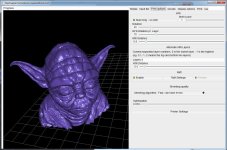
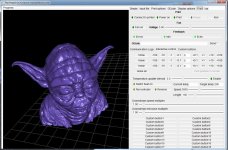
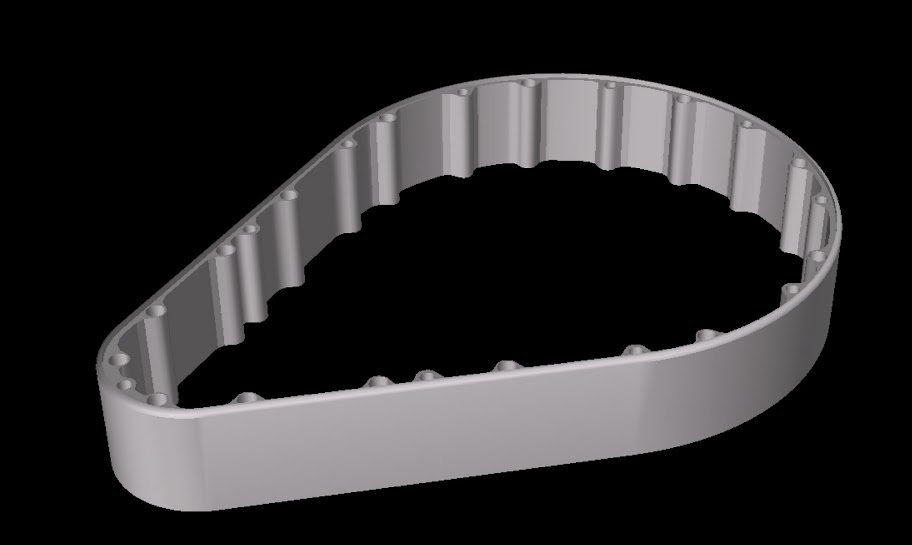
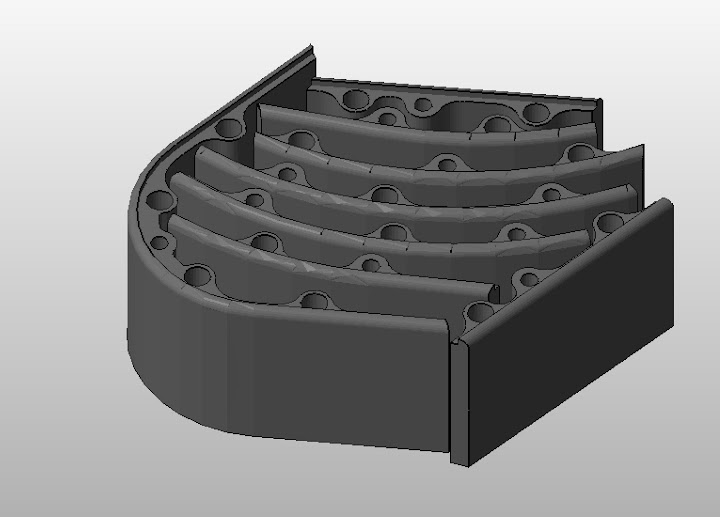
Once you get proficient at the basics, there are a lot of tricks posted out there on how to optimize - on the MakerBot forums and those of other printers. For example I just learned how to use a program called Netfabb Basic to slice up the 6" x 4" edge of my belt enclosure - basically a big hollow oval, which is way too big for the MakerBot to print, into slices, then group them to print them all in one build. This will turn the tedium of starting 9 small jobs into just one job that will take only about 3x as long as each of the 9 parts individually.
Belt enclosure side wall:
Side wall as sections, clustered to fit the 3D printer build platform:
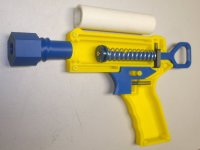
Carbon Fiber meets ABS Plastic. 3D printing is pretty darn useful.

 You are going to start a revolution around here, and I bet a few more of these "miracle machines" are going to pop up in the labs and shops of board members...
")