
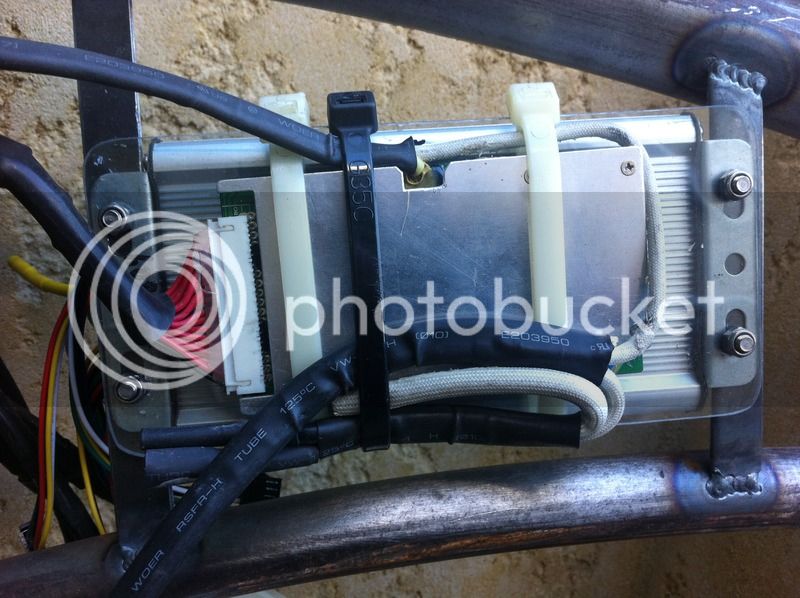
cjh
100 W
Yes, it's the tube roller I have my on too. Using sand is a pain.


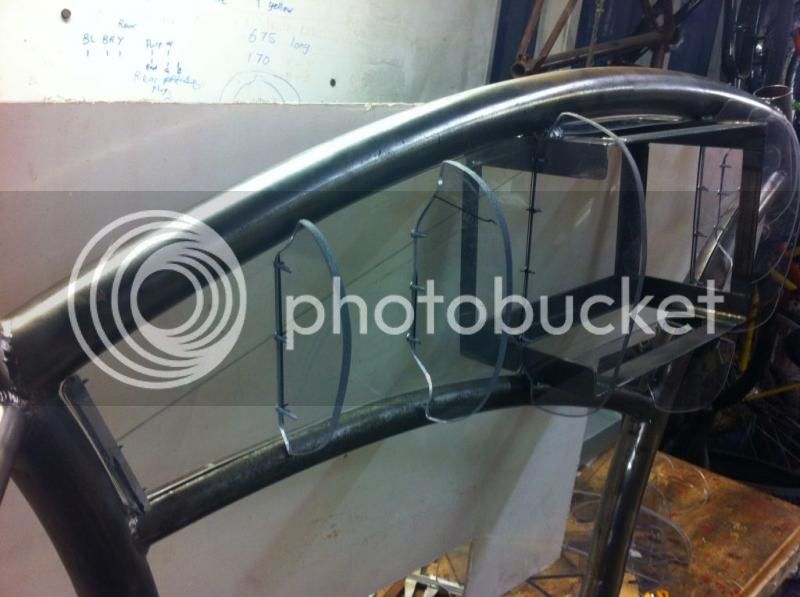
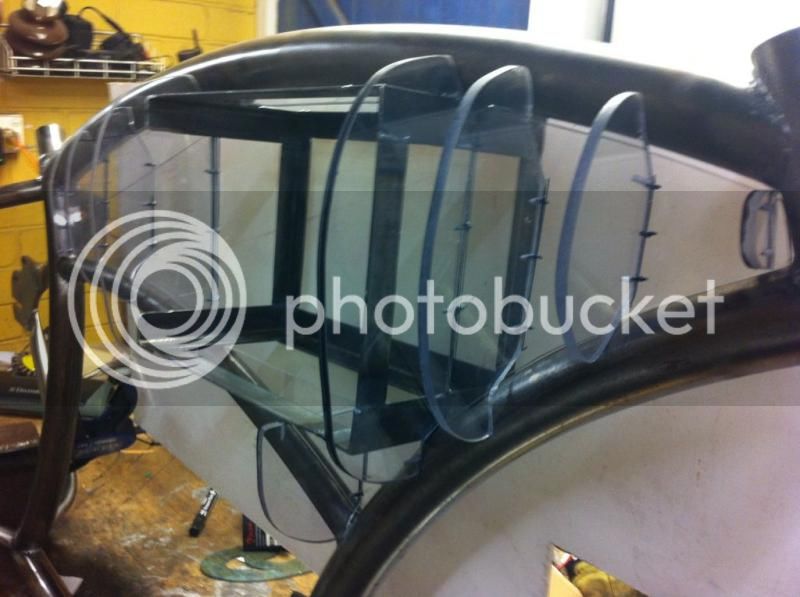
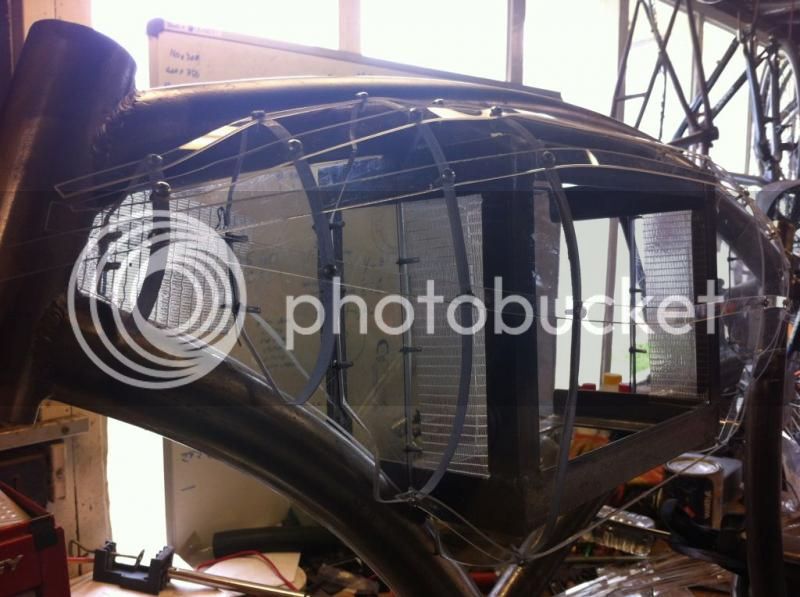
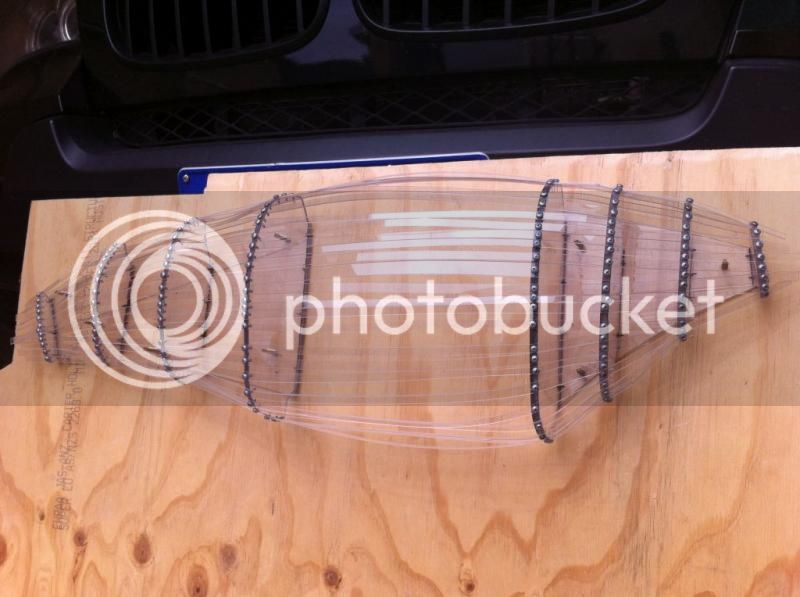
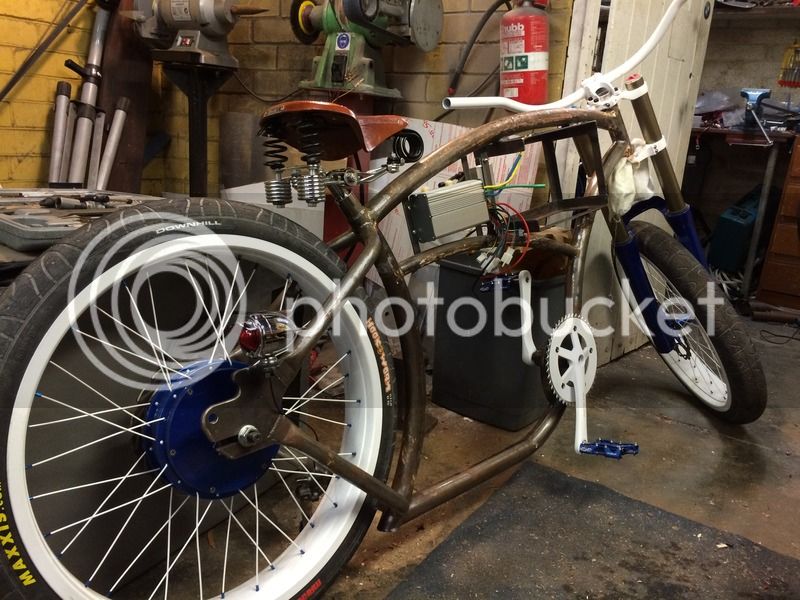
1000w said:This is shaping up to be the longest build ever!
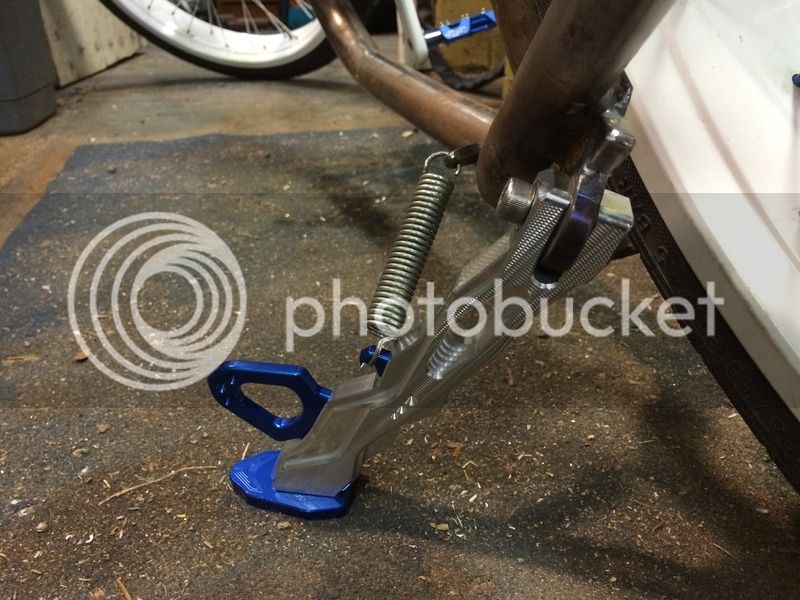
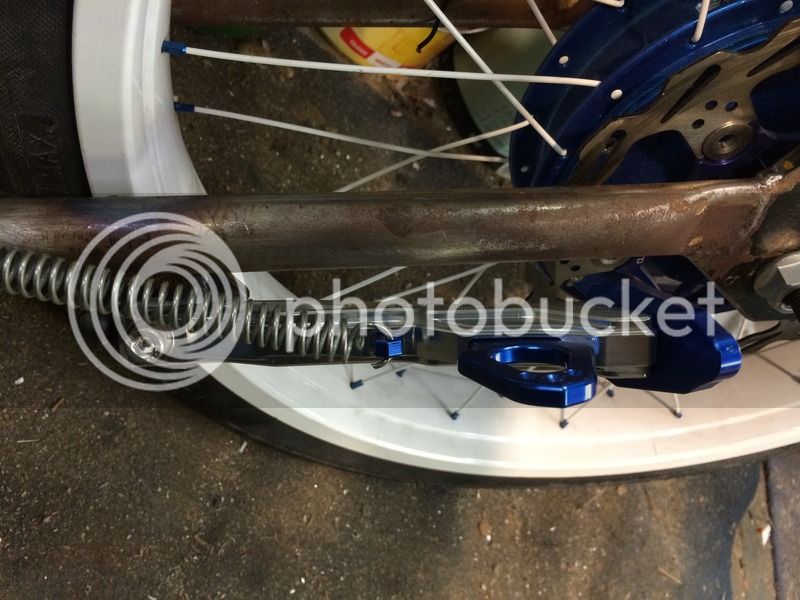
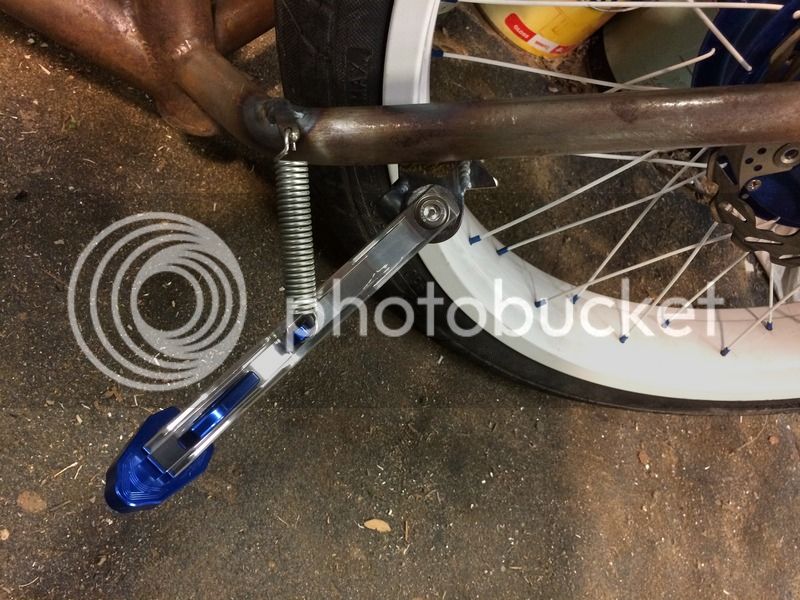
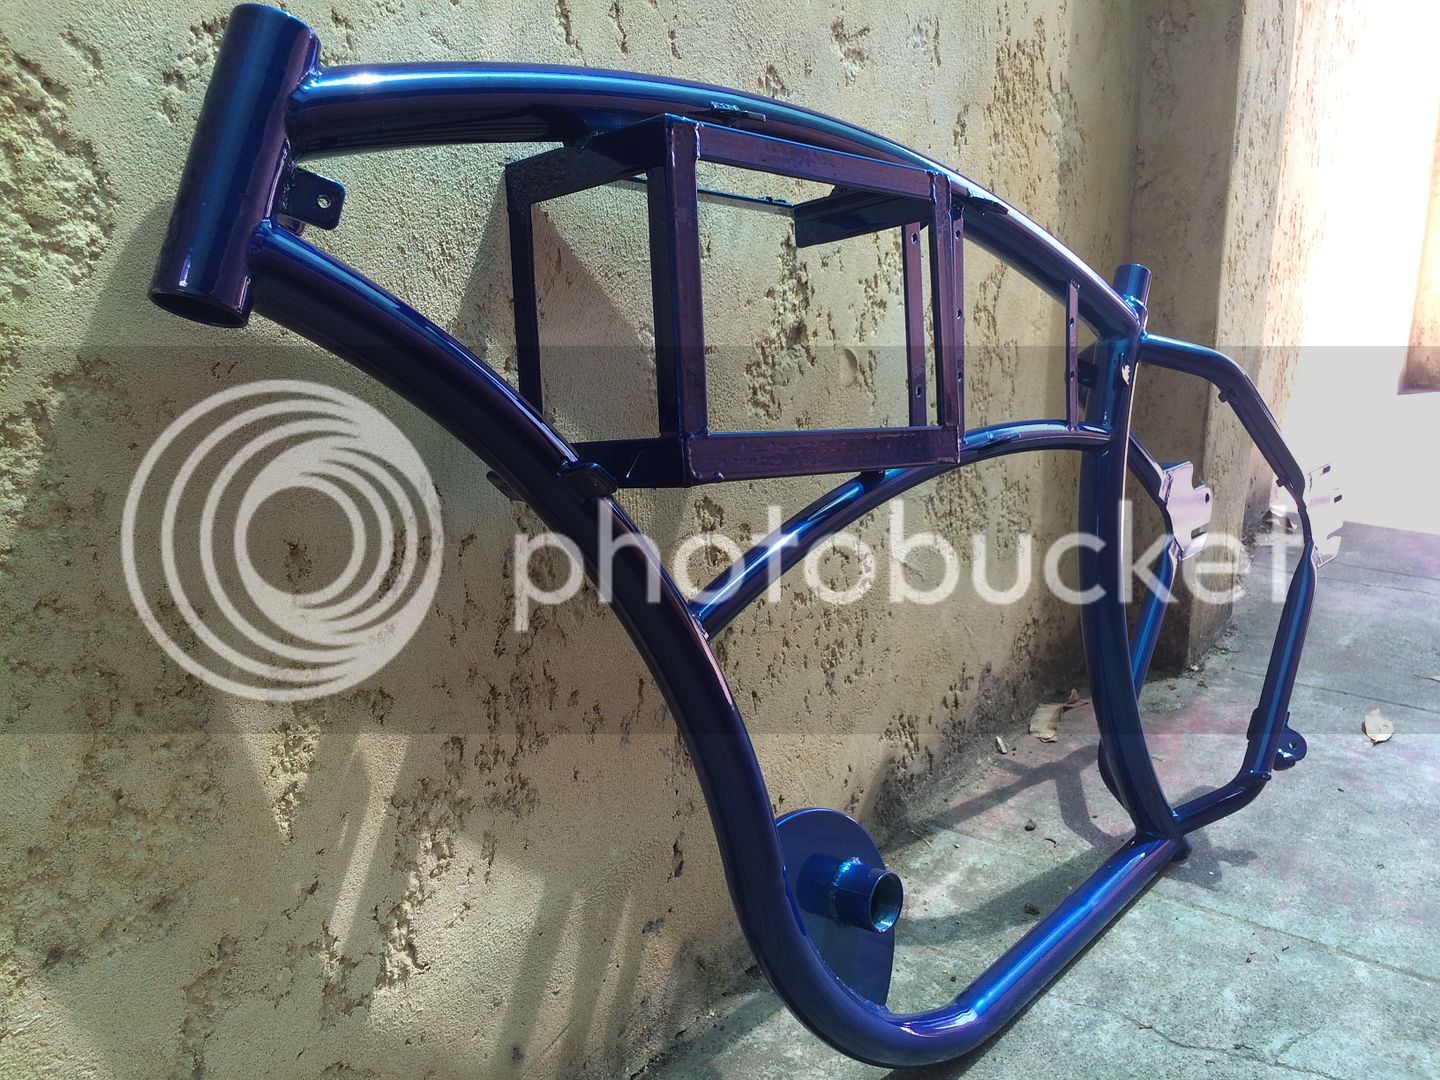
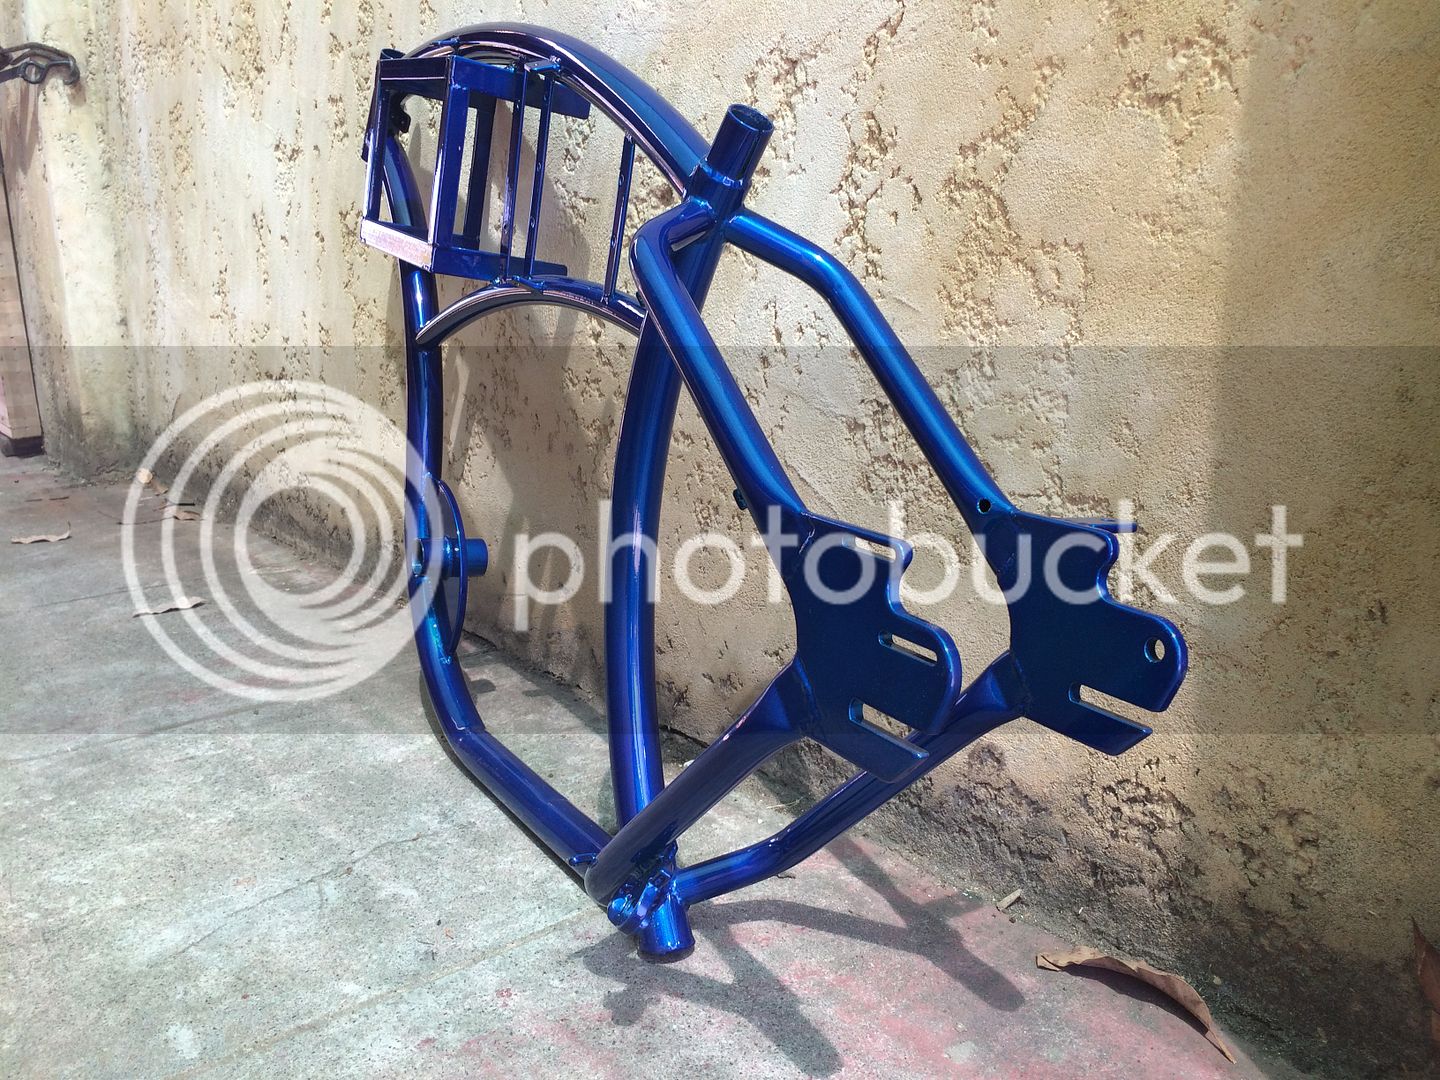
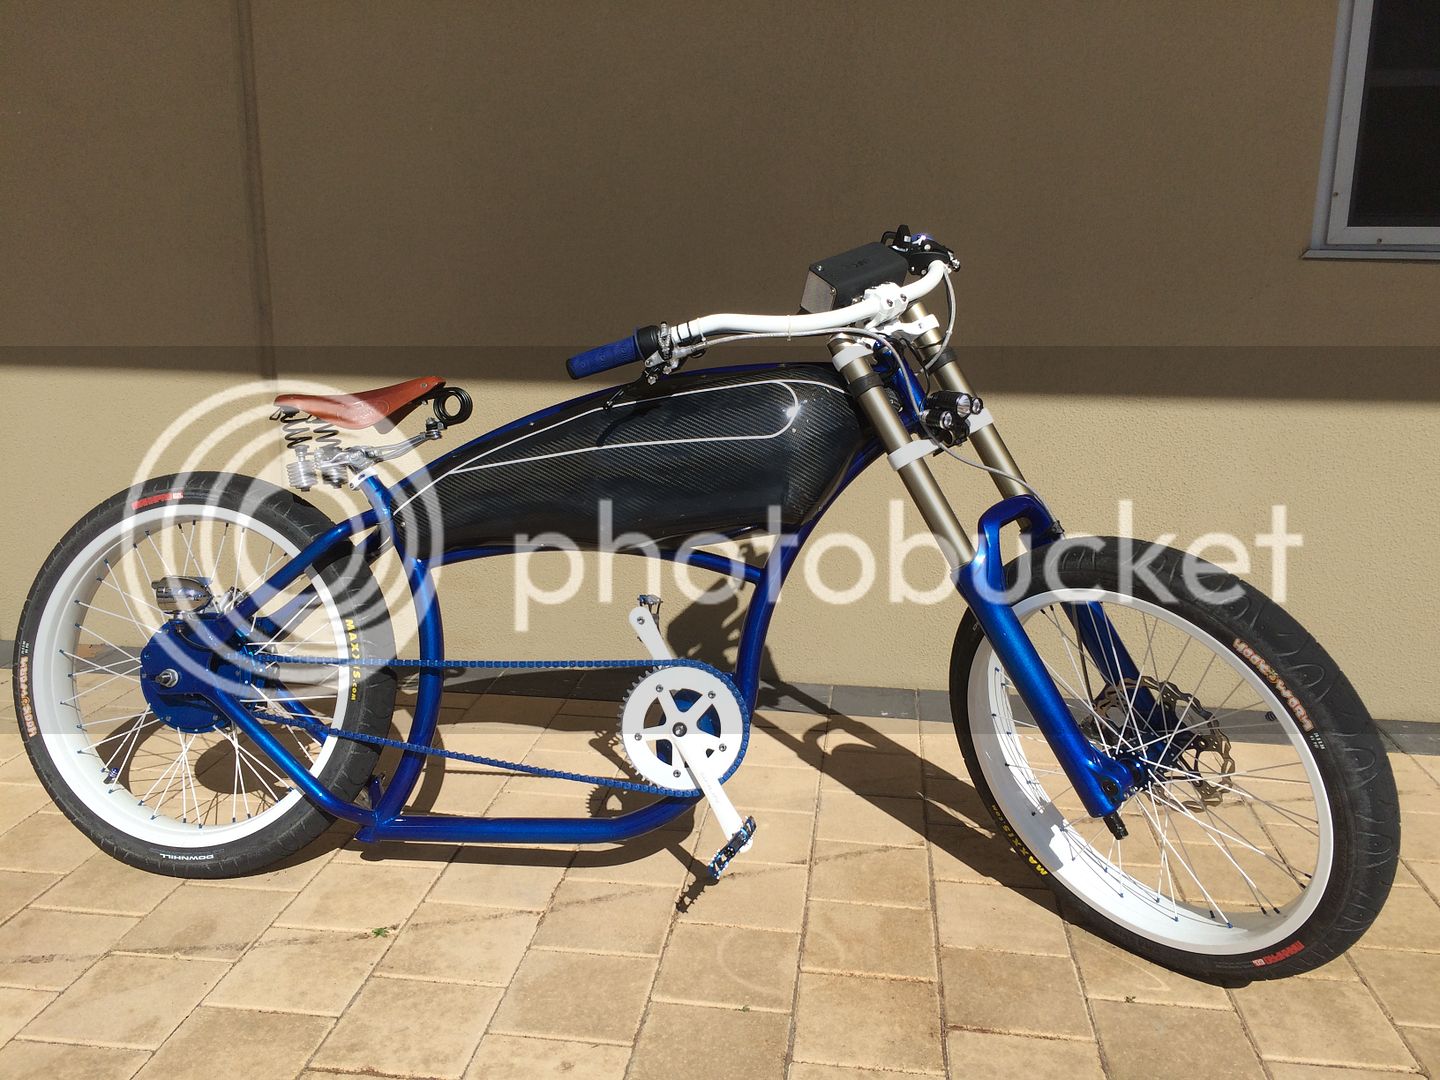
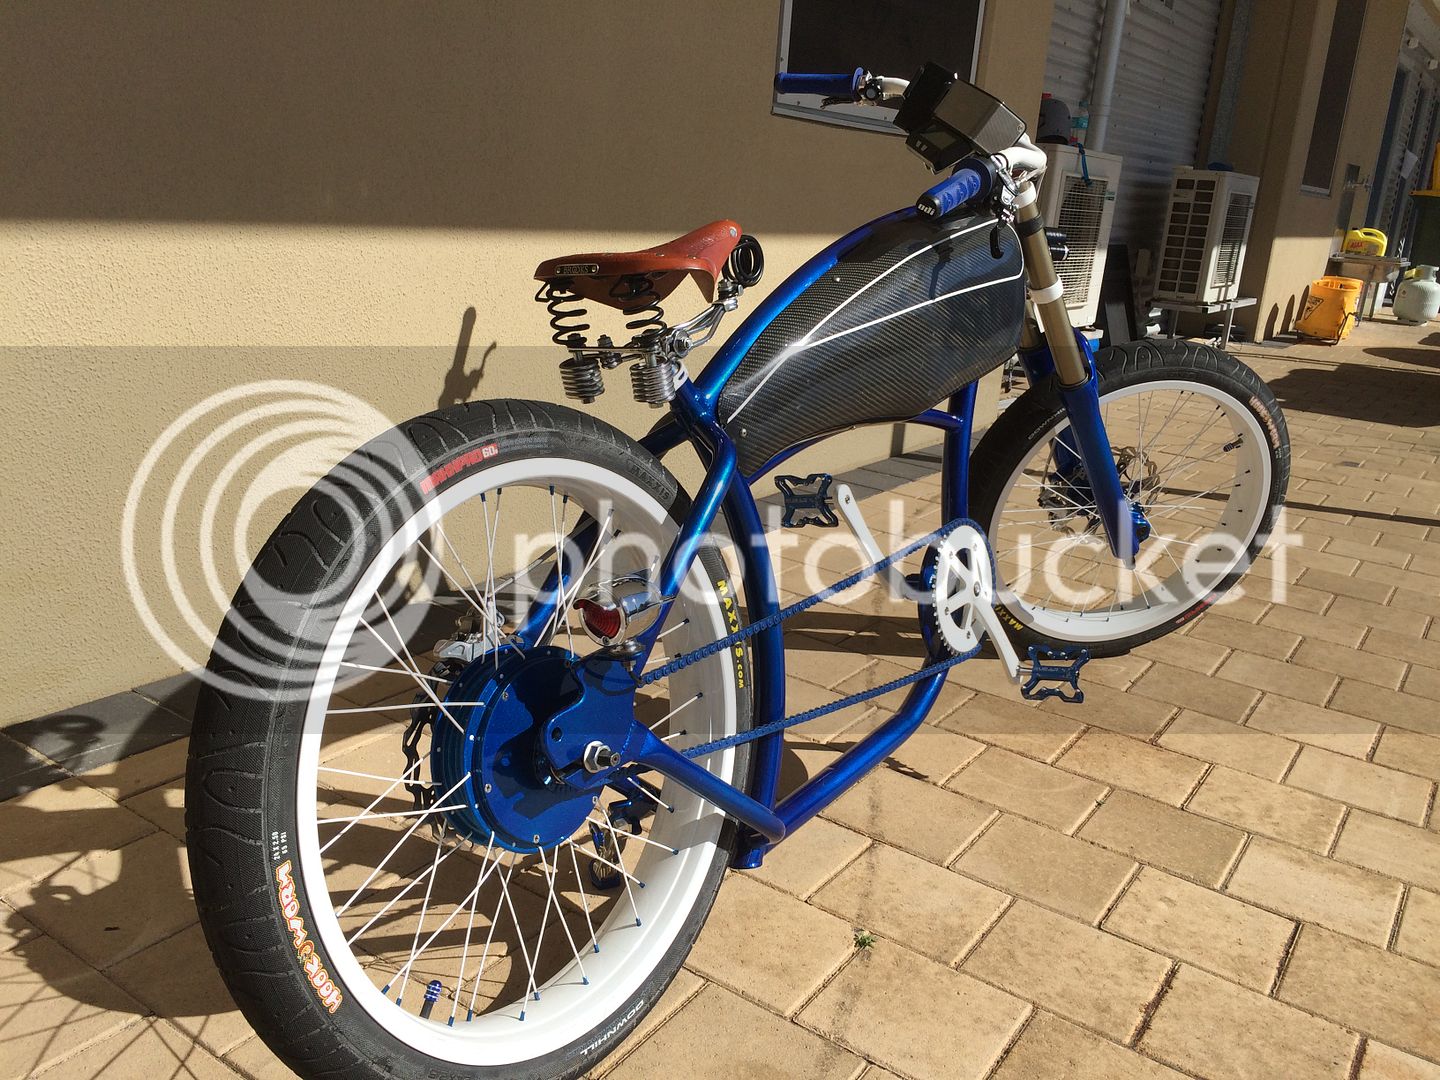
louis raaijmakers said:so can you give my the name of your bleu color? or even better the number?

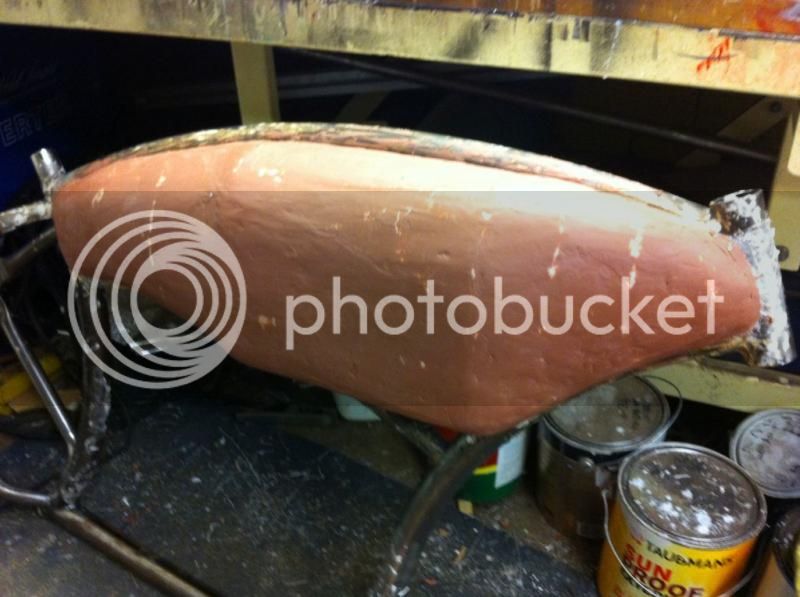
louis raaijmakers said:so can you give my the name of your bleu color? or even better the number?
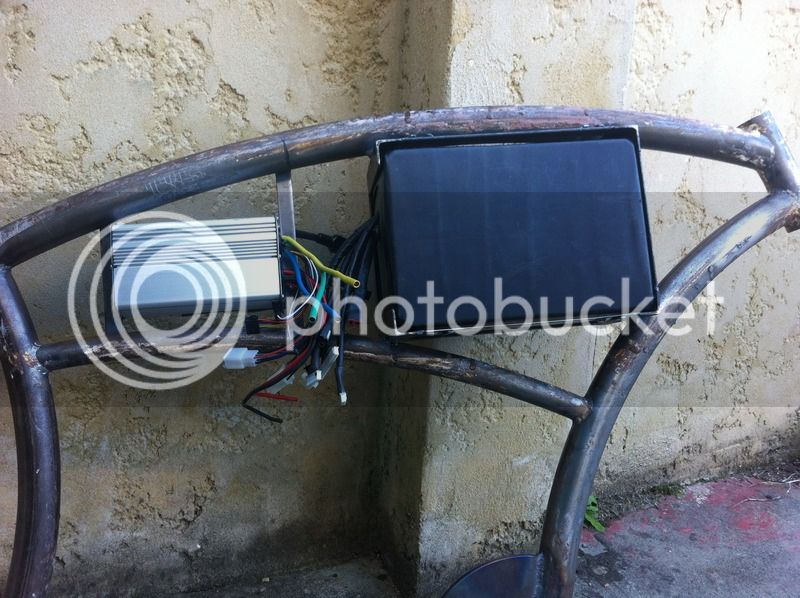

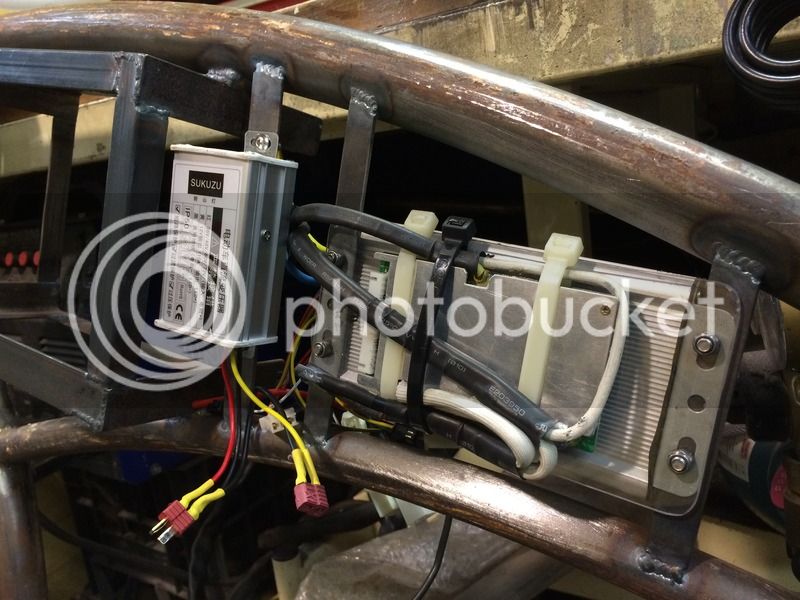
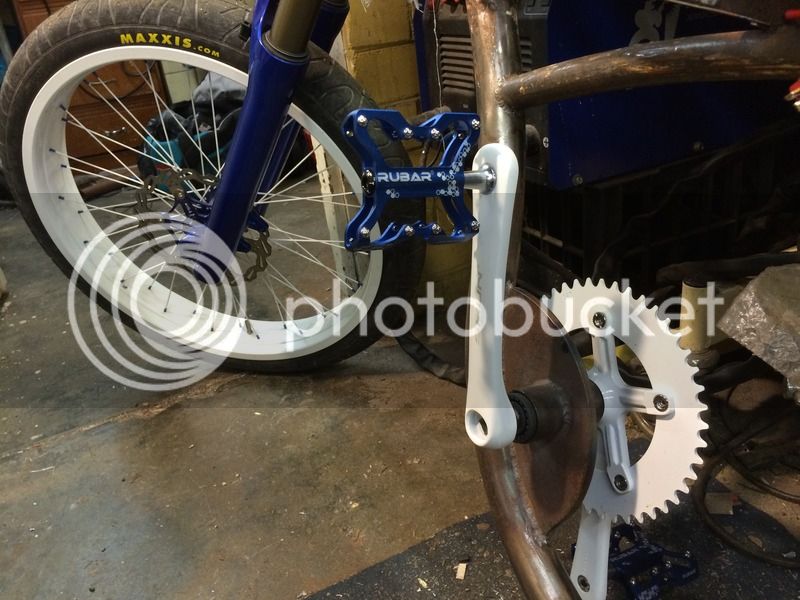
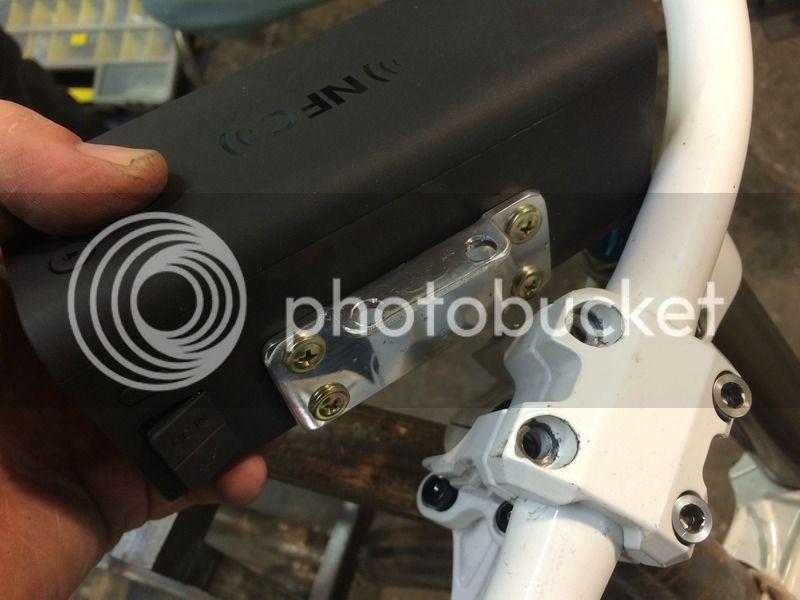
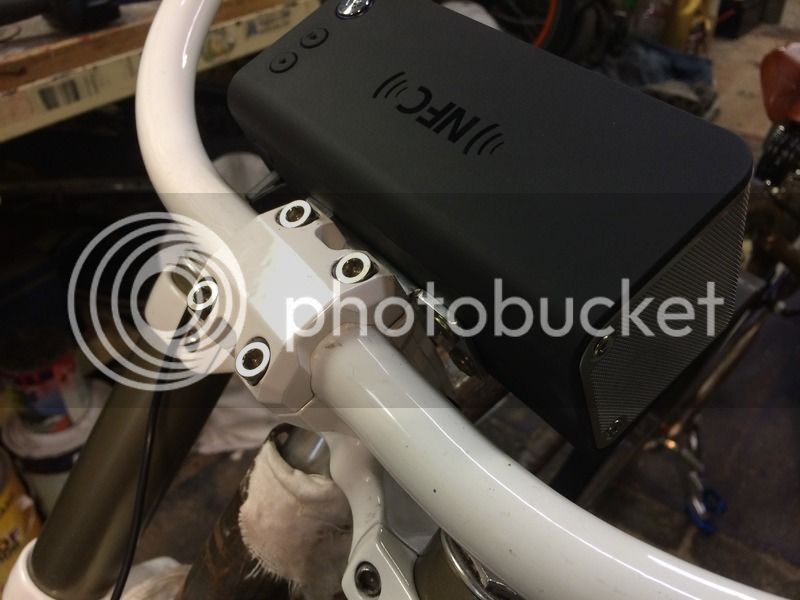
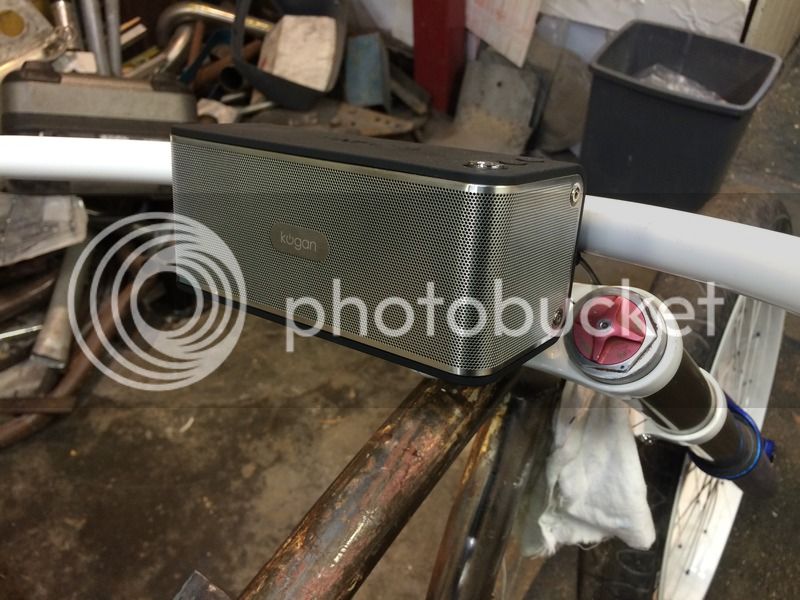

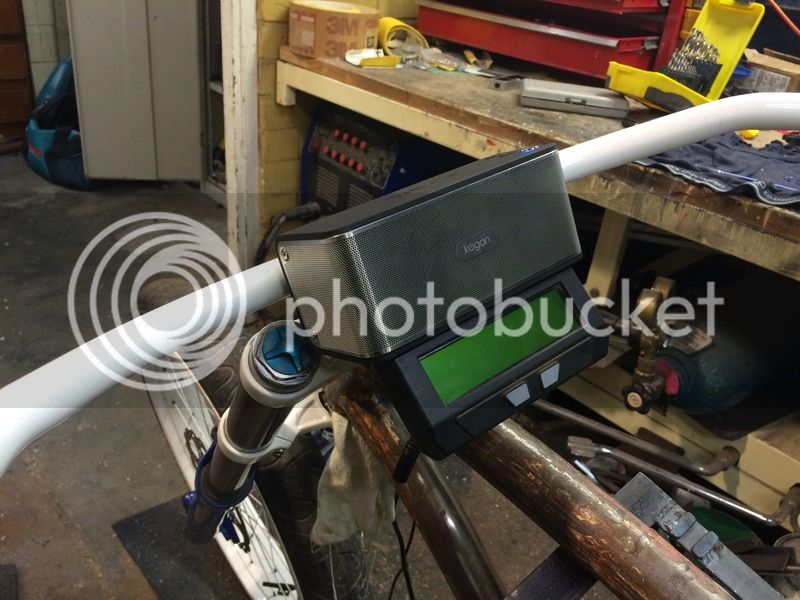
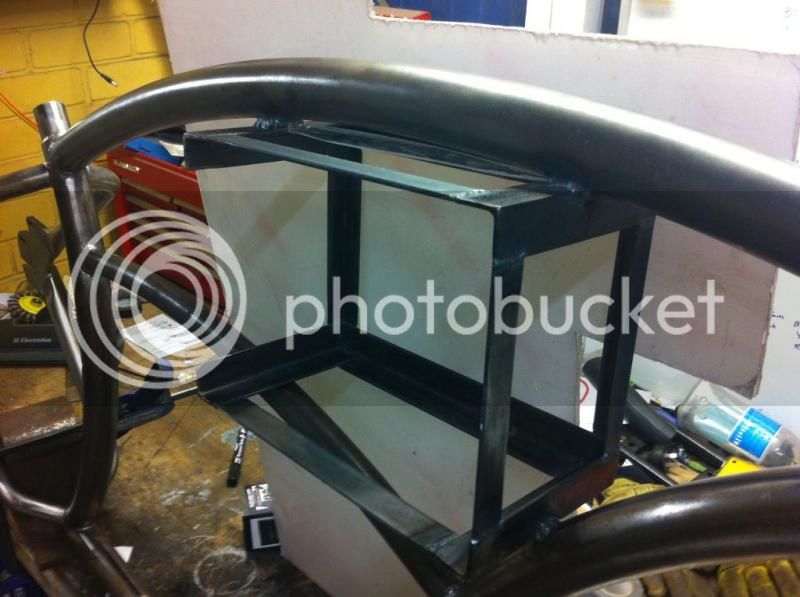
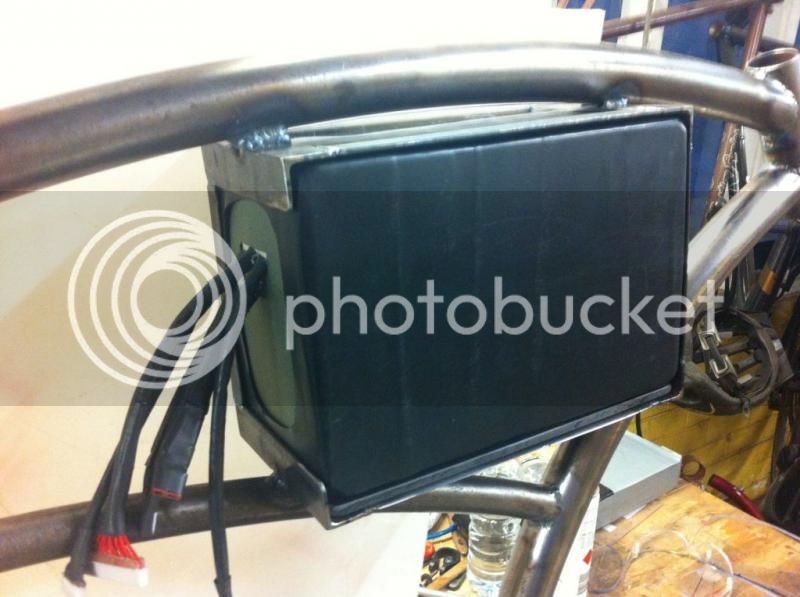
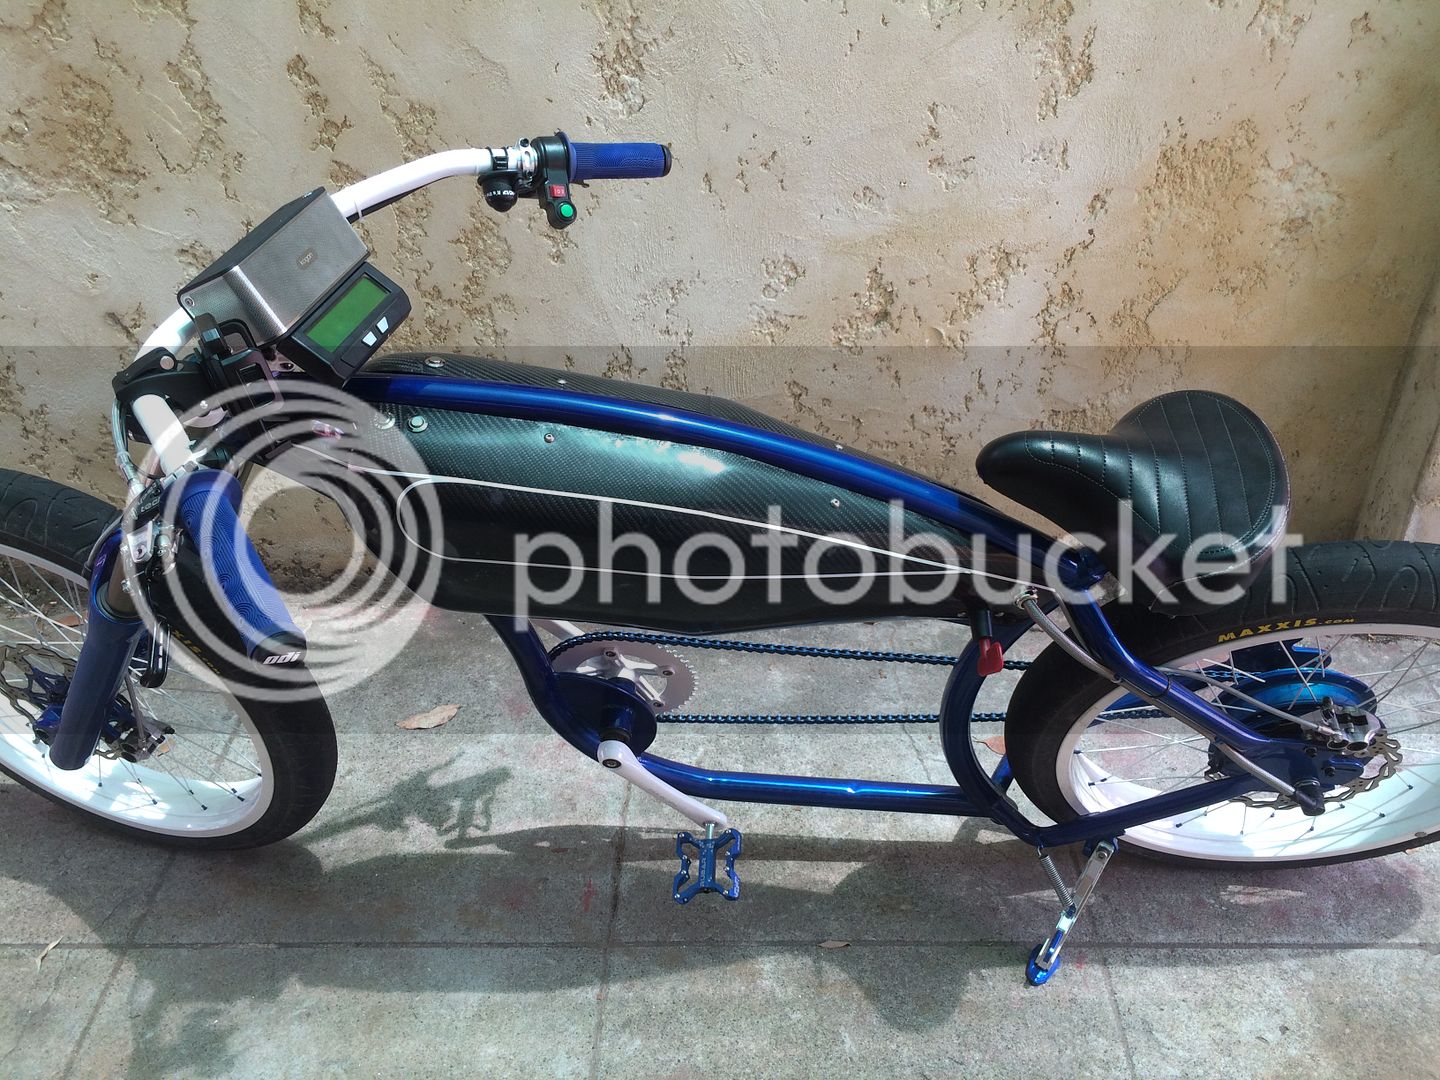
1000w said:... a bluetooth speaker and incorporated together with the cycle analyst.


 put it in your pocket, add some earphones and you can have both music and and clean look!
I love a clean look, but I love to hear what's going on around me more. I bet that's what he's going for. As always, personal preference. Besides, this way there can be music thumping as the crowd gathers around the parked bike to stare, gawk, and drool. :lol:izeman said:add some earphones