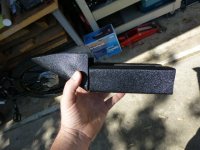
So after getting the battery box mounted, I had to get the batteries in and the wires out. Drilled a hole for the wires and oblonged it to fit the wires properly.

Used one of these rubber grommets I got from the auto parts store.

The package claimed it was a PVC grommet for a ford. It fit like this on the inside.

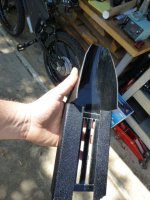
And like this on the outside.

Realized that I had forgotten the balance leads and all of the wires would not fit in the one hole so I put another one in with a slightly different grommet since it only needed to pass two wires. Getting it all to fit was a pain but hopefully I won't need to remove them....EVER! Her is what it looks like loaded.

Put a coat of epoxy paint on the brackets, bolts and nuts. And mounted it all back on the bike.


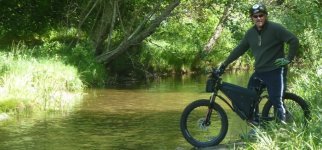
The wiring was pretty easy since I had all of the harnesses made for this eventuality by icecube57 in the first place. It is a significant increase in power goes about 32 mph on the flats and has marginally better hill climbing ability.
Took the granddaughter out on a ride in the WeeHoo trailer and had to keep my foot off the gas.
View attachment 1
I think that I am going to have to start dialing in the controller setting and start thinking about venting the side covers of the motor though. All in all though I am pretty happy with this build and short of some minor mods it will likely stay pretty close to its present form. I am really looking forward to testing its abilities off road and in the sand on the beach. Looking forward to seeing a few ES members at the SF makerfair in May.


 Obiwan.