
You are using an out of date browser. It may not display this or other websites correctly.
You should upgrade or use an alternative browser.
You should upgrade or use an alternative browser.
Show Us Your Homemade Battery Housing
- Thread starter jimw1960
- Start date

Tommy L
100 kW
Spooky1 said:Unfortunately the previous box was too small, I purchased the larger box from the same company, I think I prefer it tbh.
Very Nice Work!
CLEAN!
Tommy L sends.....

bowlofsalad
100 kW
Spooky1 said:Unfortunately the previous box was too small, I purchased the larger box from the same company, I think I prefer it tbh.
Asthetics are one thing, function is the important detail. Why not show the inside of your pack as well? Whats the stuffing/cushion like and what is it made out of?
jlust286
10 µW
- Joined
- Mar 5, 2013
- Messages
- 6
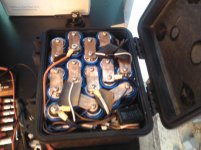
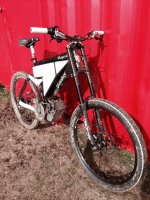
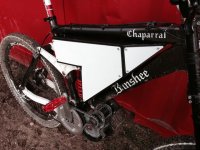
Here is my homemade battery box. There is a left and right side. One overlaps the other along the center to help keep water out but it will only keep light rain and mud puddle spray out.
To make this, I wrapped the frame with the batteries in plastic and clear tape. I then used about a gallon of bondo to smooth out the wrinkles and add shape to some areas. This bondo layer made the mold that was destroyed after the fiberglassing was completed. I then sanded the bondo fairly smooth and coated it with epoxy to make a hard surface. Then I applied a layer of Vaseline as my release agent and layed down 2 layers of fiberglass. After struggling to pull the hardened fiberglass shell off I then did the other side and struggled again to get the second side off. I then trimmed and sanded down all the edges and filled the low spots with bondo and sanded it smooth. The carbon fiber skin was then added by spraying both the carbon fiber and the fiberglass shell with super77 contact glue and stretching the carbon fiber over the shell. This allowed me lift and reapply the carbon fiber as needed to get the best look with one large piece of fabric for each side. Then I applied 3 coats of epoxy making sure the first coat wet out the carbon layer all the way through. Then I wet sanded it to smooth out the epoxy layer while being very careful not the sand into the carbon fiber layer. Applied the dragon decals then primer and paint. Removed the decals and applied 4 coats of automotive clear.


To make this, I wrapped the frame with the batteries in plastic and clear tape. I then used about a gallon of bondo to smooth out the wrinkles and add shape to some areas. This bondo layer made the mold that was destroyed after the fiberglassing was completed. I then sanded the bondo fairly smooth and coated it with epoxy to make a hard surface. Then I applied a layer of Vaseline as my release agent and layed down 2 layers of fiberglass. After struggling to pull the hardened fiberglass shell off I then did the other side and struggled again to get the second side off. I then trimmed and sanded down all the edges and filled the low spots with bondo and sanded it smooth. The carbon fiber skin was then added by spraying both the carbon fiber and the fiberglass shell with super77 contact glue and stretching the carbon fiber over the shell. This allowed me lift and reapply the carbon fiber as needed to get the best look with one large piece of fabric for each side. Then I applied 3 coats of epoxy making sure the first coat wet out the carbon layer all the way through. Then I wet sanded it to smooth out the epoxy layer while being very careful not the sand into the carbon fiber layer. Applied the dragon decals then primer and paint. Removed the decals and applied 4 coats of automotive clear.
Kingfish
100 MW
^ +1: Organic & beautiful! Thank you for the inspiration 8)
How much does it weigh?
~KF
How much does it weigh?
~KF
bundanoonboy
1 µW
- Joined
- Mar 4, 2013
- Messages
- 2
most excellent work!
I never thought of doing that, I've been hand beating a sheet of aluminium for a couple of weeks in my spare time.
cheers
I never thought of doing that, I've been hand beating a sheet of aluminium for a couple of weeks in my spare time.
cheers
atcspaul
10 W
awesome job! makes the bike look alot like the scwhinn home grown carbon series from years back which was an awesome bike
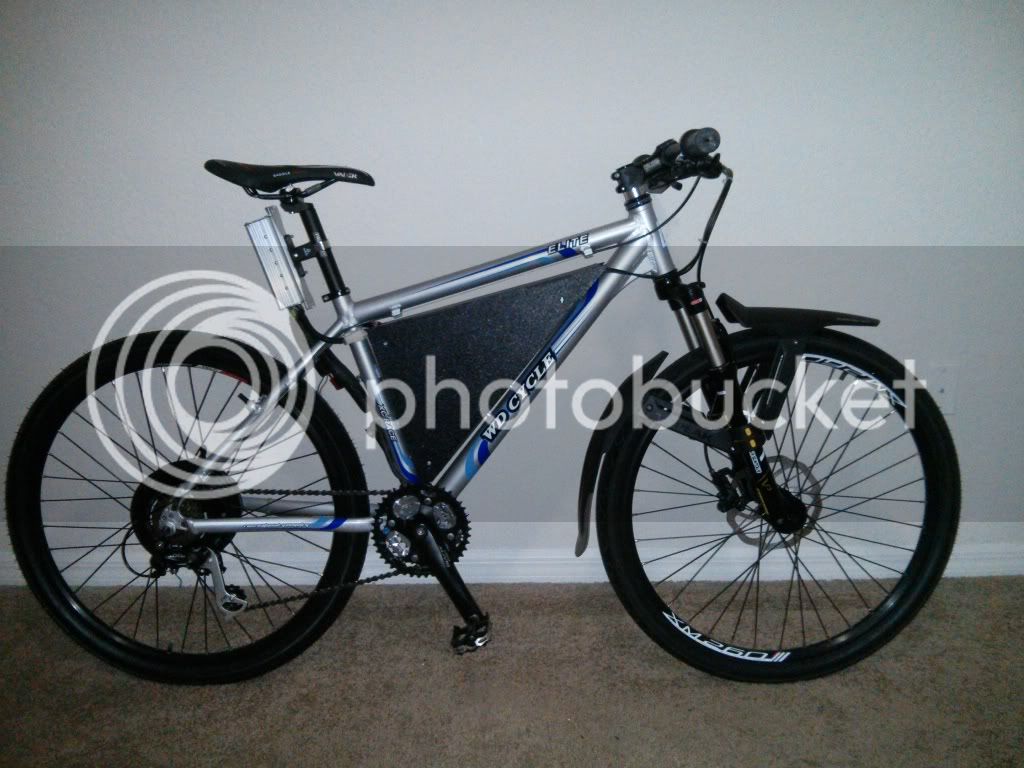
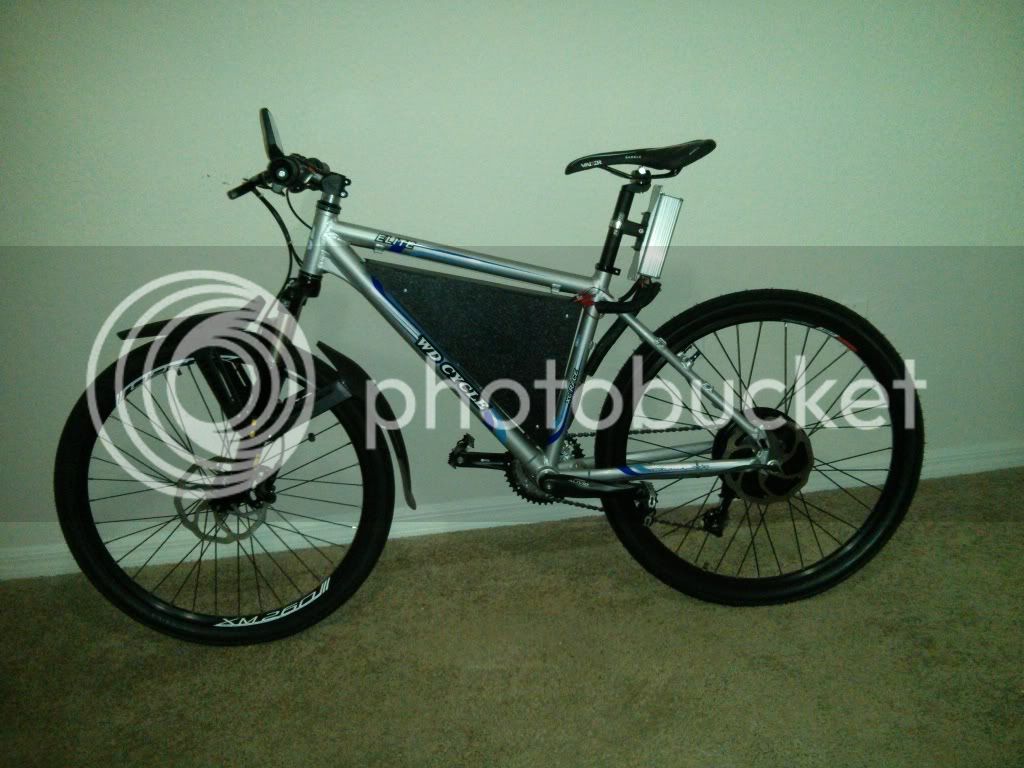
From wemadethis, retangular pack, sheet-metal raingutter? (edit: sheet-metal track for commercial building)
http://endless-sphere.com/forums/viewtopic.php?f=6&t=51880#p768249

http://endless-sphere.com/forums/viewtopic.php?f=6&t=51880#p768249
GCinDC
100 MW
nope, that's steel track for steel studs normally used in commercial wall construction. it's too easy to work with, very thin, not heavy and very stiff when secured, oh, and a great width for 5s or 6s packs... i think i have photos in this thread!spinningmagnets said:From wemadethis, retangular pack, sheet-metal raingutter?
Tinto
100 W
Given it has an internal wall use, do they bother rolling the edges on that stuff?
Not on the stuff I have around at my house somewhere.
migueralliart
10 kW
Forgot to post these a while ago.. anyway for the record here they are;

Secret1511
100 W
Mundo
100 W
From Dreddydave, PVC square tube. Four LiPo bricks, 12S / 10-Ah
http://endless-sphere.com/forums/viewtopic.php?f=6&t=34039&start=25#p501869
http://endless-sphere.com/forums/viewtopic.php?f=6&t=34039&start=25#p501869
Tommy L
100 kW
Although this isn't my electric bike battery box, it is a "Homemade Battery Housing" as per topic ")
T5051 TIG welded aluminum 3/16" thick..... yes yes.... overkill 8) :lol:
Tommy L sends.....

T5051 TIG welded aluminum 3/16" thick..... yes yes.... overkill
Tommy L sends.....
jlust286 said:Here is my homemade battery box. There is a left and right side. One overlaps the other along the center to help keep water out but it will only keep light rain and mud puddle spray out.
To make this, I wrapped the frame with the batteries in plastic and clear tape. I then used about a gallon of bondo to smooth out the wrinkles and add shape to some areas. This bondo layer made the mold that was destroyed after the fiberglassing was completed. I then sanded the bondo fairly smooth and coated it with epoxy to make a hard surface. Then I applied a layer of Vaseline as my release agent and layed down 2 layers of fiberglass. After struggling to pull the hardened fiberglass shell off I then did the other side and struggled again to get the second side off. I then trimmed and sanded down all the edges and filled the low spots with bondo and sanded it smooth. The carbon fiber skin was then added by spraying both the carbon fiber and the fiberglass shell with super77 contact glue and stretching the carbon fiber over the shell. This allowed me lift and reapply the carbon fiber as needed to get the best look with one large piece of fabric for each side. Then I applied 3 coats of epoxy making sure the first coat wet out the carbon layer all the way through. Then I wet sanded it to smooth out the epoxy layer while being very careful not the sand into the carbon fiber layer. Applied the dragon decals then primer and paint. Removed the decals and applied 4 coats of automotive clear.
View attachment 4
Good job. Be carefull most epoxy is not UV protected. But if you clear coated the whole thing then its probably ok. I just used clear Gel on my last CF build.
View attachment 3
View attachment 2
View attachment 1
alsmith
100 kW
Mundo said:Yuba Mundo battery box..........
Nice idea!
cybug
10 mW
Here's a 3D printed housing for 12S2P RC Lipo :

2 middle parts of the 6 parts

Fitting test of parts 1,2 and 3

Assembling parts 1,2,3 and 4 with acetone/ABS mix.

Fitting test of main body and measuring size of top and bottom caps.

Printing top and bottom caps.

Fitting test of assembled housing.


Lipos inside.


Strengthened with an alloy belt.


Closed with a carbon fiber sheet.


3D printed body covered with "3D carbon" vynil.

2 middle parts of the 6 parts
Fitting test of parts 1,2 and 3
Assembling parts 1,2,3 and 4 with acetone/ABS mix.
Fitting test of main body and measuring size of top and bottom caps.
Printing top and bottom caps.
Fitting test of assembled housing.
Lipos inside.
Strengthened with an alloy belt.
Closed with a carbon fiber sheet.
3D printed body covered with "3D carbon" vynil.
SHARKBITEATTACK
10 W
Mundo, that aluminum work is so clean looking. Nice work!
cybug, c'est magnifique! At last we are seeing 3D-printed parts for E-bikes!
Similar threads
- Replies
- 36
- Views
- 9,756