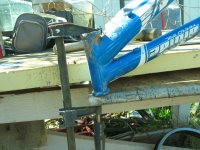
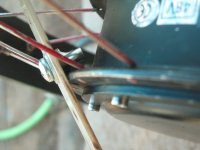
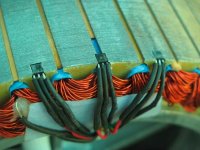
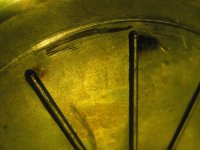
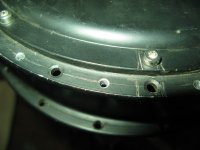
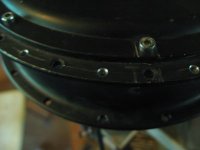
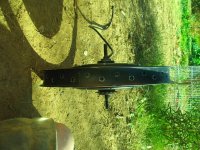
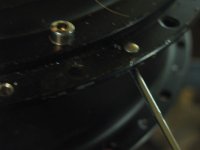
Got all the holes drilled,
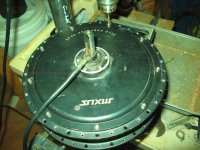
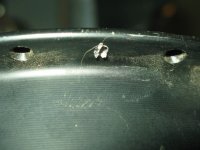
View attachment 32
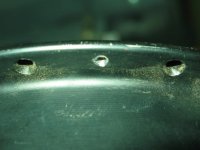
View attachment 28
View attachment 27
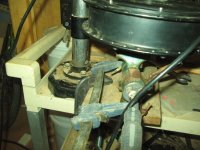
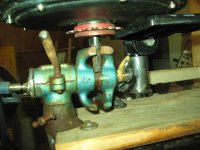
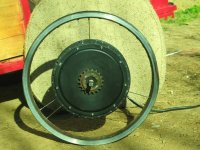
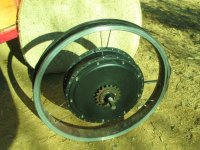
and the test-lacing (in the damaged rim off CB2, saved for stuff like this), using the spare spokes from the SBC's wheels.
View attachment 13
View attachment 23
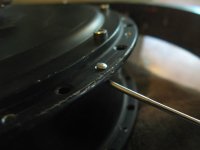
I made an oops in my assumption that I'd used the 77mm spokes on the 9C (Cuz I didnt' actually go back and read my own posts in this thread ), but when I compared the 77's to the 9c's spokes I found they are a bit long, so it was the 74's I used on it.
View attachment 21

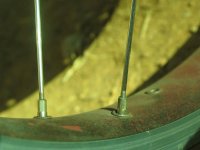
I then tried the 74mm spares (6) on the MXUS plus the ex-Zero rim, and while I can get nipples on them, there's still thread showing when it gets too hard to tighten by hand; perhaps a third of the threaded area on each spoke, arranged in pairs (one for each flange), 120 degrees from the next pair.
The only way to verify if I can lace it fully would be to take the 9C wheel apart, and put the MXUS in there. Since I have to take the 9C out regardless, in order to use the rim for the MXUS, I might as well try it.
But I have a very strong feeling I'll end up having to get a new set of spokes for this motor/wheel, probably 77-79mm 13/14g doublebutted Sapims from Grin.
I don't have enough 77mm spares to test the same way as the 6x 73's, but that 4mm seems to be about what it would take to get all the threads inside the nipple before hand-tightening (no tools) becomes impossible, which is probably about where I want it to be at. So the 77mm would probalby work fine; if not then up to 79mm would probably work.
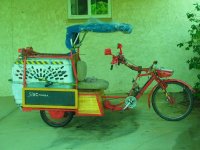
Yesterday at work I had a bit of a failure of the seat; got parked inside and lifted the seat off to get to stuff in the seatbox, and broke the board on the back edge the seatback was screwed thru. No big surprise, but a PITA.
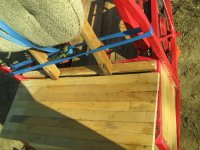
Then on the way home the leftside cover of the seatbox fell out, dumping half the contents of that side of the seatbox on the (thankfully empty) road, so I had to stop and turn around to go back for it before someone would come along and run the stuff over.
View attachment 18
I moved the strap that was along the centerline of the seat around the seatbox cover to be perpendicular to the centerline, wrapped around the ends of the seatbox, to prevent that happening again before I'd get home about a mile and a half later. Worked fine, but not a good permanent solution.
So today I went on another long trip, though this one was only about a dozen miles, was windy again (not as bad as last week) and took about 62wh/mile. Picked up some "liquid nails" in a large caulk-gun type tube for cheap (clearance at lowes, as was a jug of a water-sealant/stain sorta like Thompson's). Stopped at the bike shop again but they still don't have the FW tool. Won't need it by the time they do get one, cuz I'll probably have the MXUS laced up.
I sealed up (using hte liquid nails) the rightside end cover, the back and front panels, and the lefthand end cover, as well as most of the bottom of the seatbox, and some of the gaps in hte seatbox top cover itself (at the ends). So now all those parts (except the top cover) are permanently glued to the frame itself, and won't need to worry about them coming off like last night.
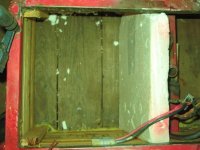
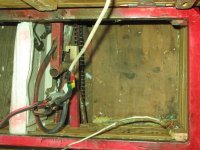
Then I changed the seat mounting so it cant' break the same way (there is *always* a new way of breaking ), so now the seatback's mounting is upside down, bolted to the front edge of the rack. It is stronger and less wiggly, and doesnt' come off with the seatbox lid, making that easier to handle.
View attachment 10
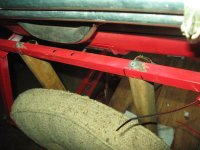
I then screwed the seat directly to the seatbox lid, two screws along it's centerline, which leaves the flexy upwardly curved seatbottom able to still act a bit like a spring (not very good, bu better than nothing).
View attachment 8
Then I added some "gate hinges" to the lid, and attached the other side to the top front frame of the seatbox, to allow the seatbox lid to open forward (becuse it can't open very far rearward, but forward it can open a full 90 degrees. The rearward opening would be even more problematic once the carrier box slat frame is built for the rear end.
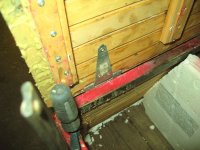
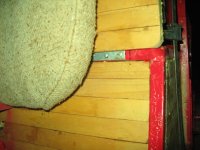
View attachment 5
I still need to carve out recesses for the hinges into the lid's inside, so ti fits flush on the frame, but didn't have time to work out how to do that without a router (figured out a few ways after that). So this is just a test of functionality, which works so far. I'll continue testing it as is before going to the extra work, to see what problems arise that I need to solve first, before all the more permanent details get completed.
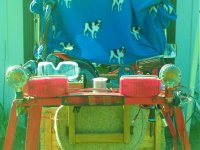
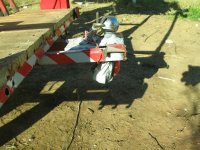
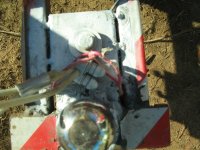
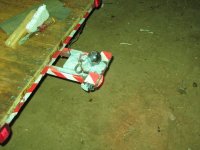
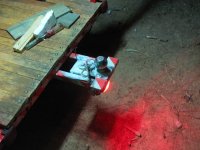
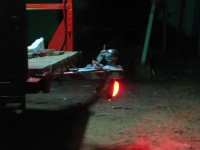
I mvoed the red under-hitch taillgith marker forward a bit so it's all now contained under the hitch, after backing it into a wall that snapped the zipties holding it on, when it stuck out past the hitch. This will protect it a bit while leaving it still just as visible.
 /
/


View attachment 32


View attachment 28
View attachment 27


and the test-lacing (in the damaged rim off CB2, saved for stuff like this), using the spare spokes from the SBC's wheels.


View attachment 13


View attachment 23

I made an oops in my assumption that I'd used the 77mm spokes on the 9C (Cuz I didnt' actually go back and read my own posts in this thread
View attachment 21

I then tried the 74mm spares (6) on the MXUS plus the ex-Zero rim, and while I can get nipples on them, there's still thread showing when it gets too hard to tighten by hand; perhaps a third of the threaded area on each spoke, arranged in pairs (one for each flange), 120 degrees from the next pair.
The only way to verify if I can lace it fully would be to take the 9C wheel apart, and put the MXUS in there. Since I have to take the 9C out regardless, in order to use the rim for the MXUS, I might as well try it.
But I have a very strong feeling I'll end up having to get a new set of spokes for this motor/wheel, probably 77-79mm 13/14g doublebutted Sapims from Grin.
I don't have enough 77mm spares to test the same way as the 6x 73's, but that 4mm seems to be about what it would take to get all the threads inside the nipple before hand-tightening (no tools) becomes impossible, which is probably about where I want it to be at. So the 77mm would probalby work fine; if not then up to 79mm would probably work.
Yesterday at work I had a bit of a failure of the seat; got parked inside and lifted the seat off to get to stuff in the seatbox, and broke the board on the back edge the seatback was screwed thru. No big surprise, but a PITA.

Then on the way home the leftside cover of the seatbox fell out, dumping half the contents of that side of the seatbox on the (thankfully empty) road, so I had to stop and turn around to go back for it before someone would come along and run the stuff over.
View attachment 18
I moved the strap that was along the centerline of the seat around the seatbox cover to be perpendicular to the centerline, wrapped around the ends of the seatbox, to prevent that happening again before I'd get home about a mile and a half later. Worked fine, but not a good permanent solution.
So today I went on another long trip, though this one was only about a dozen miles, was windy again (not as bad as last week) and took about 62wh/mile. Picked up some "liquid nails" in a large caulk-gun type tube for cheap (clearance at lowes, as was a jug of a water-sealant/stain sorta like Thompson's). Stopped at the bike shop again but they still don't have the FW tool. Won't need it by the time they do get one, cuz I'll probably have the MXUS laced up.
I sealed up (using hte liquid nails) the rightside end cover, the back and front panels, and the lefthand end cover, as well as most of the bottom of the seatbox, and some of the gaps in hte seatbox top cover itself (at the ends). So now all those parts (except the top cover) are permanently glued to the frame itself, and won't need to worry about them coming off like last night.


Then I changed the seat mounting so it cant' break the same way (there is *always* a new way of breaking
View attachment 10

I then screwed the seat directly to the seatbox lid, two screws along it's centerline, which leaves the flexy upwardly curved seatbottom able to still act a bit like a spring (not very good, bu better than nothing).
View attachment 8
Then I added some "gate hinges" to the lid, and attached the other side to the top front frame of the seatbox, to allow the seatbox lid to open forward (becuse it can't open very far rearward, but forward it can open a full 90 degrees. The rearward opening would be even more problematic once the carrier box slat frame is built for the rear end.


View attachment 5
I still need to carve out recesses for the hinges into the lid's inside, so ti fits flush on the frame, but didn't have time to work out how to do that without a router (figured out a few ways after that). So this is just a test of functionality, which works so far. I'll continue testing it as is before going to the extra work, to see what problems arise that I need to solve first, before all the more permanent details get completed.
I mvoed the red under-hitch taillgith marker forward a bit so it's all now contained under the hitch, after backing it into a wall that snapped the zipties holding it on, when it stuck out past the hitch. This will protect it a bit while leaving it still just as visible.


 /
/


