Welding machine for Lipo Cells

circuit said:
. If we are talking about primitive DIY welders, then capacitive is better.

..... it is made of two "car audio" 1.5F caps, 10 massive mosfets, proper driver, etc..
...... requires some real knowledge and attention to details.

:?: :?: now there we are again with a complex, tricky expensive device !
What happened to this..
Jonathan in Hiram said:
.... but Jeremy's spot welder is brilliant in its simplicity.
Other than a car audio capacitor and a variable power supply that goes to about 19 volts, this is it, there's only three parts in that box and only one of them is more than five bucks or so.
..and this..
http://www.ledhacks.com/power/battery_tab_welder.htm

I can understand a refined CD welder ( mosfets, adjustable controls, programmable, etc etc).. may be complex and expensive, ..but does a basic hobby tool need to be ???
 
Hillhater said:
I can understand a refined CD welder ( mosfets, adjustable controls, programmable, etc etc).. may be complex and expensive, ..but does a basic hobby tool need to be ???
It depends on what result you want. What is good for one, will be not enough for other. And vice-verse. The cap and thyristor based version is very nice on complexity side. But there are drawbacks:
1. thyristor has a relatively large voltage drop (≥1V), which lowers maximum current. So you need higher voltage.
2. thyristor "switches off" only when there is zero current. So you can not do pulsed welding (decreasing weld quality) and you have to discharge your cap all the way, which requires a powerful PSU to recharge it quickly to keep up with work speed.
3. Even using very low Ri mosfets, copper busbars everywhere and 30cm long (1 feet) 50mm² (awg 0) cables, one 1.5F cap was not up to the task. Yes, our CD welder uses adjustable LAB PSU as well.

So I guess it all sums up to what your expectations are and how many welds you need to do. If you need a quick and dirty solution to weld a few cells - thyristor-powered car audio cap might be all you need. In my case, we had to weld like 500 cells, so we had to do something better than a 1-hour project. We tried a simpler one, but it turned out to be such a hassle after 10 welds...
 
Yes. Craters, i wander if it is pure aesthetics? If so, newer mind them. I got 1450w transformer that i am trying to work with. I am going by this build: http://www.avdweb.nl/tech-tips/spot-welder.html
Looks decent to me except physical assembly which i can tinker about.
Here is resulting welds:
[youtube]HdyLPcTVVFI[/youtube]

[youtube]HXLXmi4EkaA[/youtube]

Battery-tab_Article_files_Tech-tips_Spot-welder_thumb_medium300_0.JPG


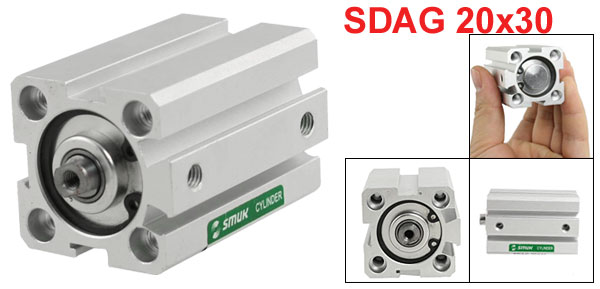
The main issue i am having is extra large cable from forklift that is hard to get attached to electrodes regarding tiny gap between the two. Second one is even pressure mechanism. I was wandering if this would do:
ux_a12030500ux0053_ux_c.jpg

Its 1MPa max pressure. The stroke is 30mm which should be fine with stand adjustment.
I got the arduino working with the script, finally, next electronics part.
 
A friend has a Miller spot welder he said I could use. I don't know the model#, but does that sound like a good tool to weld the tabs on the full tab Korean A123 AMP20 cells I have, or should I just plan to bolt the tabs together with a piece of aluminum folded over to electrically connect the 2 outer faces and at least 3 bolts applying pressure? I do want to be able to pull 10-20C peaks through these.
 
John in CR said:
A friend has a Miller spot welder he said I could use. I don't know the model#, but does that sound like a good tool to weld the tabs on the full tab Korean A123 AMP20 cells I have, or should I just plan to bolt the tabs together with a piece of aluminum folded over to electrically connect the 2 outer faces and at least 3 bolts applying pressure? I do want to be able to pull 10-20C peaks through these.
Mechanical pressure as is exerted by bolted plates over the tabs, the premise of agniusm's kit, is perfectly adequate. Although the prismatic pouch cells are designed for robotic laser welding into packs, there just needs to be good electrical contact between adjacent tabs. The advantage to bolting over welding is both in ease of assembly and disassembly. The latter is needed to replace cells that may prematurely fail, an advantage not often thought of in advance and impossible in hindsight. Note that the availability of "half tab" prismatics is because they've been salvaged from welded packs and had to be cut out. Also, rather than drilling holes through the tabs for the bolts, all that's needed is a good hole punch. All my cell replacements were done this way - slot the tabs, fold and punched in place.
 
agniusm said:
Yes. Craters, i wander if it is pure aesthetics? If so, newer mind them. I got 1450w transformer that i am trying to work with. I am going by this build: http://www.avdweb.nl/tech-tips/spot-welder.html
Looks decent to me except physical assembly which i can tinker about.

That is a nice and simple welder that I also have in my bookmarks. The problem for me is the Arduino thingy, I can handle the fabrication of whatever is mechanical and simple electrical stuff but I know nothing about electronics. I could easily build that myself if I could buy the ready made Arduino thing in there.

Anyone interested in building one and selling it to me for a profit?
 
I would be interested in buying the electronics board, also.
 
i think there is nothing much to it. on that website there is a schematics. Just connect the right dots, like a puzzle. Arduino goes for little money. If i will succeed, i will post step by step instruction.
Just measured my transformer output. its 1.7V and 1150A. I am using 8.25mm cable or 0AWG, 2 loops. Does this sound workable? Almost 2kW of power
 
From what I read about this kind of welder, you're spot on on the amps but maybe need an extra loop of cable in the transformer to bring the voltage around 2.5?

Can someone tell me where I can find this? an Inverse Parallel SCR contol. It's in the back of Albert's welder on the link you provided.

Power-board_Article_files_Tech-tips_Spot-welder_thumb_medium300_0.JPG


Is this something I can find in a microwave or oven or toaster or old television? Or was it fabricated by Albert.
 
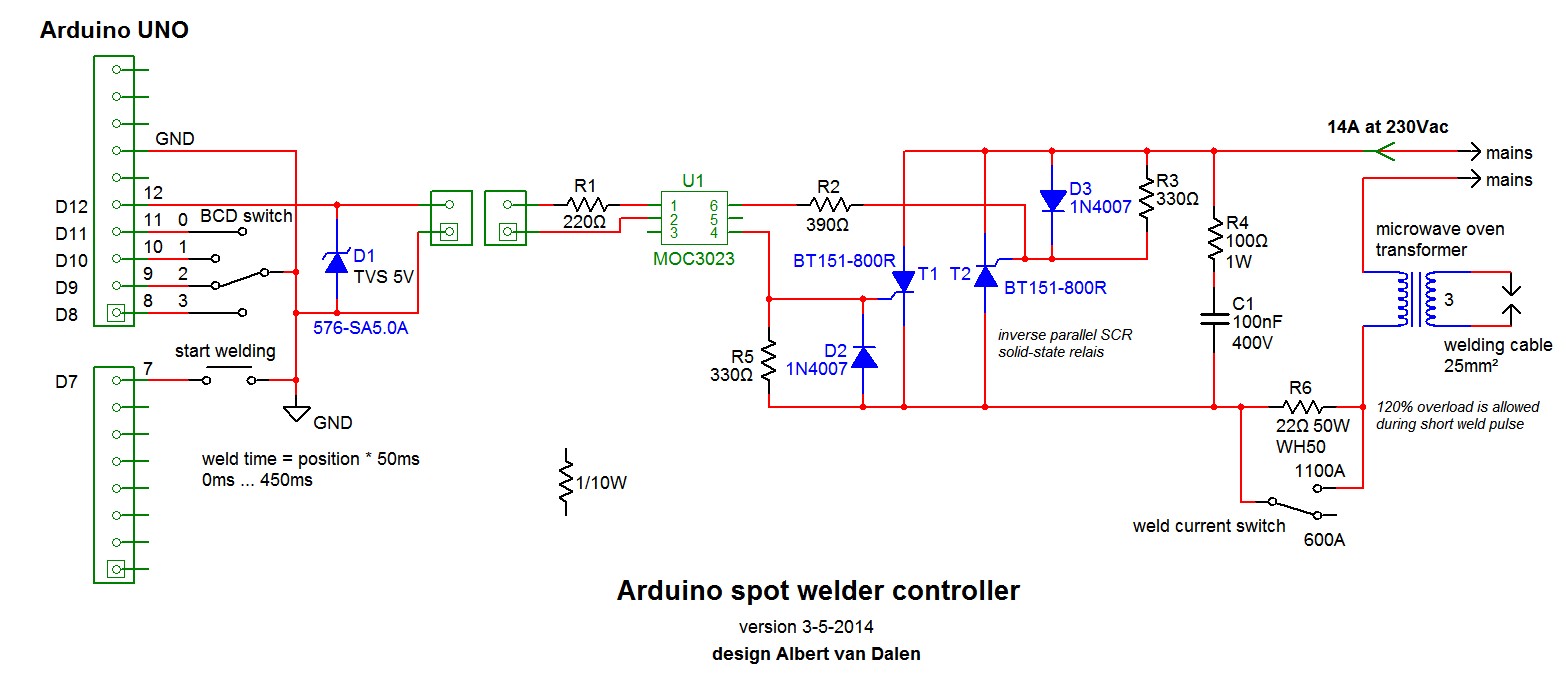
I wish i could make another loop but the cable is so thick, i wander if i better off using thinner gauge cable?! I think there is nothing more to it than on this schematic:
Spot-welder-controller-circuit.jpg

I have salvaged most of the parts except BT151 and MOC3023. I did ordered big resistor to bring the current down on eBay.
I have a foot pedal for welding and i think i will order some pneumatic parts for the machine to press on the cell with a second foot pedal. This way - 2 hands to hold the cells
 
agniusm said:
I think there is nothing more to it than on this schematic

OMG you're right, after looking for a hundredth time at that thing, I'm finally starting to figure it out, at least some of it. :lol: I now need to learn what all the symbols mean. Thanks agniusm. From the schematics, am I seeing that the wire has to go three times around inside the transformer?
 
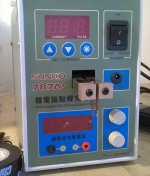
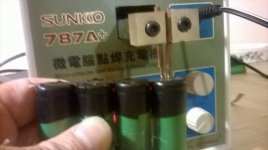
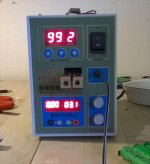
Hi, I am not ready to make my own welder so I purchased the machine in the first video and used it a few times and have about 700 welds so far.
This is the one I got on Ali-express for about $100.00 plus $60 for shipping.

tab-spot welder.jpg

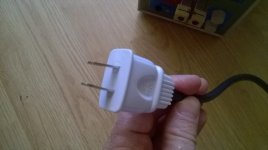
I do not have a conveter to get 250v so I just used a regular extension chord but added a 240v connector and hooked it up to where my air condition used to be.

View attachment 6

250v 10a plug.jpg

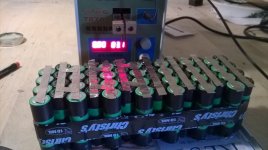
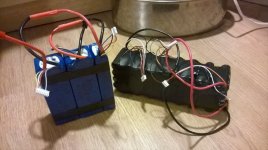
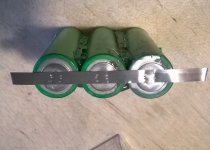
With this setup, I had to set the welder to its highest setting (99, 2 pulse) and hit each tab 3 to 5 times. It is not very strong so I did not worry about going too deep. Here are some photos of my first battery attempt:

welding a pack.jpg

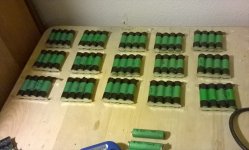
15 x 4p packs.jpg

welding pack together.jpg

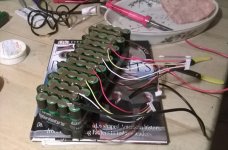
adding leads and balence wires.jpg

completed battery next to 5ah 15s hk pack.jpg

This is my only tab welding experience but I am happy with the welder. This battery was made from used makita tool packs. If I were to purchase new expensive 18650 cells I might want a better quality or more powerfull machine.

I will report later how these tabs hold up.
 
No Problem.

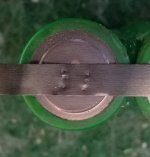
welds 1.jpg

welds 2.jpg

welder at 99 2.jpg

I can pull off most tabs without a tool but I need to pull real hard. One or two practice welds needed pliers to break off form the battery.
I do not know if the proper 250v would make the welds stronger/deeper but more power would be nice.

I think this machine will be easy enough for my students to use for our power supplies. We have one 240v outlet for an electric dryer in my room.
 
Update on the above 787A spot welder.

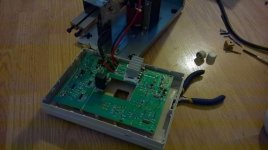
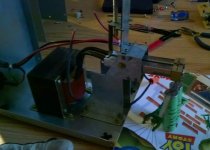
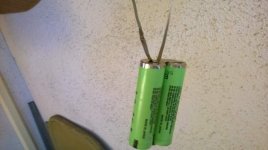
In July I started work on a 12p 15s battery pack. for every individual weld I needed to push the foot switch about 3 times, so, when you see 3 spot welds on a battery, I did 9 welds. So about 400 to 500 welds on each 12p section on my new battery. I got about 9 sections of my battery finished when the welder stopped working. The fuse and connections were fine. Something on the circuit board was shorted. I removed the electronics/circuit board and did a test by touching the positive wire. It seemed to work fine.

welder electronics removing.jpg

first try welding by tapping red wires.jpg

good weld.jpg

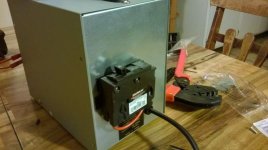
Next, I added a circuit breaker, because the little fuse would blow each time I touched the wires, and a switch from the local hardware store.

back of welder.jpg

top switch on welder.jpg

Now I had more control and could use 120v or 240v. when using 120 it needed slightly more time, about .5 of a second and it seemed to create more heat. I had to wait about 3 seconds before I could touch the weld. Still, much cooler than a solder connection. At 240v, I needed about .25 seconds and it seemed to be cooler right away and a better, stronger connection. Here are some close-ups and my battery.

View attachment 2

welder back to work after 4 months off.jpg

finally complete 12p 15s.jpg

Also, My Dr. Bass 4p 15s Makita battery pack is still doing great. When I purchased this welder for about $89 (+$69 shipping) I was optimistic about it working. I think doing about 500 welds in less than a hour caused it to over heat/short out. However, all the components are there to make a DIY welder.
 
Back
Top