Yamaha YZ250F

The throttle were getting sticky and loose.
I saw how broken it was at the end, but it seems like that wasnt the main problem:

IiNuREI.jpg


It was mainly just worn and would stick internally.
I went with this instead:

W26Ds7x.jpg


I think it is a surron throttle. Nice feel but a little big.
It has a flat surface that gave some play for the brake:

YUCVufR.jpg


I also thought my footpegs started to feel a little out of shape.
I took them off and had a look:

lELn2Di.jpg


The sleeve on the top right is supposed to be part of the peg.

AldoSLP.jpg


It is hard to see in the picture, but the pin is actually bent back and forth something like 4 times :oop:

qe7Gm5H.jpg


I'm trying these cheap Chinese ones now, it will be interesting to see how long they will last.
 
I have ridden twice now since the changes. I am very surprised of the difference with this throttle :oop:
The bike was almost unrideable, super touchy on the throttle. I got terrible armpump after one lap or something, I turned the phase amps down to 60% to be able to ride it on a technical track.

Today I rode it on 75%, that is my usual enduro setting (that I used to think was a little lame on some faster tracks)
and adjusted the throttle curve:

7iWff65.jpg


This is where I am now, I think it is decent like this. But it will need some more work to get really good.
It is just the right side of the zero line that is the throttle, the linear part to the left is the brake.

Just to be clear, I have always ran it linear before and been totally fine with that. And that is with 3 different throttles I think.

Today I rode a little mx track as well, an logged a few laps:

tfQK3TW.jpg


I stayed on the 75% setting, as I plan to run that in a competition next weekend.
I seem to get the same power (but less torque from the start) on this setting.
It is enduro, but they use the mx track too. This is a tricky track, it is sand, but it gets wet and moves.
And it seems like it will be raining Tuesday to Friday next week, competition on Saturday :rolleyes:
 
Sometimes you just want to have a look at the underside of the bike ;)

cJPzFzG.jpg


This maybe explains it better:

AaE9Jzk.jpg


I got mad at myself after a few attempts to get up and thought "if I release the throttle as soon as it wheelies a little I´m never getting up"
This time I didnt release the throttle.. I didnt get up anyway, but the bike did :rolleyes:

wphwV4D.jpg


I´m saving this for another time..
It doesn't look like much in the picture as usual.
But it is a cavity full of branches, then a steep climb with big rocks :confused:
 
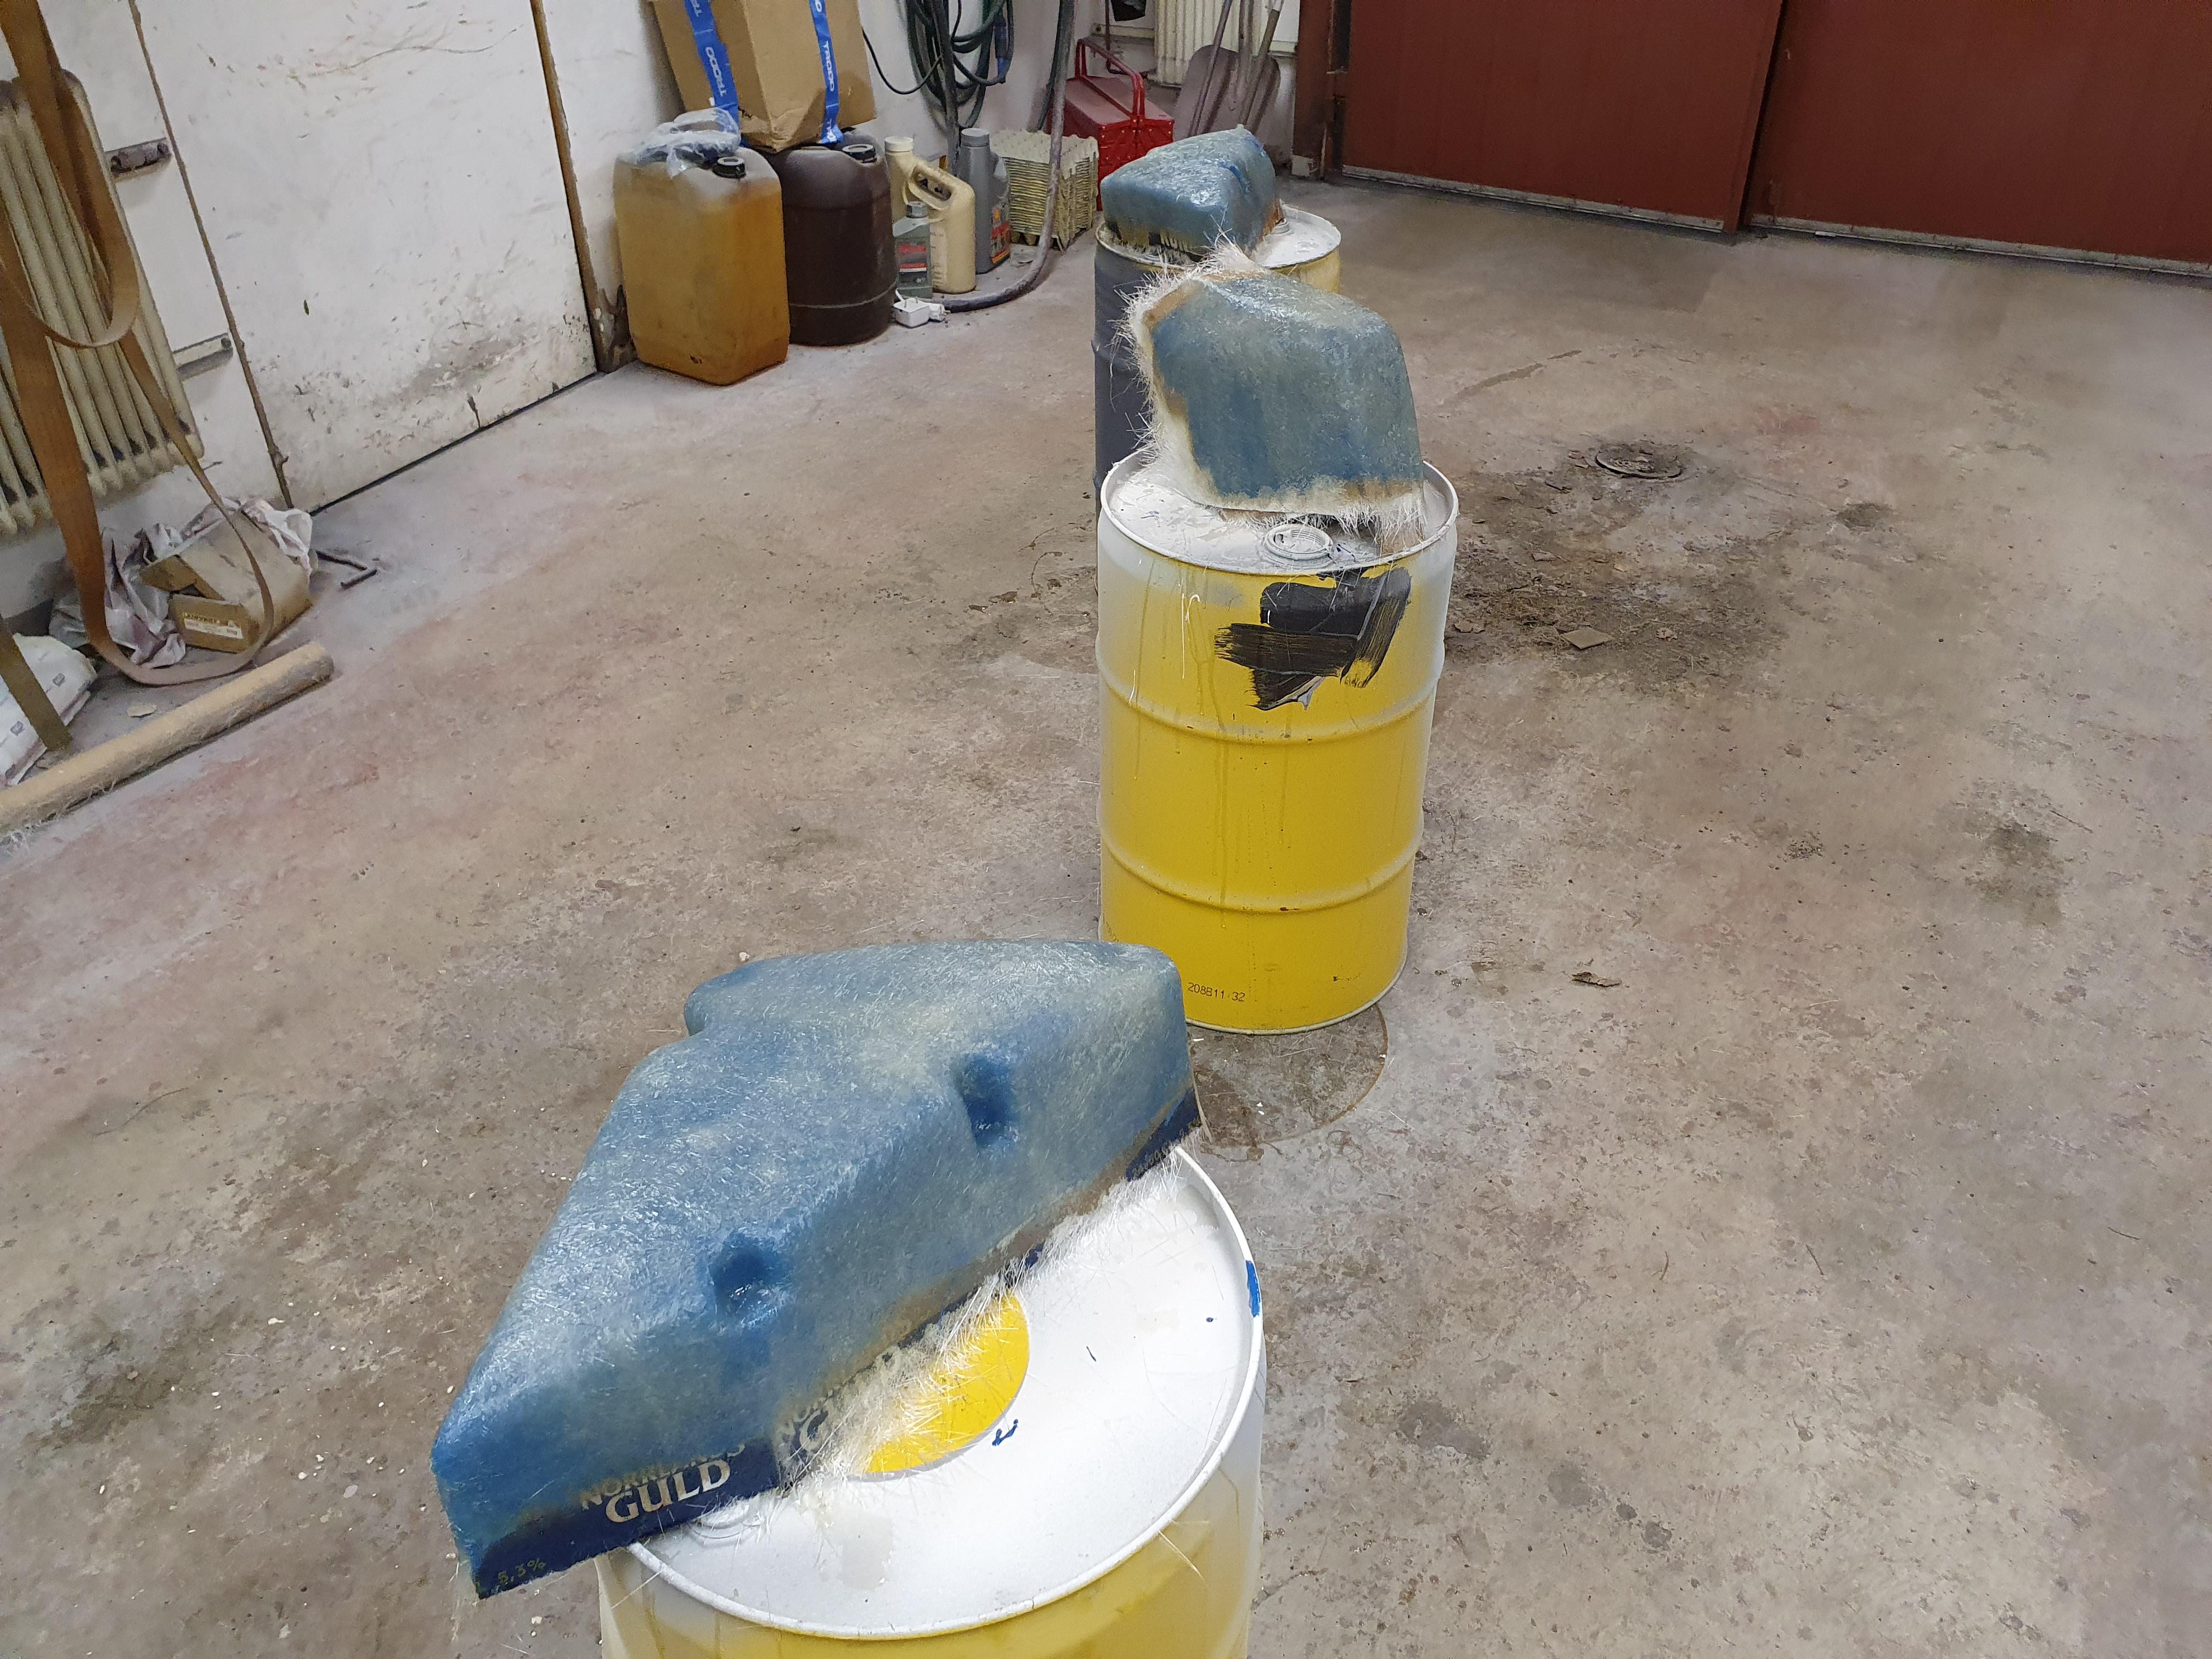
Making molds:

9lfGUDy.jpg


It will be interesting to see how they turn out, I didnt notice any serious problem.
Except that the first layer of gelcoat started gelling before I was finished, but I dont think it led to any defects on the surface.
I have re-read your entire thread and i think i want similar side covers, since i like yours so much.

What is the cardboard sticking out from the mold here? As I understood it, you first make the shape of the panel (I think I'll use styrodur foam since i have plenty), fill and sand it, put wax on then put GF+resin on top, this cures, then you put wax into those molds and repeat, and what you take out is the perfect copy of the template? Did I miss something? I've never done any GF laminates, but it sure looks fun to try.
 
Lets see if I can explain in English well enough.. 1:Yes, first you make a model of the part you want, exactly how you want it.
You can use pretty much anything that will end up stiff enough, and a lot of filler can help with that. I usually use car body repair stuff you use before paint.

2: When I have the shape and finish I want I usually paint it, some sort of glossy car paint or similar.

3: Then I add some extra edges, like the cardboard you saw in the picture. The reason is to get some extra space to "end" the fiberglass that you can cut off when it is finished. Also if there is bends in the model it is good to have some flat surface for the fiberglass to stick to. I use glossy packing tape or aluminum tape on the cardboard to get a surface that the mold can release from.
4: Polish the model with special wax 4 times:
FwSsDdmm.jpg


5: Put on a layer of gelcoat, if possible wait overnight and put on a second layer.
After maybe an hour when it starts gelling start putting on fiberglass.

6: The day after you can start splitting the model and mold. Cut off some of the extra fiberglass that is covering the cardboard , but save maybe 20-30mm for support in the mold when it is time to make the part.
Oh, this can be a big subject to write down like this.. But this is a start perhaps :)
 
It was a hard weekend with racing both Saturday and Sunday 🥵
On Saturday it was "Kolmårdsracet" 462965808_1122055416282191_4669510628272167206_n.jpg463026664_1122057116282021_444180575160290289_n.jpgIt looks like a walk in the park on those images, but I can assure you it isn't..
To show some more of the track I use pictures of other riders, as I havent seen any of me.
First it is a wet sand mx track:

462775891_1122060762948323_4021003079859189090_n.jpg

After that it is dry sand for a while, but by then you are already tired after the wet sand. Then you come here:

462965468_1122159826271750_3477319594733485590_n.jpg
A rocky hill climb that dosent look like much in the picture, but it takes its toll. When you get up and thinks the worst is over, you end up in a rocky mud pit. Then it just continues with rock mayhem, and somewhere around there it is time for a bath:

462685465_1122054199615646_5078998247617302604_n.jpg

Then there are some decent tracks until you end up in slippery mud:

463025373_1122060992948300_4965967503035477259_n.jpg
Thanks to Log into Facebook for the pictures.
 
Last weekend it was a race at the local club. It was a different one with 4 sub-competitions.
First go cart track. It was a little tricky, not the best traction with enduro/mx tires..
Then speedway track.
After that mx, and it is a rather big track with high jumps. My suspension really wasnt up for that, I bottomed out so badly 😨
It is a bit soft for me for enduro, at least the rear shock.

Time for a little service:

5JQFxoL.jpg


Note to self, next time I take the bearings apart I better change the swing bearings.
I will change the bottom shock bearing now, I dont think I have a picture of how it looks 😬

F8tIlyq.jpg


I left the lot to a suspension guy, I just think he know better what to change in them.
The shock was serviced in may, the fork in August or September I think :confused:

MZmhwaL.jpg


Got a new bms for battery 3 again, it will be the forth one..
They have changed the look on the sticker since the last one.

Also 2 small displays, I plan to use those on the chargers for the new bike.
That way I will always see if something is happening with a cell group when charging.
If I get a vesc display I may not see the cells when driving, if I dont get vesc compatible bms:es.

25wJlBK.jpg


I decided it was time for a new sprocket as well :mrgreen:
 
I have that BMS. Seams reasonable.
This time I will leave it as it is, only some small adjustments for fitment.
That should rule out the possibility that it is my modification that kills them.
That will mean that the discharge current will be bypassed, so I suppose the soc on the display will be all over the place..
It is not very reliable anyway, so it is no big deal.
 
I found out that there is an extreme enduro track not too far away. There were some people going there today, so I decided to join.
These tracks sure takes its toll:

JsPGmQb.jpg


A little bit of straitening out the handguard..

Broke the return spring on the foot peg.

5rlS48G.jpg


5fcrJCu.jpg


The problem is that the tube part on the foot peg enlarges and the spring cant move.
I suppose I should get some of these super expensive titan pegs:

ls6VC97.jpg


That is a little over 300 in euro or dollar I think :confused:
I hope they last if I get them..

feGc4y5.jpg


Broke the brake line guide, but I had a few of these poison green petg ones to run instead :mrgreen:

xZAyOwL.jpg


I also changed seat cover, it was pretty worn and maybe I should get one of these grippy ones ..
 
Had to straiten out the chain guide again as well:

RZHkyuW.jpg


I wonder if a softer one would be better 🤔
Maybe the chain and sprocket would take the beating instead, and it would just be a bigger problem.

I remembered that I took a picture when I was at the extreme track, this was the second obstacle I think.
Before the other people showed up.

XSGFisB.jpg


I know, it dosent look like anything in the picture..
But it was pretty tricky to find a line up, and things got worse from there :D
 
Not much happening here, but some small things at least:

lbIhN7C.jpg


I had this button I bought some time ago. It is meant to fit on the brake or maybe clutch cylinder.
But not on my bike, but I took a chance and it didnt fit..

So recently I 3d printed the missing piece so I could mount it. I connected it as a reverse button, so I dont have to flip the switch.
It will be interesting to see how long it will last :rolleyes:

NUtGcJr.jpg


I had a little problem with the front brake sometimes, I thought it was sliding pins that were just worn and maybe bent.
I bought new stuff, but when I were changing it I noticed it was the holder for the caliper that were damaged so the pin wouldn't sit strait. Some repair of the surface and new threads, and it should be fine again :)

This weekend I was at "novemberkåsan" just as a spectator just to see how it looks:

Jb0S2mT.jpg


It is Sweden's toughest enduro race, some say it is the worlds toughest.
There was 4 tracks, in the daytime there was 5 races. Track 1,2,3,4,1.
Then in the nighttime there was 10 races. Track 1,2,3,4,1,2,3,4,1,2.

In total over 300km+transportation between the tracks.
The fastest rider finished the tracks in 8hours 25min, the slowest in 13hours 41min.
It started on Saturday morning and finished on Sunday morning.

There are longer races than this, we have a 24hours race for example.
You can do it in teams, but also alone if you are crazy enough. But not on an as demanding track as this.

There are a few mud pits and other obstacles, there are some films from the event:


These 2 are similar, the first one shows more of the tracks. The second one more of the worst mud pit :)
It is amazing that no one just kills the damn chainsaw mongos, or at least just takes the saw and drown in in the pit..
 
Today was the second ride with studded tires this winter. Not that I have needed them, but my rear tire was so bad I had to do something..
Anyway, the first ride was just a small, old sand pit close to home.

U5zTVvM.jpg


I thougt I was getting impaled, but I fell before i got to the spikes..
After that there is a rather nasty stump to fall on if I would get that high up. I will cut off both of them before next time ;)
It is not easy to get a good start ´when climbing the sides:

O8eAIhA.jpg


Today was the first proper ride, and I got a damn double flat again :oop:

EBEIGJi.jpg


In the rear it is leaking from where a stud has been ripped out.
I dont know if the hole has been drilled too deep or something.

I run tubeliss in the rear, and it is the third time I have a tire leaking since I started with the tubeliss a few mounts ago :confused:

In the front I have a heavy duty 4mm tube, and I can see that the valve have twisted a little:

jOfMFG7.jpg


The tire doesn't seem to have moved though, and the tire lock is still secured in place 🤔
It leaks by the tire lock though, so the hole it is probably close to it.
I will know more after the autopsy..

zxNi6JS.jpg


I logged two laps as I was a little curious about this track. It is long, 12km according to my display (and vesc).
It is also fast and power hungry, mostly sand.
Almost like an mx track without jumps.

hf5XcTT.jpg


The batteries got to work for their money..
I was able to finish my 6 laps anyway, I changed the front wheel and pumped up the rear.
2 laps on each battery here, so I used all 3 of my batteries.
Maybe I shouldn't have, this is going to hurt 😨
 
Last edited:
I finally got to start changing the bms in battery 3:

4aChgr2.jpg


First I got some idea that I could do it rather easily, but I soon realized I had to take out almost everything except the 2 front battery modules :confused:

Anyway, the old bms:

u5Qyuck.jpg


And the new:

n0Keylz.jpg


Then I put the battery in the bike to test a little, before I glue it back together.
But the bike were running rough until it got up to speed..
That damn hall sensor problem again 😧

I thought it is unlikely that it is the wiring again and took off the cover on the motor:

svWaJ9k.jpg


Hard to see in the picture, but it is rather wet.
After drying it, it ran fine again.
So now the question is why it has been getting wet..
I guess I should take the motor apart and have a look inside, but now I had to get ready for to ride this weekend.

Some proper winter riding:

RuIxxnX.jpg


According to the weather report it was supposed to be -5 in the morning and -3 during the day.
They were wrong, it was -16c in the morning and -11c when I went back home 🥶
Seems to be about 3f in the morning and 12f later in the day for those more used to that scale.
 
I took the small cover over the hall sensors off after last weeks ride and wash, it was dry.
But I decided it was a good idea to take the motor apart to have a proper look.

wRLETPc.jpg


And I think it was, the water on the wood and the floor came out..

e5W5yMG.jpg


I would guess the water mostly comes in around the wires. There is a rubber seal around the wire, but not on the outside of the plastic.

8qLTDzD.jpg


Inside of the rear cover..

1aSlZhZ.jpg


Rear side of the motor.

S1g12Kt.jpg


Front of the motor, the grey on the windings is grease from the bearing.
I planned to take the rotor out with the front cover, but it is stuck in there pretty good :rolleyes:
I tried to take measurement where it is, and the rotor dia seems to be about 110mm.

UyXUgBw.jpg


A lot of the grease from the bearing has been sucked out.
I think the main problem is that the motor isn't ventilated. So when it gets warm air gets pushed out around the wires mostly.
When it cools off air is sucked in trough the front bearing and gland (?) that doesn't seal very good in that direction, and also around the wires. That way water also can get in.
 
First I planned to add some sort of ventilation to the motor, but that is a risk too I think.
Water can come trough or around the ventilation, more things that can get damaged etc.
I then decided to go this way instead:

b1OIDVT.jpg


I made track around the bearing, and I also changed to ta gland without the outer lip (the little dust protection lip)
The idea is that air should be sucked in around the bearing and past the gland that doesn't seal very much in that direction.
It will come from the transmission then, and should be free of water.
I also changed the bearings when I was there to avoid problems later.

I sealed around the wires and also the wires them self:

5sdyjKp.jpg


This was covered with sealed heat shrink, that didnt seal good enough.

g2SODxa.jpg


Now I glue them and run sealed heat shrink over the glue.
The same thing at the ring terminals on the controller.

I noticed a problem when I took the motor apart:

1AOtzuD.jpg


JTbPvBz.jpg


There is nothing positioning the magnet ring for the hall sensors 🤔
I just mounted it and tested, it seemed to run just as it should.
Later I got a reply from Hackey that I just had to do a hall sensor calibration, I had tried to do a full motorcalibration unsuccessfully.

y69RdAJ.jpg


I was riding snowtracks this weekend, I sucked :rolleyes:
Last weekend it went ok, but it was less snow then.
 
Was out on a hard enduro track today. I didnt plan to go there until it has dried up, but some others was going and I ended up there too.
On a normal enduro track studded tires work ok on the rocks and mountains, but not here..
Helps on the roots though.

Killed both the side covers:

EtRmQp2.jpg


P9Ee7yP.jpg


Hard enduro takes its toll on both bike and rider :rolleyes:
When going down a short but steep edge i almost flipped over, went over the bars with the bike tumbling down after.
Oh wait, seems like there is a film clip of it:

sOBOqrz.mp4


Okay, so it was more like i tripped on a stump and fell it seems :oop:
There dies the first side cover..


There was another clip from a tricky climb (that dosent look tricky or even a climb):

gBJsqOB.mp4
 
Last edited:
Exercise is healthy they say, but I'm not sure how healthy it is to fall down in holes with a bike over you 😬

lAtTEb7.jpg


New side covers and new rear fender.
I planned to change the fender when it broke, but it just doesn't seem to happen.
The old one is so scratched up it is ridiculous:

hwLSWVS.jpg


I guess I will have to change back when the new one breaks instead :D
 
I was driving on ice last weekend, and thought I should get a log of a full speed run.
It would be interesting to see what kind of rpm I would hit, how much power it would take etc.
I was rather surprised when I saw this:

mD8PBWW.jpg


Actually, I looked at another log first where I went faster. But I didnt get any gps signal on that one, so it only showed something like 65km/h in the log, and about 113km/h on the speedo.

Here I get a gps reading of about 93km/h, 55km/h or something vesc reading and 100km/h speedo reading.
Odd, it has been accurate before, like here:

A85eOl3.jpg
 
Back
Top