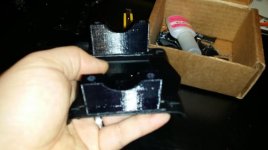
Hey Guys, if you use C63 that I send for free with every controller you dont need to worry about! All controllers are checked.
About the problem with reflashing, I have it to after I update the software on my old max, and one of my bike with new Max has it right out the box. But since I didnt have this problem before updating - I am sure this is temporary software problem that happens 1 of 10 times I turn on my bike... Maby I shout downgreade software.
About packages- if something will be damaged due to bad packing - I will cover it, so dont worry about it guys
")
Just use C63 switch we provide and ride safe
p.s. about Oleg from adaptto, we comunicate every working day, so I can not imagine him to ignore messages from somebody. Maby they did go to spam?
the only problem I had with controller with over 30 controllers instaled by myself - some software mistakes. other errors were caused by human factor :lol: