jonescg
100 MW
GCinDC said:
Zoot Katz did a good job in his fiberglass battery box too. Part of his build from about 2009 or thereabouts.
GCinDC said:
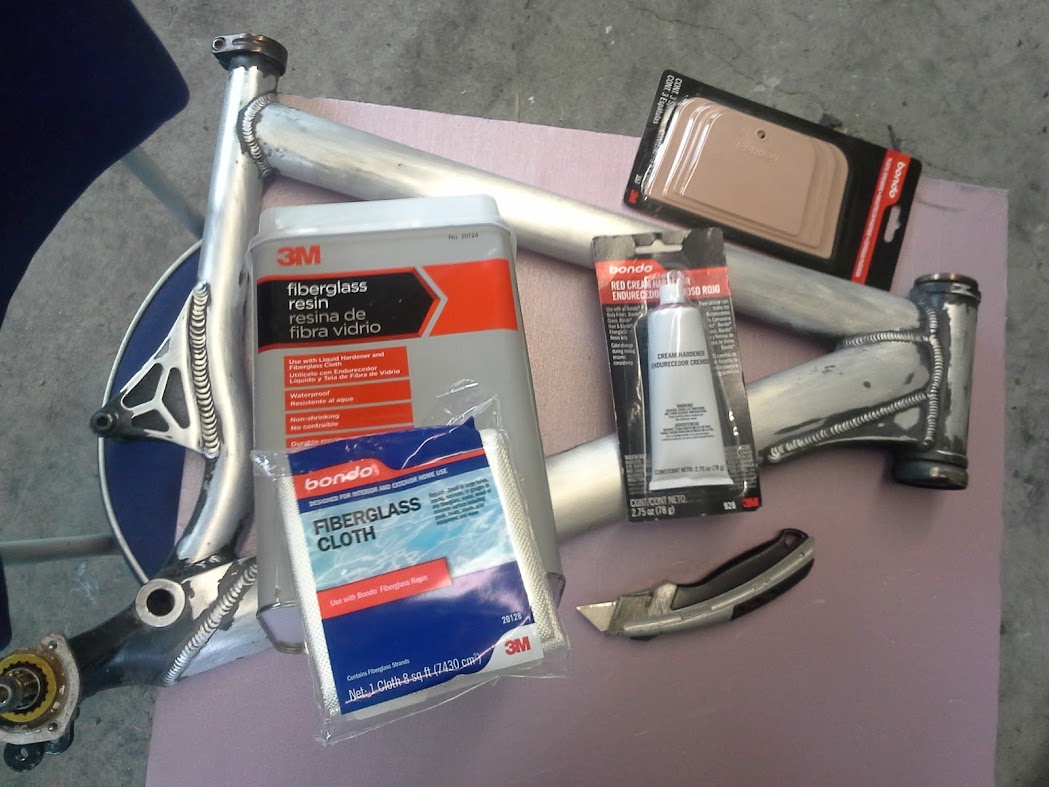
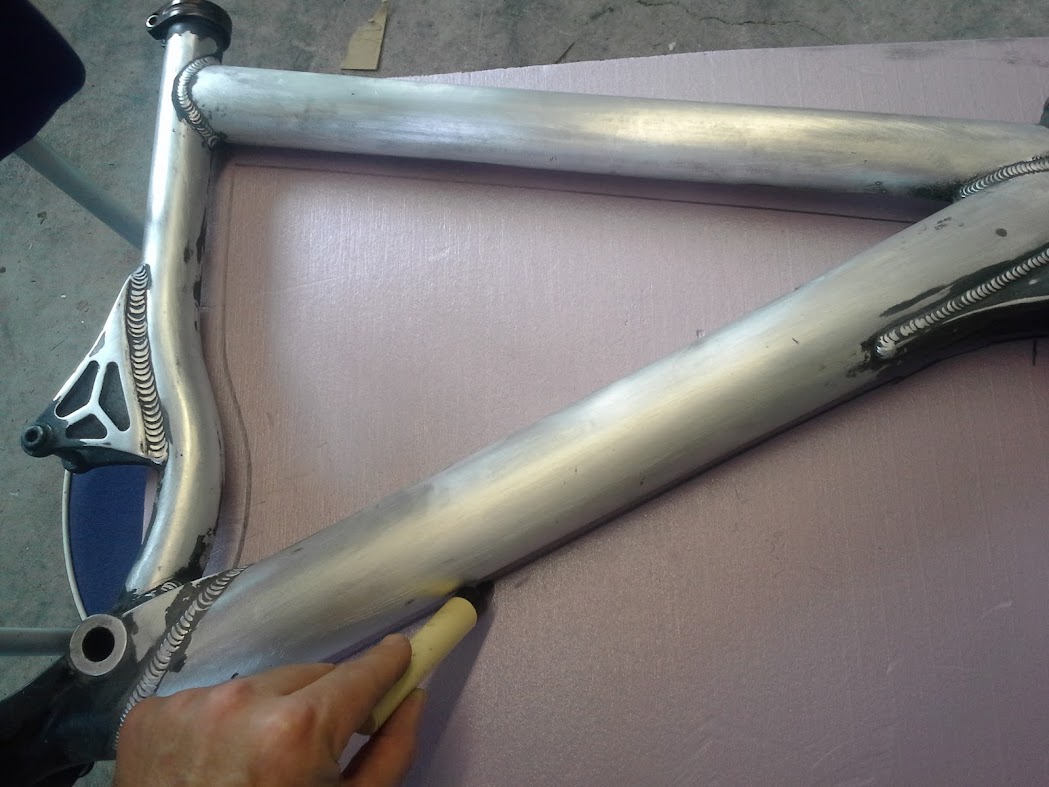
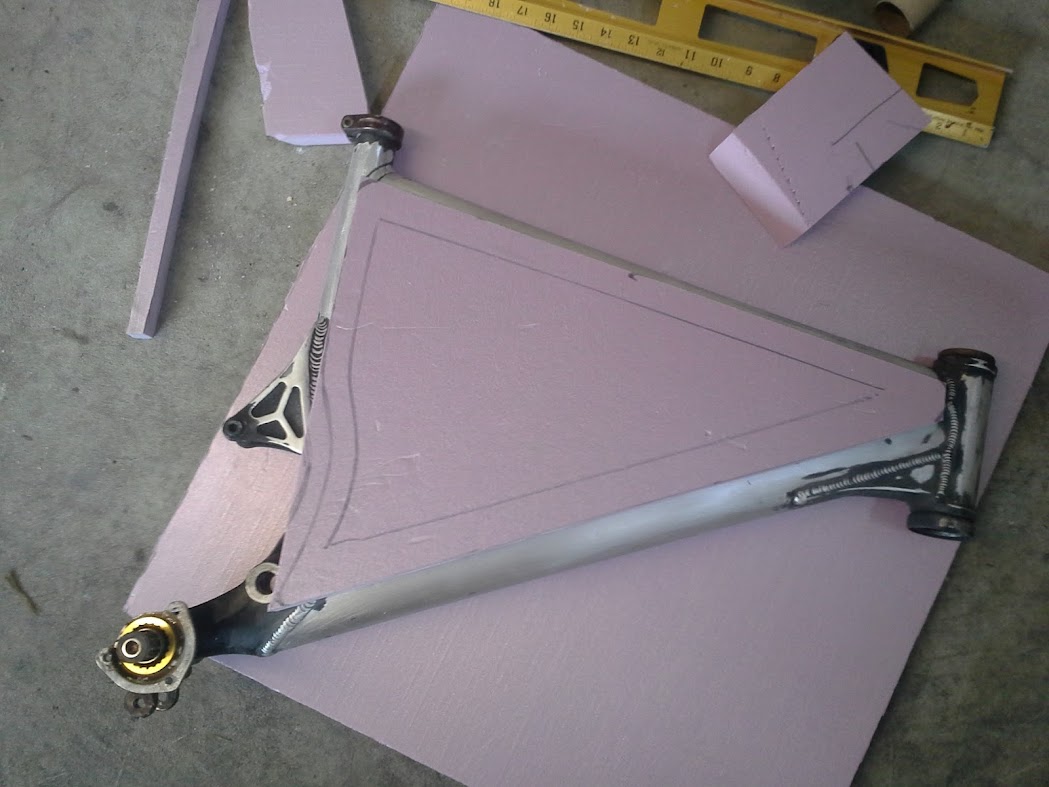

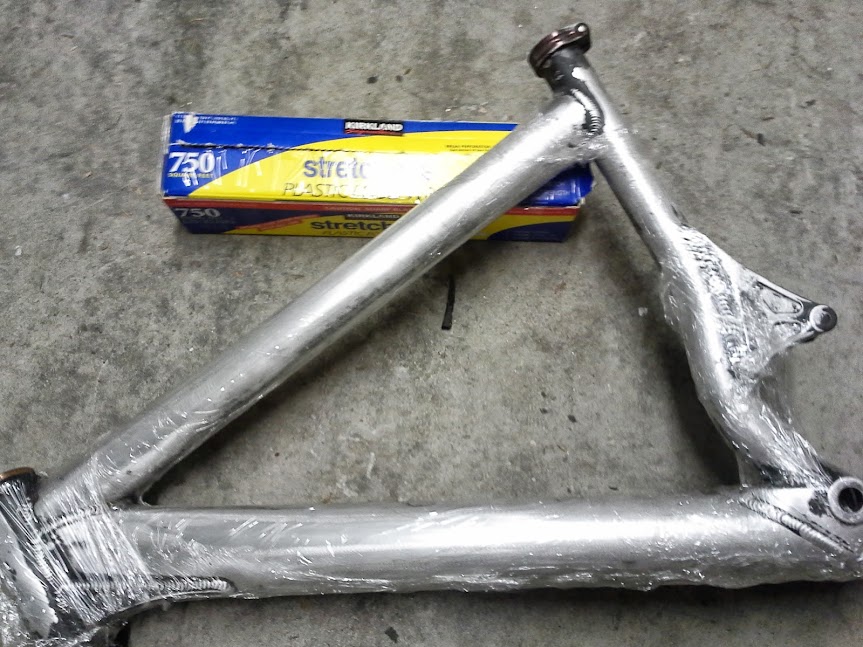
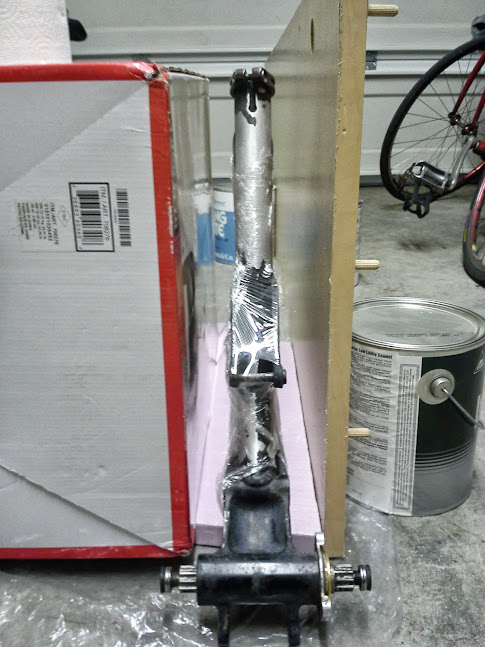
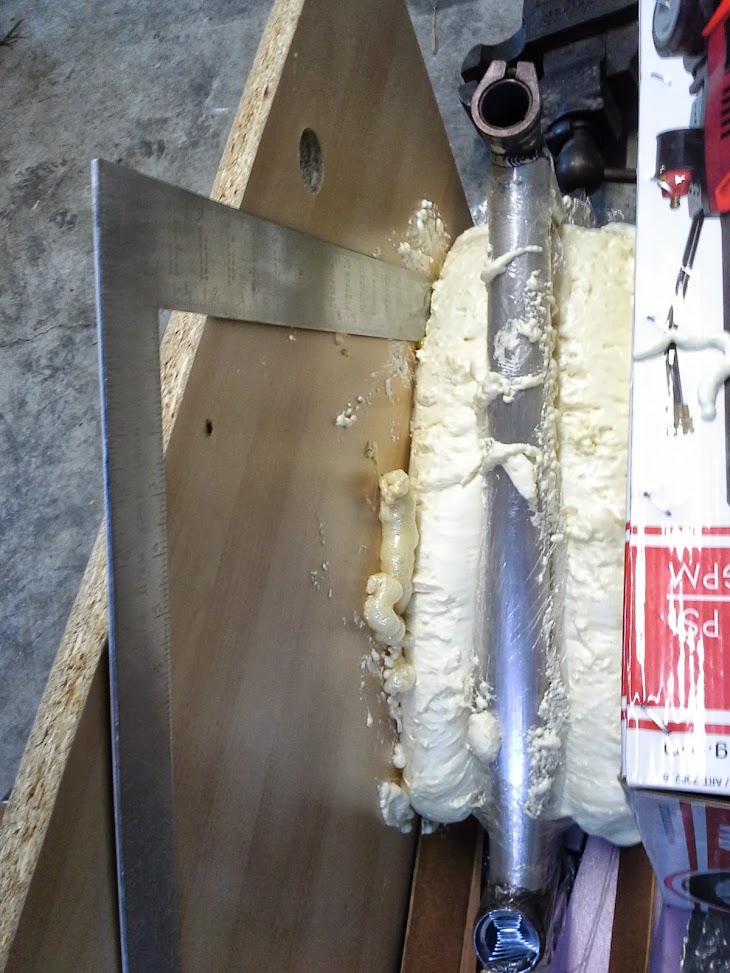
thanks, but what do you guys think about glassing the FRAME as well as a foam plug in the triangle that i'd later cut out? would the epoxy/polyester adhere to aluminum? if not, a layer could be added inside around the tubes...Thud said:...use a spray glue compatible with foam, & laminate some tin foil to your shaped foam plug....then glass over that.


GCinDC said:thanks, but what do you guys think about glassing the FRAME as well as a foam plug in the triangle that i'd later cut out?(sounds like a lot of redundanty for the finished effect) would the epoxy/polyester adhere to aluminum?Yes...very much if not, a layer could be added inside around the tubes...
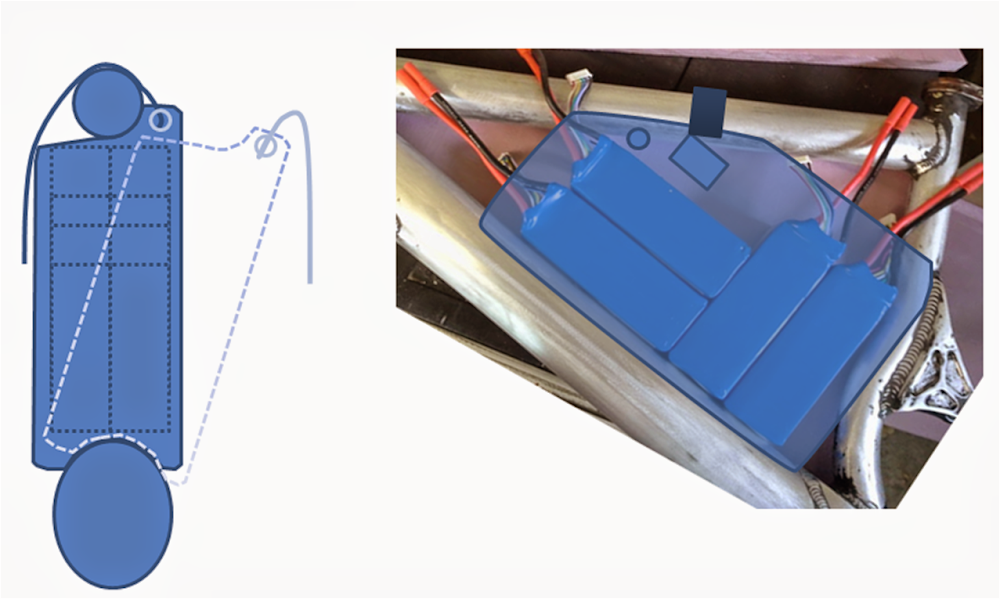
but IF i were to build a removable enclosure, i'd like a scooped on the bottom so i can set it on the bottom tube, lean it in so it snugs under toptube with a simple strap that velcros or snaps on opposite side, like so:
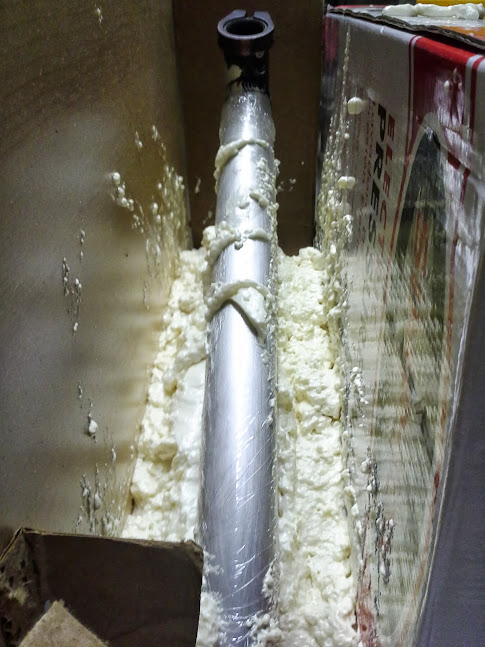
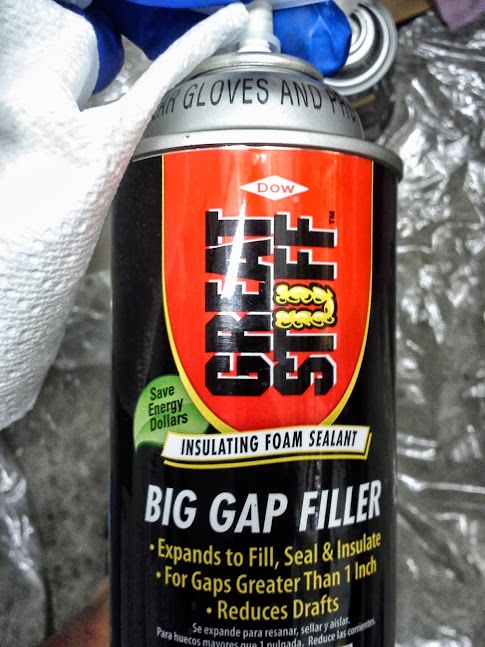
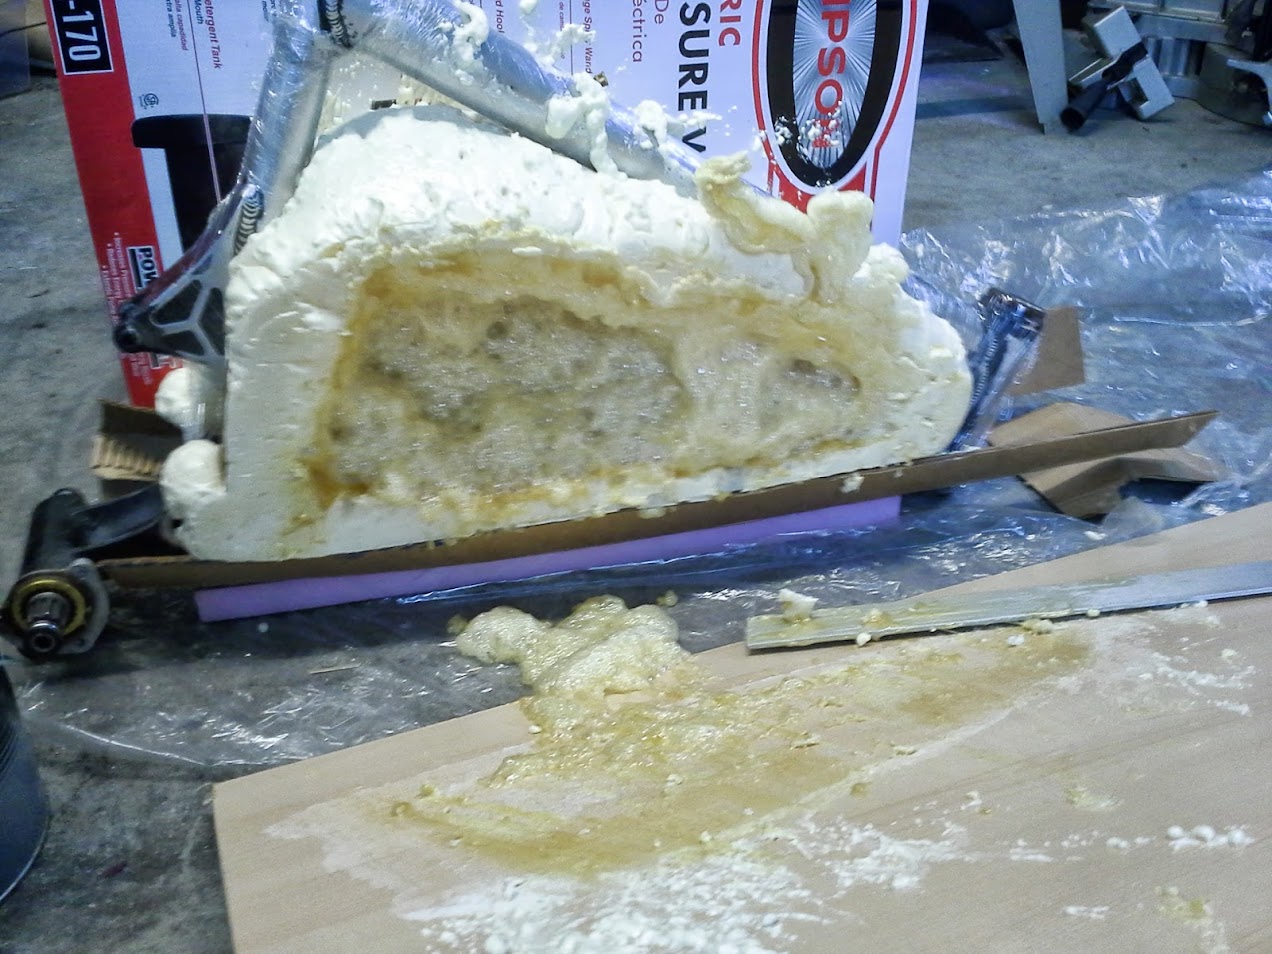
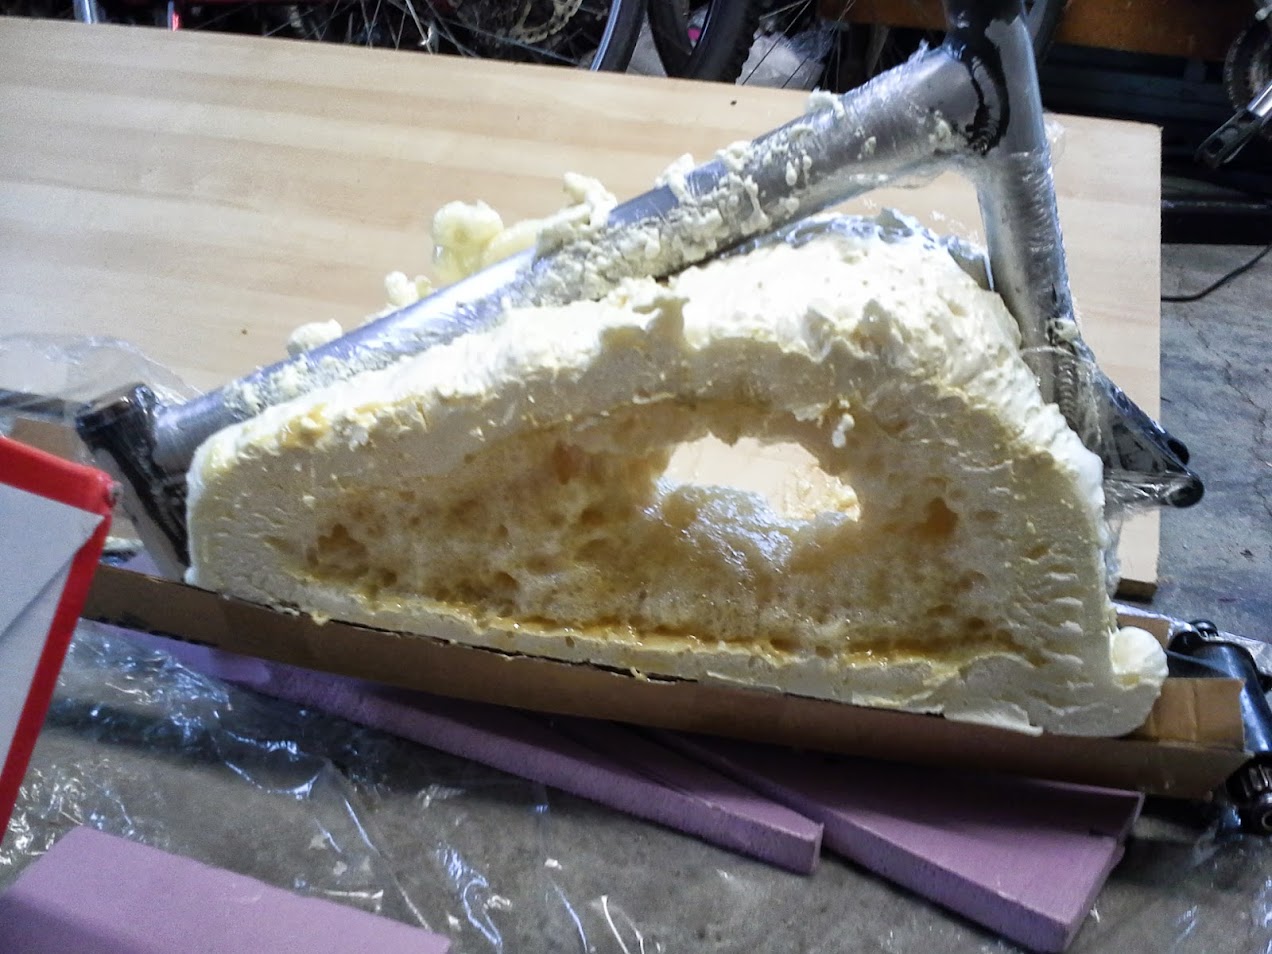
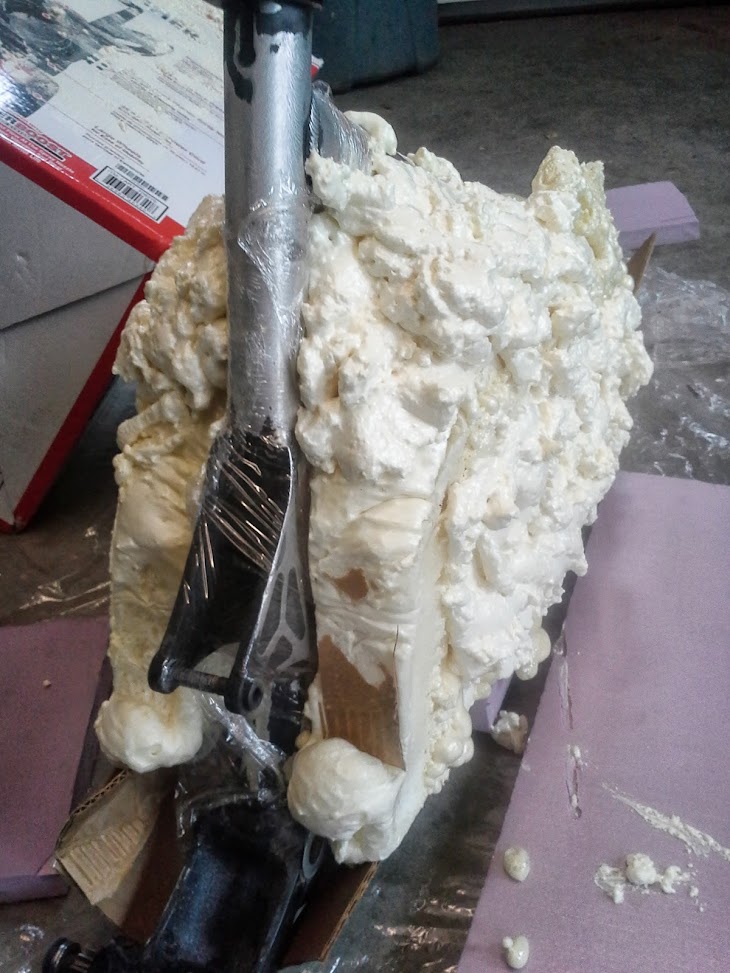
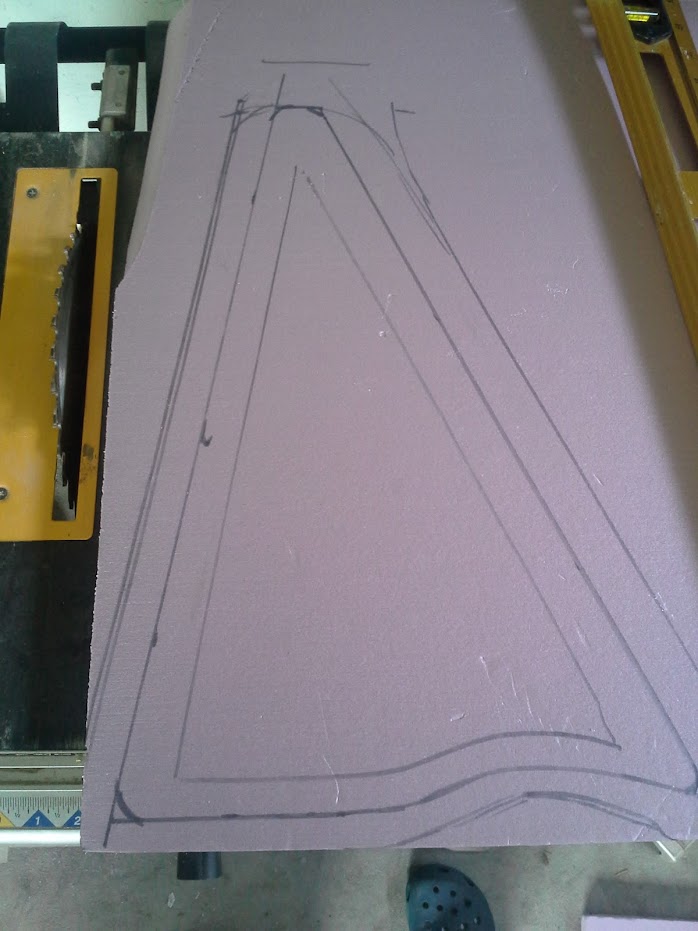
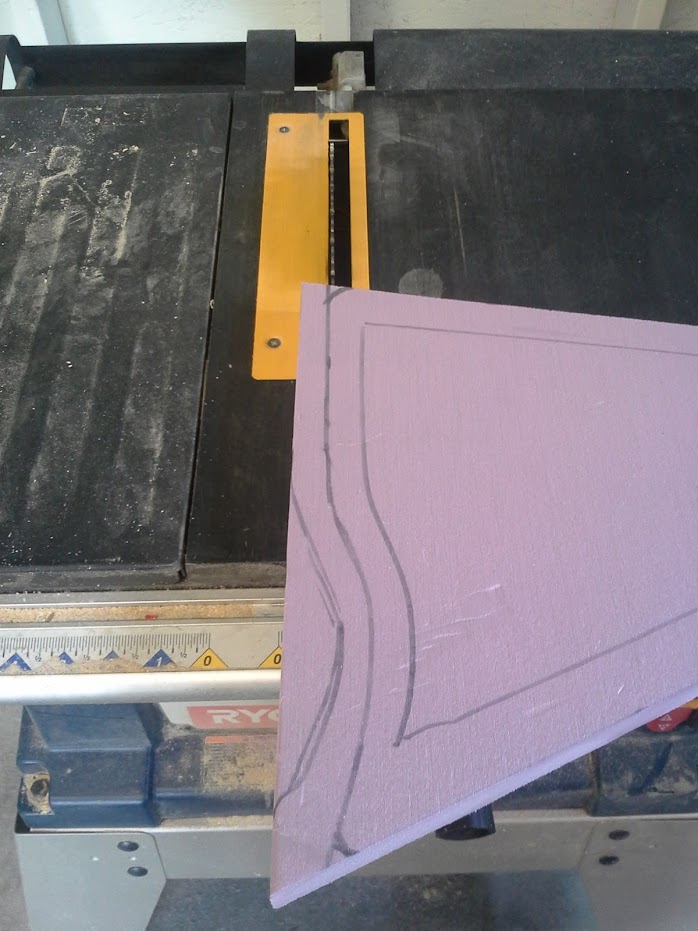
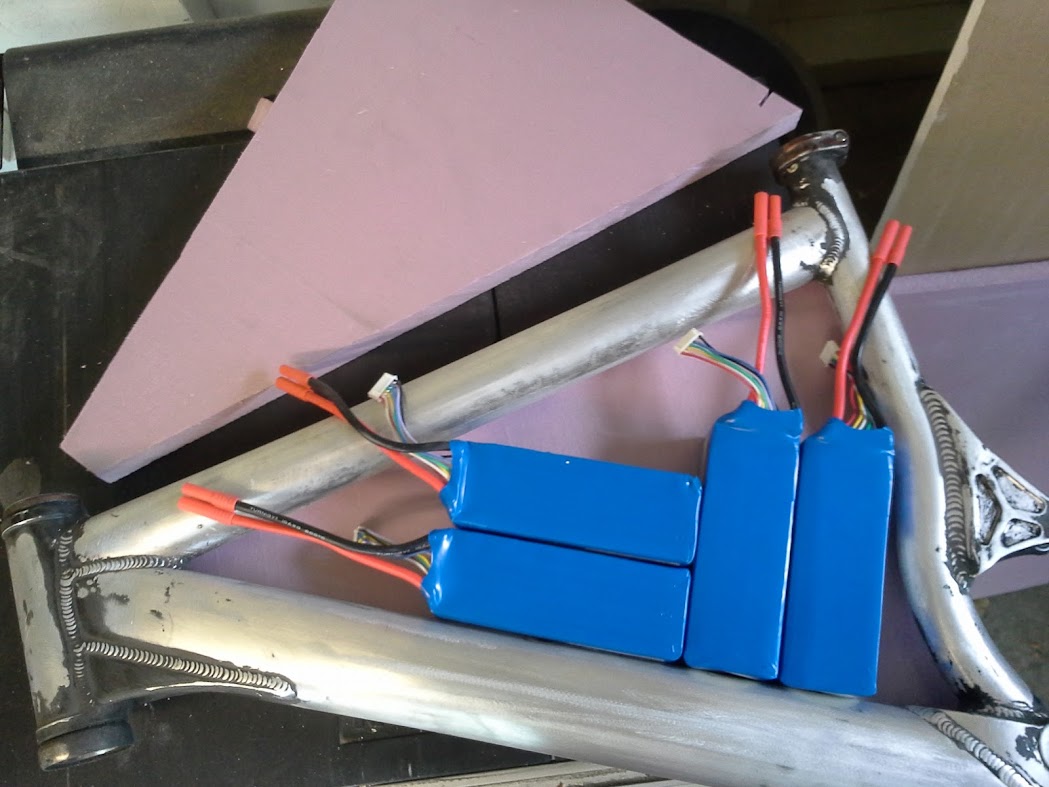
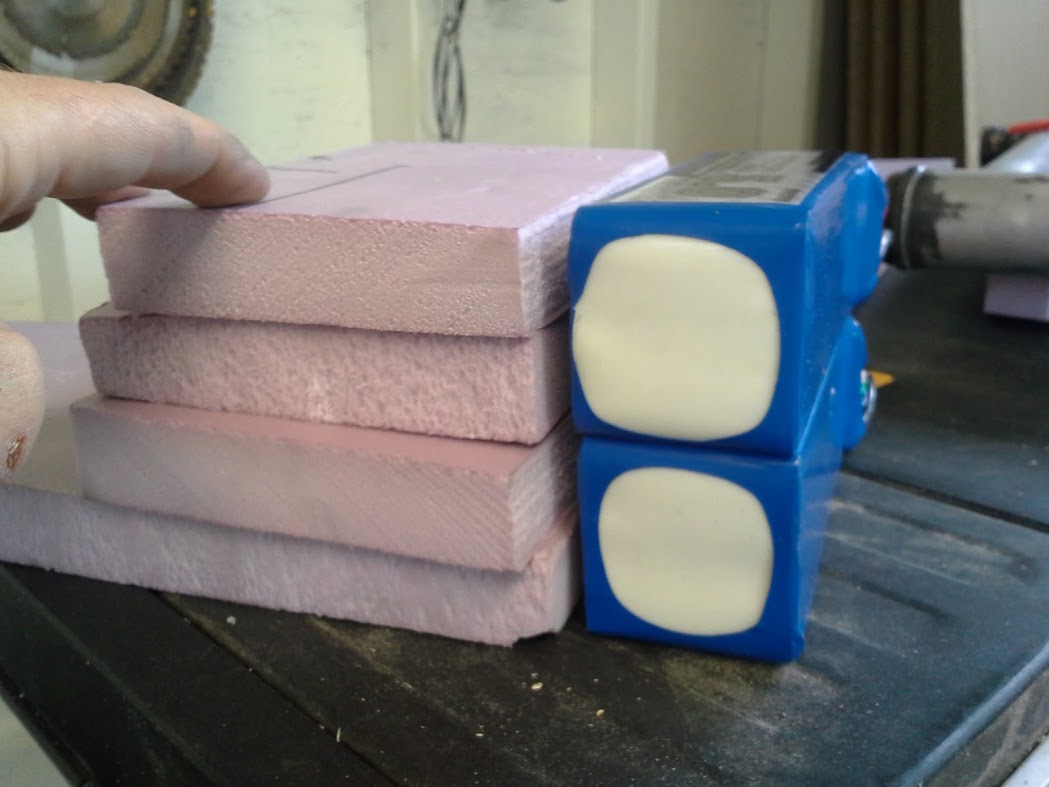
seems like expanding foam would be best way to get form of inner tubes. this is a nice senario.i can't imagine how else... but am i correct that i'd then need to:
- glass the plug
- cut it open, wax the inside for the mold
- glass each side?
What you describe is a plug-to make a mold construction....total overkill for a one off...I'll list the step below
but where to cut to make two halves? at the equator, or top, not the meridian, since that would ruin the support, and create a seam that would cut into lipos..this is an age old question...findng the suitable parting line & keep the shells aligned once seperated..I typicly just fasion a lip inside 1/2 the shell & let the cover slip fit directly onto it. its easy to do once you see it done once
and how to latch? is this what you've done thud? made a tackle box? sure you don't have any more pics handy?nothing of the latches...but many of the composit proccess. I'll have to dig though my photobucket account is out of whack/hacked(?) I lost a bunch of pictures I had..any posts of mine missing photos are the victoms