How about a 3D printer section?

figured out how to do a tapered spline adapter

did 4 false involute gears, each 2.4mm thick stepping down. 19.5mm,19mm,18.5mm,18mm then padded the block with a 9.7mm-r hole to match the od of the shaft. :D
0.2mm nozzle

IMG_20211108_192245.jpg

IMG_20211109_042412.jpg
 
goatman said:
figured out how to do a tapered spline adapter

did 4 false involute gears, each 2.4mm thick stepping down. 19.5mm,19mm,18.5mm,18mm then padded the block with a 9.7mm-r hole to match the od of the shaft. :D
0.2mm nozzle

IMG_20211108_192245.jpg

IMG_20211109_042412.jpg

what software package are you using?

would you prefer a smooth stepless tapered spline?

I've modeled a similar tapered spline by first modeling the tapered body using a profile sketch and then revolve command to make the main body.

Then I used a profile sketch to make a cutting profile of a tool like I'd use in a milling machine... then extruded that profile into a symmetrical tooth like a tooth of a gear cutter. I used the modify tools to morph the shape to have a draft like a gear cutter...

Then I created a pattern from the body around the part to match the number and placement of the splines I wanted to cut out of the main body. I then used the split body command, using the patterned bodies to cut the main shaft. Then I just removed the bodies I used as tools.

AM-JKLXF6T48wq-KpHJz7ZUcEryRhEXIYdJZoPlX5SAepkMS-N-7KBo99d7NRoOhBYnmXhh4h1ufnvbw1sNnZDS-VDdp9MsOdoRUMtnl3lPrxFtdHJ5CPPnoF4oUMPsnYZeGaBsbwMOtVb4UtAyMQ5VTgGUz=w946-h590-no
 
High end 3d printers need to be enclosed to print engineering grade materials. Even PETG prints better with enclosure. Also the printbed horizontal motion is a bad design for high end, moving the printed object causes unwanted air motion and cooling plus it is important to minimize printer volume to maintain better temperature control, so bed slingers need not apply. You could buy a 10k commercial printer, or one of the similar lower cost printers from Voron, Railcore, etc. Speed isn't the only advantage of these printer designs.
 
Im getting in to this too now :D

It will probably be a struggle for a computer challenged..

lwpcptG.jpg


I got one of those ender 3 v2.
I havent tried to make any designs of my own yet, but I tested one that was included:

fLeIk3i.jpg


I think it turned out really nice, except that it didnt stick really well in the corners.
Especially this one:

YdL1nCf.jpg
 
Thanks, I'm not sure exactly what you mean though.
To get the bed to move freely?

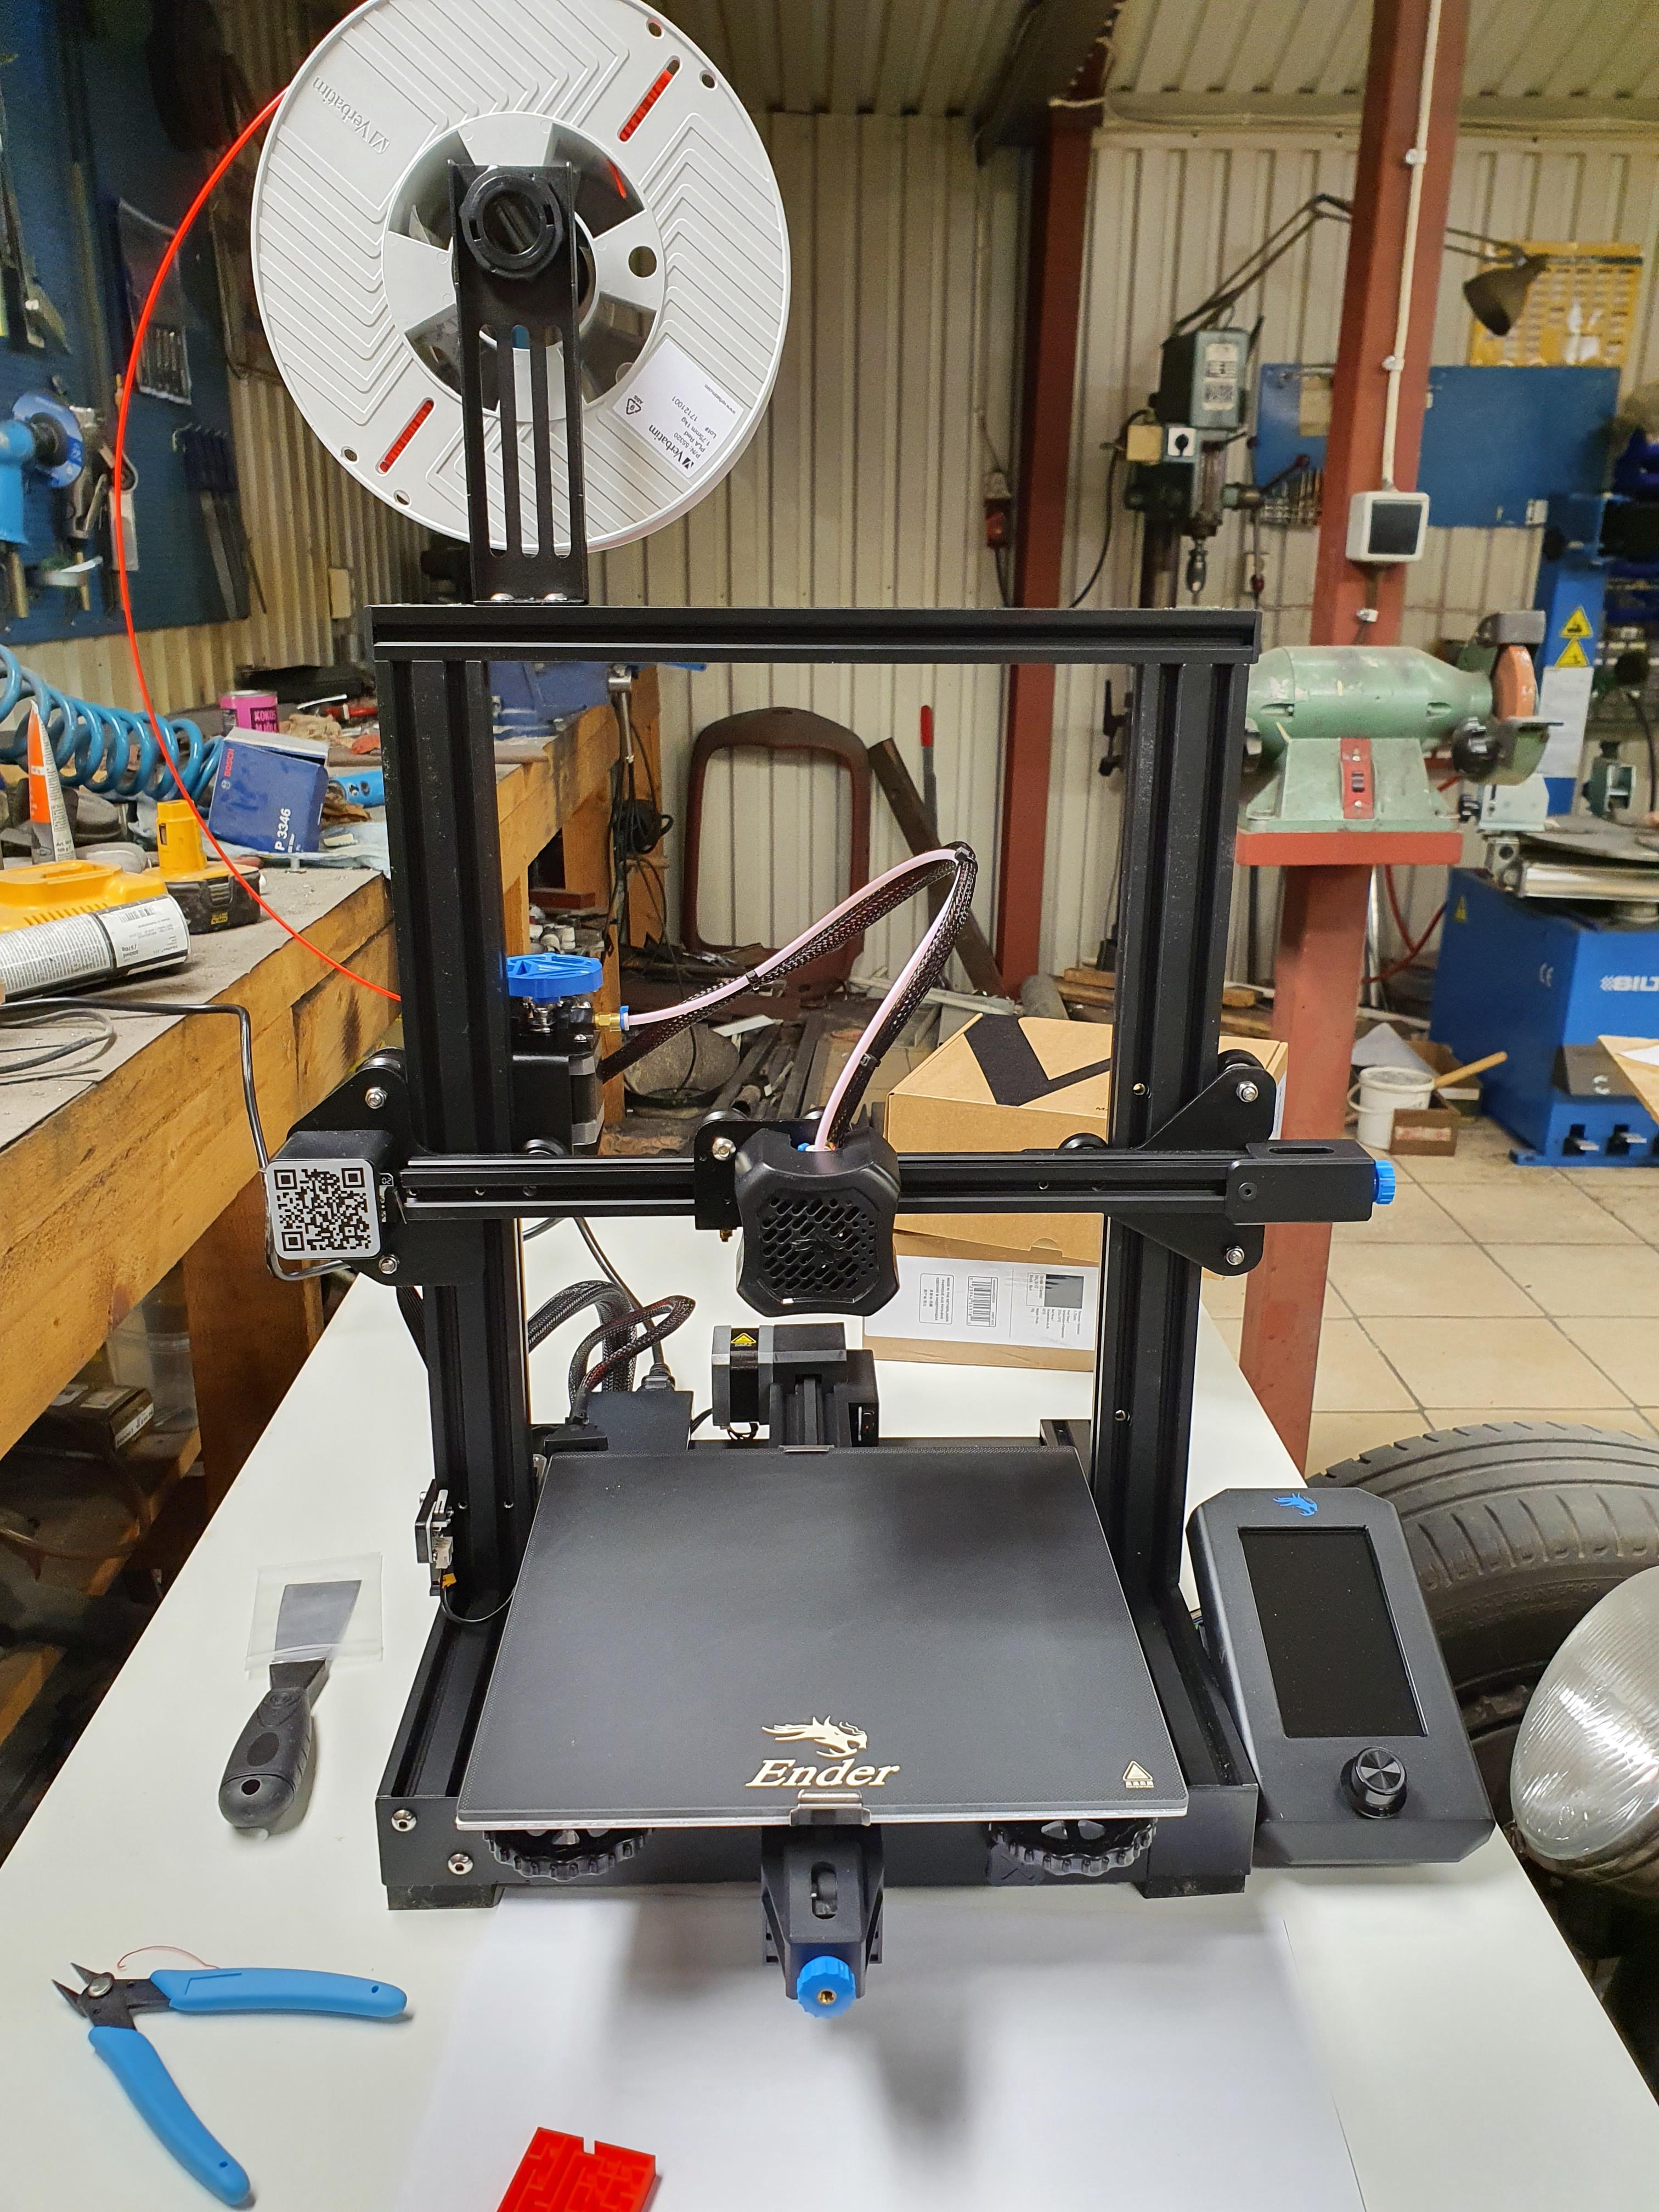
First I just assembled the printer after the instructions in the manual, but then I watched a youtube video where the guy (just vlad or something like that I think) did it a lot more thoroughly.

Checking that the base was level, it wasent. That was easily fixed by just loosening the screws on the sides.
Checking that the bed mowed freely, it didnt. I actually thought there was something wrong, because it was clearly hacking in certain places. But just loosening the tension on the rollers cleared it up nicely.

He said you should be able to turn the rollers relatively easy by hand, on all the axles. I was afraid to get play somewhere so I tried to get everything play free but move freely, even if it didn't mean I could turn the rollers.

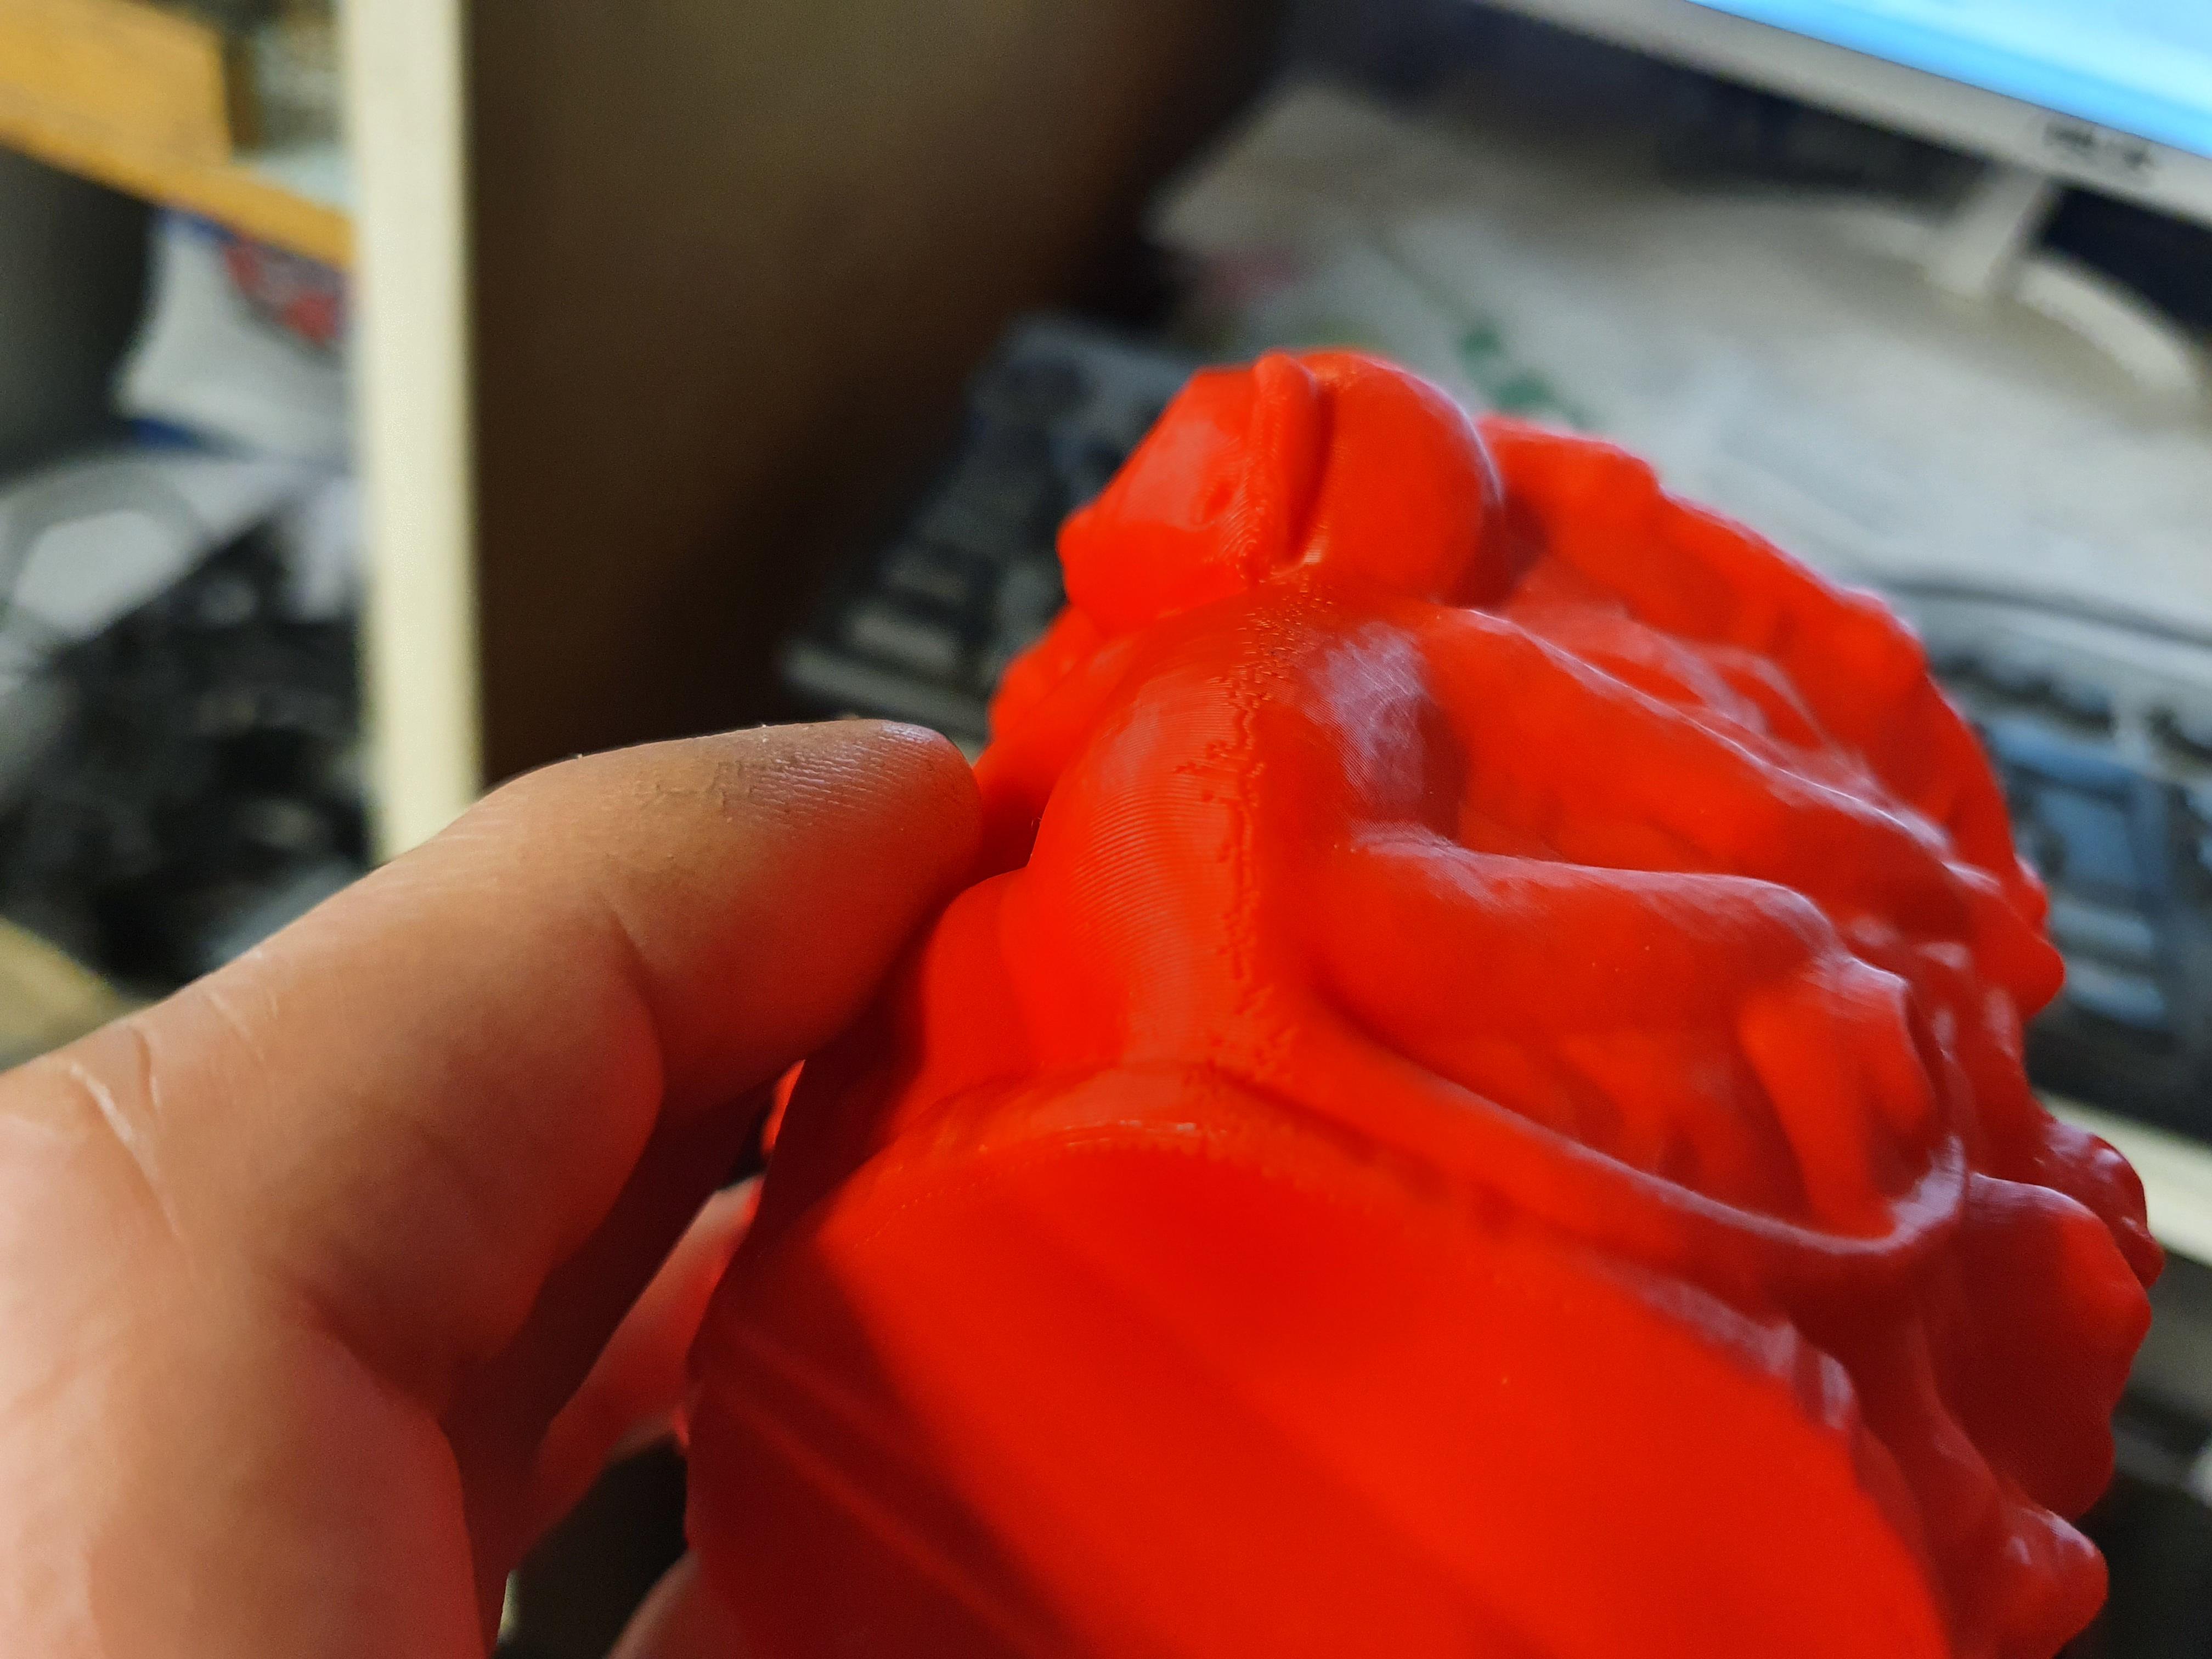
I let it run overnight and print this little monkey cup:

LBKOB2t.jpg


I tightened the bed a little more, it is hard to move a paper between the bed and nozzle now.
But it is not exactly the same all over, the gap gets a little bigger in the middle. And I think there are some places between the middle and and the edges that are a little tighter.
But still it loosened a little at the edges. Maybe I should just get some glue or hairspray or something?

Ibr3YgX.jpg


I got like a tiny scar over the back of a monkey, it is at the same place that it loosened the most from the bed.

FdPamgV.jpg


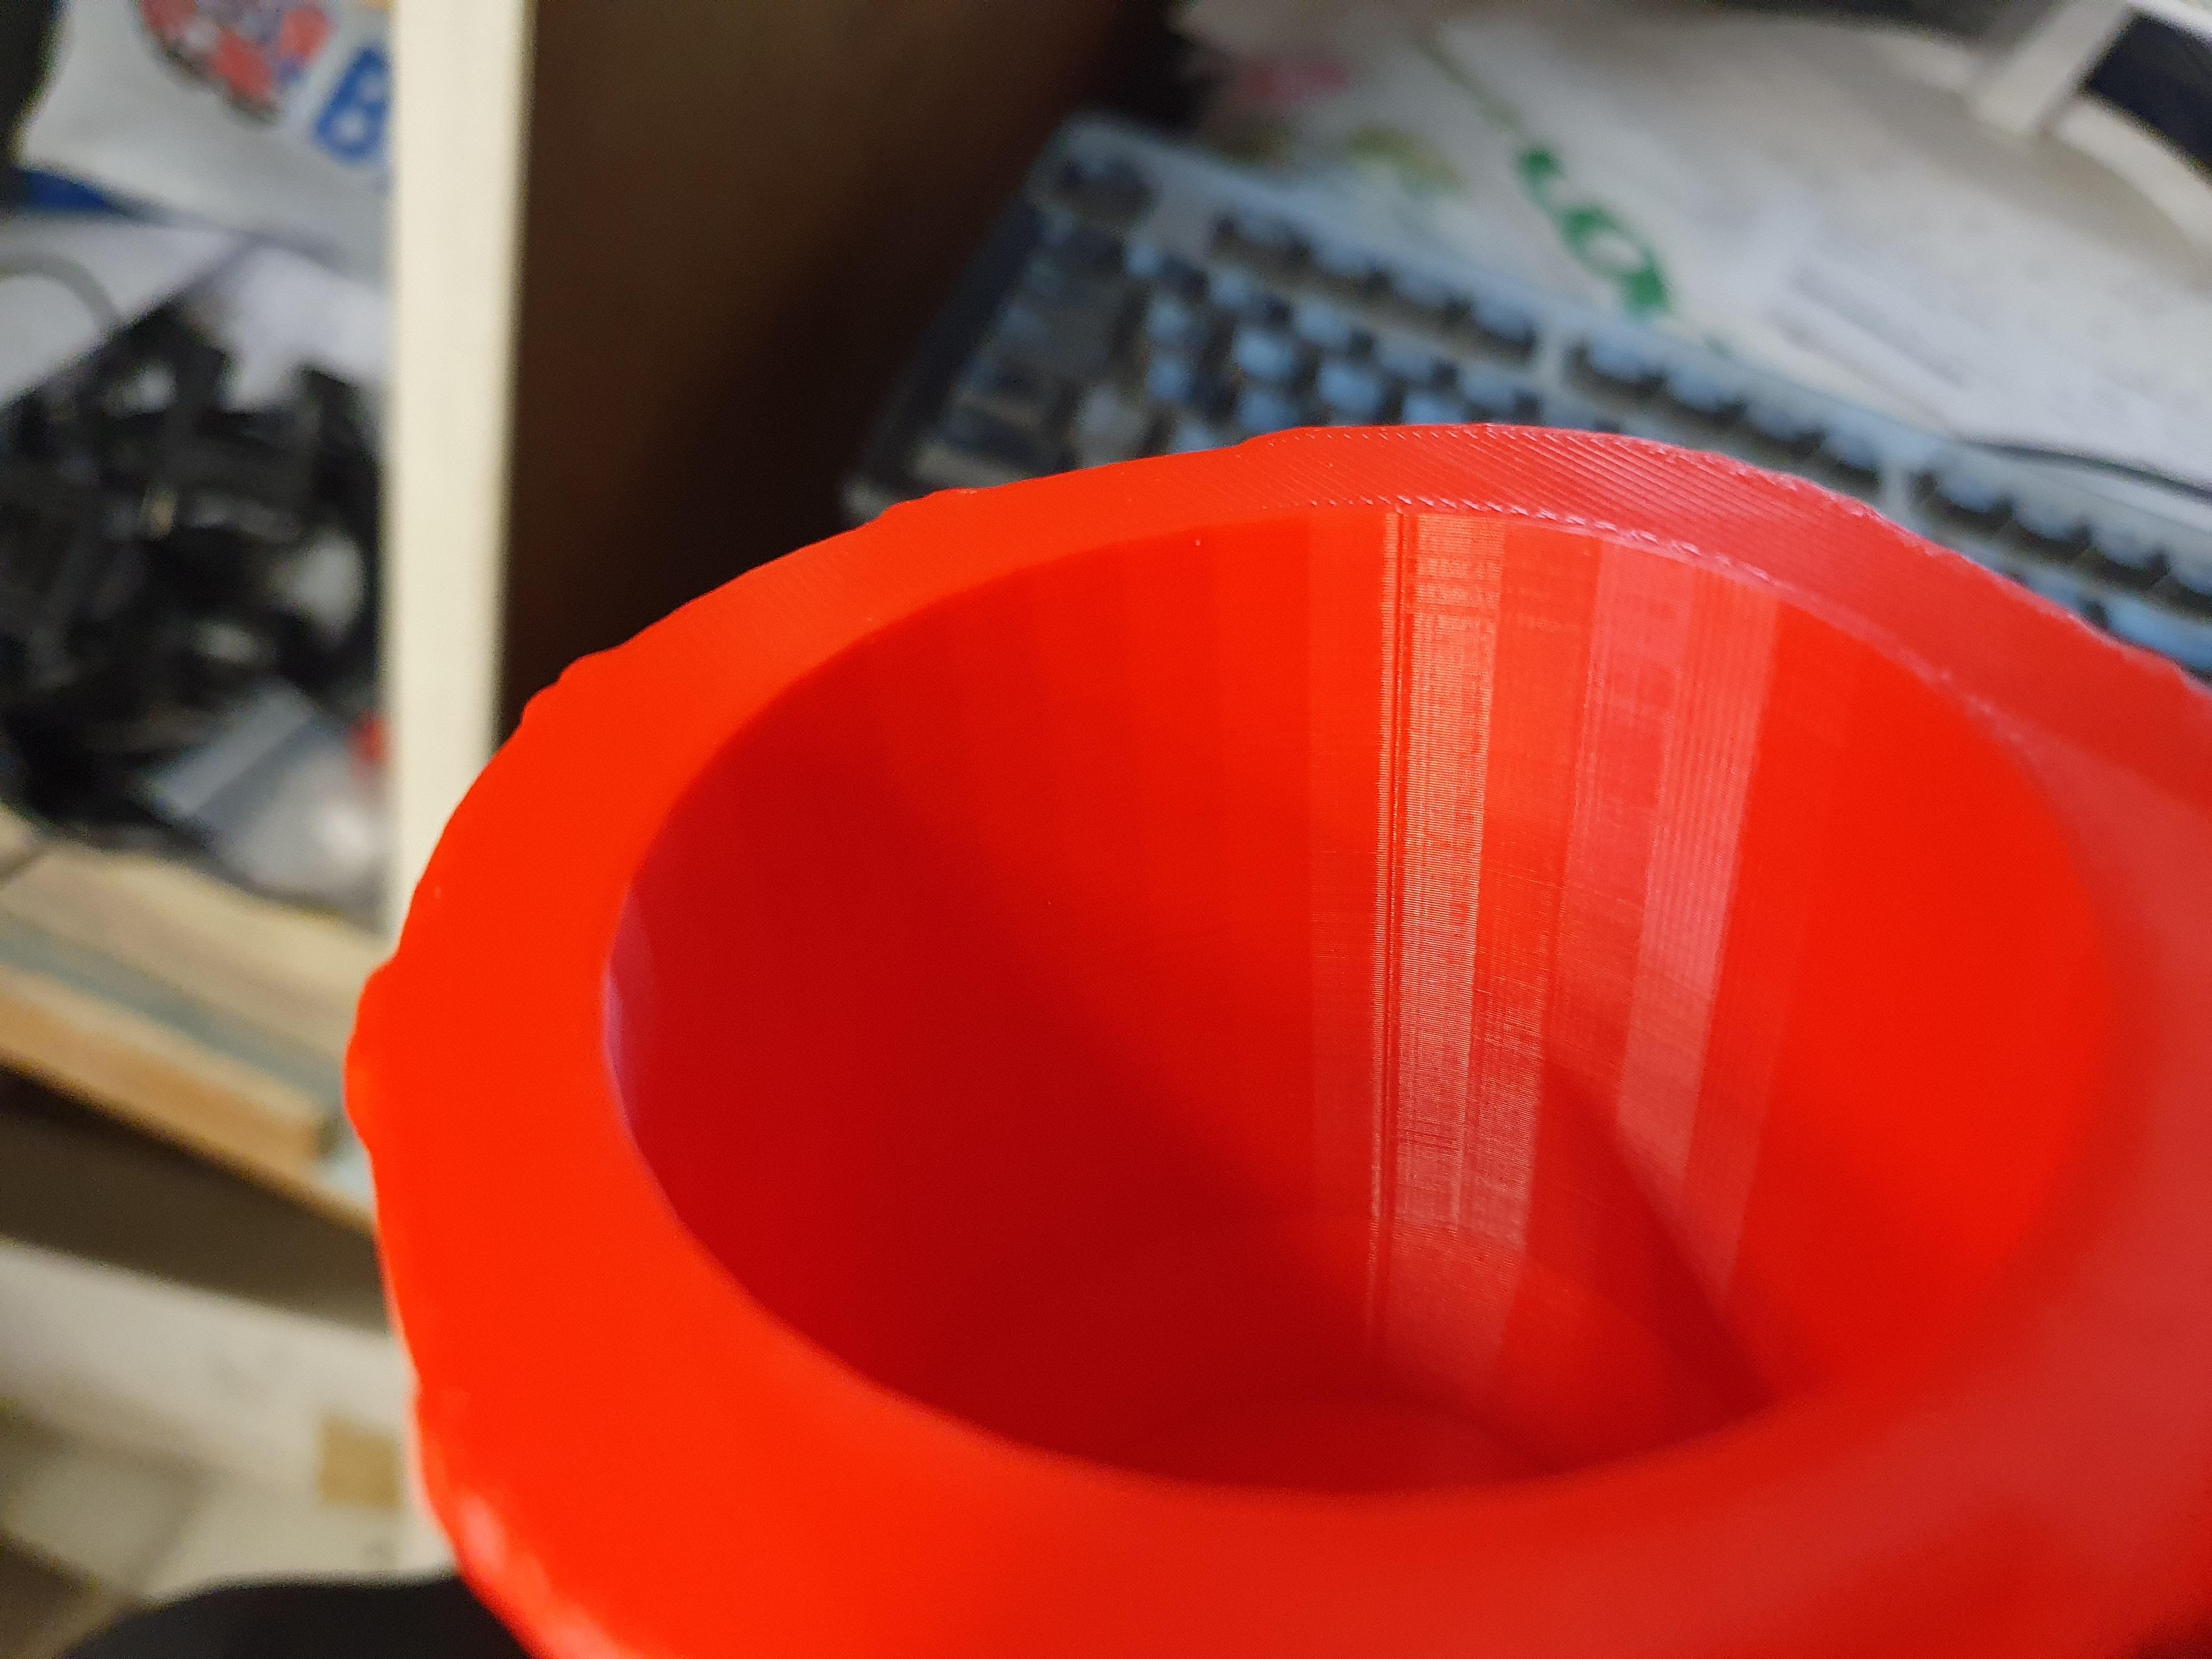
At the same place I got this little line on the inside.

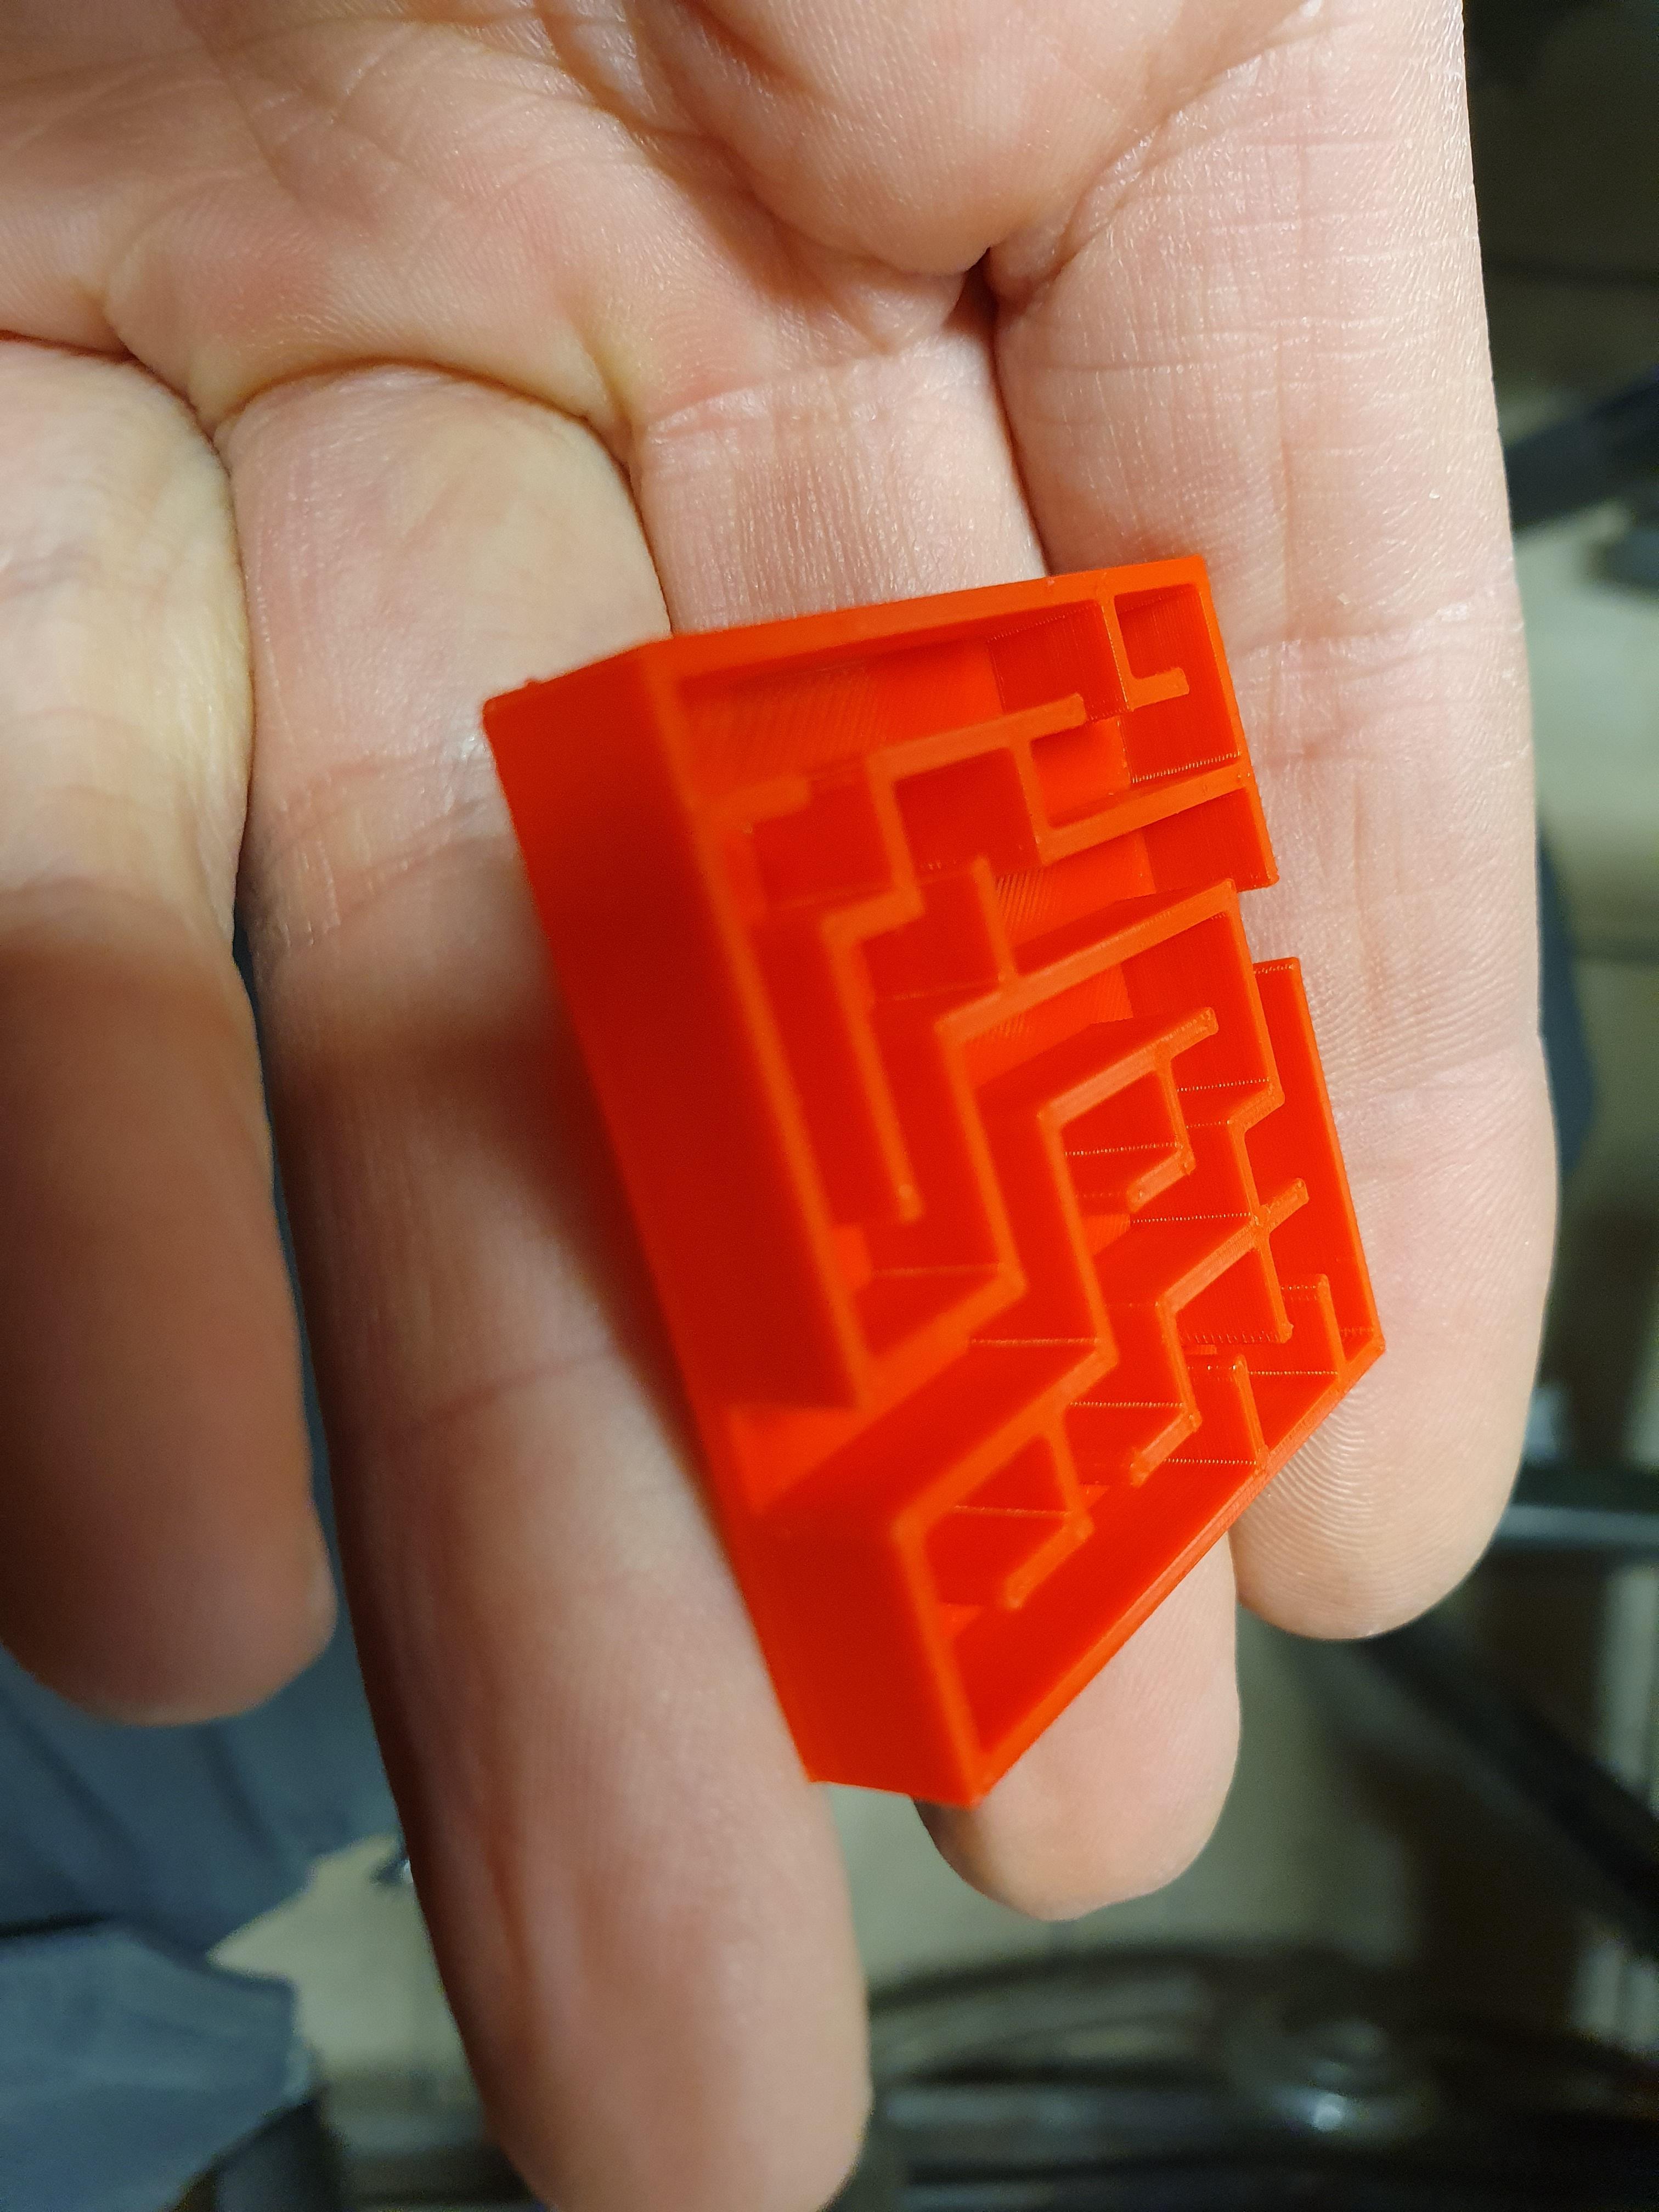
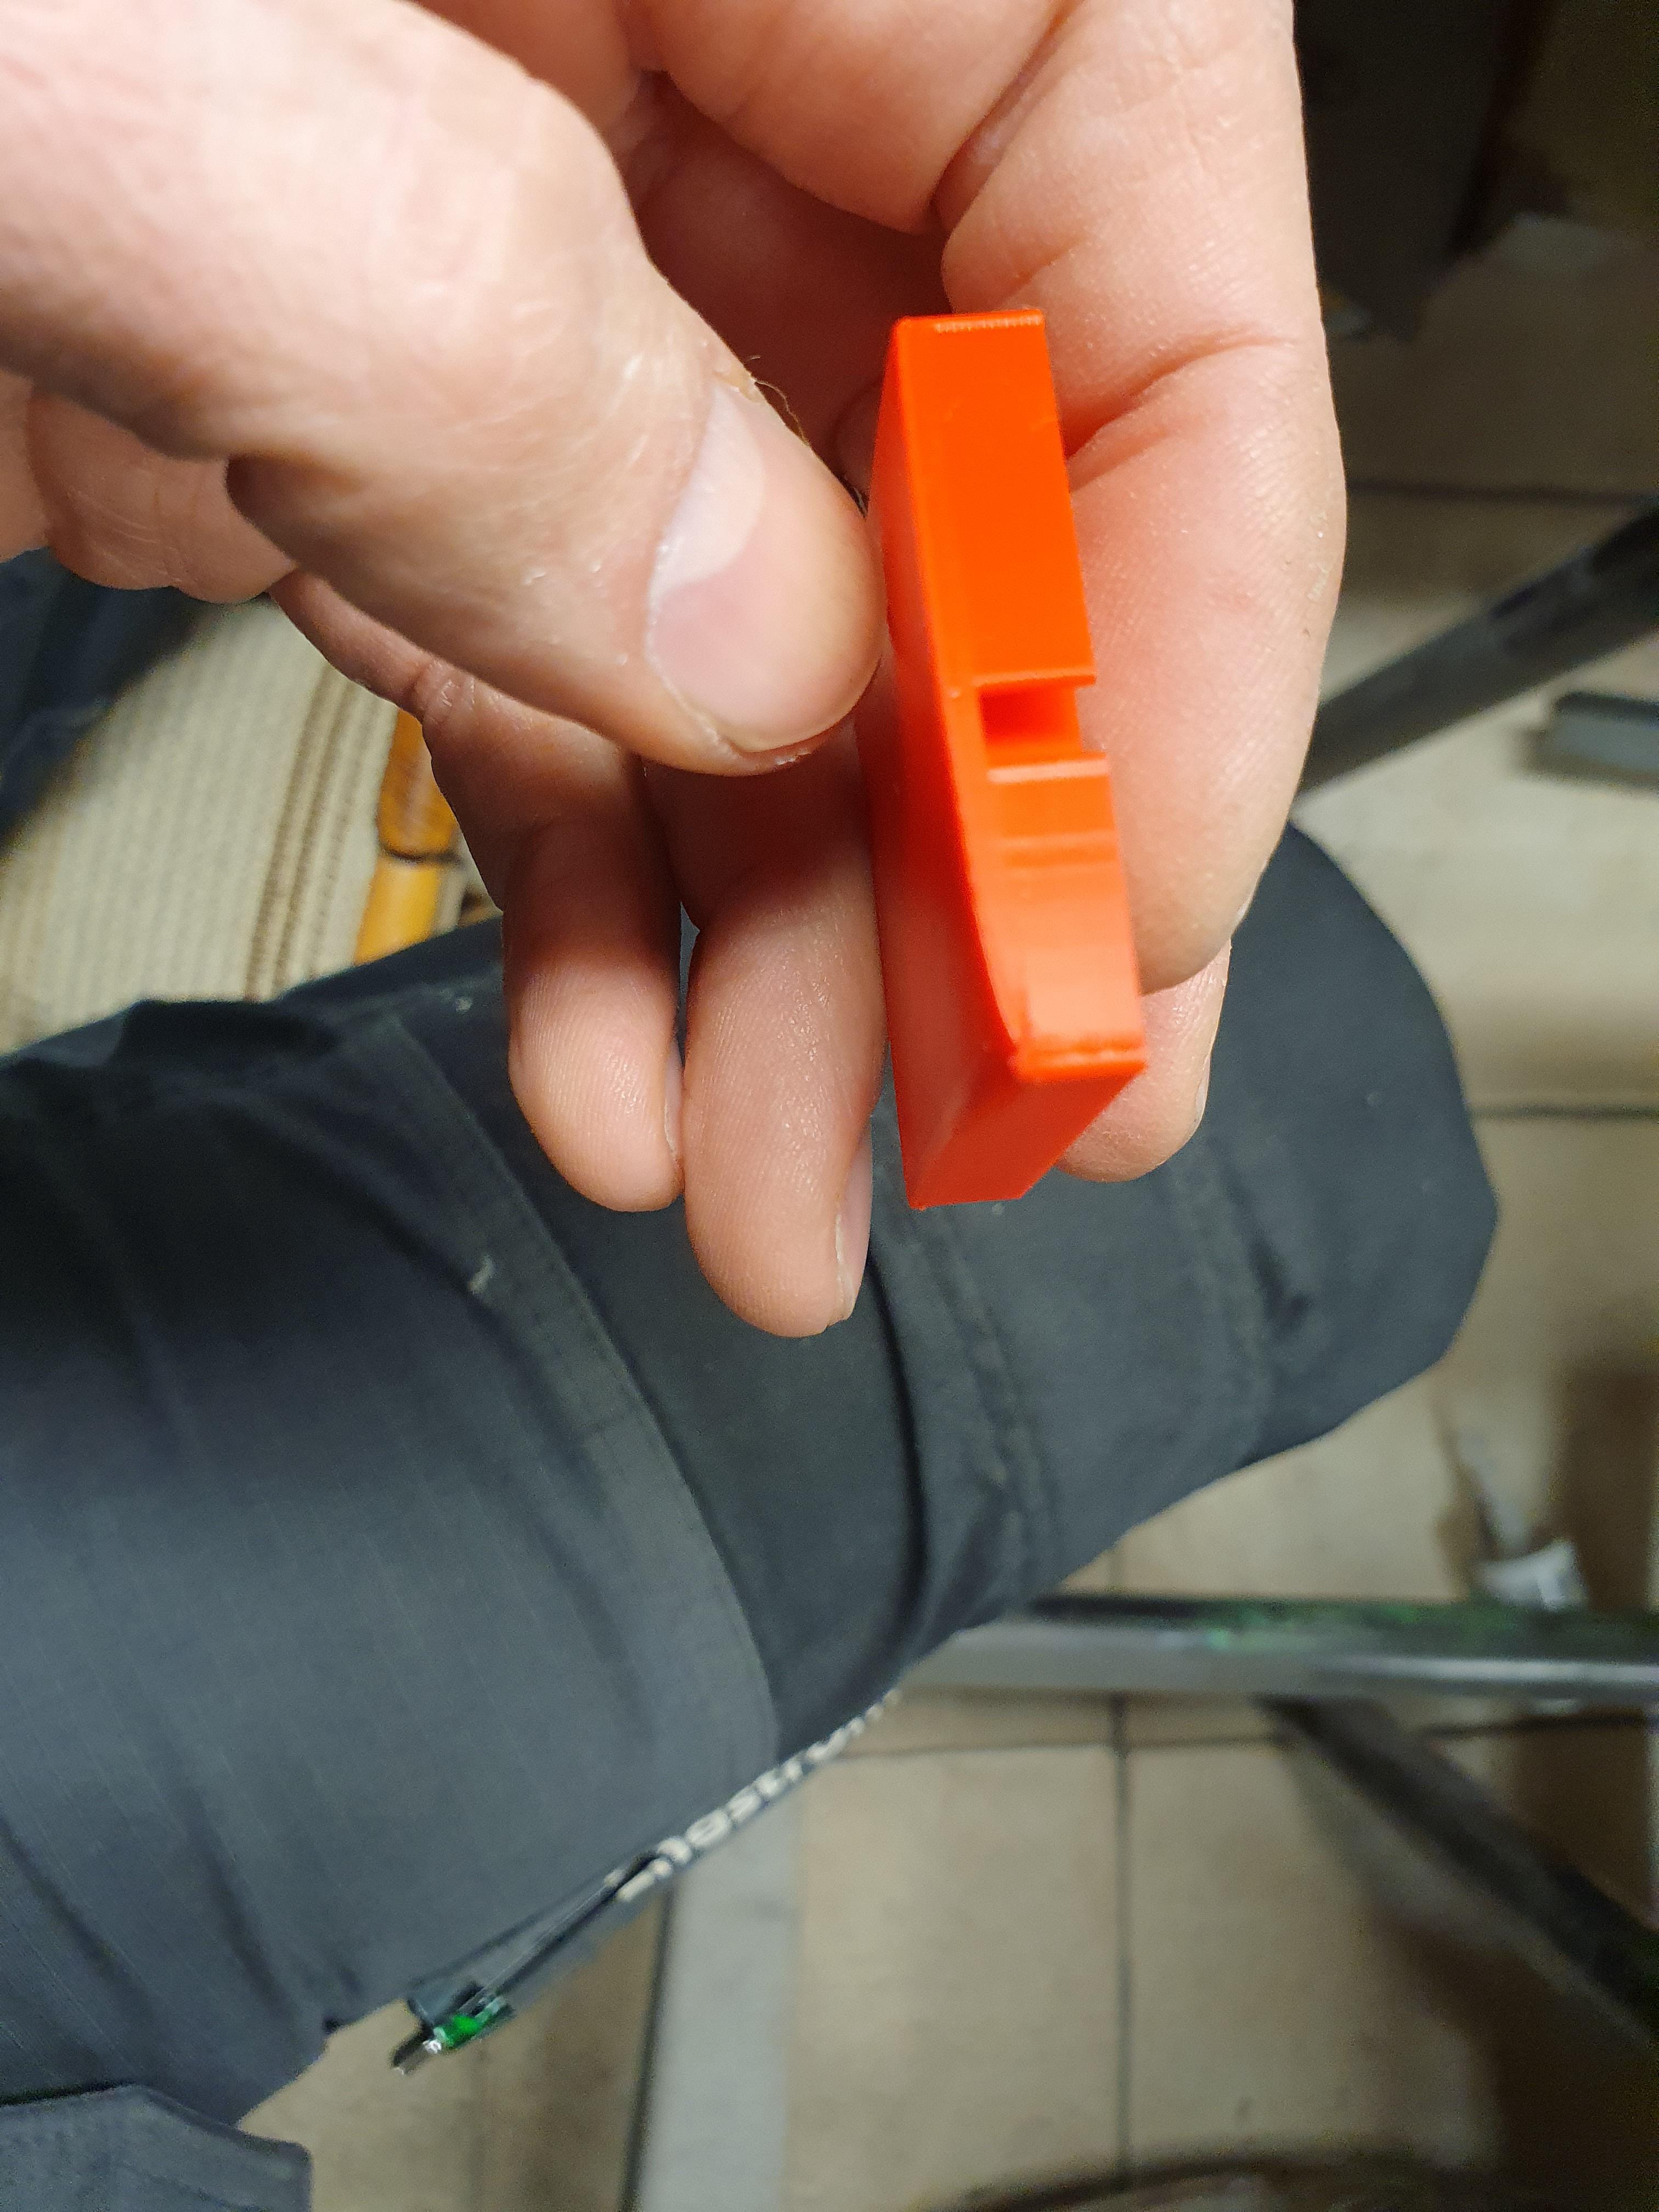
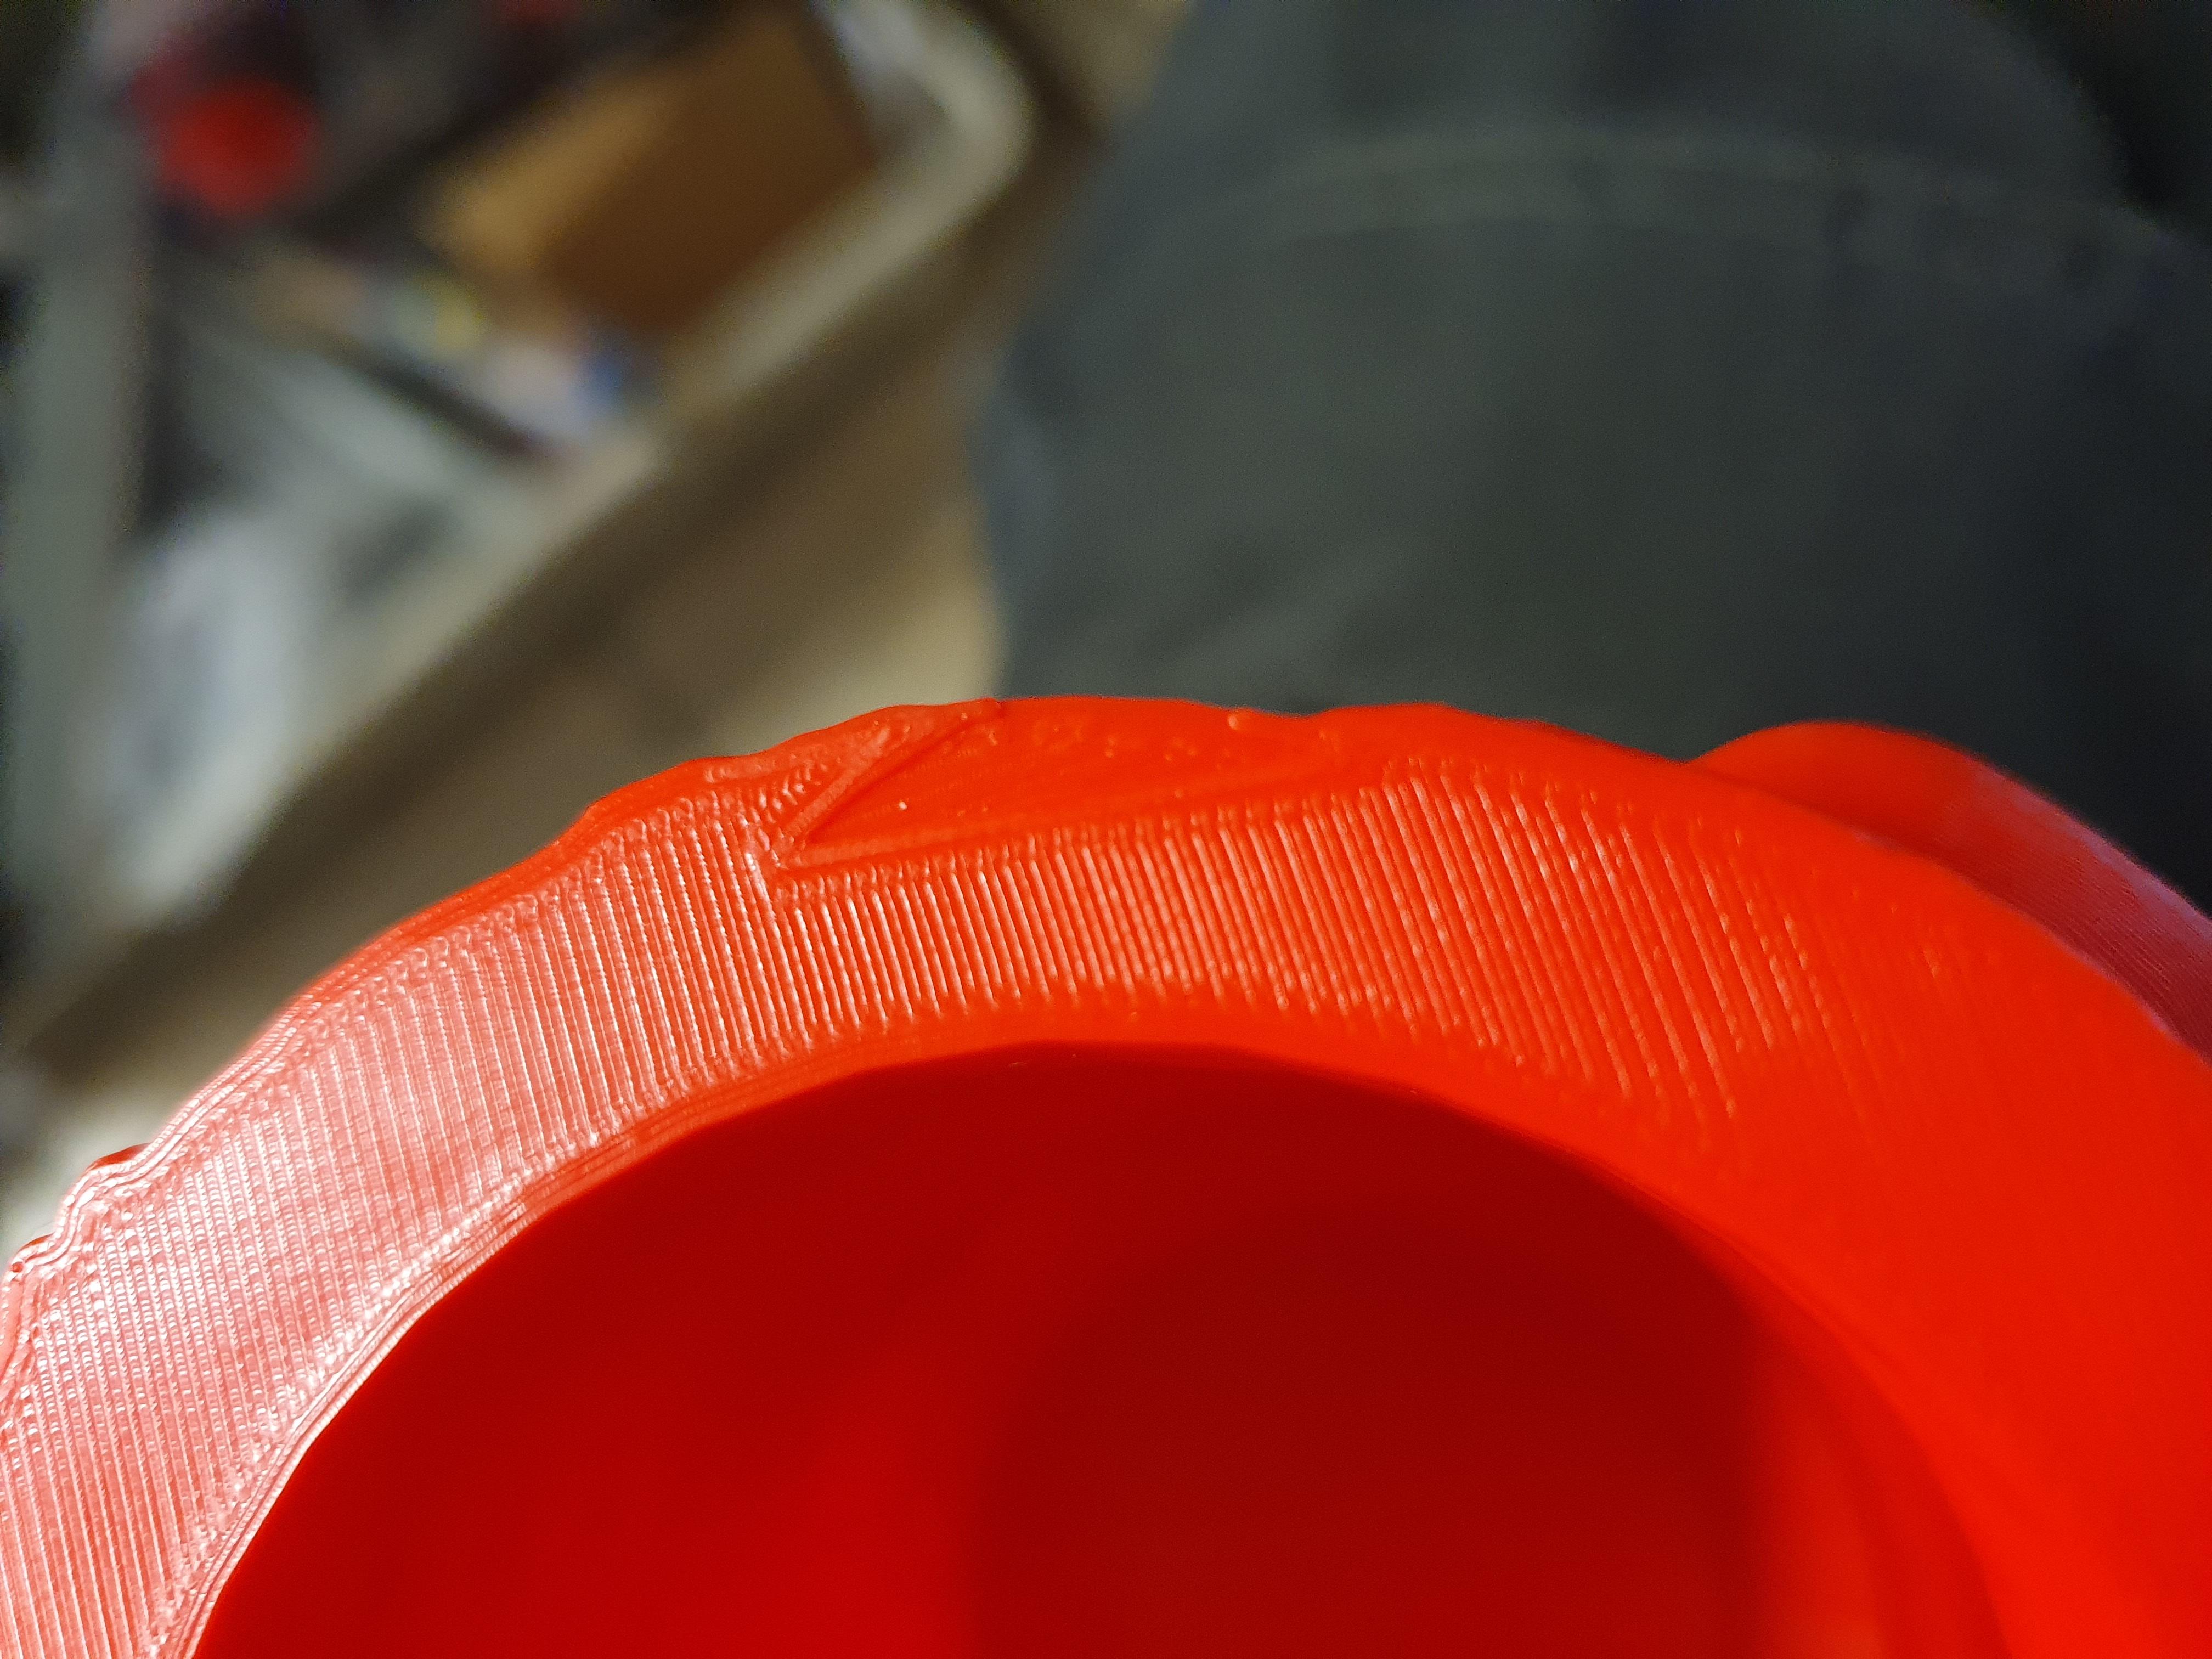
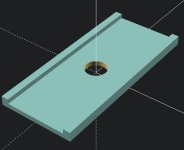
I also got this strange thing:

P2RswgO.jpg


Maybe that is something in the drawing itself?
 
What I called trammeling the bed most people call leveling the bed. I suppose the correct term is adjusting the Z offset.

Here is a good website for printer calibration. Pay particular attention to:

bed leveling (Z offset)
extruder estep calibration
temp and stringing adjustments
hotend flow rate

https://teachingtechyt.github.io/calibration.html#intro
 
Tramming perhaps, probably not trammeling... :)

Much of the value in a 3d printer comes from being able to make your own designs.

Best of luck with your new machine.

PS: A lite coating of Aquanet on a clean dry printbed will improve adhesion. Finger oils contaminate the printbed so after cleaning it avoid touching it.
 
Tonite I was looking at how to cement a broken wooden toy airplane propeller which snapped along the grain, it is hard to clamp while drying, so I decided to 3d print a splint. The prop is flat but there is a wooden prop nut in the way so I came up with this, a very simple design that only took minutes to print but will be a big help in getting this repaired:
 

Attachments

  • propSplint.JPG
    propSplint.JPG
    22.3 KB · Views: 790
Thanks, there was a lot of stuff to set up it seems..
I guess I was lucky it worked as well as it did for me.
I havent done anything more with the printer yet, except this:

ADyi32O.jpg


A little printer corner with a modified glass cabinet to get it out of the sometimes dusty environment in my shop.
 
i was able to print right away also,did a couple cheap upgrades and it just keeps going
its always printing something now :D
get a good selection of nozzle sizes
 
I'm surprised how much I use the printer. I didn't think I would have too much use for it as I already had quite a bit of old fashioned fabricating machinery. My printer is usually going 24/7 and if I happen to run across a cheap used one I think I'll get a second machine. My wife thinks I'm crazy to get up in the middle of the night just to start a new print right after the printer finishes the old one. :mrgreen:
 
ditto on a 2nd printer
im stacking empties like grandpa did but mine arent bottles :D

IMG_20211209_182815.jpg

if free cad is bogging right down when 42,000 kb into a design
is that freecad or do i need a better computer?
 
the ender 3 v2 can only print 10s/200mm on the plate
thats for my magnet batteries that clip together in the middle to make 17s

they clip together with plugs that are 2-4mm circles on 3mm centers like a dumb bell

IMG_20211210_052207.jpg

theres alot of detail work in those holders that takes 24hrs to print just 1 with a 0.2mm nozzle

IMG_20211210_054923.jpg

i can make you a simple holder design if i knew what size you wanted
 
goatman said:
the ender 3 v2 can only print 10s/200mm on the plate
....
i can make you a simple holder design if i knew what size you wanted

That is a very kind offer, thank you.
I am even more limited in print size, with a Prusa Mini - <700mm square print area.

I'm looking to create a number of configurations up to 10S. I think a single holder cell that can clip together to make an arbitrary size might be a good option.

I use Freecad (I think you do as well from previous post). If I could get a single cell "clip able" design to start from I think I can go from there. Or even just a starter shape that's in the ballpark.

Thanks again for the offer.
 
pickworthi said:
Off topic - your picture shows a 18650 cell holder design - are there any designs available for download that I can start from?
My search skills aren't finding any :-(

Take a look at these holders.

It's a parametric design where you can customize how many cells the holder should have, what size they are and much more. This design started here on the ES forum but it's been extended quite a bit, it can even generate matching covers and boxes.
 
Thanks guys - good pointers to get started.

Can't print a whole battery holder and case unfortunately - printer too small.

But I can set about dividing things into smaller bits for post print joining.

Looks like my winter project has arrived :)
 
printing with some TPE from filaments.ca
printing like a breeze without a direct drive and using glue stick. 0.4mm nozzle, temp 240/80
they had their eco-tough pla on sale for $17 a roll . twice as strong as pla
 
Interesting, I've used TPU before but not TPE. Looks like it would work better for gaskets.

That's a good price for PLA+. Filaments.ca has a good selection, unfortunately Canada's shipping to the US bumps the price up to where it's cheaper for me to get it from China. So I get my PLA+ direct from Sunlu. I must say that the CF/PETG I got from Filaments.ca has worked out well. I'll be buying more of that when I run out. It's a killer price compared to NylonX and prints well on the Ender3v2.
 
nicobie said:
Interesting, I've used TPU before but not TPE. Looks like it would work better for gaskets.

That's a good price for PLA+. Filaments.ca has a good selection, unfortunately Canada's shipping to the US bumps the price up to where it's cheaper for me to get it from China. So I get my PLA+ direct from Sunlu. I must say that the CF/PETG I got from Filaments.ca has worked out well. I'll be buying more of that when I run out. It's a killer price compared to NylonX and prints well on the Ender3v2.

Now you know how it is for the average Canadian who wishes to purchase something from the US :wink:

Are you using steel or tungsten nozzles with that CF-PETG? I have been printing non-stop all day every day since I got my 3d printer. I'm like OMG I should have bought one years ago. The kicker, even my wife likes it so I don't get complaints about the cost of filament to experiment with.

I have to drive across Toronto to go pick up a bunch of filament in person, their selection is massive and no shipping costs or delays.
 
Back
Top