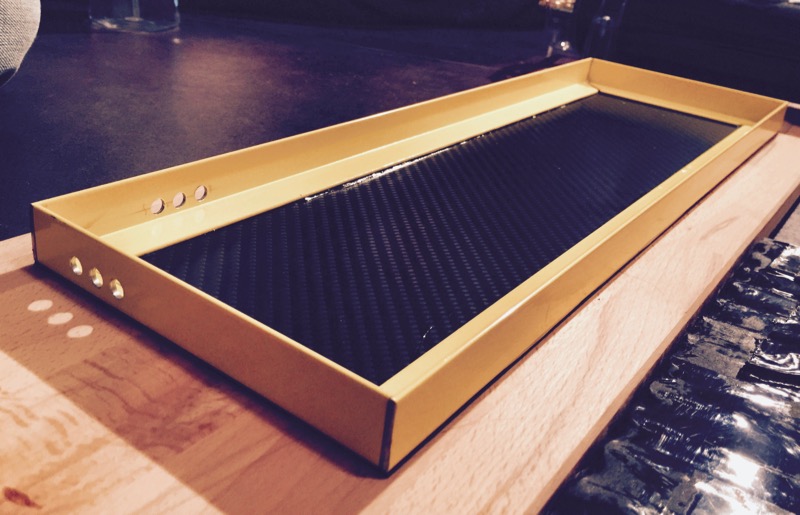
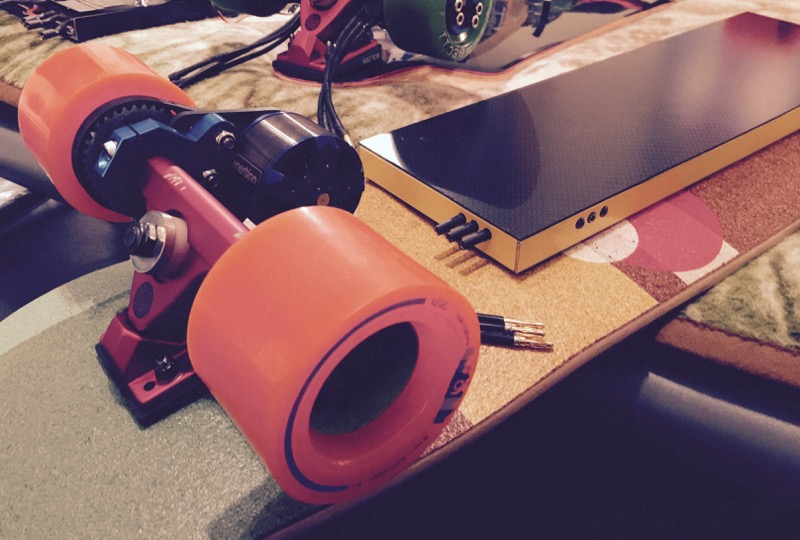
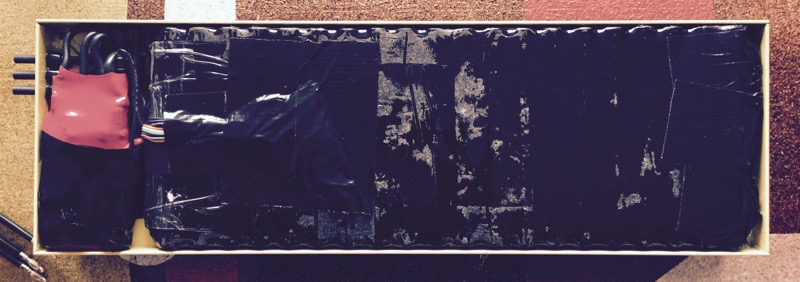
finished my case & attachment to board
")
this time I was very careful with the inserts I drilled into the board - really wanted it to be a snug fit with the case. on my topspeed, attaching the case always comes along with some squeezing and bending of the rubber tubes :lol: - this time I took the drilled case, used double-sided adhesive tape to attach the flipped case on my board (to have baseplate-holes as close to the board as possible), and then drilled a small hole right through the case holes. a major help this time was the double adhesive tape really, so the case was properly fixated on the board.
this time I was also very patient with finding the perfect position on the 3D-molded board. especially the tesseract is an absolute bitch, because the graphics look as if they are aligning perfectly with the middle of the board (& perpendicular to it), but in fact they are off by 2-3°! took the front to rear truck screws as the "real" coordinate system on the board - and Im glad I bought the 60cm aluminum ruler afterall!! ah well, lots of boring stuff for most I guess ... Im always again suprised how easy it is to screw up if you arent patient and careful and lack the right tools.
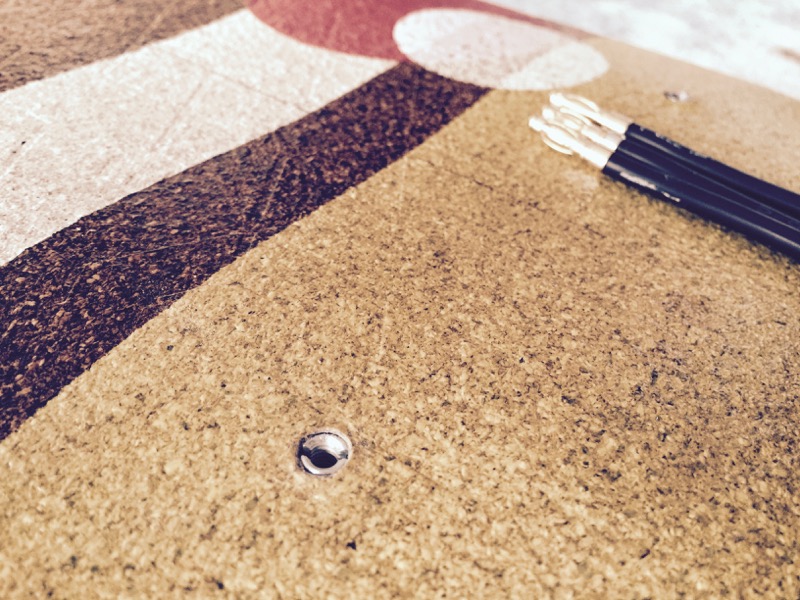
anyway, 6mm drill for the M4 inserts - sank them about 5mm into the board:
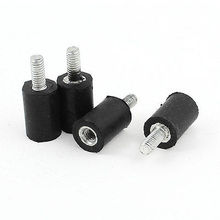
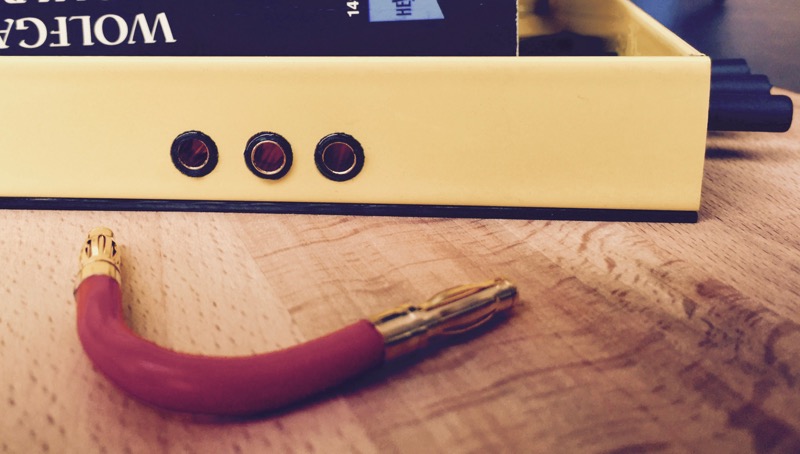
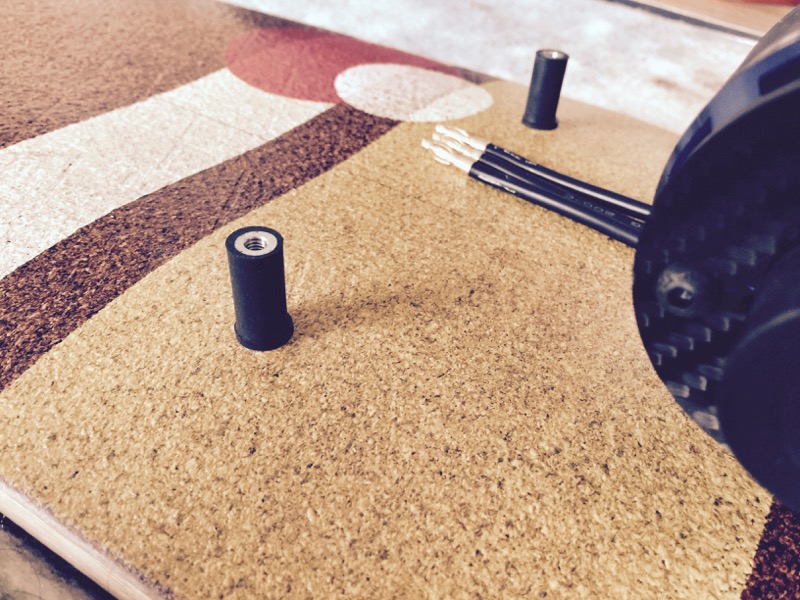
attached the M4 rubber rubes (1cm diameter, 2cm height):
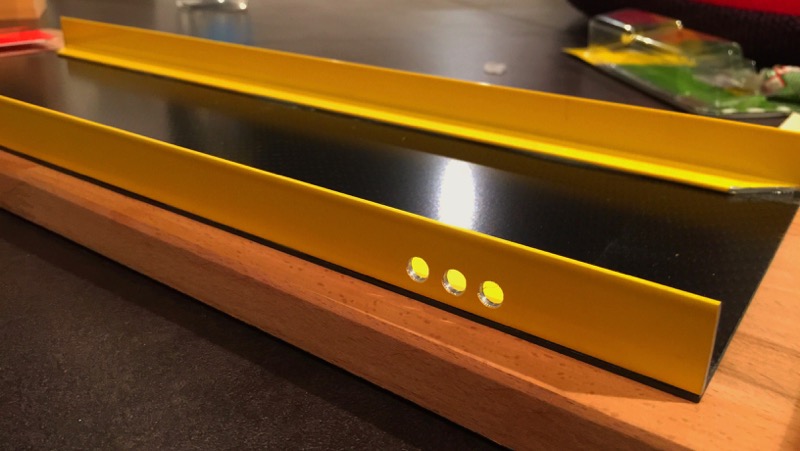
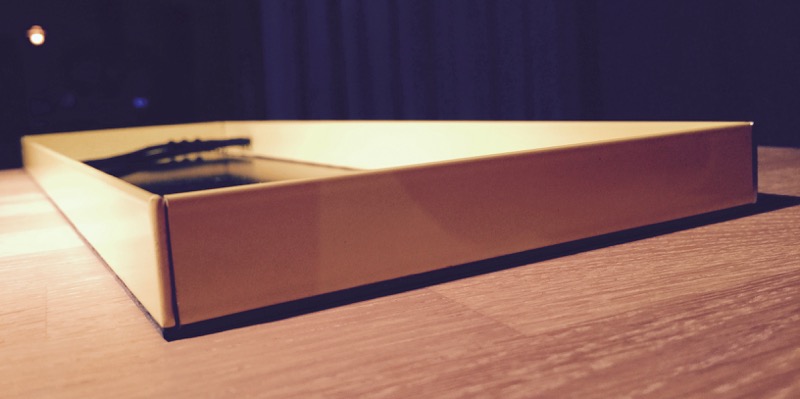
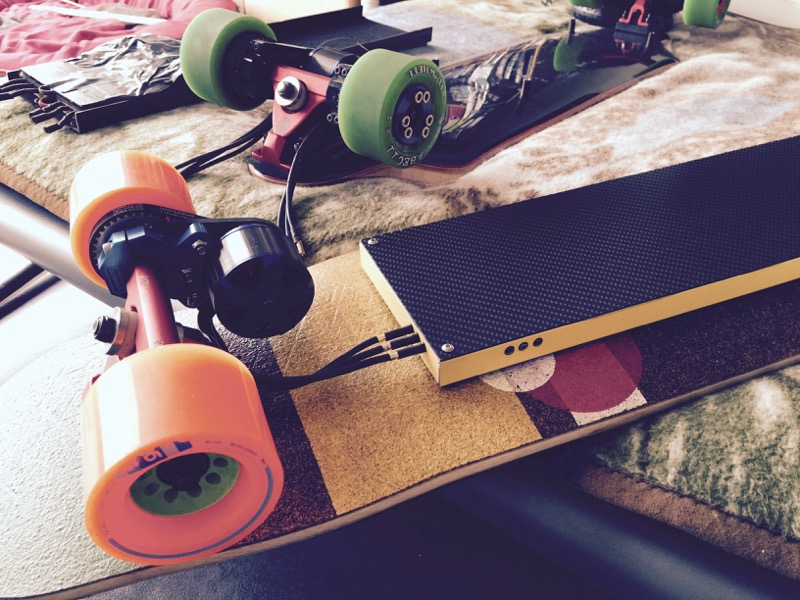
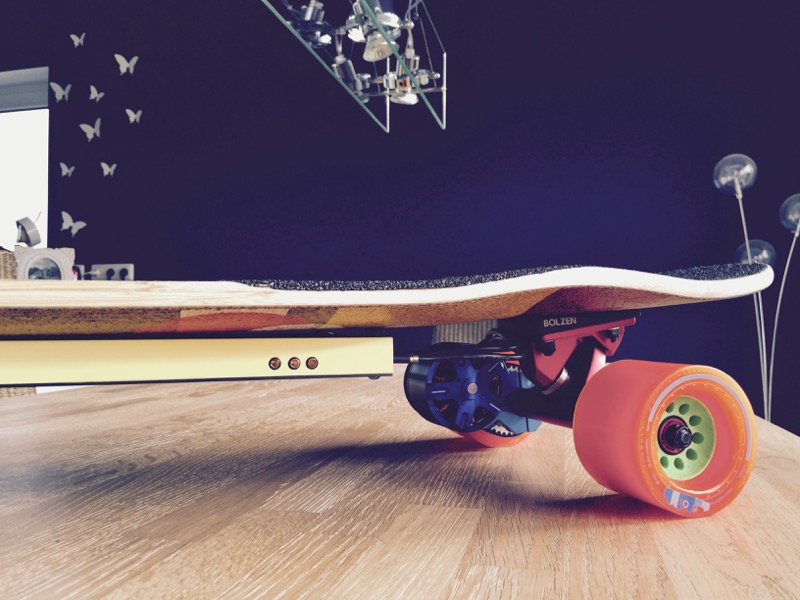
and the big moment - attaching the case. a perfect fit, also with the motor cables! /happy
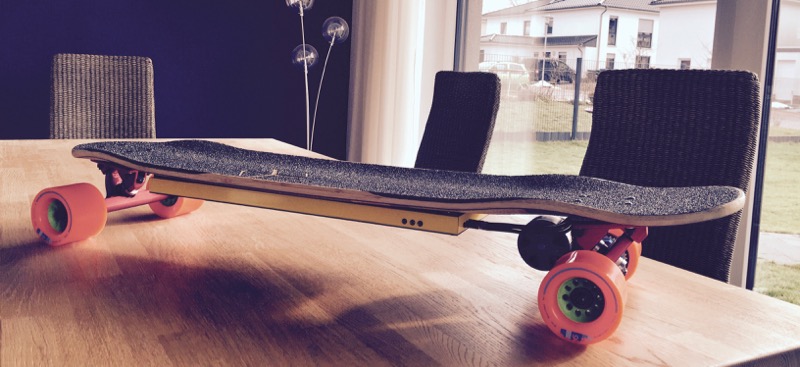
turning it all around and giving it a quick rattle check:
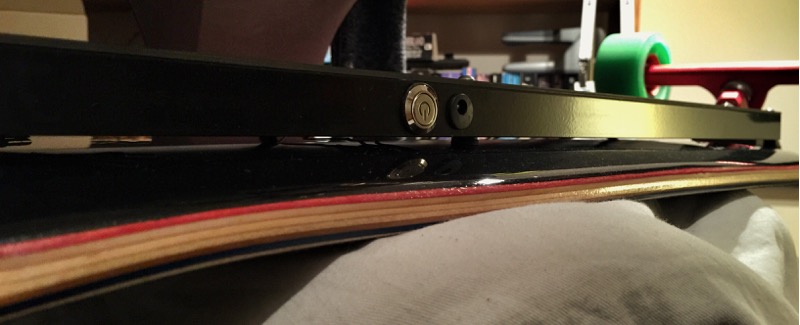
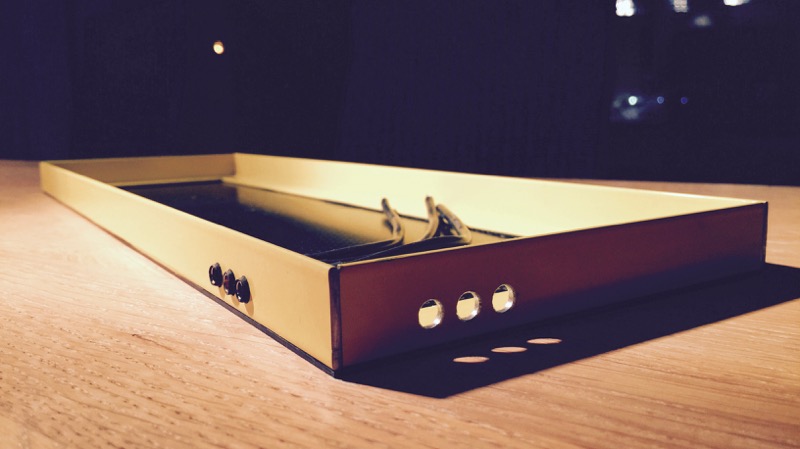
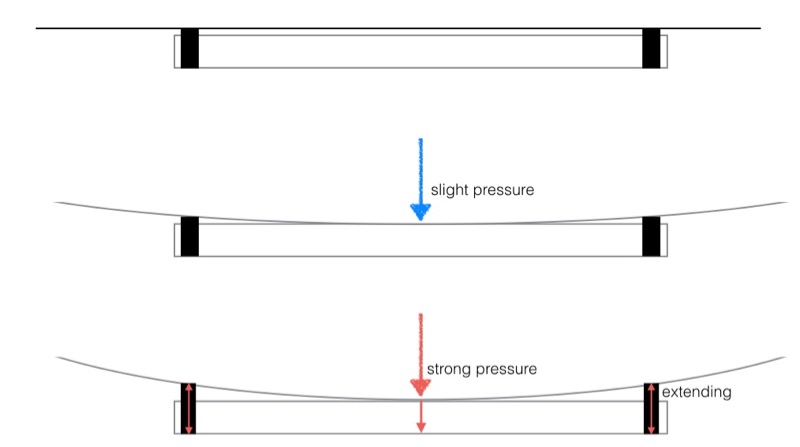
finally checking on the gap between board & case around the board middle (tesseract has quite a lot of rocker as you can see). might be sufficient, Ill have to see in daily business if the case is touching the board or not. if its not enough, Ill add one more rubber washer.
todo: attach felt sheets inside to eliminate possible rattling, organize cables and electronics inside, wait for spring.