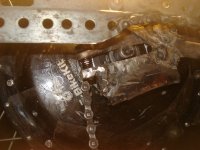
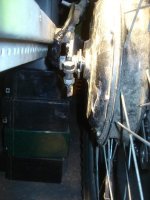
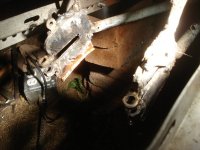
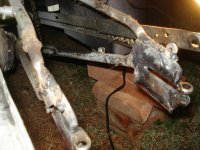
How to turn a front 9C hub into a rear:
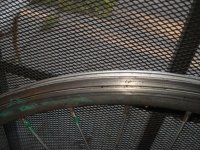
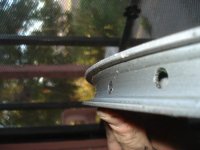
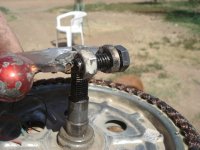
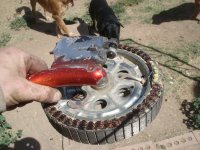
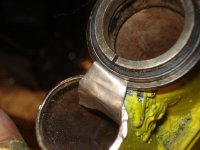
First, this old hub (originally from DayGlo Avenger, when I tried JBWeld to hold sprockets to it for my first motorization attempts. :lol
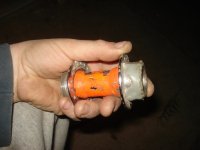
And cut the threaded end off including it's spoke flange:
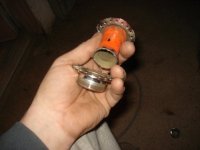
View attachment 22
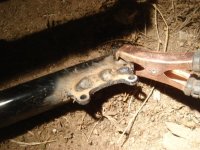
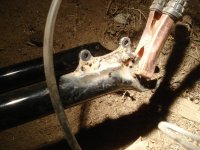
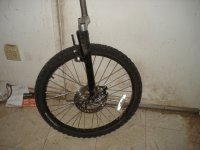
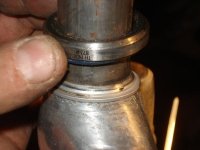
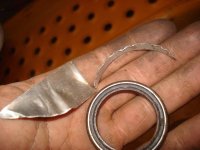
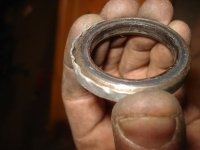
Then because the bearing hole is not big enough for the 9C axle to pass thru, I had to tap out the bearing cup (cuz I haven't got a drill bit that will enlarge the hole) and the cylinder behind it. I had an old fork tube from a wrecked fork that I'd taken the disc brake mounting from, months ago (which I used on the Suntour fork today), which was just bigger at it's top than the part of the hub I needed out of the flange. I set it on top of the tube, and used a worn chisel and a hammer to tap it out--it only took one hit.
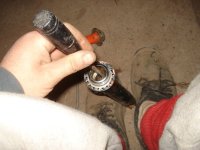
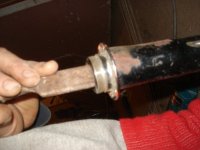
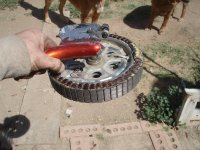
So I was left with just the flange and the threaded part of the hub:
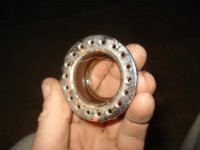
which of course is too large to fit over the motor hub's cover "stump"--but I knew that would be the case.
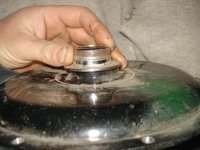
So then I had to cut off that stump, which should be safe because the only thing it does is keep the bearing inside the motor, and does not appear to be a support for anything. It might add a bit of strength to the hub there, but hte bearing itself does not ingress into this stump, and stops level with the cover edge.
View attachment 18
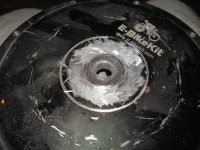
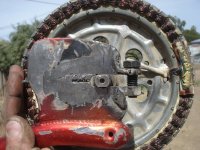
So now the hub flange will seat against the cover, so that it can be bolted to it.
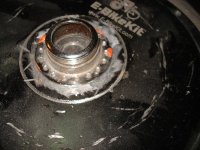
Next step is marking the points to drill for bolts.
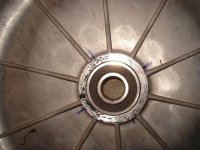
All i have for bolts of the right approximate length, that might be strong enough to handle pedal torque if I have to use it, were 1/4"-20 bolts, 1.25" long I think. I ended up grinding down the ends a little to ensure they cleared the left side of the freewheel.
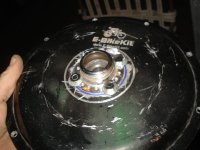
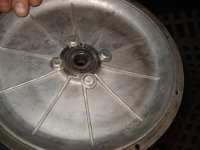
I forgot to take a pic of the slots I cut in the spoke flange for the bolts.
One of the things I want to do but don't have time for right now is to shape and drill some scrap aluminum into little wedge-nuts to go under the washers, to keep everything straight and ensure better force-transfer:
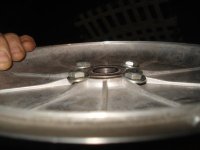
Here's the freewheel threaded on:
View attachment 11
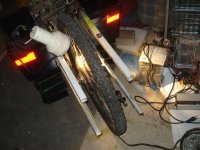
ANd here's what it would look like (using the GM stator) in a Diamondback Coil frame's rear dropouts, which are wider than the ones on CrazyBike2 by a considerable amount:
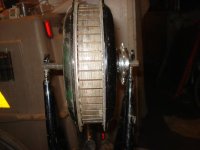
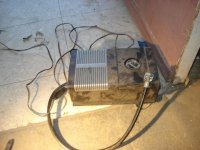
Then I took the 9C wheel off CrazyBike2's old crappy fork, and took of the rightside cover to replace it with the one above. Here's a shot of the windings and such, with no signs of damage or even much dust. That should tell you how little airflow there must actually be into or out of the motor, given the many miles (at least several hundred, probably more than a thousand) since I put the drilled-out covers on there. I have to wipe dust and dirt off the CA and mirrors several times a ride, yet there is not even that much dust on the entire stator inside these drilled out covers--if there was a lot of airflow they should be FILLED with dirt, especially given how close to the road they are.
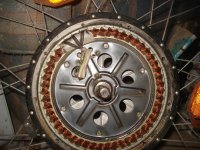
Before installing the "new" right side cover with freewheel, I added vent holes only at it's outer edges of the bell, for exhaust of air that can come in on the left side's much larger center holes.
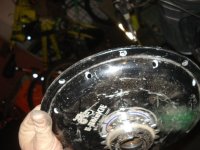
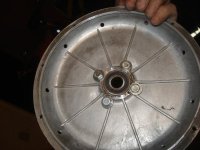
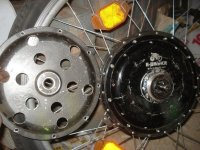
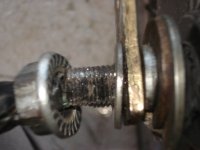
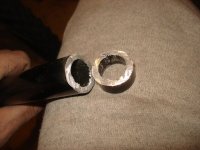
Since the freewheel sticks way out from the axle shoulders, I used the axle washer at those shoulders, as normal, and then added a slice off the same handlebars I used one end of for CrazyBike2's trailer hitchpost, as a spacer tube:
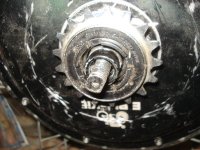
I forgot to take a pic of it, but I also used the torque washer on the outside of the spacer tube, inside of the dropouts, to try to help with torque reaction, as there will not be space for a torque arm on this side.
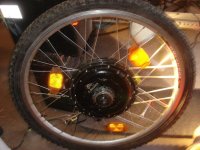
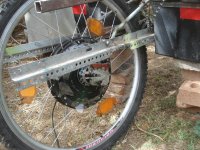
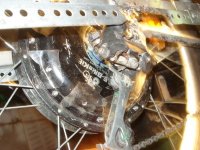
Here's the front 9C now mounted on the rear:
View attachment 3
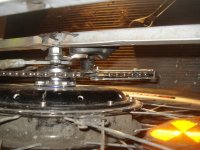
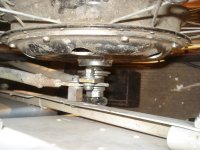
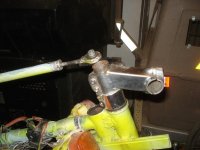
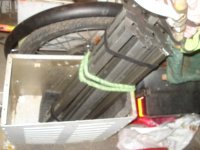
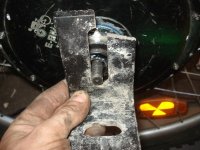
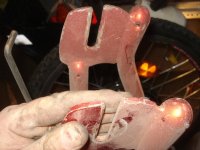
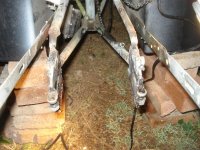
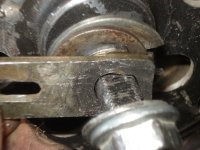
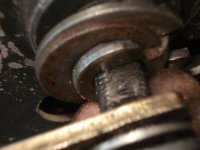
As hose clamps are obviously insufficient (given that mine broke, and even the wrench snapped), I bolted the torque arm that came with the 9C from Lyen to the accessory mount on the frame:
First, this old hub (originally from DayGlo Avenger, when I tried JBWeld to hold sprockets to it for my first motorization attempts. :lol

And cut the threaded end off including it's spoke flange:

View attachment 22
Then because the bearing hole is not big enough for the 9C axle to pass thru, I had to tap out the bearing cup (cuz I haven't got a drill bit that will enlarge the hole) and the cylinder behind it. I had an old fork tube from a wrecked fork that I'd taken the disc brake mounting from, months ago (which I used on the Suntour fork today), which was just bigger at it's top than the part of the hub I needed out of the flange. I set it on top of the tube, and used a worn chisel and a hammer to tap it out--it only took one hit.


So I was left with just the flange and the threaded part of the hub:

which of course is too large to fit over the motor hub's cover "stump"--but I knew that would be the case.

So then I had to cut off that stump, which should be safe because the only thing it does is keep the bearing inside the motor, and does not appear to be a support for anything. It might add a bit of strength to the hub there, but hte bearing itself does not ingress into this stump, and stops level with the cover edge.
View attachment 18

So now the hub flange will seat against the cover, so that it can be bolted to it.

Next step is marking the points to drill for bolts.

All i have for bolts of the right approximate length, that might be strong enough to handle pedal torque if I have to use it, were 1/4"-20 bolts, 1.25" long I think. I ended up grinding down the ends a little to ensure they cleared the left side of the freewheel.


I forgot to take a pic of the slots I cut in the spoke flange for the bolts.
One of the things I want to do but don't have time for right now is to shape and drill some scrap aluminum into little wedge-nuts to go under the washers, to keep everything straight and ensure better force-transfer:

Here's the freewheel threaded on:
View attachment 11
ANd here's what it would look like (using the GM stator) in a Diamondback Coil frame's rear dropouts, which are wider than the ones on CrazyBike2 by a considerable amount:

Then I took the 9C wheel off CrazyBike2's old crappy fork, and took of the rightside cover to replace it with the one above. Here's a shot of the windings and such, with no signs of damage or even much dust. That should tell you how little airflow there must actually be into or out of the motor, given the many miles (at least several hundred, probably more than a thousand) since I put the drilled-out covers on there. I have to wipe dust and dirt off the CA and mirrors several times a ride, yet there is not even that much dust on the entire stator inside these drilled out covers--if there was a lot of airflow they should be FILLED with dirt, especially given how close to the road they are.

Before installing the "new" right side cover with freewheel, I added vent holes only at it's outer edges of the bell, for exhaust of air that can come in on the left side's much larger center holes.


Since the freewheel sticks way out from the axle shoulders, I used the axle washer at those shoulders, as normal, and then added a slice off the same handlebars I used one end of for CrazyBike2's trailer hitchpost, as a spacer tube:


I forgot to take a pic of it, but I also used the torque washer on the outside of the spacer tube, inside of the dropouts, to try to help with torque reaction, as there will not be space for a torque arm on this side.
Here's the front 9C now mounted on the rear:
View attachment 3


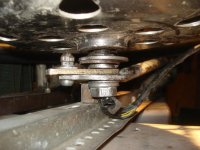
As hose clamps are obviously insufficient (given that mine broke, and even the wrench snapped), I bolted the torque arm that came with the 9C from Lyen to the accessory mount on the frame:


