Alrighty, so yesterday I finally got the rim replaced on the rear wheel. It's still been getting worse, and I figured if I didnt' do it then it'd almost certainly fail on me during a work commute.
 View attachment 15
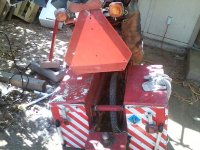
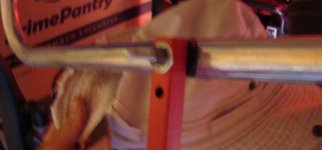
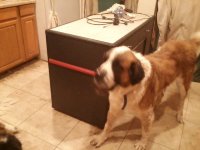
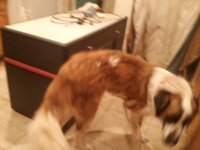
I borrowed Yogi's dinner bowl and the cat litter bucket it sits on for his height, to hold the wheel up while I delaced it. (a regular wheel I'd just lay in my lap, but these hubmotors are too heavy for that, and I'd have bruises on my legs).
View attachment 14
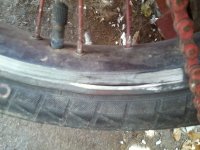
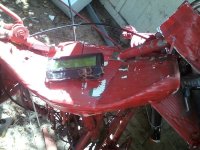
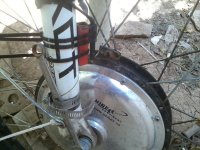
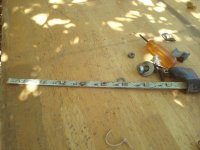
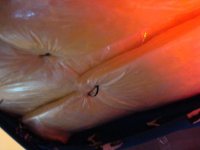
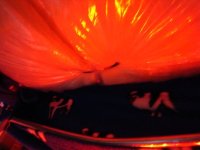
With it in the kitchen, off the bike, I took some hopefully better pics of the damage:


And with the tire deflated, and then removed, you can see just the rim itself sticking out:


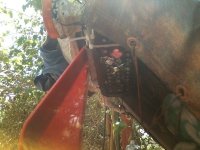
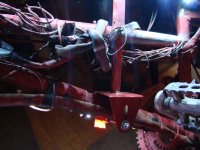
So on to changing otu the rim:

Because of the way I trimmed the too-long spokes, with an angle grinder after lacing, it had left flashing of metal at the ends of each one, which meant that as I remvoed each nipple it would damage the threads a little, so I kept each nipple with the spoke it came from, and I left them in the flange holes they started in as I went around, in case any of them were "used to" that one, shaped to it, to reduce stress on them when relaced/tensioned in the new rim. If I could use new spokes I probably would, but I don't have the money for that.
Because my hands ache, especially with the rainy weather we started with changing to sunny toward midday, it took most of the day to unlace the old rim and relace the new one and tension it.
Also, before I put the nipples back on each spoke, I used the sanding drum on the dremel to carefully removve any flashing left on the ends of the spoke, to make it much eaiser to get the nipples back on than they were to get off.
Truing it was easy, as the rim is so wide for it's small circumference that it was mostly true to start with, once all the spokes were at about the same tension. I set it up in my Nishiki's frame, as the easiest one to get to and setup, since it was still hot outside (and humid), and nearly dark out there too. (with mosquitos, to make it worse). Zipties cut to same length on the chainstays at the outer edge of the rim let me center and true it without gauges. It's within about half a millimeter round and side to side.

I also sanded the edges of the valve hole, to ensure it won't damage the stem, before I taped around the rim's nipple holes.


I got it back onto the bike after quite a struggle (again because of my achey hands, for the msot part, and that sometimes hwen I grip things harder one or the othe hand will just go numb and I can't hold on to whatever it was, and stuff falls).

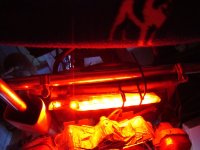
Then, using the motor as a "lathe", I scraped off and then lightly sanded the rim walls, so they can be used as braking surfaces. Since they were painted, not anodized, I can't use them to brake with unless that's done first.

I test rode it around the block a few times, for about a mile, and hit every pothole and bump I could see in the dark with just the headlight, some an inch deep or more, and didn't break anything or have any change in trueness, so it's as good as it gets now until I ride it and test it out.
I looked around for my spare spokes I orignally ordered from Grin with this set, but can't find them right now. Would like to carry them with me for a while just in case; there's only a few but they might get me home if I have a problem.
This whole thing has taught me one lesson for sure--if you have a dented aluminum rim, like this was (from a pothole I think, cant' remember), DON'T try to bend it back straight--just use it like it is.
If I had left it alone, it probably wouldn't have failed like this. :/