fizzit said:
Paco re-shipped it. He said something has changed and in the last couple months USPS lost 40% of his shipments. On the tracking it still shows that it arrived in San Francisco and is stuck. Might be able to get some money from USPS but I think he didn't get insurance so the max payout is $200.
You should call them, sometimes it will get stuck if the address is damaged, if the tracking number is intact they can find and update it for you.
For my package they had one of the tubes hanging out and sanding off the paint, I don't think it is packed as well as it should be for the weight and travel distance for the package.
I would ask for a payout even if it was $50, don't reward the animals for losing a package.
fizzit said:
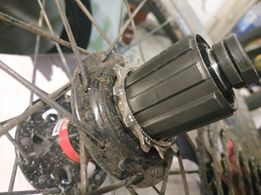
Thanks much for the chainline tips. I will try that fix with the cassette spacers. In that case did you need to do anything special to your derailleur to move it out farther?
No, just need to adjust the limit screws on it make sure you can't shift over the big cogs and adjust the Y screw to give clearance.
The motor should sit about 10mm inside the mount on the drive side when you do the chainring adjustment (a must have). The pedals should stick out about equally on both sides.
fizzit said:
Good to know about the shock. I'll definitely look into upgrading that in the near future. I can already tell that the suspension bushings are wearing down, there's a noticeable slant of the bushing that goes through the upper eye of the shock.
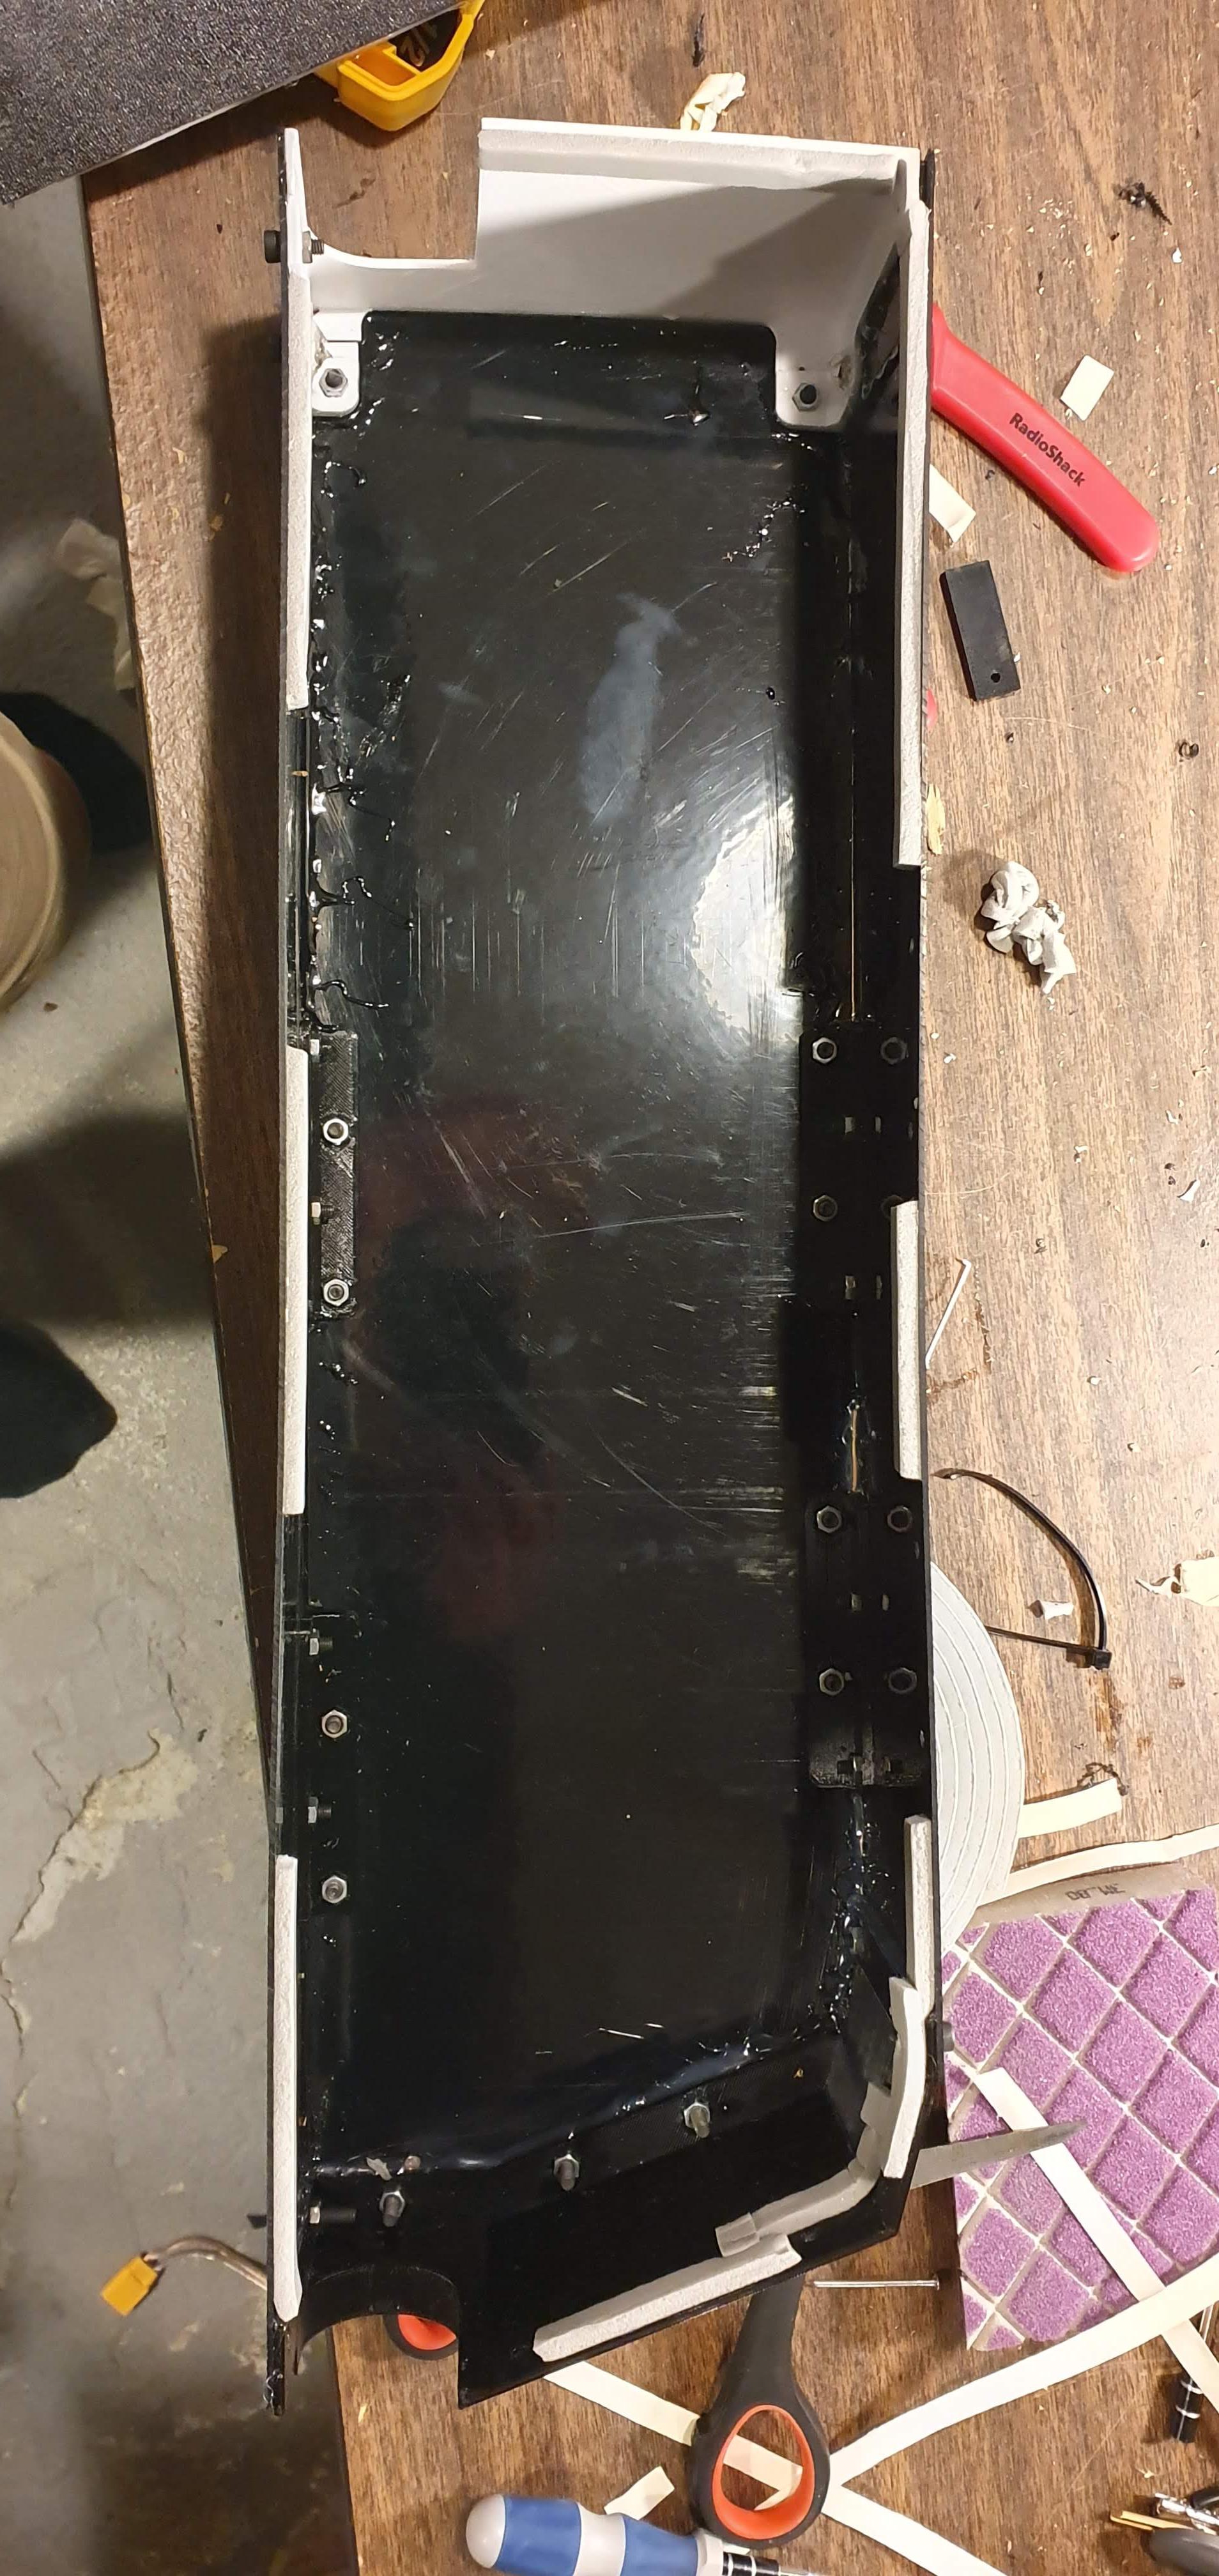
If you take apart the suspension, there are some things to consider. There are black roller plastics on the axles, they look the same but 2 are longer and 2 are shorter. If you mix them your suspension will be leaning. I would also put some extra large surface area washers next to them on the inside to reduce possibility of play in the system.
Other than the axle, if you undertighten the bolts you will have play, if you overtighten them you will seize the suspension, you must have threadlock or the bolts will unwind themselves. Tighten it just enough to start increasing friction without a load on it, you won't notice it when you ride. Grease is a good idea but you will need to take care for the threadlock and grease not to mix when poking them through. Ear cleaning tools will help soaking it up.
When screwing the linkage arms togeather if it becomes more difficult to turn before two holes and the bushes are slotted in, you should stop, because you are sitting on the shoulder instead of inside the hole and you are chewing up the bushes(essentially threading them).
Also, if you removed the top suspension axle half way through, don't even let the weight of the bike rest on the suspension or the leverage will oval out the hole in the alu sideplate.
Stuff mentioned
Long chainring bolts
https://www.ebay.co.uk/itm/5pcs-Extra-long-Triple-Chainring-Bolts-Nuts-Spacers/273705825204
Chainring
https://www.ebay.co.uk/itm/UK-Single-30T-Round-6-Colors-Narrow-Wide-Chainring-104bcd-MTB-Road-Bike-bolts/264261185004
Crank extractor
https://www.ebay.co.uk/itm/New-Bicycle-Crank-Wheel-Puller-Remover-Repair-Extractor-Mountain-Tool-Removal-UK/184003197912