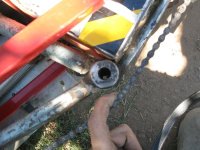
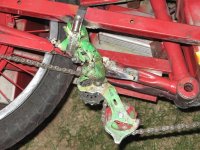
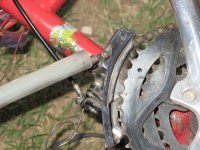
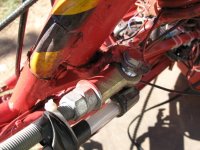
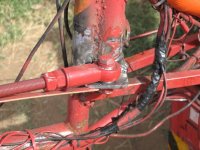
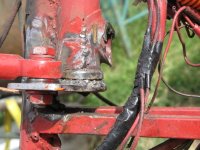
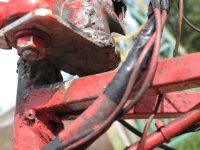
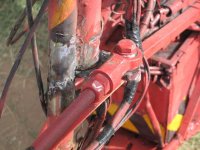
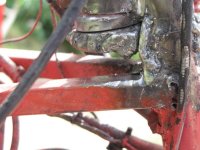
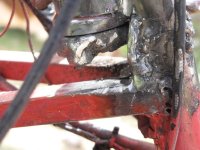
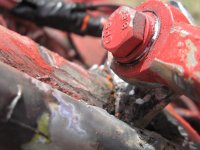
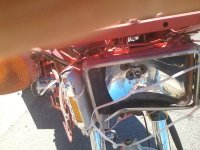
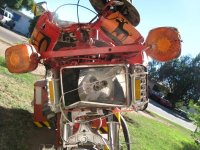
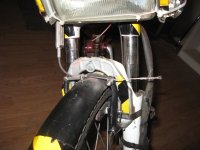
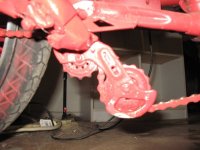
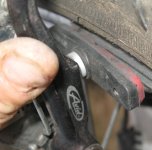
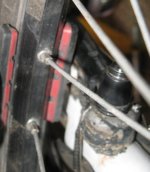
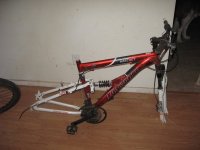
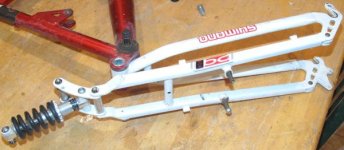
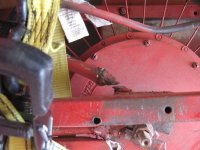
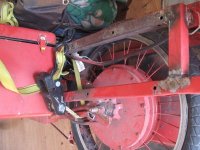
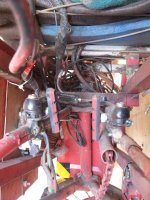
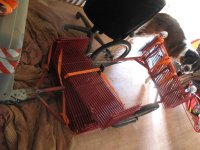
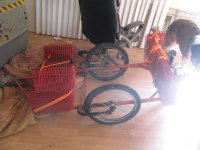
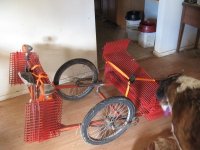
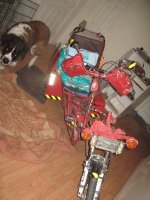
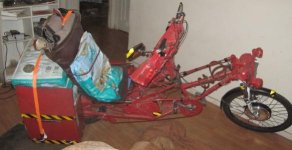
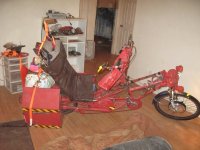
Somewhere around redoing the brakes, I think, is when I decided suddenly to piant the the bike a unified color scheme. I am not sure as I sort of did portions of various things concurrently.
It started out as just touching up some of the red paint on the new rails and the old rails to match them, and as I fixed other things it sort of spread, as I decided on painting hte whole thing at some point in there....
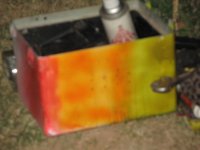
I dind't knwo what color(s ) that would be, because I didn't know all of what paint I had left. But I had seen a box of piant earlier that day in a shed, and tha'ts where I'd already found these two cans of red. When i dug it out, there were also two of dayglo orange, a mostly empty dayglo yellow, a teensy bit of white primer, and three cans of satin clearcoat. There were also a bunch of empty cans, or ones that had congealed inside and lost all their pressure.
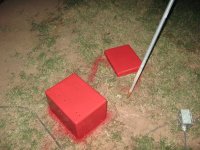
Wihtout white primer under the dayglo, yo ucan't really see it much, and it shows thru anything that's underneath it (it's sort of a clearcoat, itself). So with only a little bit of that left, I went with the solid red color, as my only practical choice.
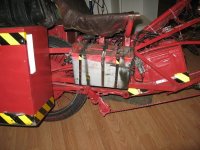
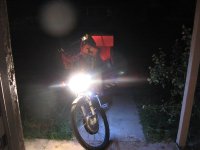
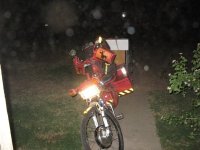
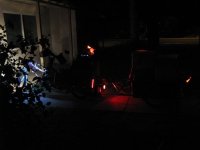
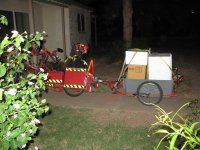
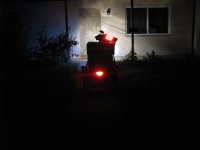
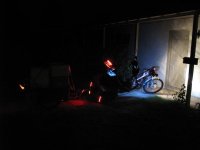
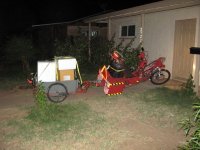
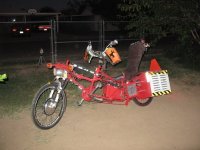
I'm still not sure *why* I wanted to piant it, but I did. so now it's about as "pretty" as it has ever been, in all 5-6 years it's been around. It catches attention better now, and is easier ot see, because I get more heads turning to look at it now than I did with eithe rbare ugly frame or with the "fairing" on it. Both of those things are good enough reaosns to have it one color, by themselves, so we'll call it score 1 for rashness. (I also should've waited till afer I was done with the work, but hey, if I don't do something when I think of it, I probably never will do it!).
View attachment 4
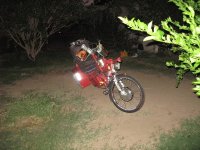
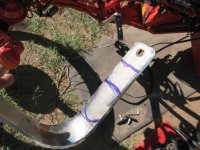
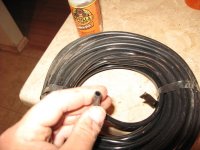
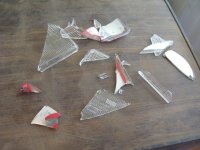
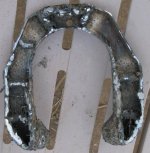
A detail not done till after the painting was to remove the downlight strip that's on the bottom of the steering tie rod, and take off all the broken glass tubing left on it, then grind the plastic lumpy ends off, so I can mount it flat against the tie rod and better light the road beside/beneath me (and the side of the bike itself, in front). While it was off I painted the top of the strip (backside of PCB) red, and clearcoated the frontside to keep water out (since the glass isn't there anymore, and ti's already got two LEDs out from water damage).
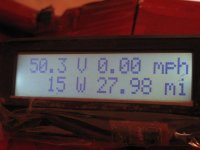
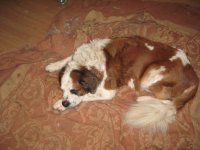
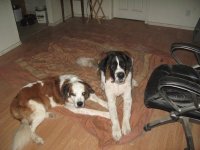
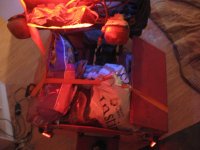
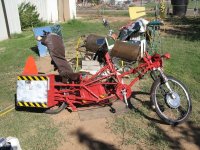
I remvoed all the tape holding ht edog and cat images on the handlebar "brush guards", painted th guards red, too, (and the dashboard while the CA was off), and then I "glued" the images on the guards with the still-tacky paint, plus a heatgun (paint stripper) used to mold the plastic the images are printed on to the shape of the guards, and dry the paint under them. I used a soldering iron ot also melt the corners and other selected points of htem togehter with the coroplast guards. Probably wont' stay on very long this way, and will have to be taped on again later, but have to wait and see on that one.
View attachment 1
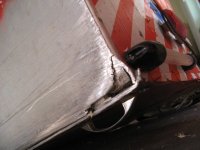
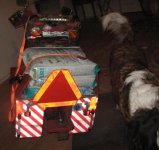
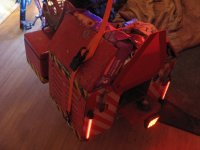
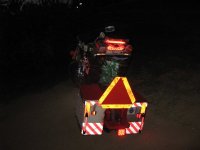
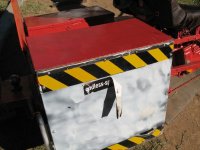
When I was out with Bill yesterday, i also picked up more of that striped relfective tape from harbor freight, and finished the job of covering the rear of hte pods with white/red diagonal stripes, and fixed the yellow/black trim along the bottom of some of he front frame/boxes/etc. Most of it is destined to go on the new trailer when I get that built, though.
I also finished up painting the pods thesmelves, whcih I had not yet done yesterday. One reason was this sticker:
which I wanted to preserve because I don't think I have another (if I did I'd like one on the back, too), but I was afraid of tearing it off. Well, no need to fear, cuz it came right off when the pod got hot enough sitting facing the midday sun. Putting it back on was alittle trickier; after the red paint dried to tacky I sprayed the back fo the sticker with a dusting of clearcoat, then pressed it onto the red paint nad held it there till it stuck. Then I clearcoted the whole pods a while later, and pretty much the rest of the bike too--mostly to keep red from rubbing off on my clothes, as this paint is pretty crappy and comes off way too easy when rubbed with clothing (not completley off, just leaves reddish marks like rust stains, even on paint that's been dry more than a day).
It started out as just touching up some of the red paint on the new rails and the old rails to match them, and as I fixed other things it sort of spread, as I decided on painting hte whole thing at some point in there....

I dind't knwo what color(s ) that would be, because I didn't know all of what paint I had left. But I had seen a box of piant earlier that day in a shed, and tha'ts where I'd already found these two cans of red. When i dug it out, there were also two of dayglo orange, a mostly empty dayglo yellow, a teensy bit of white primer, and three cans of satin clearcoat. There were also a bunch of empty cans, or ones that had congealed inside and lost all their pressure.
Wihtout white primer under the dayglo, yo ucan't really see it much, and it shows thru anything that's underneath it (it's sort of a clearcoat, itself). So with only a little bit of that left, I went with the solid red color, as my only practical choice.
I'm still not sure *why* I wanted to piant it, but I did. so now it's about as "pretty" as it has ever been, in all 5-6 years it's been around. It catches attention better now, and is easier ot see, because I get more heads turning to look at it now than I did with eithe rbare ugly frame or with the "fairing" on it. Both of those things are good enough reaosns to have it one color, by themselves, so we'll call it score 1 for rashness. (I also should've waited till afer I was done with the work, but hey, if I don't do something when I think of it, I probably never will do it!).

View attachment 4

A detail not done till after the painting was to remove the downlight strip that's on the bottom of the steering tie rod, and take off all the broken glass tubing left on it, then grind the plastic lumpy ends off, so I can mount it flat against the tie rod and better light the road beside/beneath me (and the side of the bike itself, in front). While it was off I painted the top of the strip (backside of PCB) red, and clearcoated the frontside to keep water out (since the glass isn't there anymore, and ti's already got two LEDs out from water damage).
I remvoed all the tape holding ht edog and cat images on the handlebar "brush guards", painted th guards red, too, (and the dashboard while the CA was off), and then I "glued" the images on the guards with the still-tacky paint, plus a heatgun (paint stripper) used to mold the plastic the images are printed on to the shape of the guards, and dry the paint under them. I used a soldering iron ot also melt the corners and other selected points of htem togehter with the coroplast guards. Probably wont' stay on very long this way, and will have to be taped on again later, but have to wait and see on that one.

View attachment 1
When I was out with Bill yesterday, i also picked up more of that striped relfective tape from harbor freight, and finished the job of covering the rear of hte pods with white/red diagonal stripes, and fixed the yellow/black trim along the bottom of some of he front frame/boxes/etc. Most of it is destined to go on the new trailer when I get that built, though.
I also finished up painting the pods thesmelves, whcih I had not yet done yesterday. One reason was this sticker:

which I wanted to preserve because I don't think I have another (if I did I'd like one on the back, too), but I was afraid of tearing it off. Well, no need to fear, cuz it came right off when the pod got hot enough sitting facing the midday sun. Putting it back on was alittle trickier; after the red paint dried to tacky I sprayed the back fo the sticker with a dusting of clearcoat, then pressed it onto the red paint nad held it there till it stuck. Then I clearcoted the whole pods a while later, and pretty much the rest of the bike too--mostly to keep red from rubbing off on my clothes, as this paint is pretty crappy and comes off way too easy when rubbed with clothing (not completley off, just leaves reddish marks like rust stains, even on paint that's been dry more than a day).


