
crossbreak
1 MW
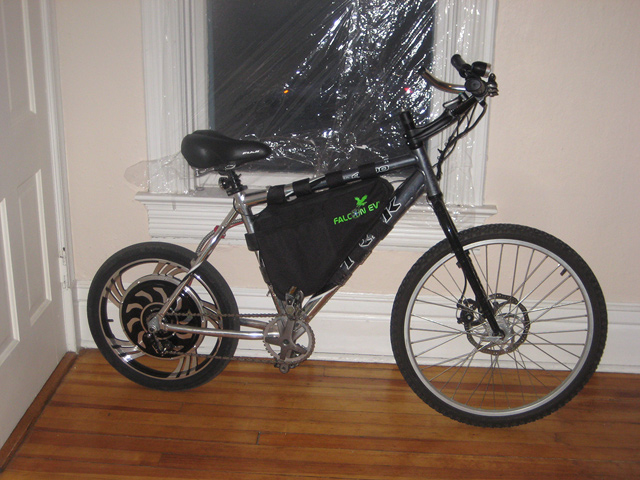
I'll also order some JB-Weld. I like your long swing arm, but I can't build such a thing. Now I will elongate mine with 4x 5mm thick AL-7075 sheets on both sides, which will be fastened on the original swing arm with JB-Weld. I change my motor for a cheaper MagicPie2 in a casted 20"rim and use the HS3540 on a different bike. Hope the MagicPie2 can stand the 40amps@24s lipo I wanna use 

Thx for your tips about tires, they are so cheap! Hope they fit the 20" MagicPie2 rim properly :? http://www.ebay.de/itm/300856503835?ssPageName=STRK:MEWNX:IT&_trksid=p3984.m1497.l2649
I will use 24" front, hope it will look different than neptronix bike
http://endless-sphere.com/forums/viewtopic.php?f=6&t=35060&start=50#p514219
Also got a Hammerschmidt drive on the bay that will be fitted so I can still pedal at 45mph


