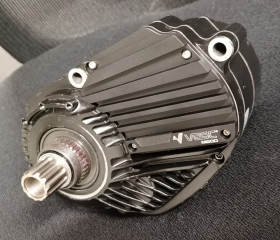
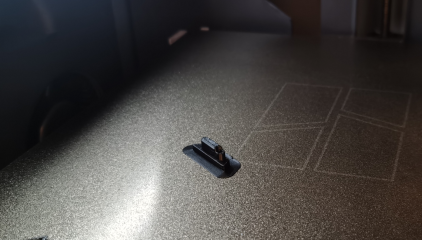
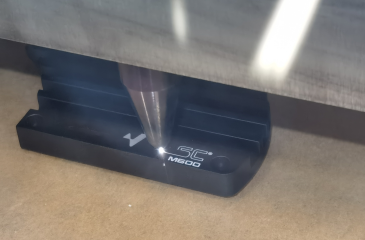
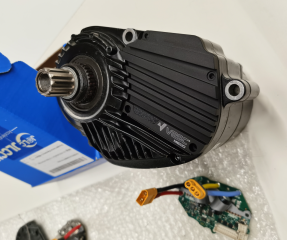
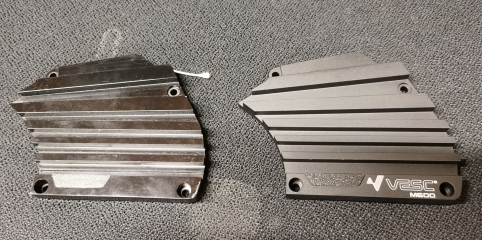
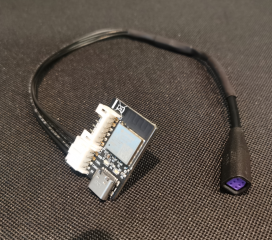
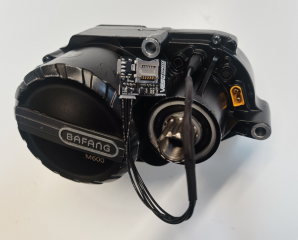
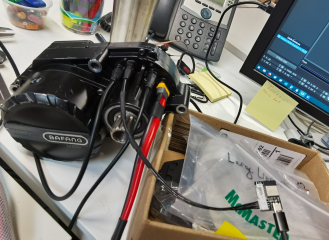
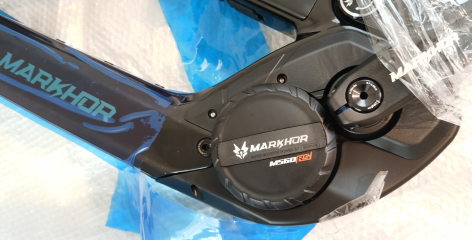
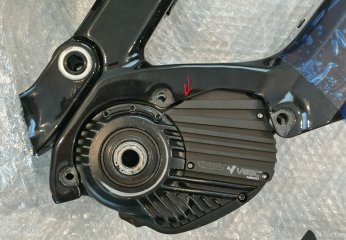
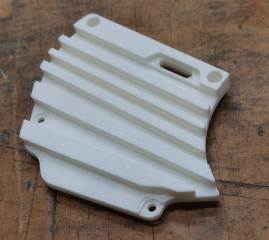
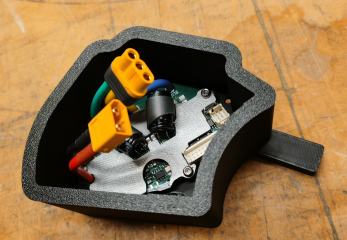
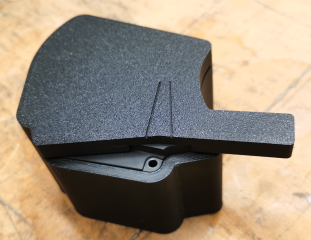
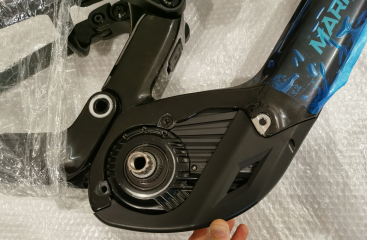
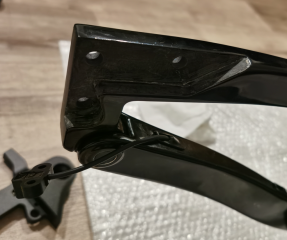
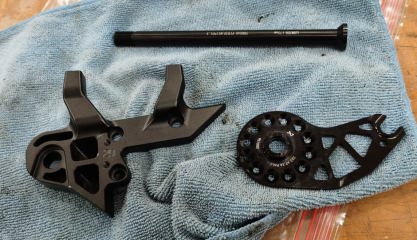
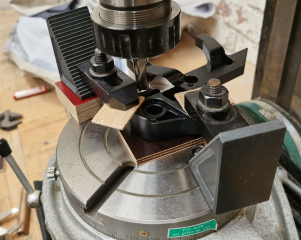
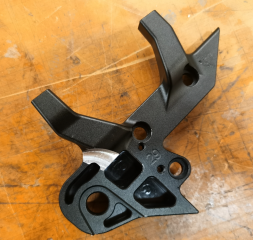
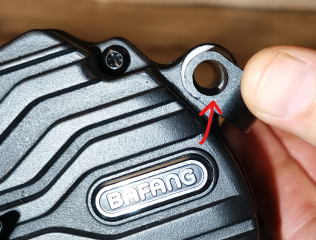
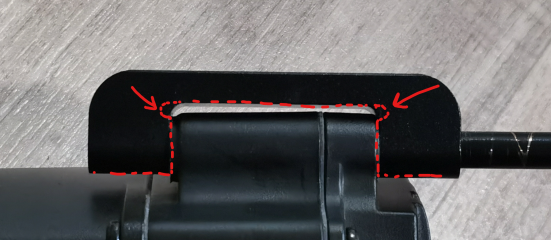
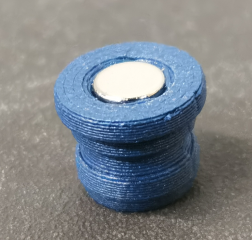
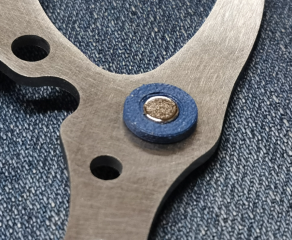
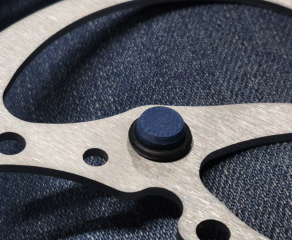
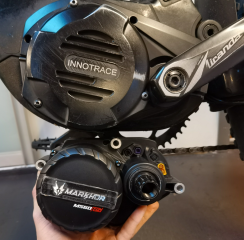
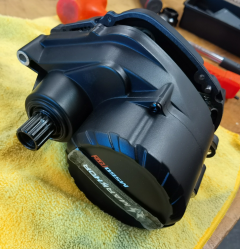
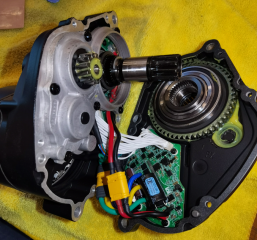
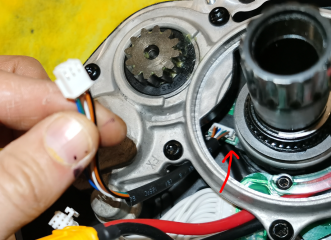
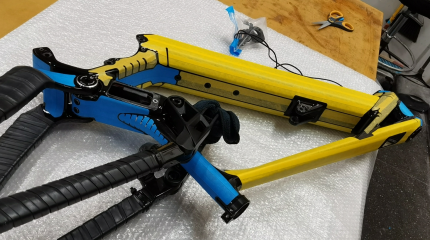
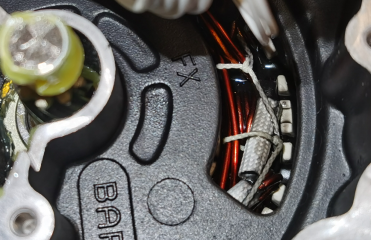
The antenna has been installed, the controller has been assembled completely and installed on the motor and tested again. Everything works as on the the original one and Bluetooth works better as expected (when I tested the controller with the original cover it took quite some time before my phone found the Bluetooth, the new cover with the real antenna were found immediately and worked from far distance).
Now it is waiting game before I will have finished the bicycle.
Here is the updated archive with the controller files.

drive.google.com
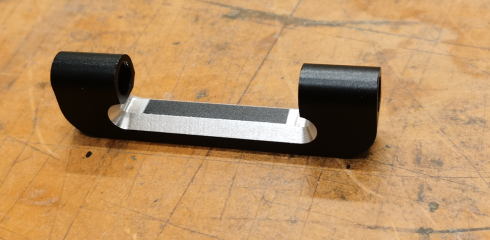
The Gerber files are the same as the previous release, no changes to the PCB (it is still version 0.01) and PCB assembly. The CNC machined cover is the same. I changed only the antenna 3D printed cup CAD model slightly for better fit after 3D printing and updated the KiCAD PCB editor assembly so it has that updated CAD model.
I also included the thermal pad CAD model and PDF file with outline for cutting. The CAD model is also attached to the KiCAD PCB editor assembly so you can see where it is installed exactly

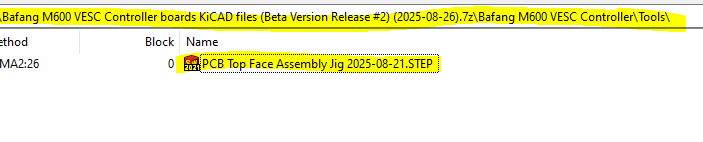
I also included the PCB top face assembly 3D printed jig CAD model to make PCB assembling and soldering process easier
I also included the Bluetooth firmware files

To install the antenna you need to glue the 3D printed antenna cover first with RTV silicone and wait until the silicone is cured
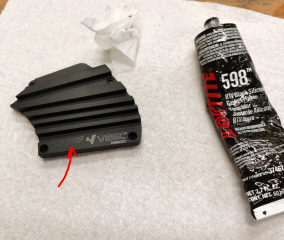
Do not fill the opposite side cavity with silicone yet, apply the silicone only on the mating surfaces, wipe the silicone excess with clean towel and alcohol and let the silicone cure completely

Attach the antenna to the controller
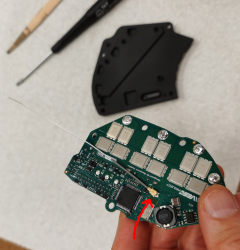
Fill the opposite side of the antenna cavity with silicone and stick the antenna end into the hole in the 3D printed cup
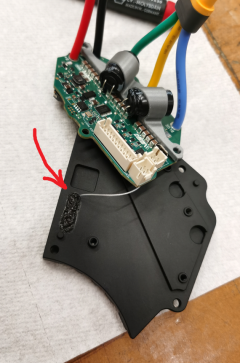
Route the antenna and screw the PCB in the place on the cover and let the silicone cure completely
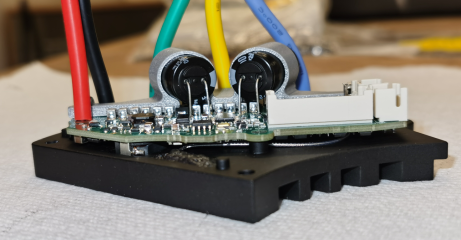
Cut 0.5mm thick thermal pad. I used ARCTIC TP-3 0.5mm
The ARCTIC Thermal Pad ACTPD00055A is a perfect and soft bridger of unevenness for an even cooling surface. Easy to use and safe to handle | Fast processing and delivery | ARCTIC Store

www.arctic.de
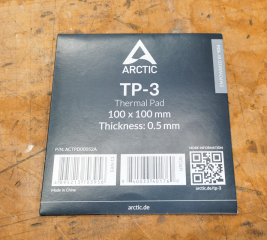
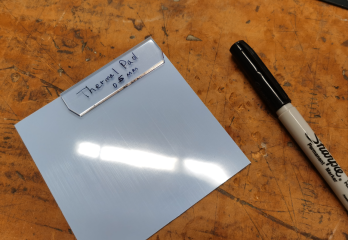

Before peeling the clear tape off the thermal pad I recommend to stick a masking tape rib on the opposite side for handling because of the thermal pad is very soft and delicate
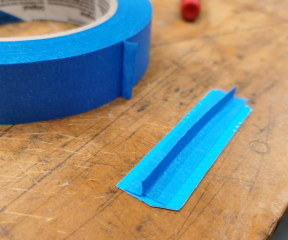
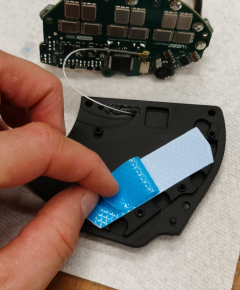
Peel the clear layer off at sharp angle
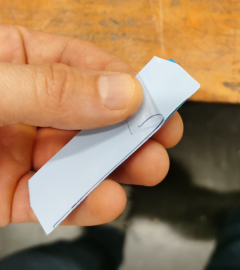
Attach the thermal pad to the cover
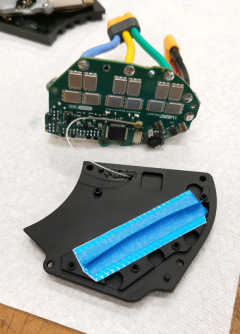
Peel the tapes off


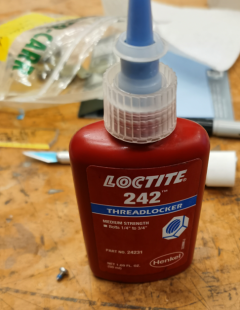
Apply blue Loctite on the fasteners
Install the PCB on the cover and there you have it
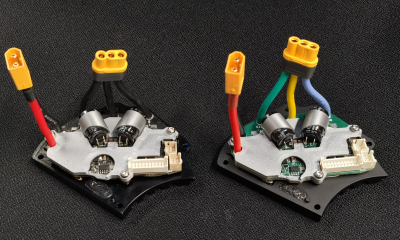
Install the controller on the motor following this instruction. Do not forget to install the gasket first before attaching the controller to the motor.