• Hello ES! We could use some help to get us past the finish line on building the new knowledgebase for the forum.
    Can you donate? Please see our fundraising page. Thank you!

Luna M600 Ludicrous V2 reverse engineering and firmware making

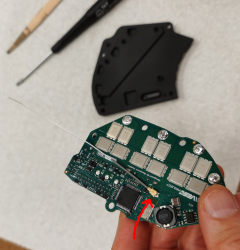
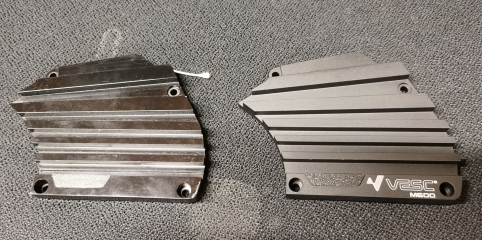
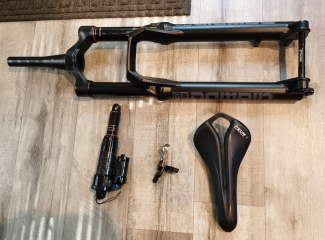
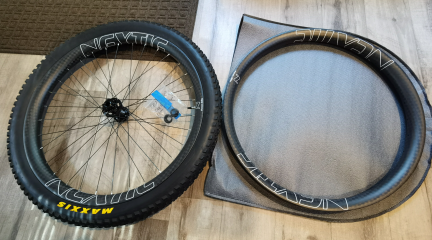
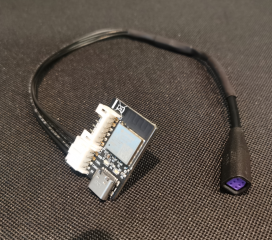
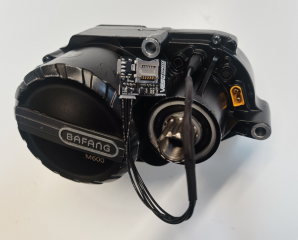
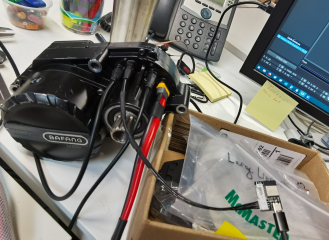
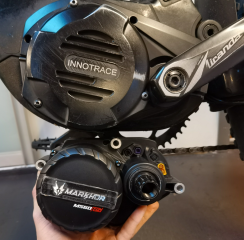
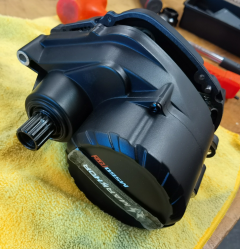
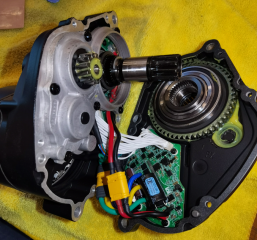
I think it is a good idea to take some images before I burned this thing to the ground. If something will happen after plugging it to the power at least we will have some happy memory pictures.

There you have it guys, the original vs the counterfeit. Which one do you prefer?

View attachment 376093

View attachment 376094

View attachment 376096
Yours. For the effort, tenacity and honestly, it's visually more appealing, along with subtle functionality improvements like the colour coded wiring.

It's awesomeness!
 
Wow, great work! It's unbelievable you managed to make it work first try, congrats! Please do post pictures of the whole bike 😉
 
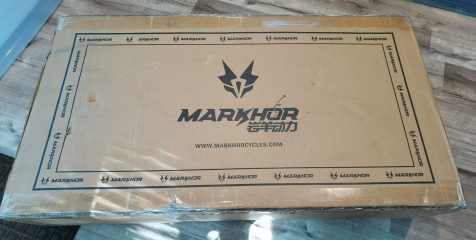
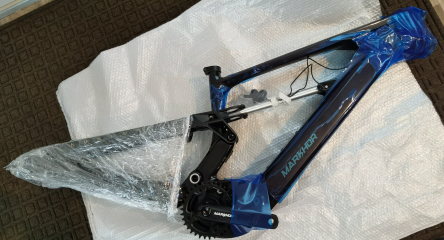
I have only a few parts out of the whole bike at the moment. I need the frame here to take measurements before I can start deciding on other parts and the frame has not arrived yet.

1756231889956.png

1756231911813.png
 
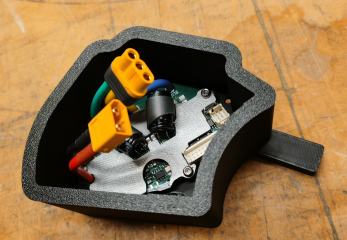
The antenna has been installed, the controller has been assembled completely and installed on the motor and tested again. Everything works as on the the original one and Bluetooth works better as expected (when I tested the controller with the original cover it took quite some time before my phone found the Bluetooth, the new cover with the real antenna were found immediately and worked from far distance).

Now it is waiting game before I will have finished the bicycle.

Here is the updated archive with the controller files.


The Gerber files are the same as the previous release, no changes to the PCB (it is still version 0.01) and PCB assembly. The CNC machined cover is the same. I changed only the antenna 3D printed cup CAD model slightly for better fit after 3D printing and updated the KiCAD PCB editor assembly so it has that updated CAD model.

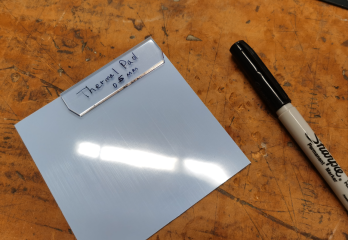
I also included the thermal pad CAD model and PDF file with outline for cutting. The CAD model is also attached to the KiCAD PCB editor assembly so you can see where it is installed exactly

1756267349757.png

I also included the PCB top face assembly 3D printed jig CAD model to make PCB assembling and soldering process easier
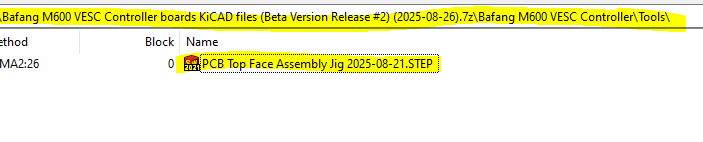
1756267405314.png

I also included the Bluetooth firmware files

1756267787861.png

To install the antenna you need to glue the 3D printed antenna cover first with RTV silicone and wait until the silicone is cured
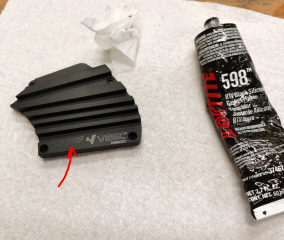
1756267914930.png

Do not fill the opposite side cavity with silicone yet, apply the silicone only on the mating surfaces, wipe the silicone excess with clean towel and alcohol and let the silicone cure completely

1756267969040.png

Attach the antenna to the controller

1756268010426.png

Fill the opposite side of the antenna cavity with silicone and stick the antenna end into the hole in the 3D printed cup
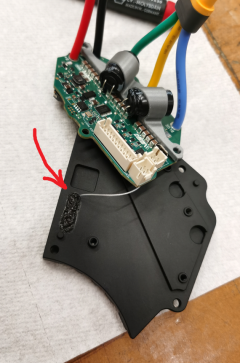
1756271714871.png

Route the antenna and screw the PCB in the place on the cover and let the silicone cure completely
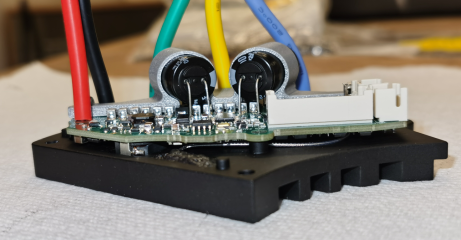
1756268124001.png

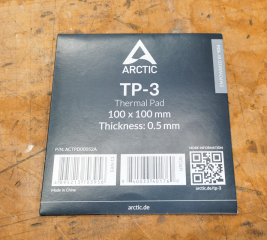
Cut 0.5mm thick thermal pad. I used ARCTIC TP-3 0.5mm


1756268184038.png

1756268288588.png


1756268311687.png

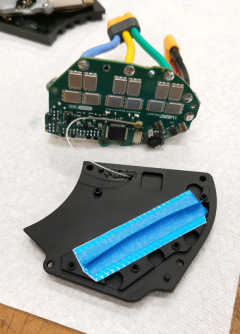
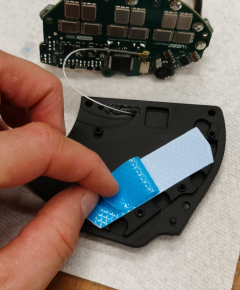
Before peeling the clear tape off the thermal pad I recommend to stick a masking tape rib on the opposite side for handling because of the thermal pad is very soft and delicate
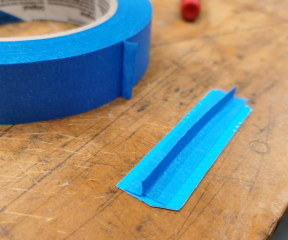
1756268405132.png

Peel the clear layer off at sharp angle
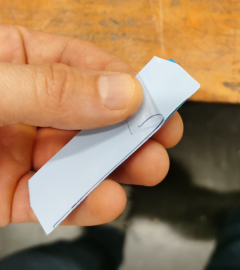
1756268444051.png

Attach the thermal pad to the cover

1756268478440.png

Peel the tapes off

1756268512550.png

1756268533831.png

1756268889576.png

Apply blue Loctite on the fasteners
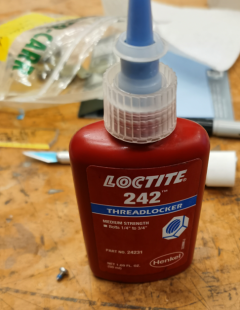
1756270731636.png

Install the PCB on the cover and there you have it
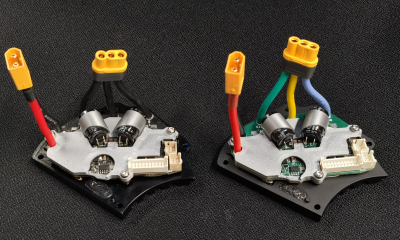
1756268607789.png

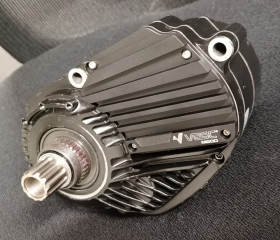
Install the controller on the motor following this instruction. Do not forget to install the gasket first before attaching the controller to the motor.


1756268782922.png
 
Last edited:
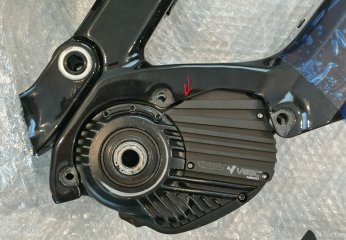
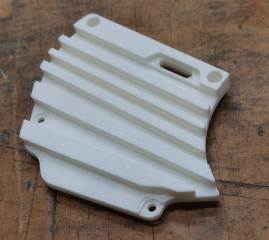
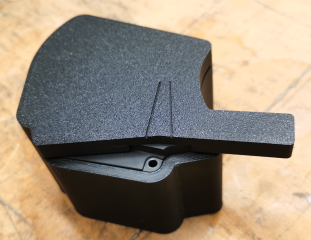
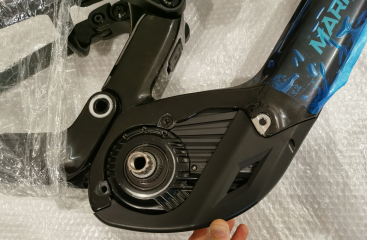
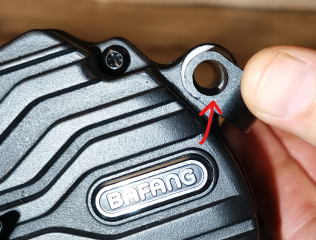
I just realized the controller cover might interfere with the Kunlun frame. The ribs pattern is different and it looks like the frame line follows the original Bafang ribs pattern. It might fit if the motor is narrower than the frame in that area but I can not tell for sure looking on the Markhor Kunlun pictures I found. We might need to redesign the controller cover ribs pattern to fit that frame. It looks like Luna designed that cover to fit specifically to Dengfu E10 frame.

1756324097406.png
 
Last edited:
Today I built a canable cable for the VESC Express dongle to see if it is possible to setup that controller without the Bluetooth module and unfortunately the VESC Express did not work with this controller (it does not see the controller). Maybe they locked it like Innotrace did?


1757292072757.png

1757292100742.png

1757292157627.png

1757292194759.png
 
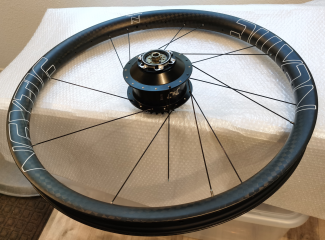
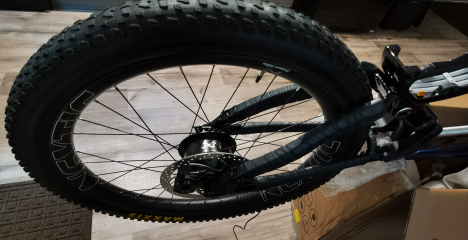
Obtained a 3x3 nine high torque high power gear hub to handle the 4000 W power of the VESC for Bafang m600 controller. That monster is bigger and heavier than the motor!

1757443619016.png
 
Last edited:
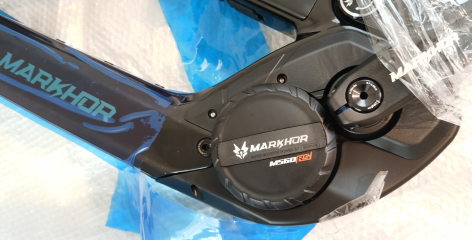
That's something new, Markhor M560 RS motor, never heard about such thing

1757526743907.png

But I think VESC M600 is more powerful anyway

1757526811934.png
 
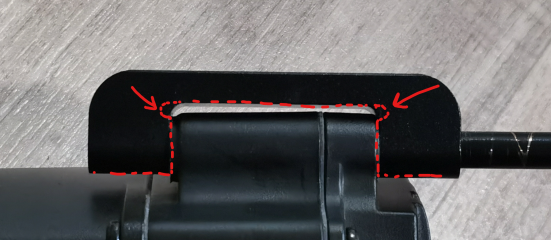
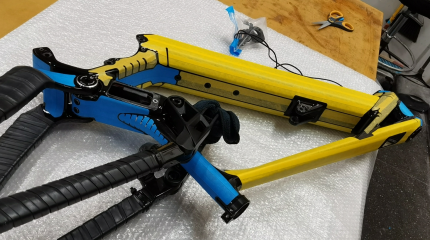
Welp, we need to shave the controller cover rib down a bit, there is a little interference

1757530803925.png

1757530713546.png
 
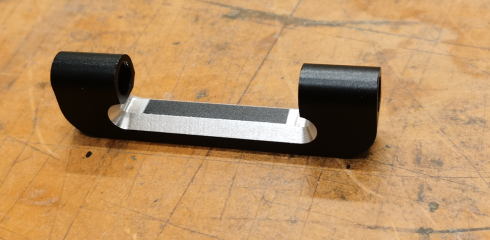
3D printed a jig for milling the controller cover

1757661491452.png

1757661509843.png

Shaved off the interference with milling machine

1757661548912.png

1757661603478.png

A little touch up with black sharpie

1757661661251.png

And now it fits the frame like a glove

1757661765996.png

1757661891285.png
 
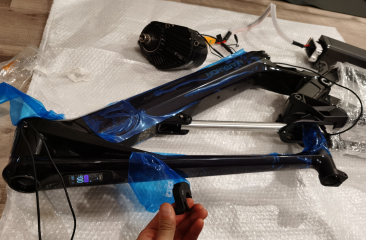
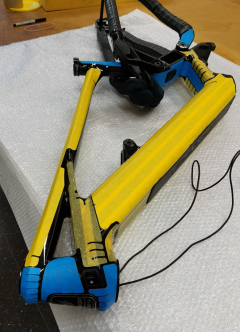
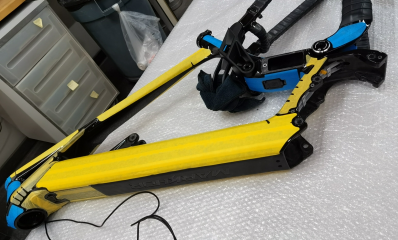
The Kunlun V2 frame needs some work to fit the 3x3 nine gear hub and other stuff. It looks like they designed this frame strictly for one only setup (limited amount of cables channels, limited amount of cables openings, openings are small etc).

Milled the interference off from the post mount to fit the 3x3 nine torque arm

1757736154390.png

1757736163386.png

1757736172873.png

1757736183406.png

1757736197779.png

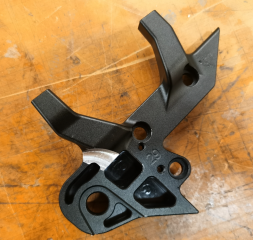
The motor front mount brace had issues too (from the factory it does not fit the motor properly causing mount holes misalignment and an issue with attaching the motor mounting fastener). Milled the interference off.

1757736450859.png

1757736508366.png

1757736519267.png

1757736529320.png

1757736542790.png

1757736555788.png

1757736565143.png

1757736575048.png

1757736593175.png

1757736604572.png
 
Last edited:
Interesting. First time Im seeing the M560rs in the wild. Might be a good oportunity to open it up and see if your controller fits!
 
I am wondering what is inside this motor too. I am waiting for the chaining locknut tool to open it up.

As far as I know the M600 has different torque sensor than M560, and M560RS has different torque sensor than M560. I do not know if the new torque sensors have different pinout, power supply and output signals though. If it is then it might not work with the controller.

Meanwhile the VESC M600 works with the Kunlun electronics just like with other Bafang CANbus electronics. The dealer said there is special firmware for KunLun electronics only, but it looks like it should work with any Bafang CANbus motor.

My display shows Bafang logo though while I saw in the Internet videos with Kunlun logo on the display

1757762045208.png


The VESC M600 spins with Kunlun electronics

1757762120177.png

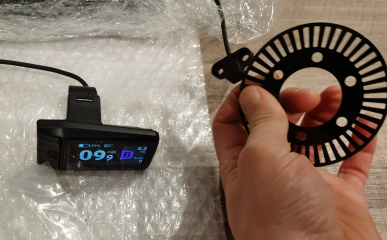
The speed sensor is new and it uses metal plate mounted on the rear brake. The metal plate has openings. The new speed sensor works with VESC M600 controller just like the old one with magnet (each opening in the metal plate is like one turn of the wheel though so the LUNA firmware needs to be adjusted for correct speed or maybe there is a setting in the VESC Tool to change it). This new sensor works with magnet too so you can use in the old way with one magnet on the wheel and there is no need to change the firmware in this case.

1757762367040.png
 
Last edited:
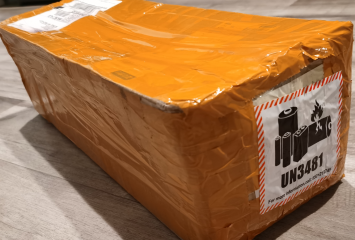
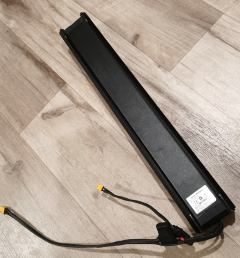
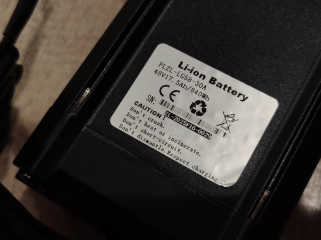
The Kunlun battery is here! 48V 30A so we can squeeze around 1500W out of it. I think it is enough for the initial test of the controller. Later we can build maybe something like 72V 60A and go crazy with 4000W of powah!

If someone recognizes this battery case can be purchased on Aliexpress please let me know.

1757998114467.png

1757998164457.png

1757998194991.png
 
Last edited:
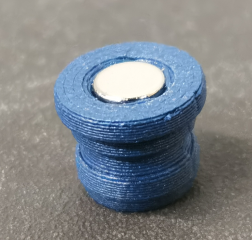
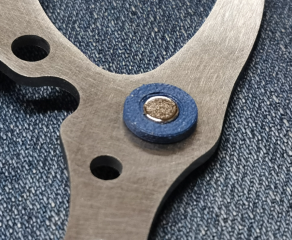
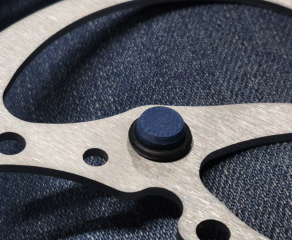
Designed and 3D printed the magnet holder for the speed sensor out of carbon fiber filled PETG for mounting it on the 3x3 nine rear brake rotor

1758259861740.png

1758259906294.png

1758259931014.png

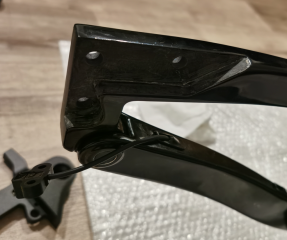
The magnet is glued into the holder with superglue and the holder is fixed on the brake rotor with a rubber O-ring. Will see if it is going to work with the new speed sensor. The new Bafang speed sensor has magnet inside and it might react on the steel rotor and give false speed reading, but I hope it is far enough from the brake rotor to read only the magnet.
1758259968124.png

1758260250908.png
 
Last edited:
Disassembled the Markhor M560RS motor

1758333561837.png

1758333592099.png

1758333640072.png

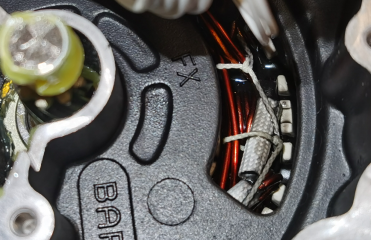
The power wires diameter is smaller than Luna controller wires diameter

1758333723378.png

1758333995711.png

1758334021403.png


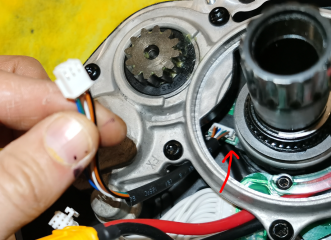
The torque sensor cable is now separate part

1758333794704.png

Took some measurements and tried to fit the Luna PCB mock-up

1758333893796.png

It certainly will not fit. Maybe only 1 hole is in correct place, other holes do not match. The MOSFETs will interfere with the heat sink bumps and those heat sink surfaces cover the MOSFETs only partially and not all of them. The phase wires soldering spots interfere with the heat sink surface. The big inductor from the 12V circuit is probably too tall and will interfere with the bottom of the motor housing. The PCB needs to be redesigned for M560 motor

1758334083729.png
 
Wow, hats off for all this work!

The PCB needs to be redesigned for M560 motor

That's unfortunate. I was looking forward to an open-source controller for the M560, mainly in the hope that it would reduce the noise.
 
Did you disassemble the engine beyond what's shown in the photos (M560RS)? Does it have a plastic gear?
 
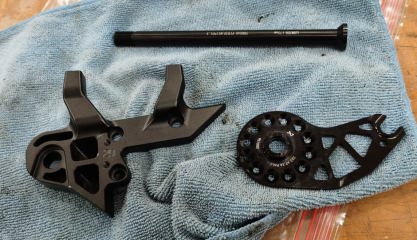
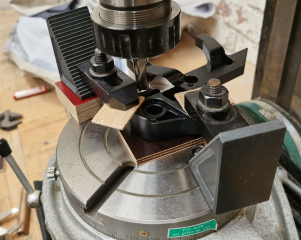
Great news! I opened up the gears compartment of the Kunlun M560RS motor and all the gears are steel so no need to upgrade the gear for high power. The stator windings are potted so we should expect better cooling. Just need to design the new VESC Labs for M560RS controller.
1758677954101.png

1758677988377.png

1758678028820.png
 
Back
Top